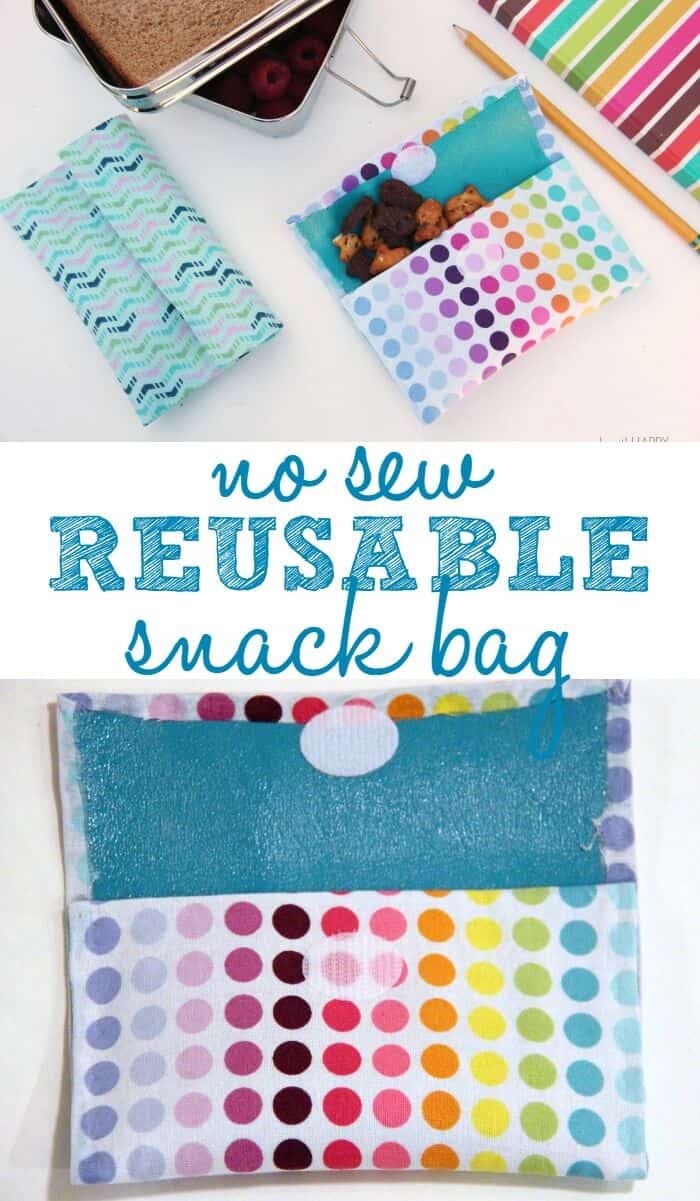
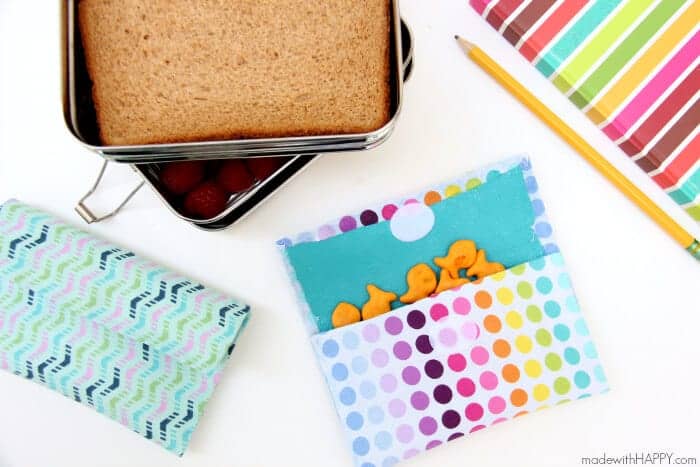
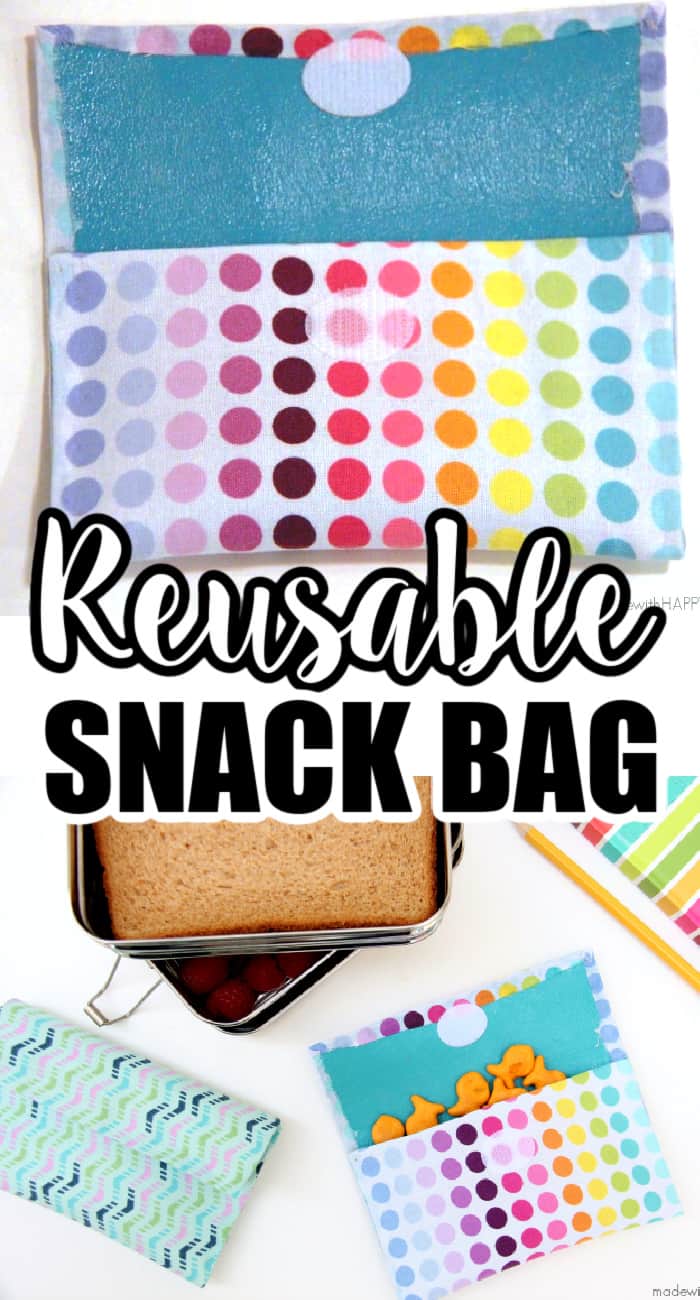
These No Sew Reusable Snack Bags will eliminate the need for spending money on throwaway bags. They are eco-friendly, easy to make and completely washable.
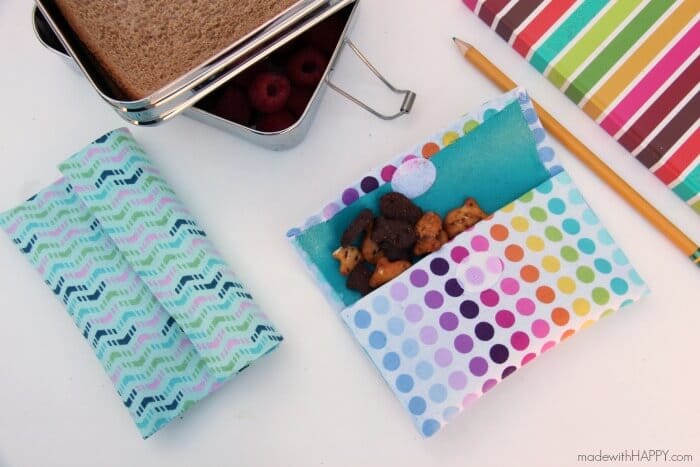
Reusable snack bags are the future of school lunches.
With school starting soon, we are always looking for some fun back to school crafts that will help get everyone excited for the new school year.
We highlighted this along with some other fun kids craft in our September Crafts for Kids along with our 101+ Easy Craft Ideas for kids.
Eco Friendly School Lunches
When school is in full swing and we as parents are churning out packed lunch after lunch after lunch after lunch. SOOOOO MANY LUNCHES. 🙂
The great thing about kids these days is that they are accustom to using reusable storage bags, reusable silicone bags, lunch boxes, sandwich containers, and bpa free water bottles.
They are way more environmentally friendly than then days of single use plastic lunch bags. Where we have struggled (as parents) is that the snack bags situation.
The ones we have used get pretty dirty after just a few uses, and definitely not easy to hand wash out.
We have decided to make them ourselves. We put together these no sew reusable snack bags that you can make at home with the kids. Here's how you do it.
No Sew Reusable Snack Bags
Supplies:
Want to save this project?
Enter your email below, and then we'll send it straight to your inbox. Plus get awesome new projects from us each week.
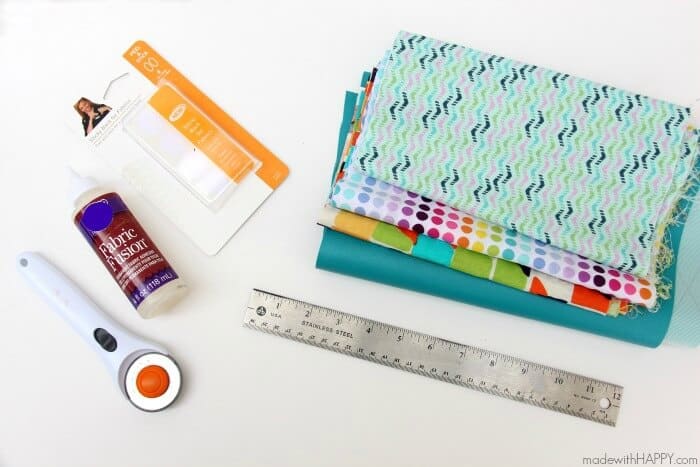
- Small Piece of Cotton Fabric
- Small Piece of Vinyl Fabric
- Ruler
- Fabric Glue
- Scissors or Fabric Rotary Cutter
- Velcro
How to Make Your Reusable Bag
Cutting and Measuring Fabric
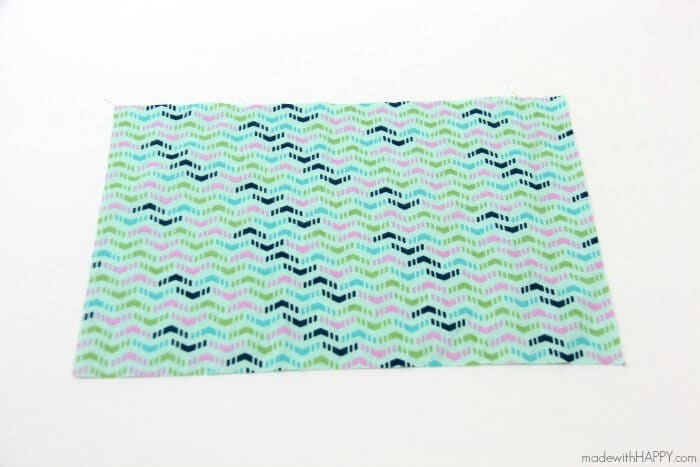
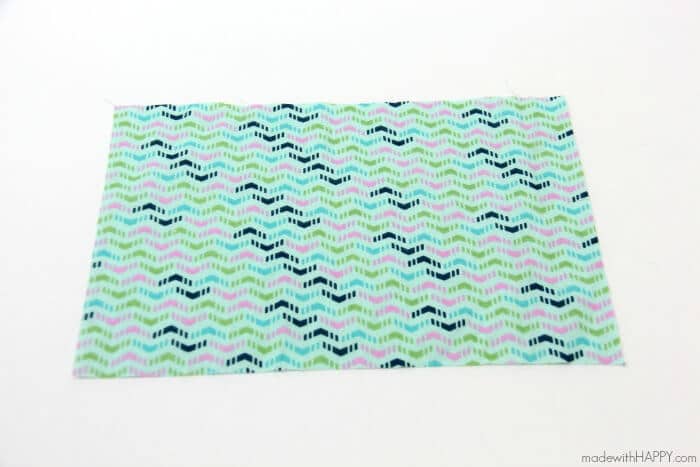
First start out by cutting your cotton fabric into a small rectangle. For the size snack bag we made, I cut the fabric into a 9 inch by 6 inch rectangle.
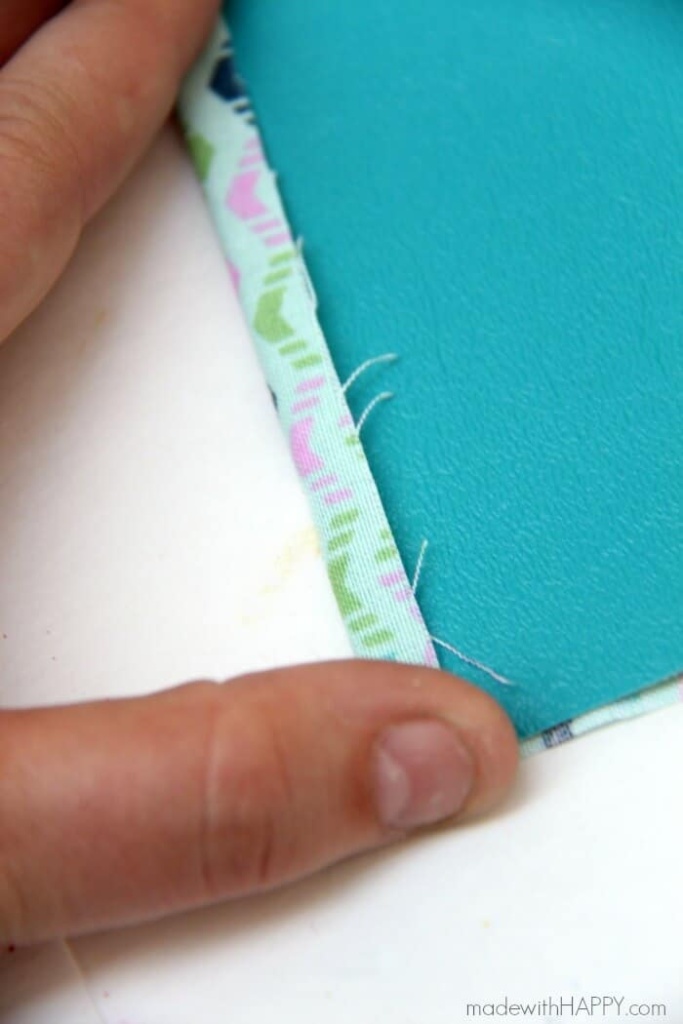
Next you are going to cut your vinyl fabric into a rectangle. I cut the vinyl approximately 2 centimetres small both length and width wise for gluing.
Its up to you on the exact size. The only thing you want to make sure is that your vinyl piece is smaller than your cotton piece.
Gluing Your Project
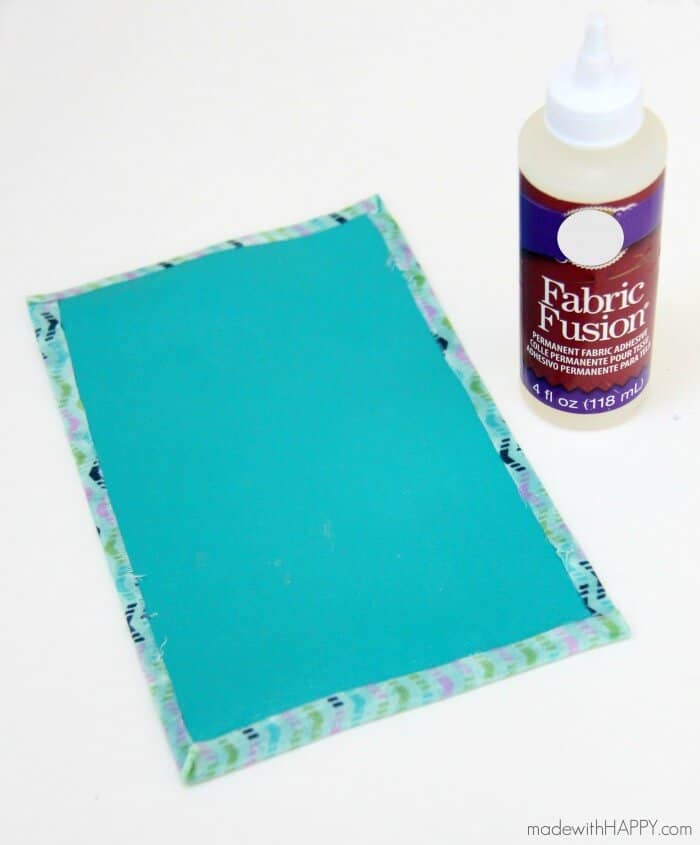
Next, you are going to glue your cotton and vinyl pieces together. For reference, you will have your cotton piece down with the pattern on the table.
Next you are going to set your vinyl piece on top of the cotton fabric, with the vinyl side facing up. So the back side of each of the pieces should be together.
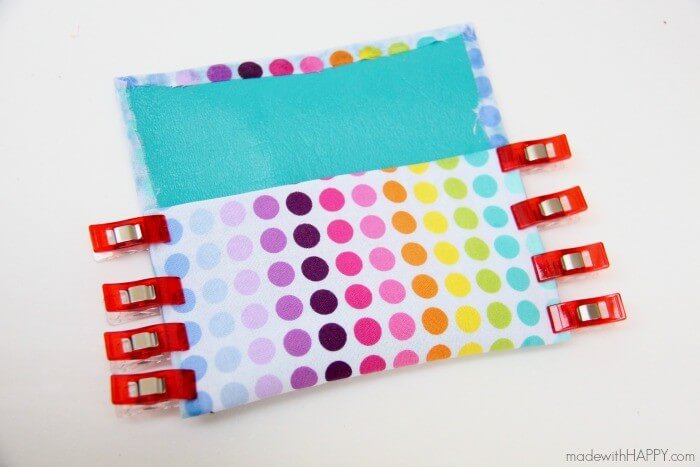
Squeeze a line of glue along the outside piece of the cotton fabric and glue to the top of the vinyl piece. Like above. You will want to fold the corners like you are wrapping a present or something flat. Let that piece dry for about an hour.
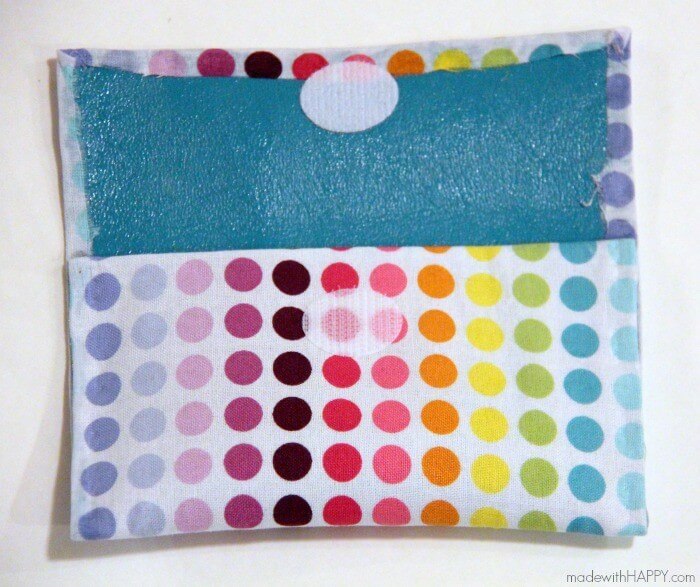
While your fabric might not be fully dried after an hour, it is hardened enough for you to now glue and fold the bottom fold. Remember you are only gluing the sides of the pouch together.
I folded the bottom piece up approximately 3 inches for reference.
Then using clothes pins or any clamps you have, clamp the sides together and let dry overnight.
Finishing Touches of Reusable Snack Bag
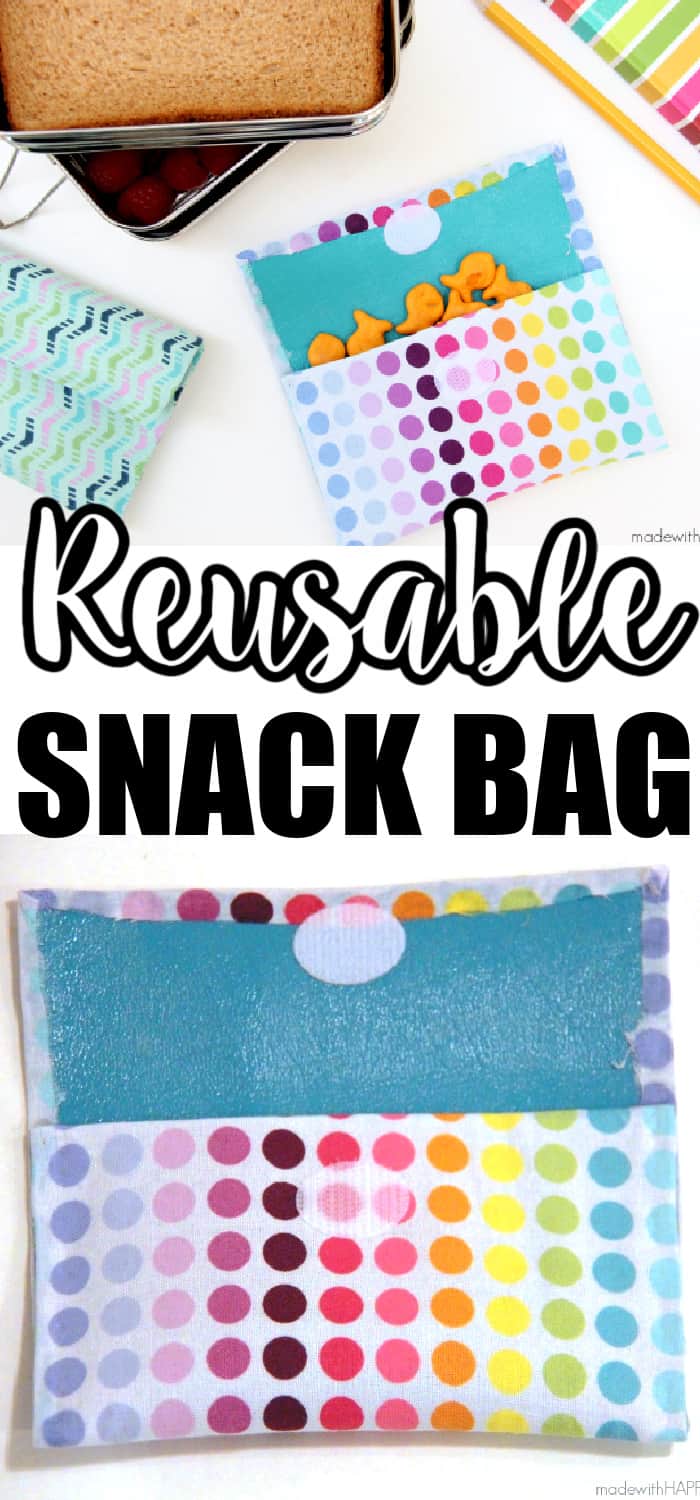
From here, you add your velcro and voila, you have yourself the cutest little snack bags that you can wipe clean.
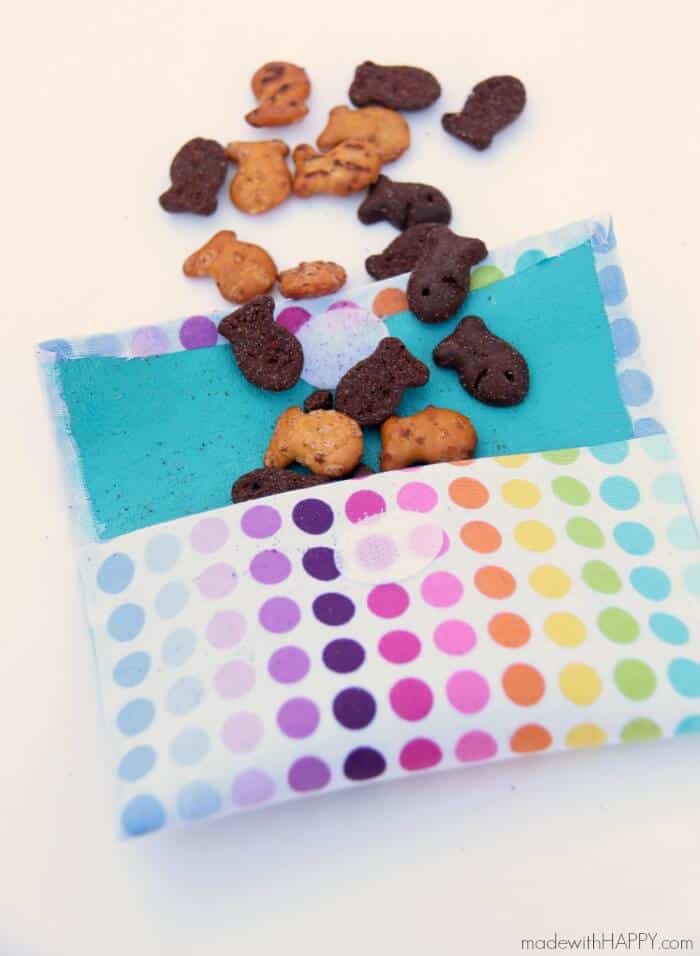
They are the perfect size for a single serving. Your kids (or yourself) can pick out their favorite fabric and you can make quite a few out of just a small piece of fabric.
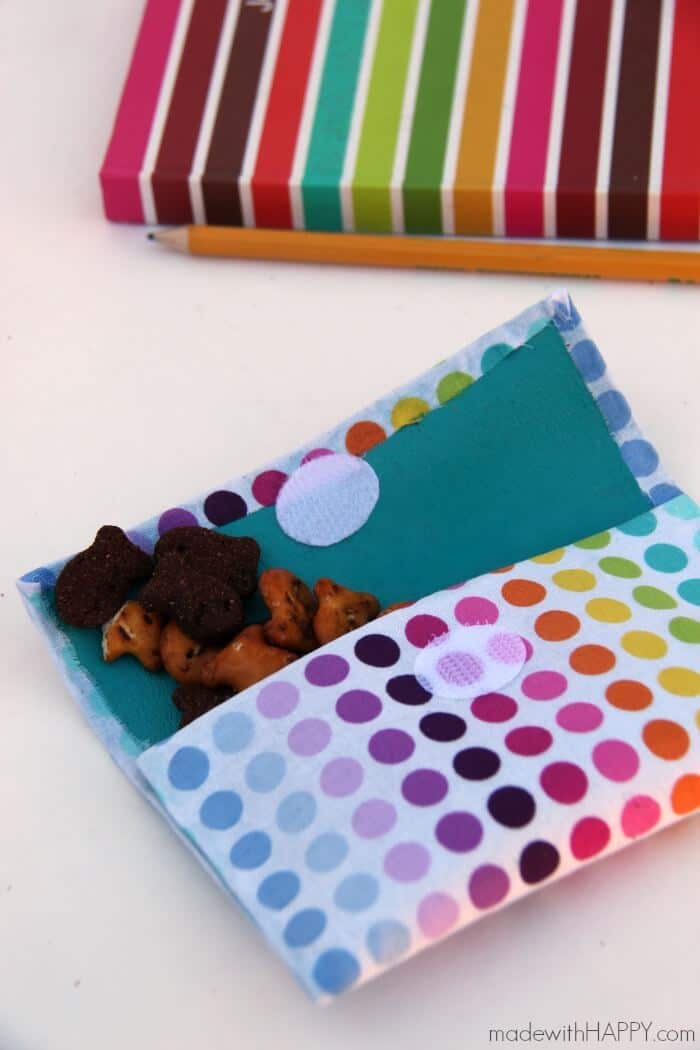
We of course love to fill ours with Goldfish® Crackers (previously sponsored by Goldfish in 2016)
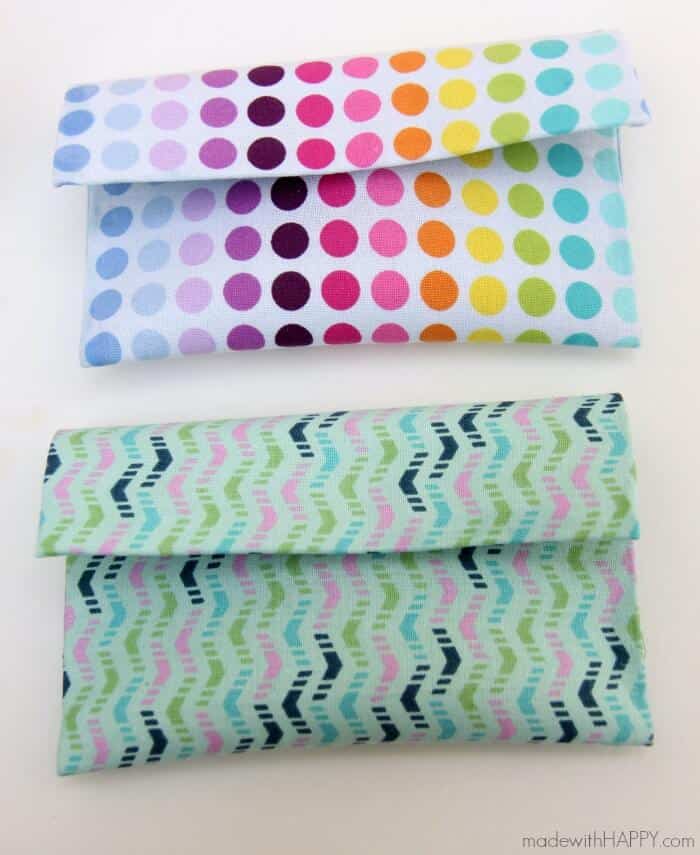
HAPPY CRAFTING!
Other No-Sew Kids Crafts You Might Enjoy
Reusable Snack Bags
Materials
- Small Piece of Cotton Fabric
- Small Piece of Vinyl Fabric
- Velcro
- Fabric Glue
Tools
Instructions
First start out by cutting your cotton fabric into a small rectangle. For the size snack bag we made, I cut the fabric into a 9 inch by 6 inch rectangle.
Next you are going to cut your vinyl fabric into a rectangle. I cut the vinyl approximately 2 centimetres small both length and width wise for gluing. Its up to you on the exact size. The only thing you want to make sure is that your vinyl piece is smaller than your cotton piece.
Next, you are going to glue your cotton and vinyl pieces together. For reference, you will have your cotton piece down with the pattern on the table. Set your vinyl piece on top of the cotton fabric, with the vinyl side facing up. So the back side of each of the pieces should be together.
Squeeze a line of glue along the outside piece of the cotton fabric and glue to the top of the vinyl piece. Like above. You will want to fold the corners like you are wrapping a present or something flat. Let that piece dry for about an hour.
While your fabric might not be fully dried after an hour, it is hardened enough for you to now glue and fold the bottom fold. Remember you are only gluing the sides of the pouch together. I folded the bottom piece up approximately 3 inches for reference. Then using clothes pins or any clamps you have, clamp the sides together and let dry overnight.
From here, you add your velcro and voila, you have yourself the cutest little snack bags that you can wipe clean.
CONNECT WITH MADE WITH HAPPY!
Be sure to follow me on social media, so you never miss a post!
Facebook | Twitter | Youtube | Pinterest | Instagram
Find and shop my favorite products on my Amazon storefront here!


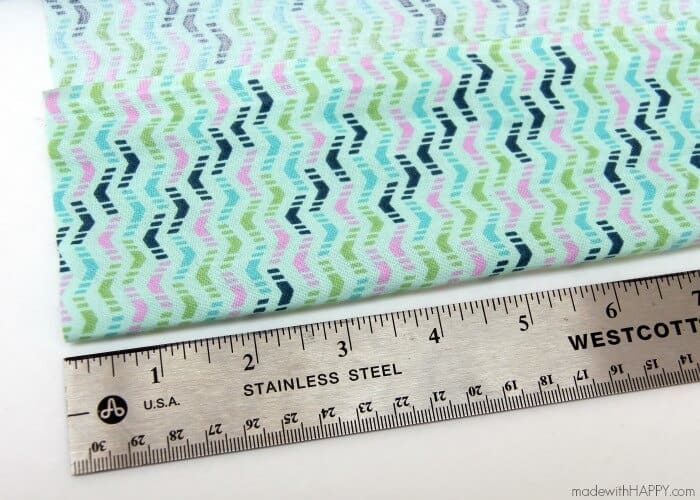 First start out by cutting your cotton fabric into a small rectangle. For the size snack bag we made, I cut the fabric into a 9 inch by 6 inch rectangle.
 Next you are going to cut your vinyl fabric into a rectangle. I cut the vinyl approximately 2 centimetres small both length and width wise for gluing. Its up to you on the exact size. The only thing you want to make sure is that your vinyl piece is smaller than your cotton piece.
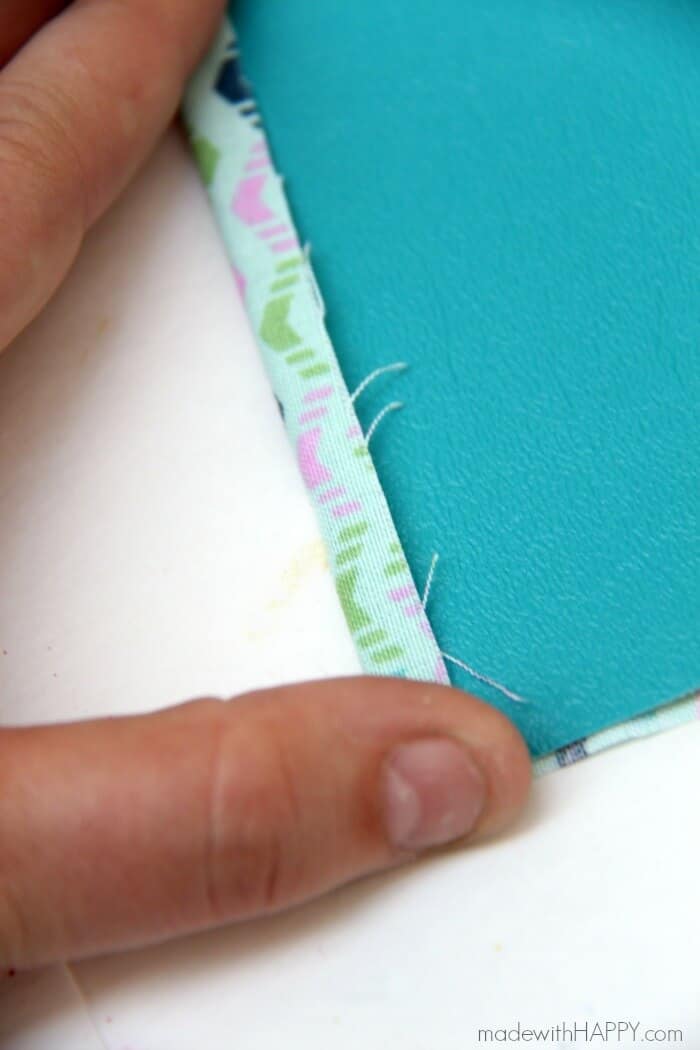 Next, you are going to glue your cotton and vinyl pieces together. For reference, you will have your cotton piece down with the pattern on the table. Set your vinyl piece on top of the cotton fabric, with the vinyl side facing up. So the back side of each of the pieces should be together.
 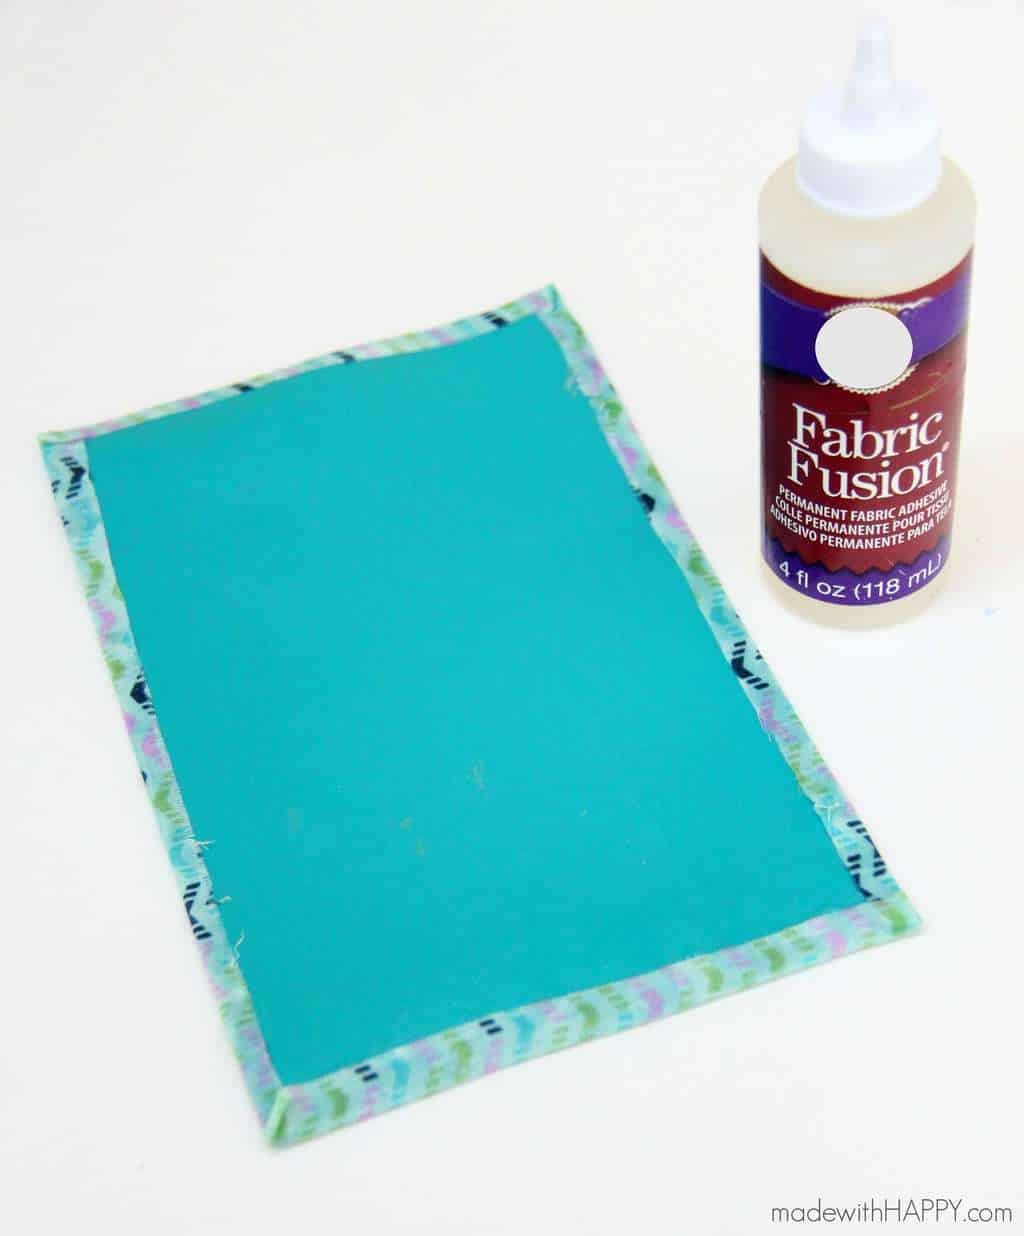 Squeeze a line of glue along the outside piece of the cotton fabric and glue to the top of the vinyl piece. Like above. You will want to fold the corners like you are wrapping a present or something flat. Let that piece dry for about an hour.
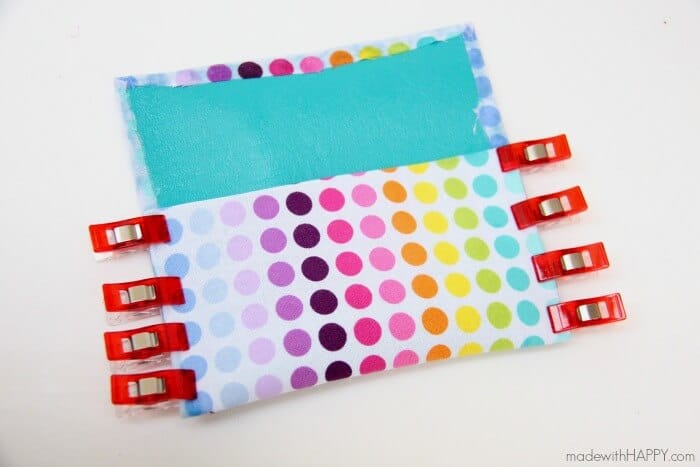 While your fabric might not be fully dried after an hour, it is hardened enough for you to now glue and fold the bottom fold. Remember you are only gluing the sides of the pouch together. I folded the bottom piece up approximately 3 inches for reference. Then using clothes pins or any clamps you have, clamp the sides together and let dry overnight.
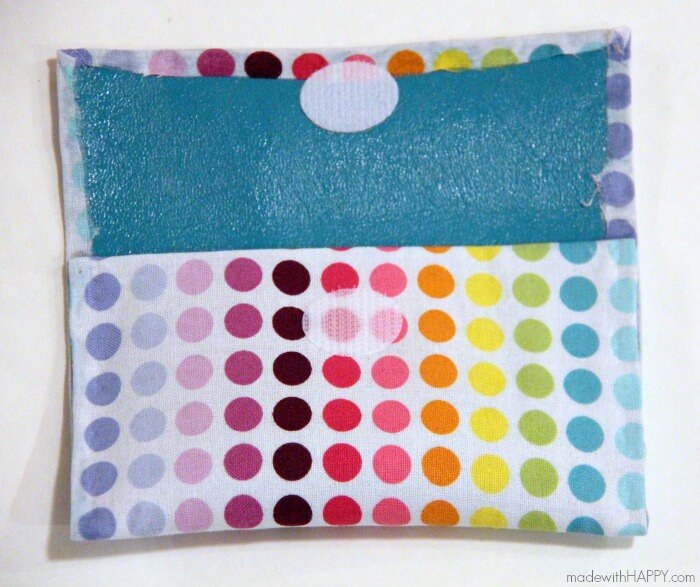 From here, you add your velcro and voila, you have yourself the cutest little snack bags that you can wipe clean.