We're sharing this fun no-sew zipper DIY pencil case. It is easy with only a few supplies and is a great DIY Pencil case craft for the kids.
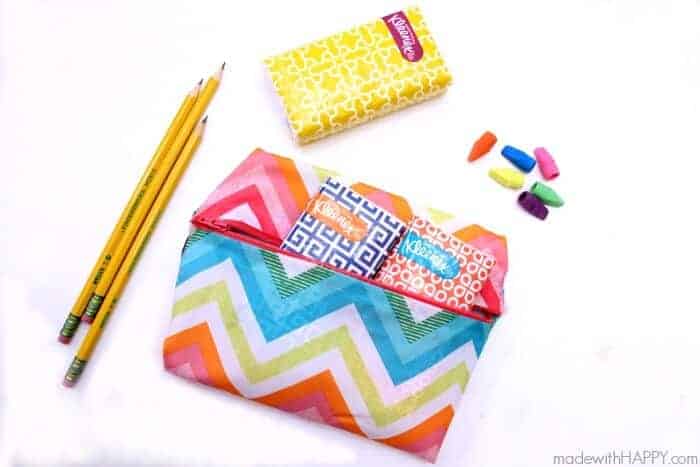
This No Sew DIY Pencil case is just the thing to make back to school that much more special!
If you are looking for other fun Back to School crafts, then you will not want to miss some of our most popular posts including:
We highlighted this Fabric Craft along with some other fun kid's crafts in our September Crafts for Kids along with our 101+ Easy Craft Ideas for kids.
Back to School Time
We are headed back to school today! Ahhh... my baby is going into 1st. Sniff sniff. I'm both happy and sad for this day as I know most parents are. We are happy she's growing and learning and sad that they are growing and learning. 🙂
While I take a big gulp of my coffee and let the reality set in that Summer is over, I wanted to share with you the most fun little project we worked on over the weekend. We got ready for school with this back-to-school DIY zipper pouch.
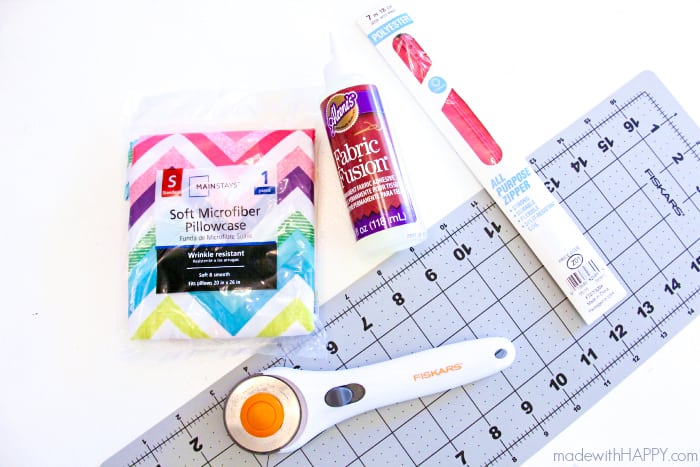
Supplies For Zipper Pencil Case
Want to save this project?
Enter your email below, and then we'll send it straight to your inbox. Plus get awesome new projects from us each week.
- Material - 8inch x 13inch
- 7inch Zipper
- Fabric Glue
- Scissors or Fabric Cutter
How to Make A Pencil Case
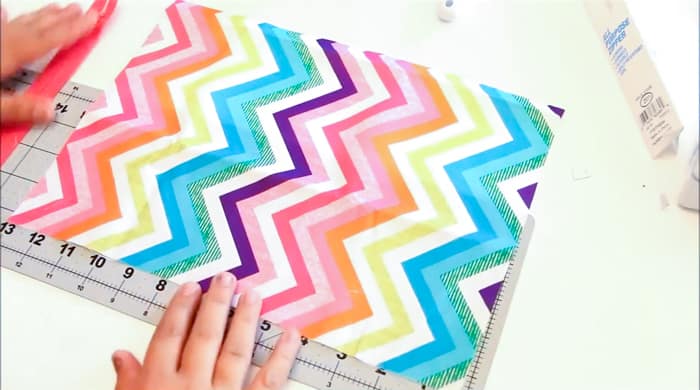
Start by cutting your piece of material into a rectangle size 8 inches wide by 13 inches long.
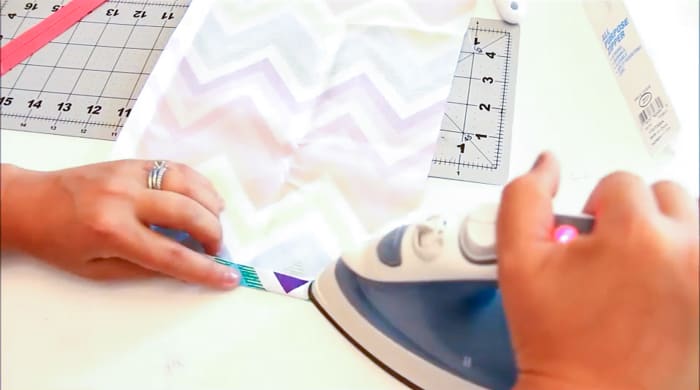
Turn the fabric over and fold the smaller (8-inch side) end up half an inch and iron it flat.
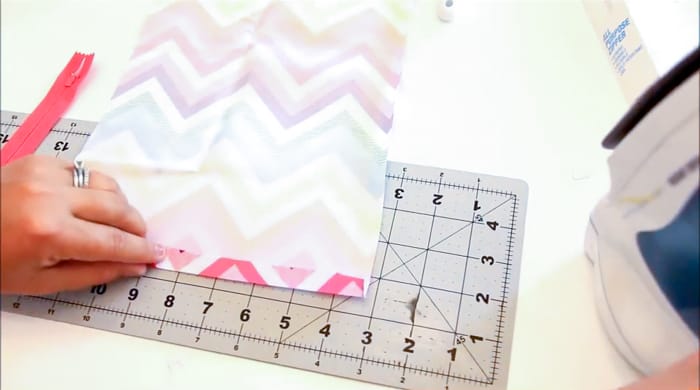
Fold and iron up the other side of the rectangle up a half-inch as well.
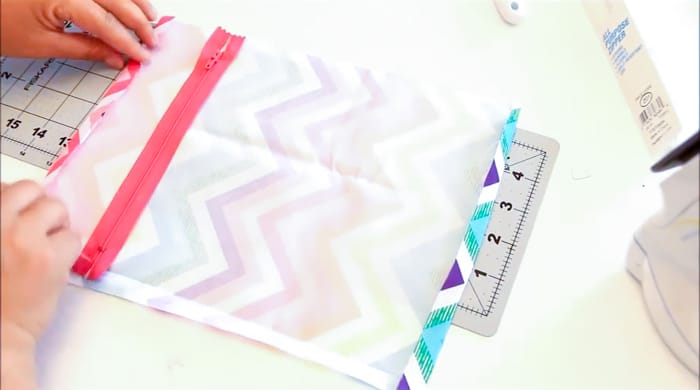
Place zipper across the width of the fabric with the top side of the zipper faced up. We placed ours about ⅔rds of the length of the fabric as we wanted to create a longer lower half of our zipper pencil pouch.
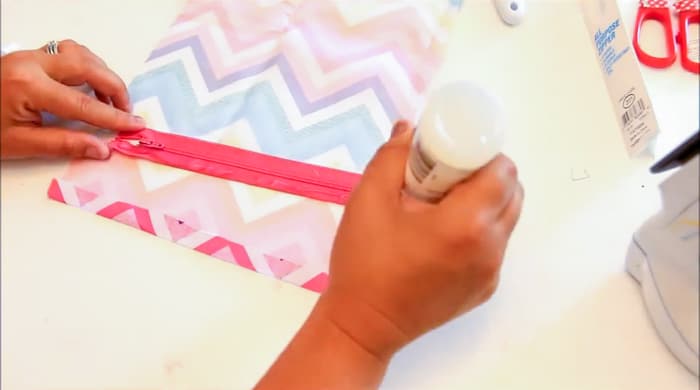
Apply fabric glue to one side of the zipper.
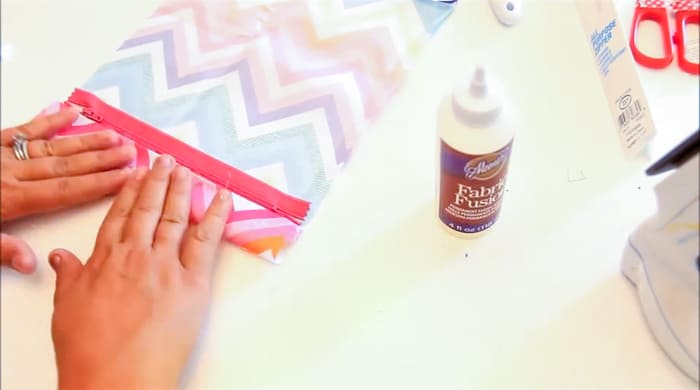
Fold your ironed side up and apply it to the glue so the outer fabric pattern is showing against the zipper.
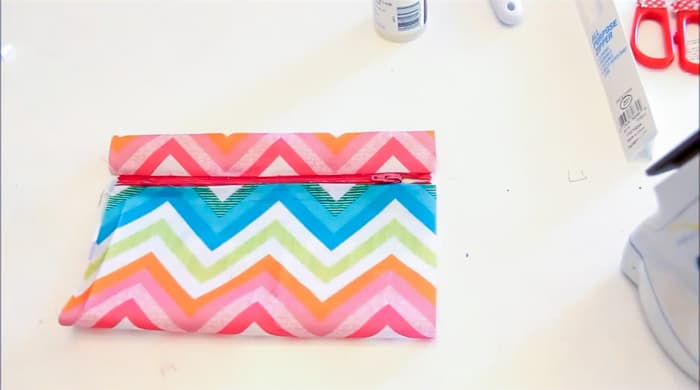
Glue the other side of the fabric to the second side of the zipper. Let dry for at least 8-10 hours. Overnight is best.
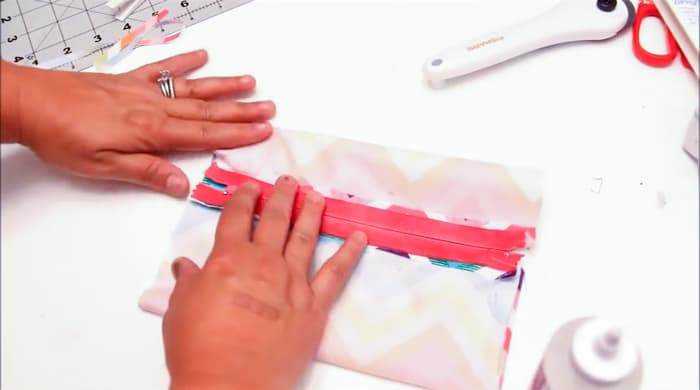
Once dry, unzip the zipper and turn your no-sew pencil case inside out.
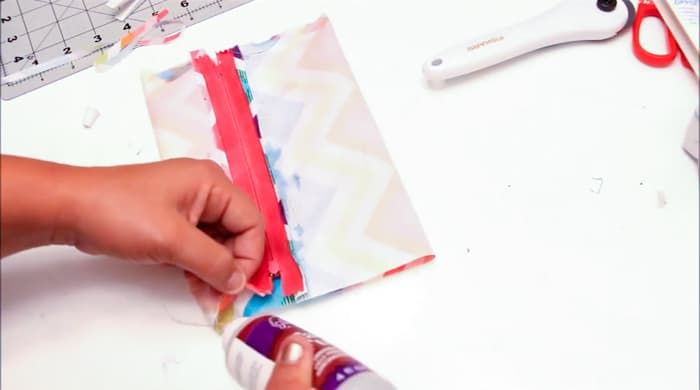
Apply glue to both ends of your pencil bag on the fabric right side pattern. Right towards the end is best. Let dry overnight again.

You have yourself a fun and colorful no sewing machine, hand sewed (non sewed) pencil case.
Frequently Asked Question
Do you need to use a certain fabric for a pencil case?
You do not need any special lining fabric for a pencil case. The only thing you want to make sure is that your fabric glue works with the fabric you choose.
Can you make other size zipper pencil pouches?
You can make your pencil pouches as small or as big as you would like. The width of the pencil case is all dependent on the size of your pencils and your zipper. If you grab a longer zipper, then you need to make sure the width of your material is the length of the zipper.
Does the placement of the zipper matter?
The placement of the zipper is totally up to you! You can set it in the middle of your case or toward the top. It is all dependent on the look you are going for.
Other No-Sew Kids Crafts You Might Enjoy
No Sew Zipper DIY Pencil Case

Materials
- Material - 8inch x 13inch
- 7 inch Zipper
- Fabric Glue
Tools
Instructions
Start by cutting your piece of material into a rectangle size 8 inches wide by 13 inches long.
Turn the fabric over and fold the smaller (8 inch side) end up a half an inch and iron it flat.
Fold and iron up the other side of the rectangle up a half inch as well.
Place zipper across the width of the fabric with the top side of the zipper faced up. We placed ours about ⅔rds of the length of the fabric as we wanted to create a longer lower half of our zipper pencil pouch.
Apply fabric glue to one side of the zipper.
Fold your ironed side up and apply it to the glue so the outer fabric pattern is showing against the zipper.
Glue the other side of the fabric to the second side of the zipper. Let dry for at least 8-10 hours. Overnight is best.
Once dry, unzip the zipper and turn your no sew pencil case inside out.
Apply glue to both ends of your pencil bag on the fabric right side pattern. Right towards the end is best. Let dry overnight again.
You have yourself a fun and colorful no sewing machine, hand sewed (non sewed) pencil case.
CONNECT WITH MADE WITH HAPPY!
Be sure to follow me on social media, so you never miss a post!
Facebook | Twitter | Youtube | Pinterest | Instagram
Find and shop my favorite products on my Amazon storefront here!
DIY PENCIL CASE
PIN IT TO YOUR FAVORITE BOARD ON PINTEREST!
FOLLOW MADEWITHHAPPY ON PINTEREST FOR ALL THINGS HAPPY!


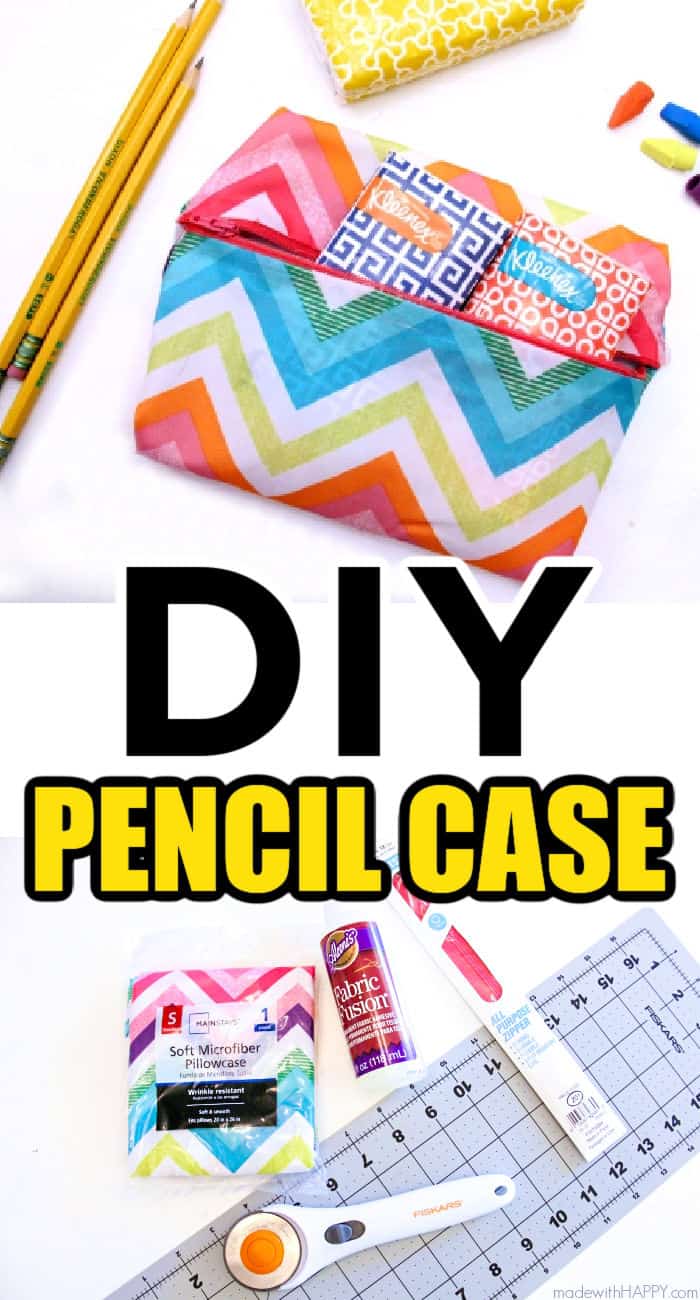
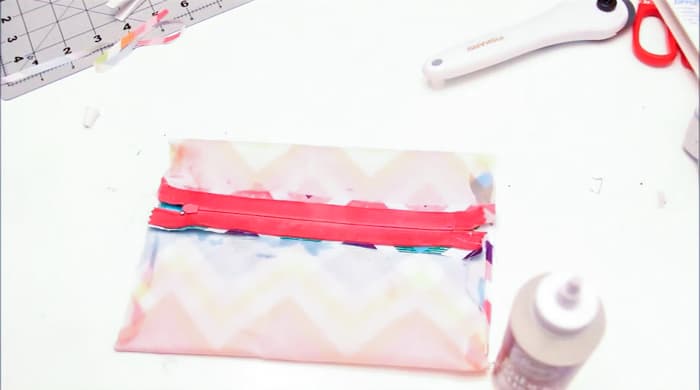 Once dry, unzip the zipper and turn your no sew pencil case inside out.
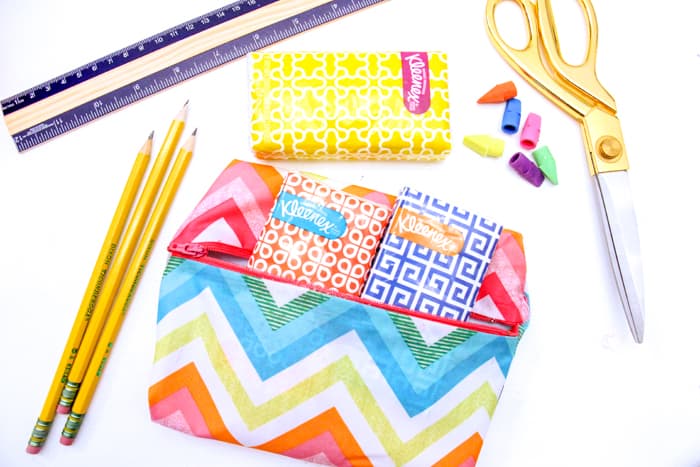 You have yourself a fun and colorful no sewing machine, hand sewed (non sewed) pencil case.