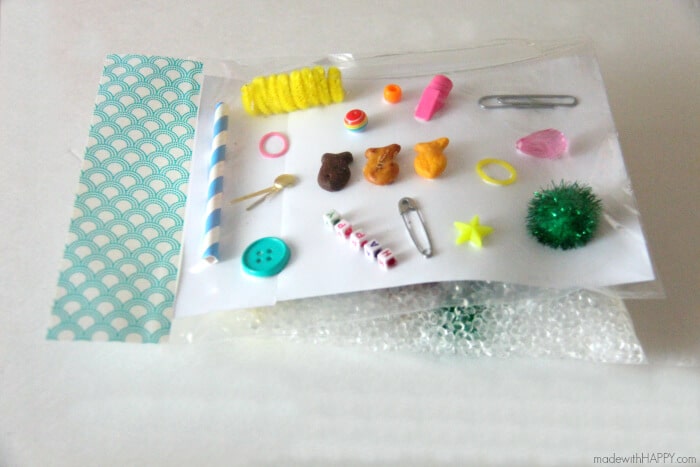
DIY I-Spy Bag - Its an i-spy bottle (in a bag) for your next road trip. Fun Road Trip Activities for kids full of fun Kids Summer Activities.
Alright Mom's... anyone else so excited that school is almost out for Summer? I am so ready. I absolutely can't wait.
My family has a number of different trips planned including a few road trips. While I was thinking about the road trip the other day, I started thinking about all the fun games we used to play on road trips as a kid.
I want to make sure I have plenty of games and road trip activities. Which brought me to the fun game of I-Spy. Ding, ding, ding...
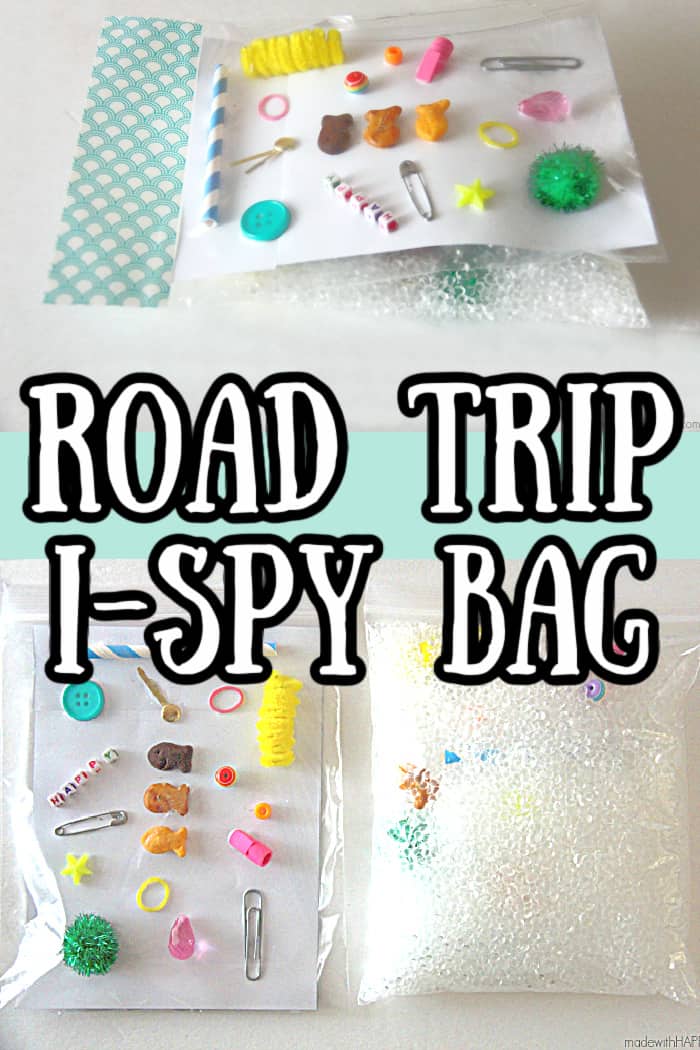
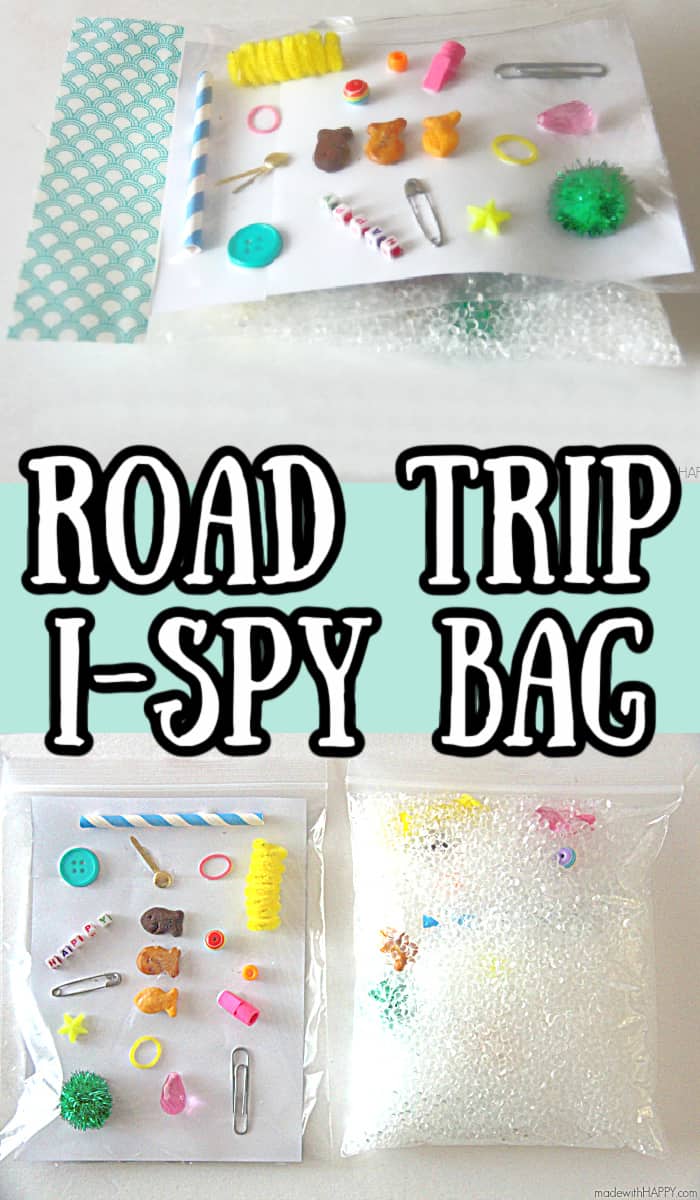
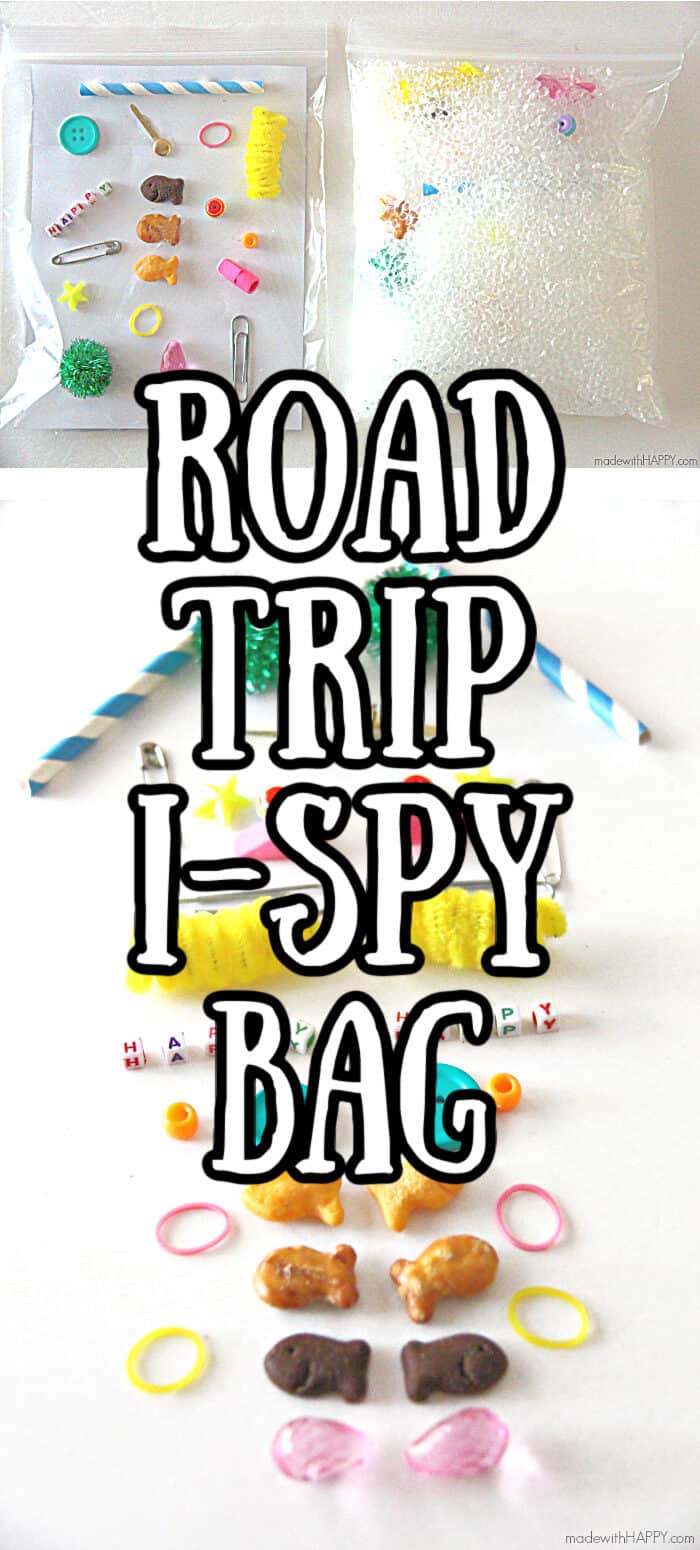
I make a road trip version of a i-spy bottle version for the car or RV!!!!! I came up with this super easy, super fun version of i-spy bottle
Here's how I made it!
DIY I-Spy Bag
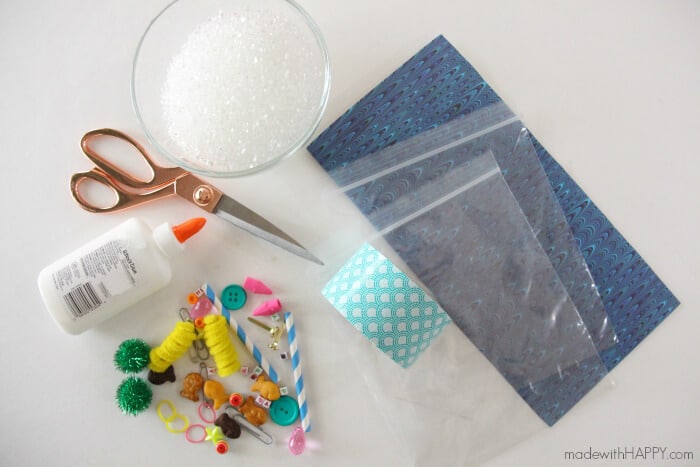
Supplies:
Want to save this project?
Enter your email below, and then we'll send it straight to your inbox. Plus get awesome new projects from us each week.
- 2 - quart size zipper bags
- clear plastic pellet filling (for pillows and teddy bears)
- a piece of paper
- glue
- scissors
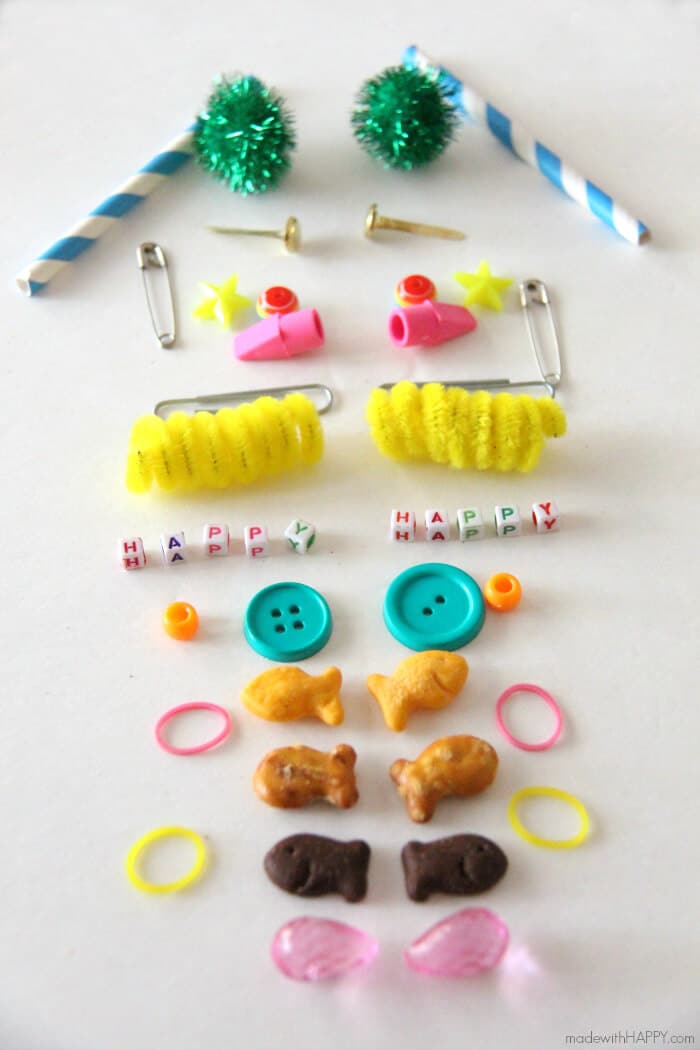
- 2 of different items around the house. We included our new favorite Goldfish® Mix Chocolate Mint + Pretzels (DELICIOUS) and Goldfish® Mix Xtra Cheddar + Pretzel for funzies!
How to make a I-Spy Bottle in a Bag

Start by filling one of the bags with your pellet fillers. I used a bowl to hold the baggie open and steady.
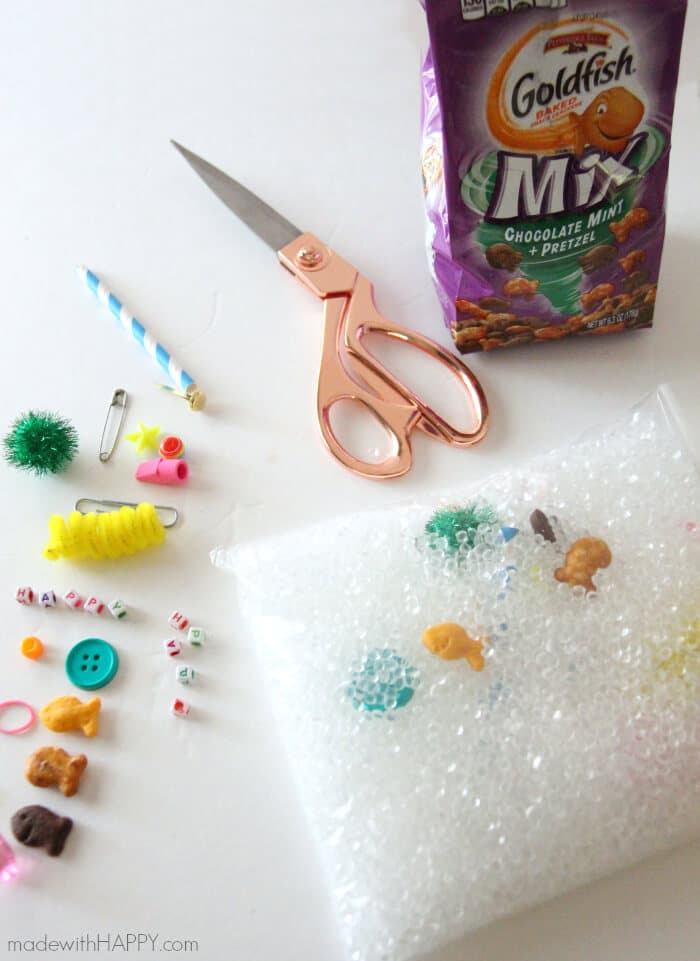
Then add one of each of the items to the bag as well and then seal the bag making sure to remove all the air from the bag.
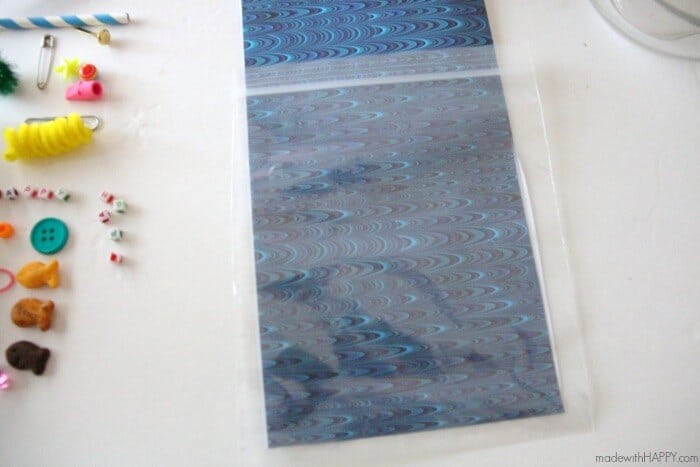
Measure and cut your piece of paper to the size of the second bag.

Using your glue, glue each of your items to one side of your paper, or back side if you're using patterned paper.
Let the items dry completely.
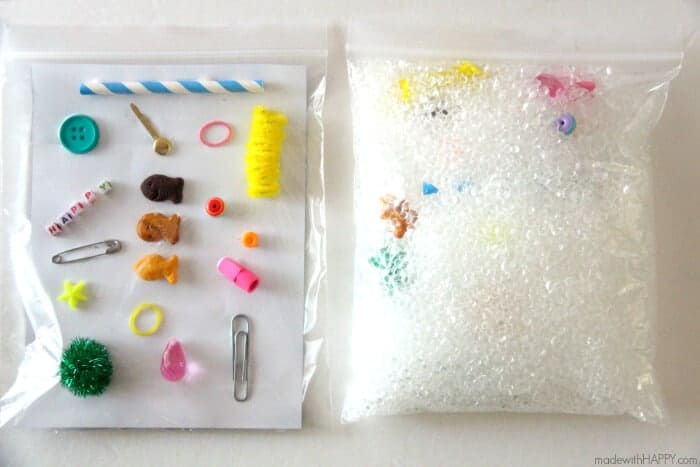
Next slip the items into the second bag and remove as much air from the bag before sealing.
The last step is to cut two pieces of duct tape the width of the bags.
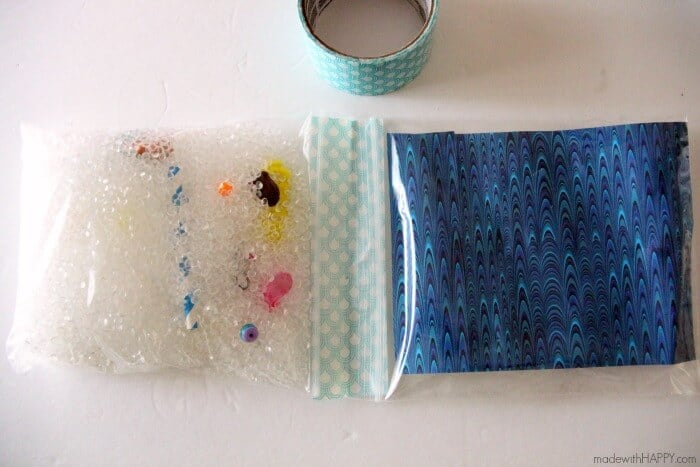
Lay both bags to where the zipper ends are touching. Attach the first piece of tape with one half on the bag one and the other half on bag too.

Flip the bags over and tape the other side of the zippers.
NOTE: Make sure to have extra Goldfish on hand for the kids to snack on in the car. Children should not eat the goldfish from the bag.
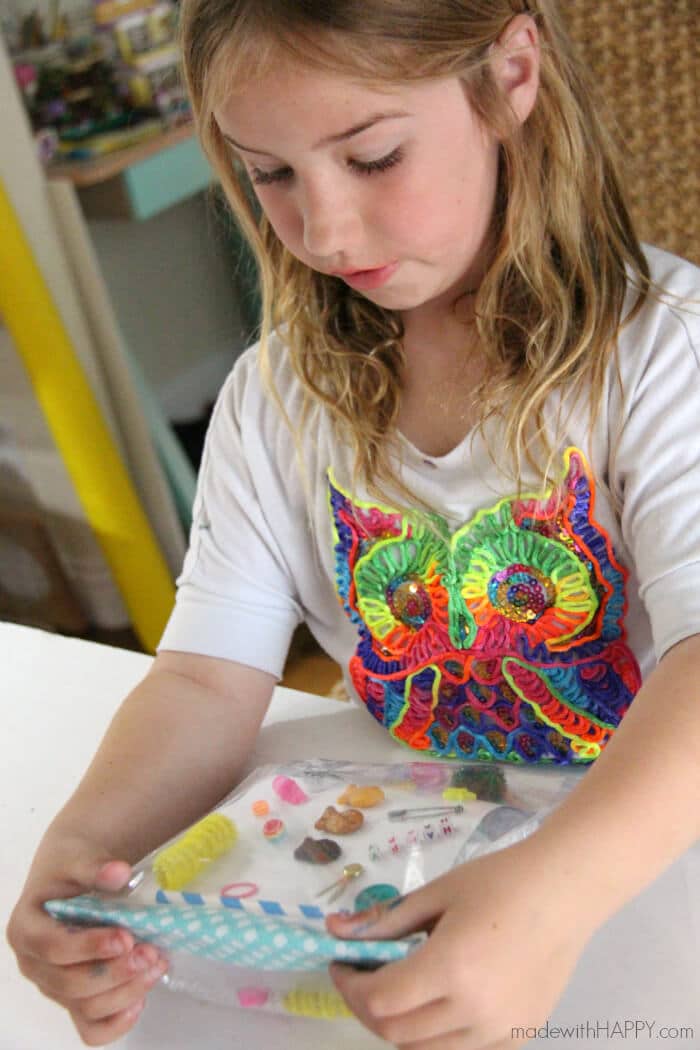
Viola! You have yourself a super fun, DIY I-Spy Bag!!!
HAPPY ROAD-TRIPPING!!!
Other Travel Posts You Might Enjoy
- SPRING BREAK ROAD TRIP TO PHOENIX
- HAPPY SUMMER PRINTABLE POSTCARDS
- VISITING INDIAN WELLS RESORT MIRAMONTE AS A FAMILY
- VISITING HOLLYWOOD WAX MUSEUM SOUTHERN CALIFORNIA
DIY I-Spy Road Trip Bag

Materials
- 2 – quart size zipper bags
- clear plastic pellet filling (for pillows and teddy bears)
- a piece of paper
- glue
- 2 of different items around the house.
Tools
Instructions
Start by finding two of small items around the house.
Then fill one of the bags with your pellet fillers. I used a bowl to hold the baggie open and steady.
Then add one of each of the items to the bag as well and then seal the bag making sure to remove all the air from the bag.
Measure and cut your piece of paper to the size of the second bag.
Using your glue, glue each of your items to one side of your paper, or back side if you’re using patterned paper. Let the items dry completely.
Next slip the items into the second bag and remove as much air from the bag before sealing.
The last step is to cut two pieces of duct tape the width of the bags. Lay both bags to where the zipper ends are touching. Attach the first piece of tape with one half on the bag one and the other half on bag too.
Flip the bags over and tape the other side of the zippers.
CONNECT WITH MADE WITH HAPPY!
Be sure to follow me on social media, so you never miss a post!
Facebook | Twitter | Youtube | Pinterest | Instagram
Find and shop my favorite products on my Amazon storefront here!
I-SPY BOTTLE IN A BAG
PIN IT TO YOUR FAVORITE BOARD ON PINTEREST!
FOLLOW MADEWITHHAPPY ON PINTEREST FOR ALL THINGS HAPPY!
Originally posted in 6/1/16


