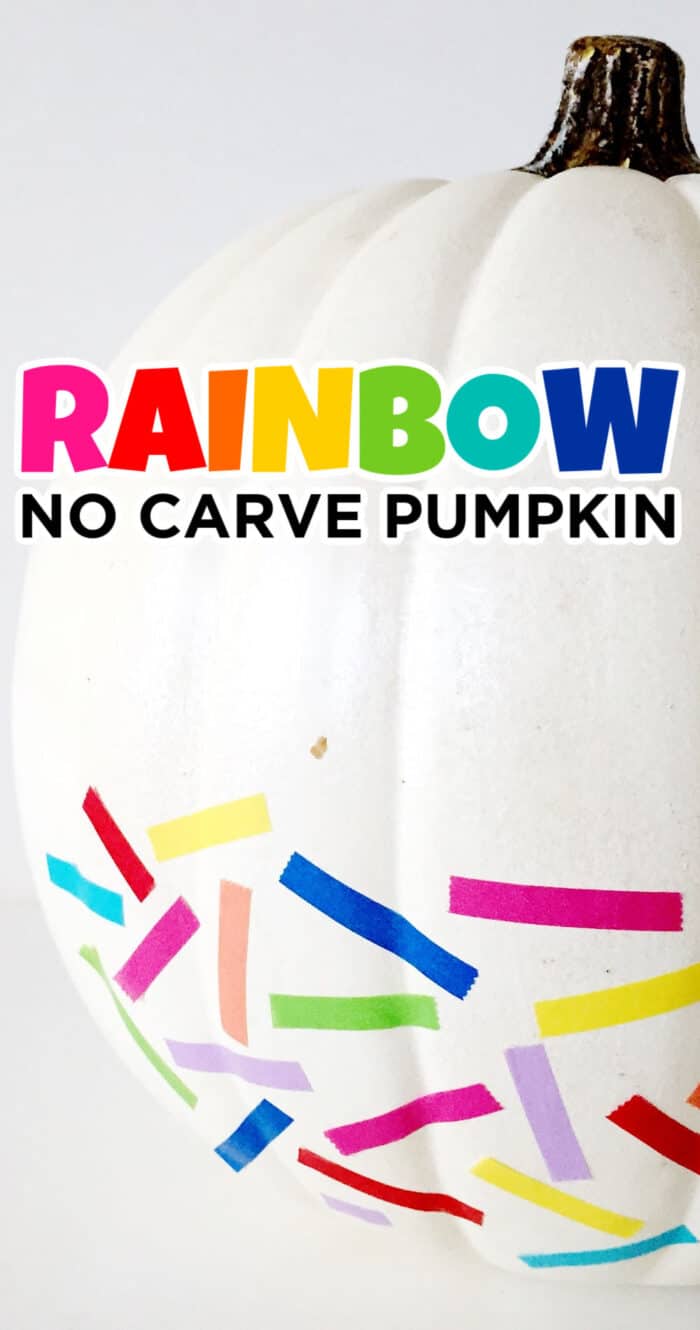
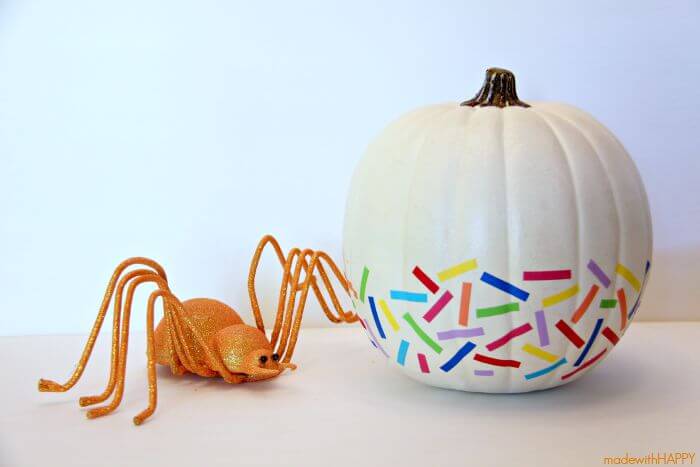
Looking for a fun and colorful no carve pumpkin idea for this Halloween? We've got you covered with this simple rainbow no carve pumpkin.
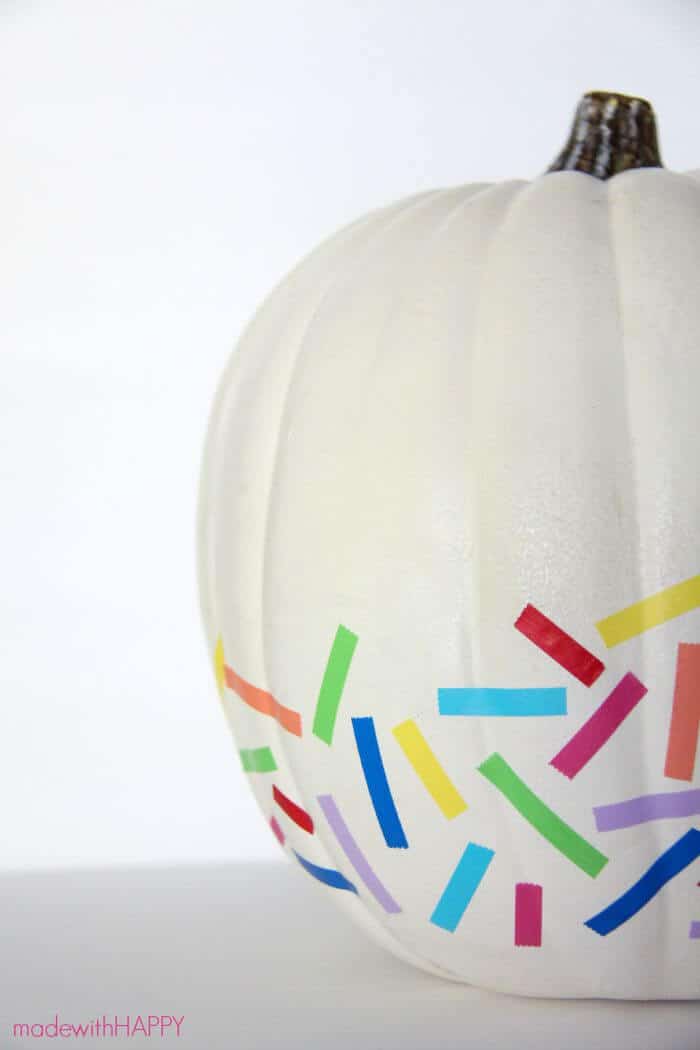
This colorful pumpkin is one of our all-time favorite pumpkins and the fact that it is a no-carve pumpkin makes it that much better!
It should come as no surprise that we at Made with Happy are all about rainbows and color. And so any chance we can get to turn a pumpkin into something colorful, we are going to take it.
After updating my front porch for Fall with lots of bright colors, we came up with this sweet washi faux pumpkin and it has been part of our pumpkin decorations ever since.
Don't miss our Fall Crafts For Kids full of fun!
Want to save this project?
Enter your email below, and then we'll send it straight to your inbox. Plus get awesome new projects from us each week.
No Carve Pumpkin Ideas
There are many different reasons that someone would want a no-carve pumpkin. Some prefer to not deal with the mess of the pumpkin guts of a real pumpkin. Others might have little hands that they prefer not to be around carving tools. Or it's simply because you have small pumpkins (mini pumpkins) that are not carvable or craft pumpkins.
Whatever the case may be, we love the idea of simple pumpkin designs using fun supplies you may already have at home. Grab the glue gun, googly eyes, pom poms, pipe cleaners, washi tape, and whatever other craft supplies you have on hand, and give a no-carve pumpkin a go.
No-Carve Halloween Pumpkin
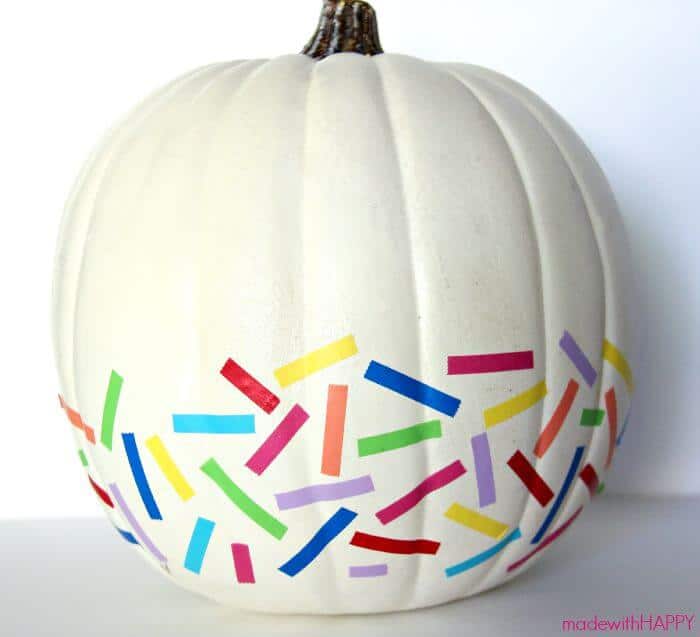
First off, it's no secret that I'm a rainbow-bright kind of gal. Second, I have a love affair with a white pumpkin, so having the opportunity to combine the two, makes my insides glitter with joy.
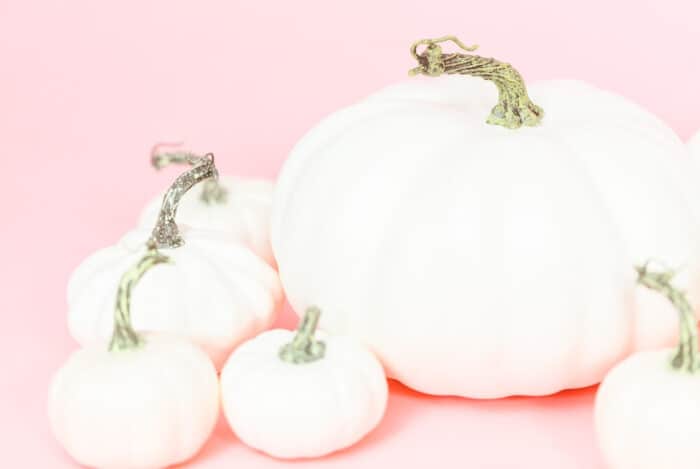
We actually found some white pumpkins at our local dollar store and were so excited to bring this cute idea to life!
This little lady was so simple to make that there might be about 15 of them around my house because they are so pretty. This is a great way to bring color to your Halloween decorations.
Here is how you can make them at your house.
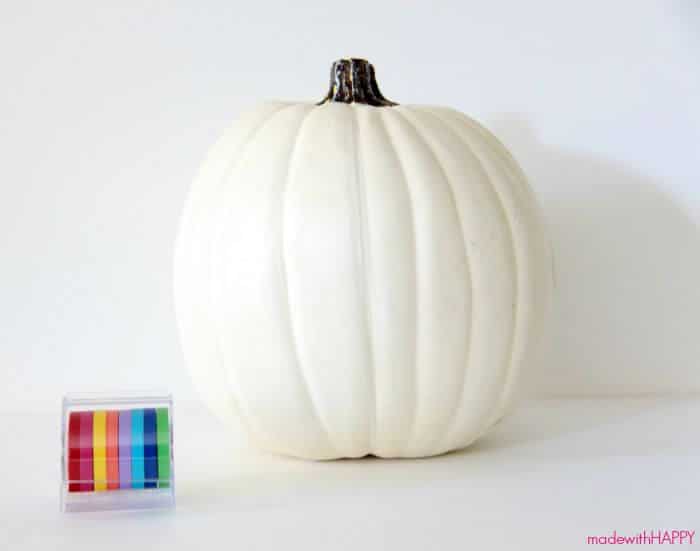
What You Need To Make a Washi Pumpkin
- Pumpkin
- Washi Tape
It was so exciting when I found this rainbow washi. I knew immediately that it was going on my next project.
Real pumpkins, craft pumpkins, and plastic pumpkins typically come in the white color. In the case you do not have a white pumpkin, you can use acrylic craft paint, spray paint, or whatever white paint you have to cover the pumpkin first.
Also in the case, your washi tape is more decorative than actually sticky, you can add a spot of craft glue, hot glue, or even mod podge to the back of your tape to make sure it sticks.
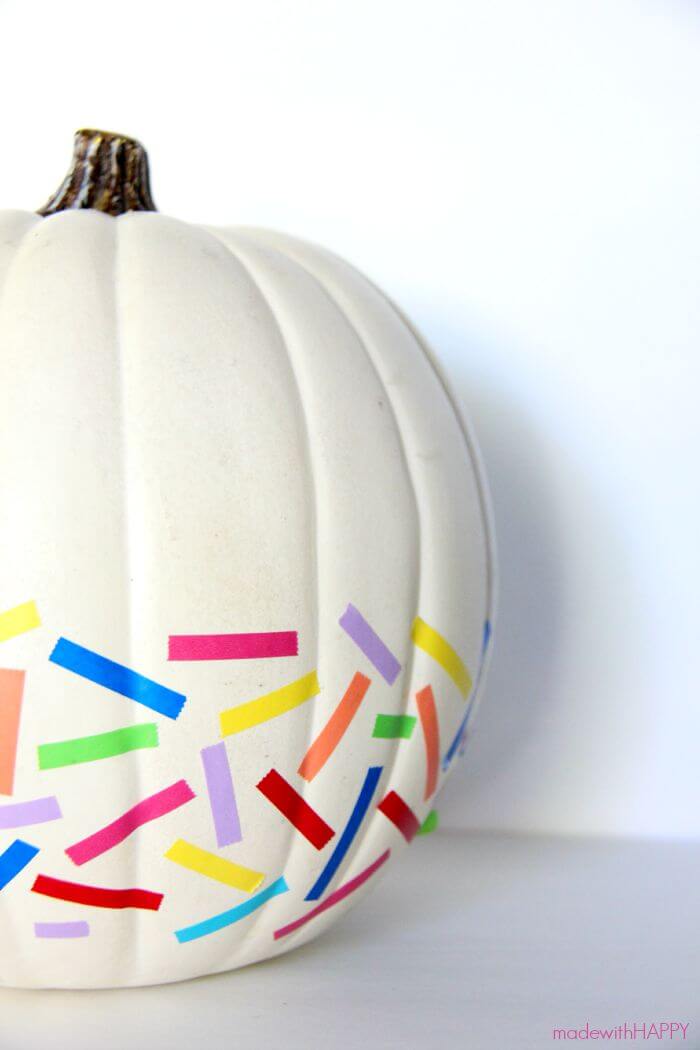
How to Make a Washi Tape Pumpkin
Simply cut the washi tape into half-inch pieces. Place the different colored tape all around the bottom of the pumpkin We kept the tape pretty close with the intent of making it look like confetti.
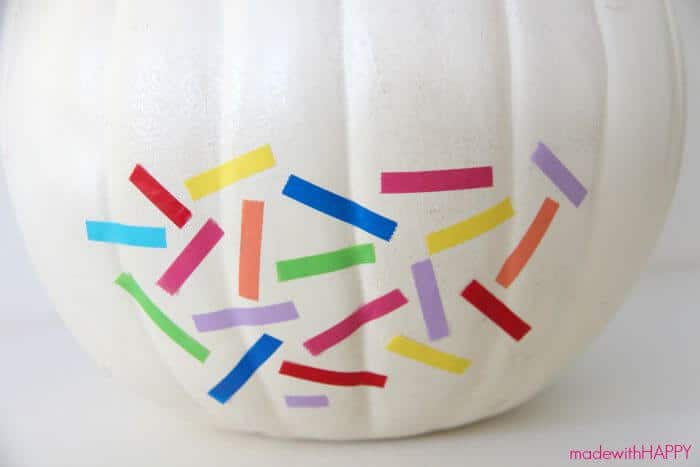
I think this would look great with solid color tape too. Gold or Turquoise. FAB!!
I used an artificial pumpkin, but this would be just as great on a real pumpkin. Just make sure to wipe the real one down before you stick the tape to the surface. If it's too shiny, it will have a hard time sticking.
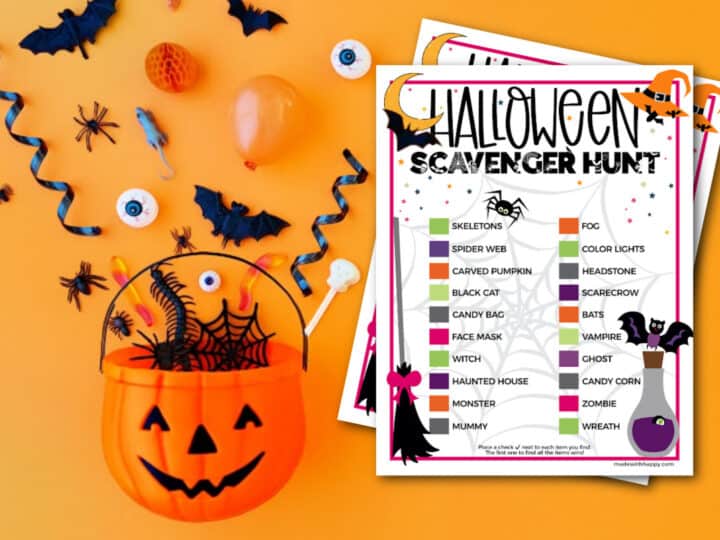
We highlighted this Halloween Craft along with some other fun kid's crafts in our October Crafts along with our 101+ Kids Crafts.
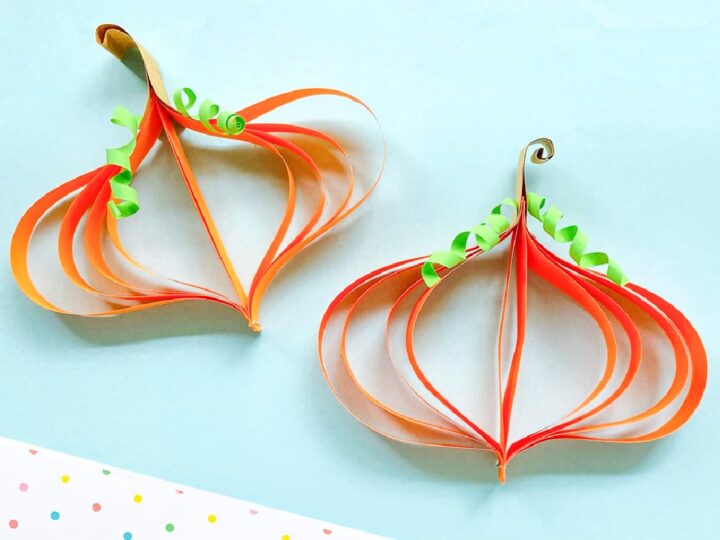
Other No Carve Pumpkins You'll Enjoy
CONNECT WITH MADE WITH HAPPY!
Be sure to follow me on social media, so you never miss a post!
Facebook | Twitter | Youtube | Pinterest | Instagram
Find and shop my favorite products in my Amazon storefront here!
RAINBOW NO CARVE PUMPKIN
PIN IT TO YOUR FAVORITE BOARD ON PINTEREST!
FOLLOW MADEWITHHAPPY ON PINTEREST FOR ALL THINGS HAPPY!
