Learn how to draw a cone in 3D with a free printable step-by-step drawing tutorial. Having some easy 3D shapes fun and how to draw fun for kids of all ages.
Want to save this project?
Enter your email below, and then we'll send it straight to your inbox. Plus get awesome new projects from us each week.
This How to Draw a Cone for kids is giving us all kinds of happy feelings. This is an easy way to sketch a 3D Cone with just paper and a pencil.
Shapes are fun to draw anytime. The reality is that fun to learn to draw all year round. This is a cone drawing tutorial that is great for kids of all ages.

Drawing Geometric Shapes
If your kids are into drawing, teaching them how to make basic geometric shapes is the best way to encourage their hobby.
Kids usually start their scribbling journey as toddlers with vertical or horizontal lines or basic shapes like circles or ovals. As they get the hang of holding a pencil properly, they move on to making more shapes like squares and triangles. And once they master the process of making straight lines and perfect circles, the next step is to use them to create art!
Therefore, I decided to create a drawing tutorial on how to draw a cone shape.
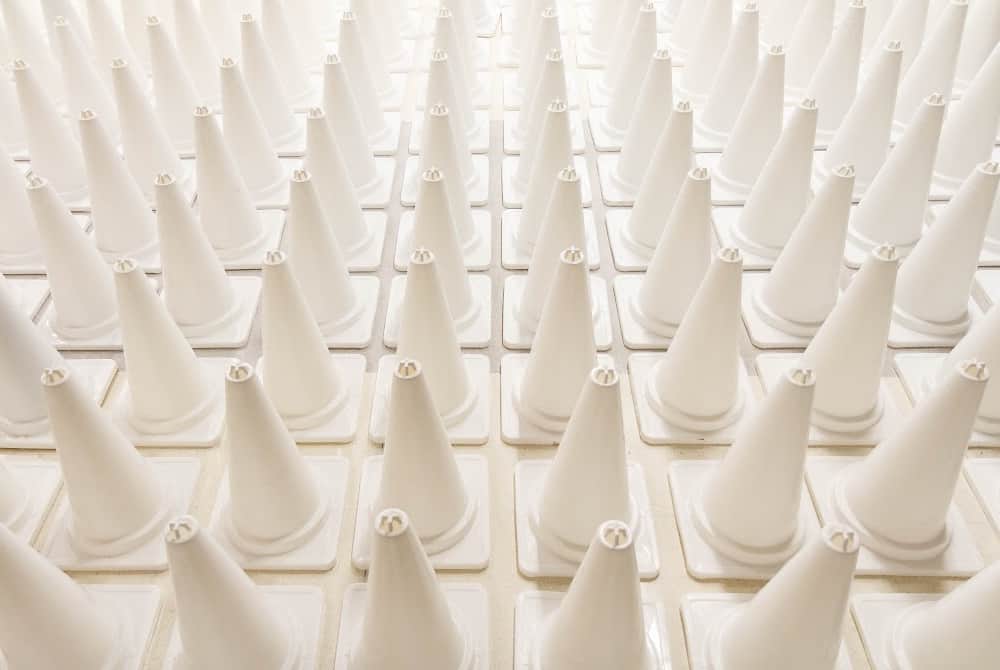
A basic cone is the base shape for many items, like an ice cream cone, Christmas plants, a traffic cone, and other similar objects. Therefore, it is essential that kids learn how to make the drawing of a cone in a few easy steps.
What is a Cone?
With shapes, there are 2-dimensional or 2D or 3-dimensional, or 3D. 2D shapes are shapes that have two dimensions length and width. They are flat and cannot be held in your hand.
A 3D shape is a shape with three dimensions such as length width and height. 3D shapes can be held because they have they are multi-dimensional.
A cone, also known as a circular cone, is a geometric shape that's 3-dimensional with a circular base with smooth sides that lead to a point at the other end.

3D Cone Drawing Easy
Fun simple drawing guides like this 3D Cone drawing are a great way to learn to draw. Learning to draw straight lines with nothing too complicated. A line can be a vertical line (up and down) or a horizontal line (side to side) or a diagonal (a slant). Teaching simple steps while learning new vocabulary is a win-win.
Until they start going for it, they don't realize how freeing it can be and how easy it can be to create something with your own hand. Especially knowing that within a drawing, nothing is permanent. You can erase lines, and draw over lines until you get to the look you are going for.
There is something so basic about drawing a cone. Having this fun tutorial on hand for kids to learn to draw anytime is all kinds of fun and a great way to learn fundable geometry.
Don't miss our other 3D Shape Drawings - How to Draw a Cube and How to Draw a Crown

Why Draw a Cone?
Whether kids are drawing something as simple as a triangle, an ice cream, a birthday hat, or something complex like a Christmas tree, the first shape they need to draw is a cone! Therefore, if they get the cone right, adding extra details to it is as easy as pie!
Therefore, my step-by-step tutorial on drawing a cone will be useful.
Firstly, it will teach kids how to position their wrists to draw a vertical line flawlessly. Secondly, drawing is a healthy activity that helps develop fine motor skills, hand-eye coordination, and cognitive learning.
At first, the kids might draw squiggly lines. However, with practice and frequent guided drawing tutorials, they will eventually get the gist of it and master the valuable skill of drawing a cone!
Before you start drawing, we also want to ensure you have the right tools. Here are the drawing paper, and drawing pencils we like to use.
If you like this Easy Drawing, then don't miss our Drawing Animals Tutorial Bundle which includes 14 different printable step by step drawing guides.
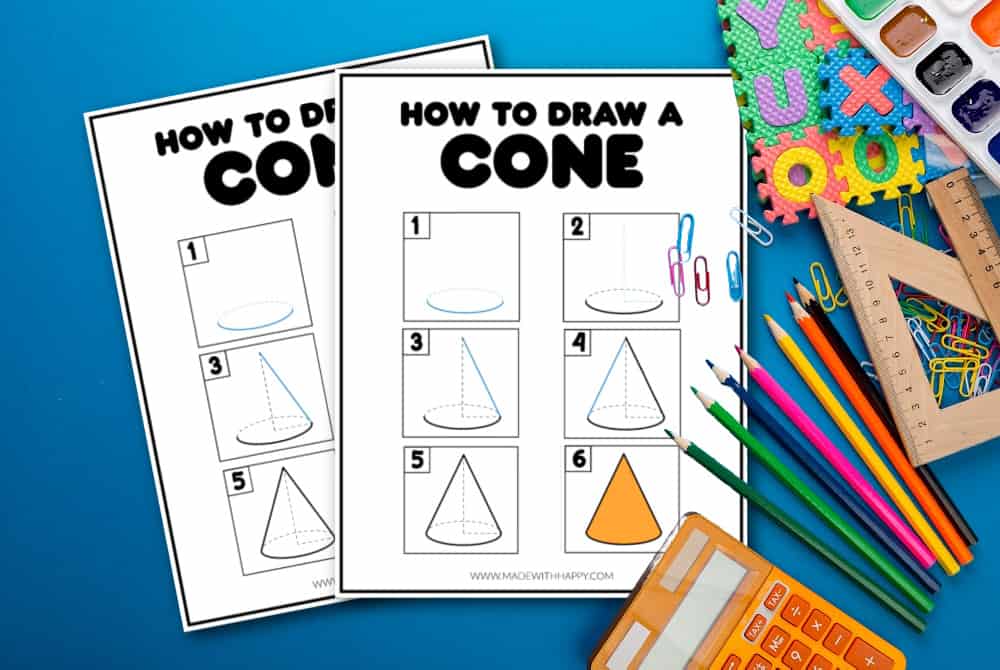
How to Draw a Cone Step By Step
Below we're sharing an easy step-by-step tutorial drawing lesson using straight lines. Don't forget to print out the printable cone drawing tutorial at the bottom and follow along.
One thing to note is that in this cone tutorial, the dotted lines represent the vanishing point of the shape. Meaning, you can draw a solid line, but know that those guide lines would eventually be erased if drawing a solid shape. Best to keep the pencil lines soft and able to be erased.
Grab a piece of paper, a pencil, and a ruler (optional) if you are looking for a straight edge when drawing a three-dimensional cone. Here are the easy steps to how to draw a 3D cone.
3D Cone Drawing
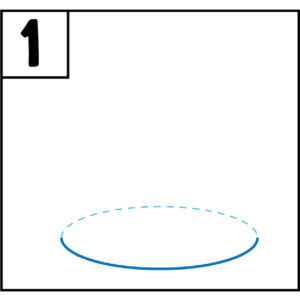
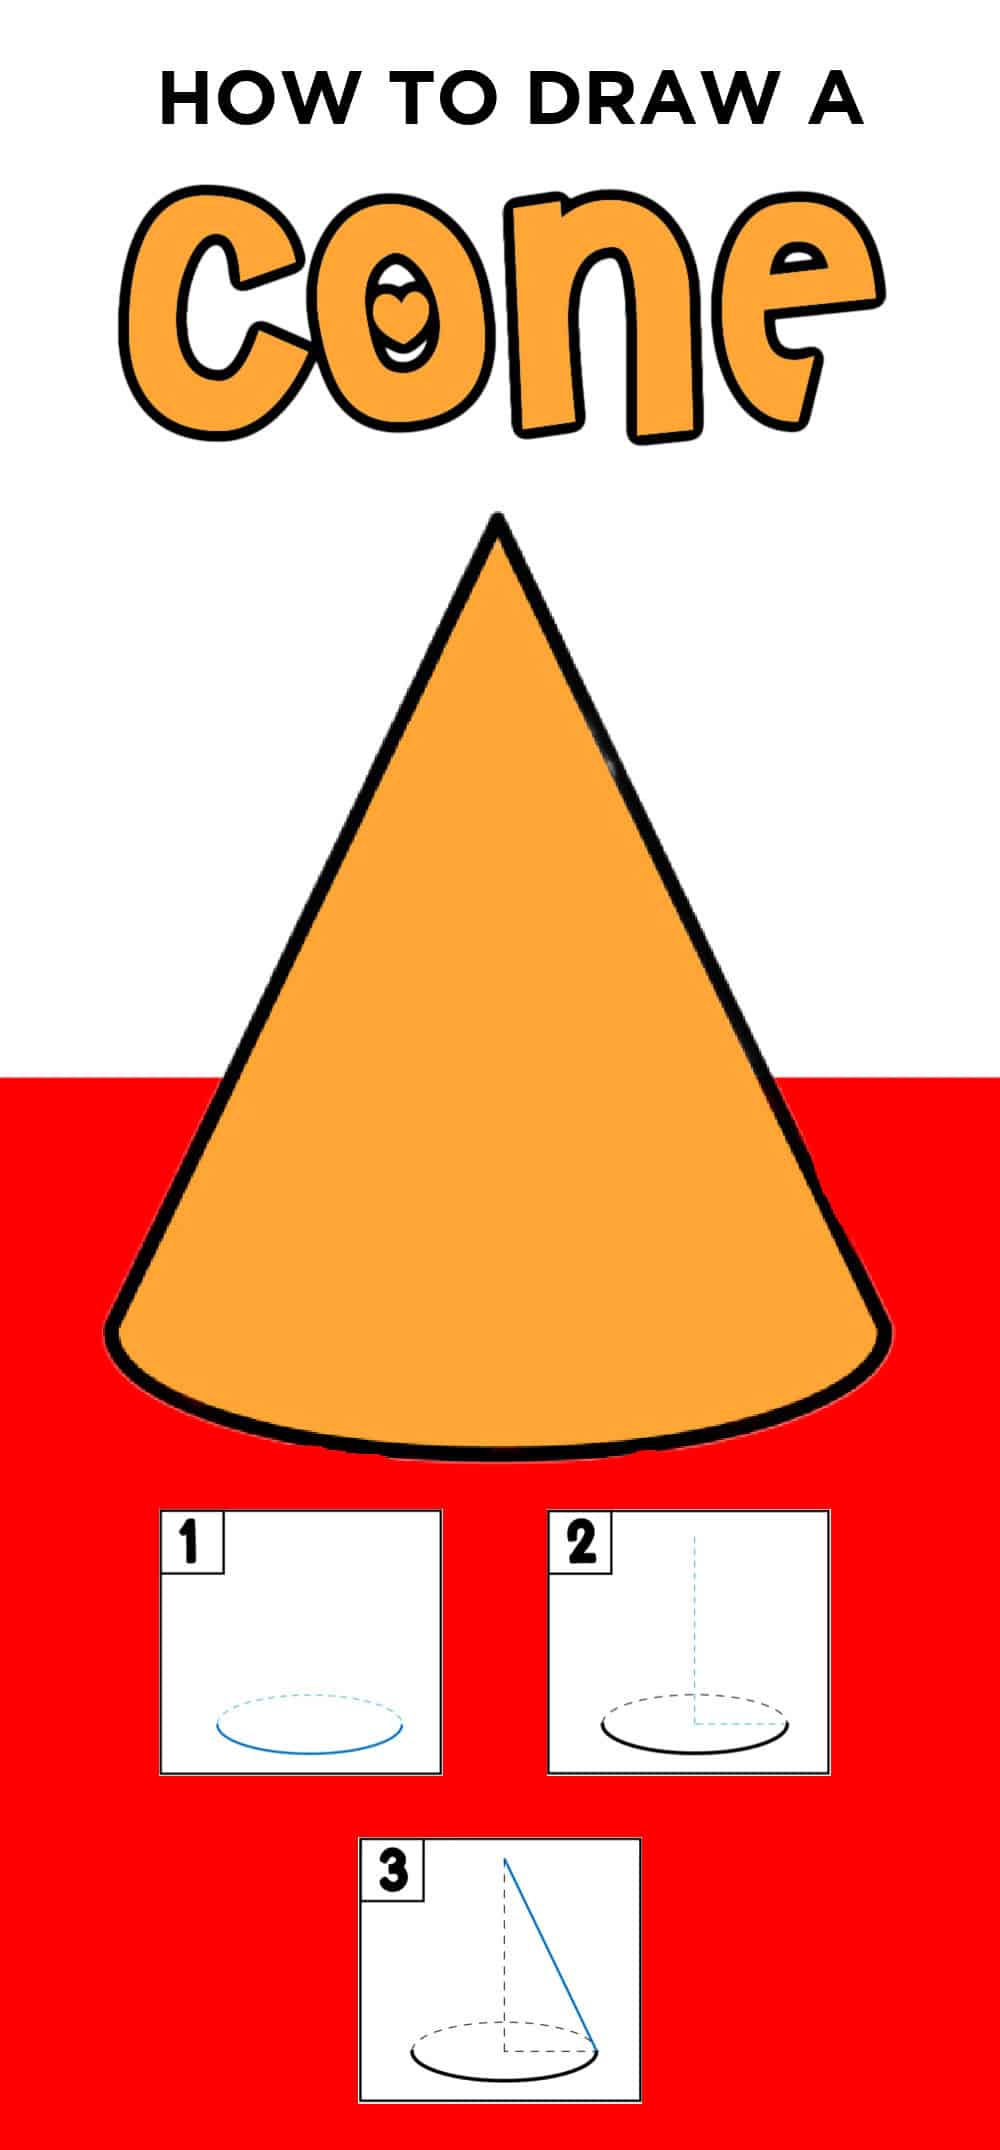
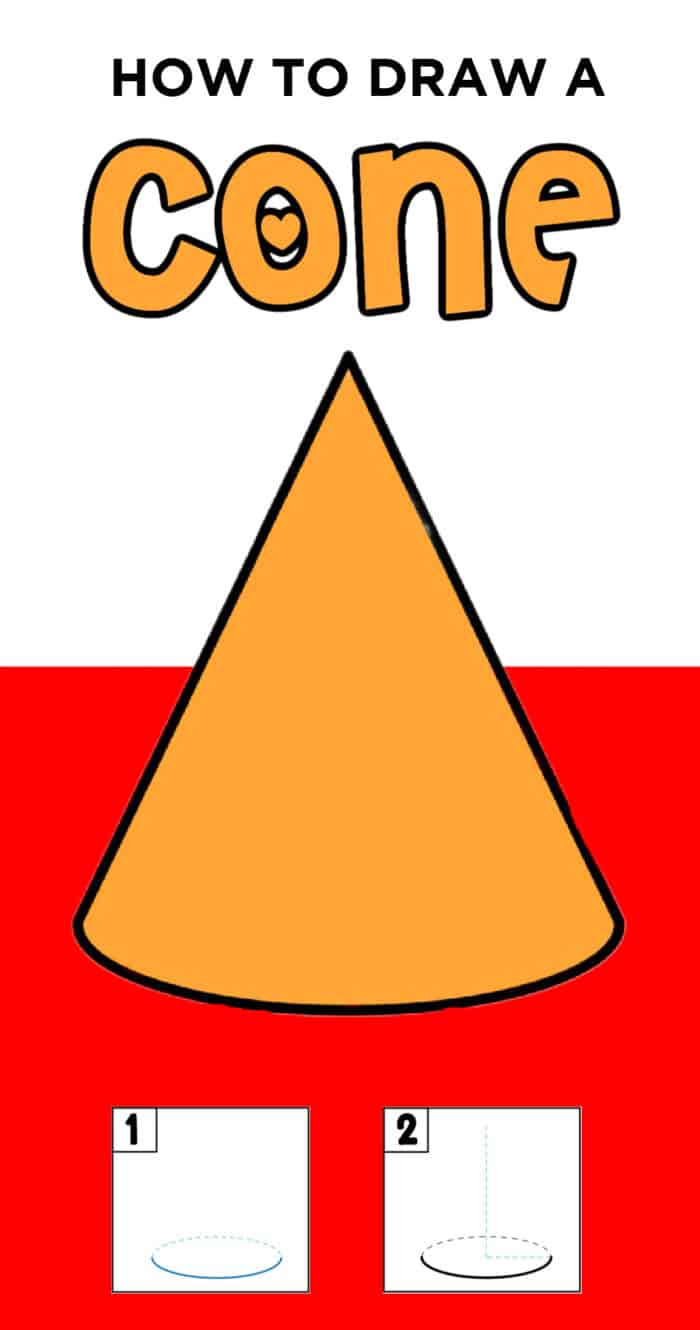
The first step is to draw an oval at the bottom of your paper. We made the top half of the oval a dotted line to help with dimension. This will be the base of the cone.

The next step is to draw an L shape. Draw a vertical line (up and down) from a point at the top of the cone to the middle of the oval. Next, draw a line from the center of the oval to the outside line of the oval.

The next step is to draw a diagonal line from the top point of the cone to the side of the oval connecting the two ends of your "L".

The last step is to draw a similar diagonal line from the last step but on the left side. Draw a diagonal line from the point to the other side of the bottom of the cone.

Viola, you have yourself a cone. At this point, you can darken the sides of the cone and the bottom of the curved surface and either erase the dotted lines or make sure those lines are not as dark.

Color in your cube with your crayons, pencils, or markers.
Check Out These Other Cone Activities!
We highlighted this Shape Drawing along with some other fun kid's crafts in our May Crafts for U.S. Drawing Day along with our 101+ Easy Kids Crafts.
You also do not want to miss our 101+ Printable Coloring Pages For Kids and 101+ Printables For Kids full of Crafts and Coloring Pages.
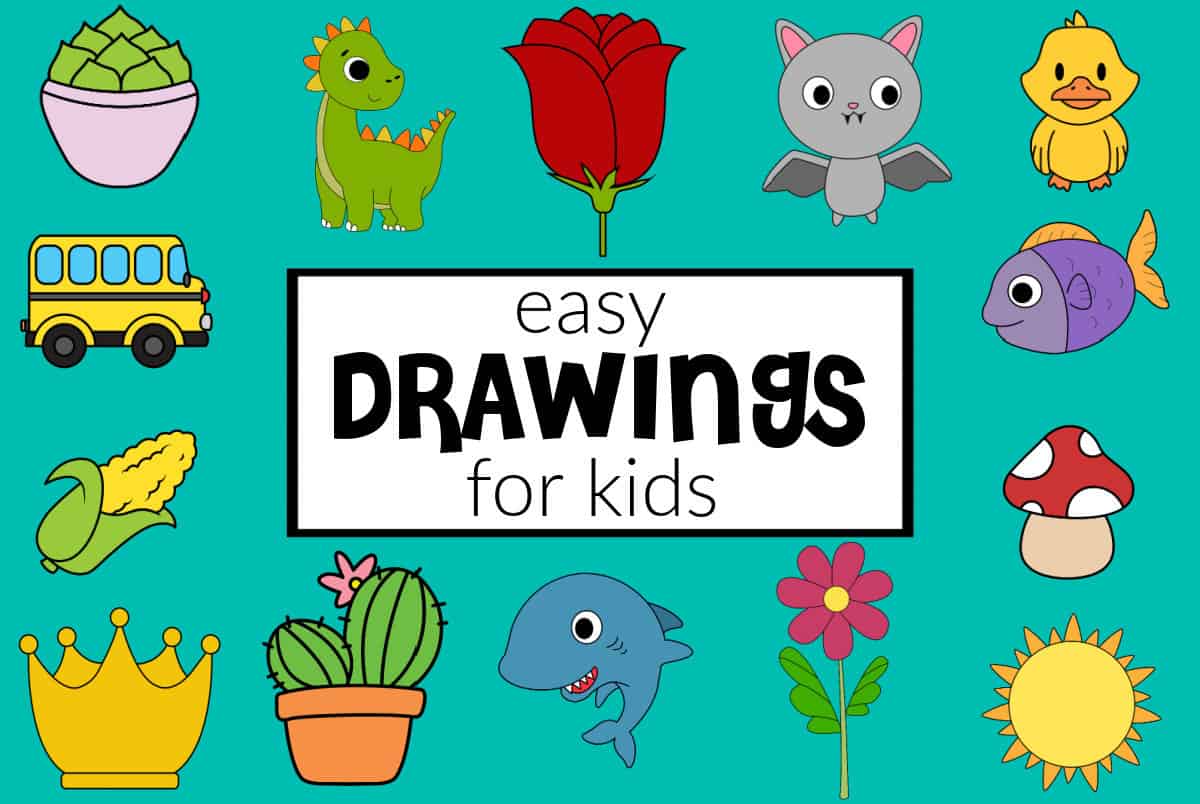
Easy Drawings
- How to Draw a Frog
- How to Draw a Heart
- How to Draw an Airplane
- How to Draw Turkey
- Spider Drawing
- How to Draw a Unicorn
- How to Draw a Shark
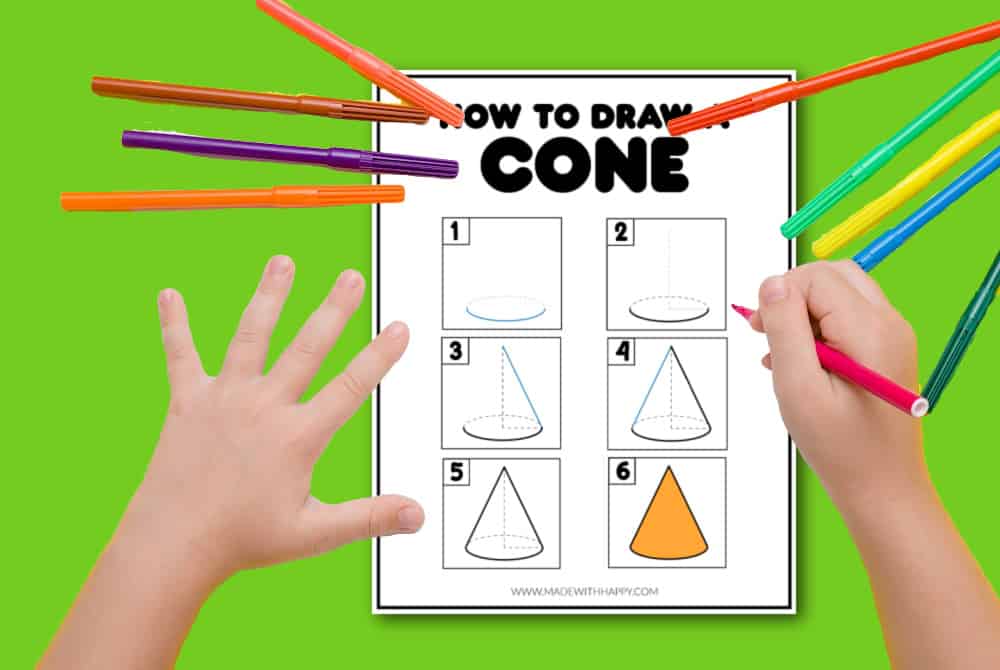
Download the Printable Cone Drawing Tutorial
Enter your email in the form below. You will be taken directly to the printable drawing step-by-step tutorial.
*For personal use only

How to Draw a Cone
Equipment
- Drawing Pencils
Ingredients
- Drawing paper
Instructions
- The first step is to draw an oval at the bottom of your paper. We made the top half of the oval a dotted line to help with dimension. This will be the base of the cone.

- The next step is to draw an L shape. Draw a vertical line (up and down) from a point at the top of the cone to the middle of the oval. Next, draw a line from the center of the oval to the outside line of the oval.
- The next step is to draw a diagonal line from the top point of the cone to the side of the oval connecting the two ends of your "L".
- The last step is to draw a similar diagonal line from the last step but on the left side. Draw a diagonal line from the point to the other side of the bottom of the cone.
- Viola, you have yourself a cone. At this point, you can darken the sides of the cone and the bottom of the curved surface and either erase the dotted lines or make sure those lines are not as dark.
- Color in your cube with your crayons, pencils, or markers.
Video
CONNECT WITH MADE WITH HAPPY!
Be sure to follow me on social media, so you never miss a post!
Facebook | Twitter | Youtube | Pinterest | Instagram
Find and shop my favorite products in my Amazon storefront here!
How To Draw a Cone
PIN IT TO YOUR DIY BOARD ON PINTEREST!
FOLLOW MADE WITH HAPPY ON PINTEREST FOR ALL THINGS HAPPY!