Have some royal fun with this How to Draw a Crown Step By Step Tutorial. This is an easy way to have fun with a crown drawing.
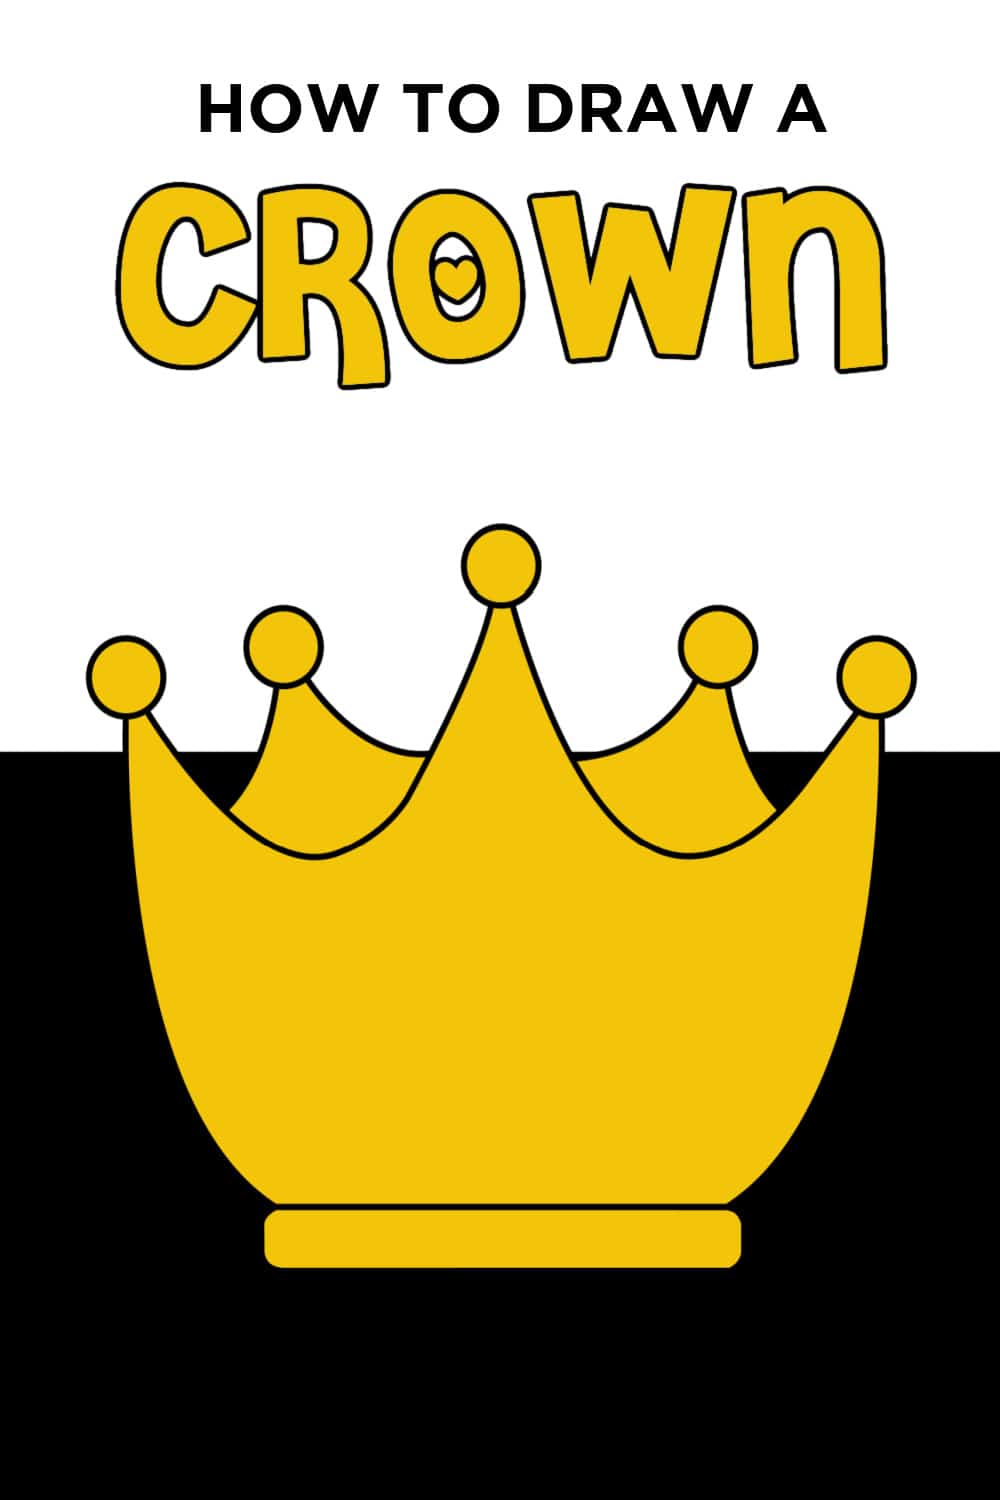
This easy How to Draw a Crown step-by-step tutorial is fun and sure to have you or your little artist drawing like a pro in no time.
A royal crown brings out the imagination whether it's playing dress up wearing a king crown or queen crown, or learning about ancient times. Simple steps to learn to draw your own crown can be so much fun.
Encouraging creativity in illustrating a story of a princess wearing her princess crown and saving the world. All kinds of fun especially starting with this simple drawing guide.

Want to save this project?
Enter your email below, and then we'll send it straight to your inbox. Plus get awesome new projects from us each week.
Crown Drawing
Here’s a Crown Drawing tutorial for all the princes and princesses!
One thing our kids love more than anything is kings, queens, princes, and princesses! But what makes these characters so special and beloved? I’d say everything from the hair to the glittery sandals!
But one thing that stands out is the crown! The beautiful crown, embellished with smaller jewels and everything that glitters!
Therefore, when my kids started taking an interest in Disney princesses, I had to create a “How to Draw a Crown” tutorial.
Disney Princesses are a fan favorite around these parts. We love all things Disney arts and crafts and all kinds of fun. If you love Disney like us, then you will not want to miss our other popular Disney Coloring Pages including Princess Color By Number, Jasmine Coloring Pages, Moana Coloring Pages, and Cinderella Coloring Pages.
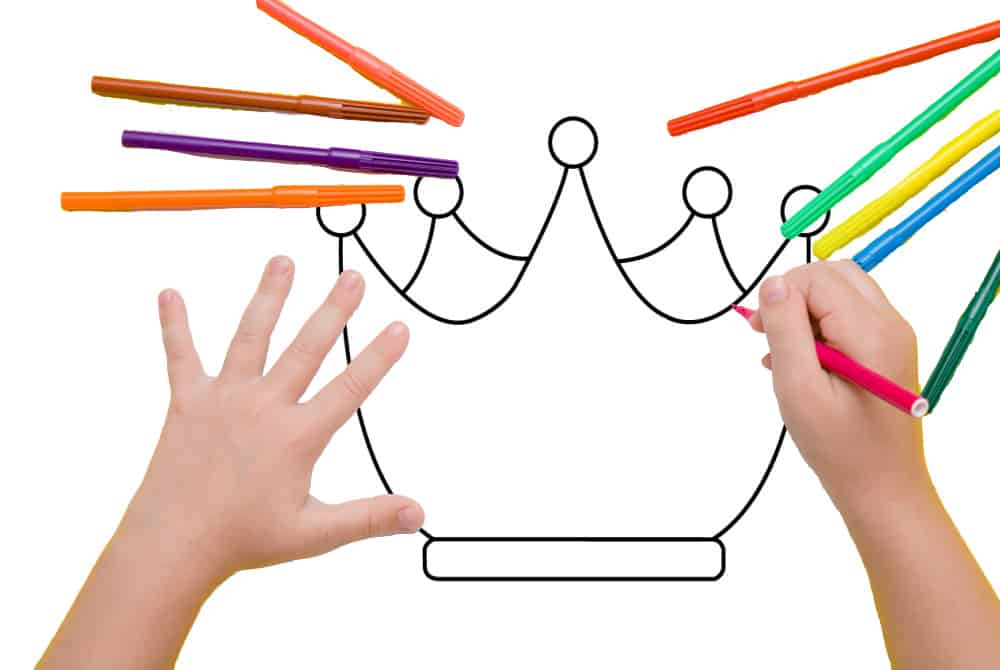
Why Learn How to Draw a Crown?
There could be several instances where drawing a crown might come in handy. For example, for a school project, for Father's or Mother's Day, or to present to grandparents as a loving gift. Or you could make one for your kid to make them feel special on their big day!
Besides being an excellent gift, drawing a crown has countless benefits.
I always emphasize the importance of drawing, coloring, and arts & crafts in the growth and development of our kids. Because even though it might not seem so, indulging in productive activities does wonders for our kids.
For starters, drawing helps kids learn how to grip a pencil or crayon. Initially, they start with random scribbles, but eventually, they learn how to hold them at an angle to deliver perfect strokes. This is also beneficial for developing writing skills as they grow older.
Secondly, drawing lessons develop fine motor skills, enhance hand-eye coordination, and also improve focus. Plus, it helps strengthen the small muscles in children’s hands and fingers and the large muscles in their arms and shoulders.
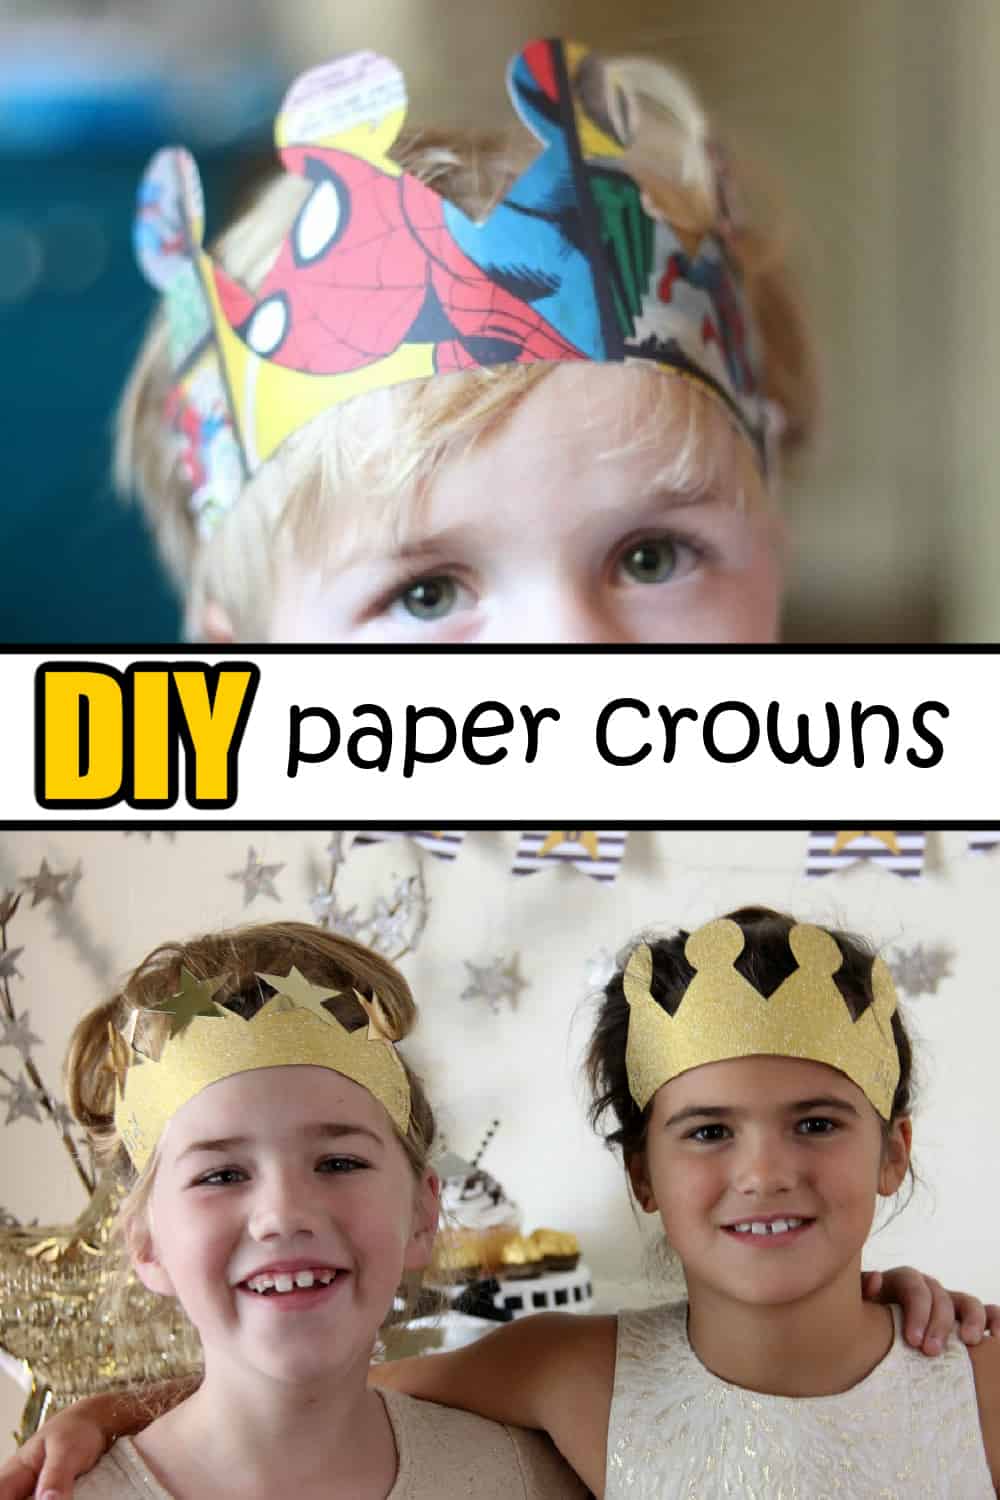
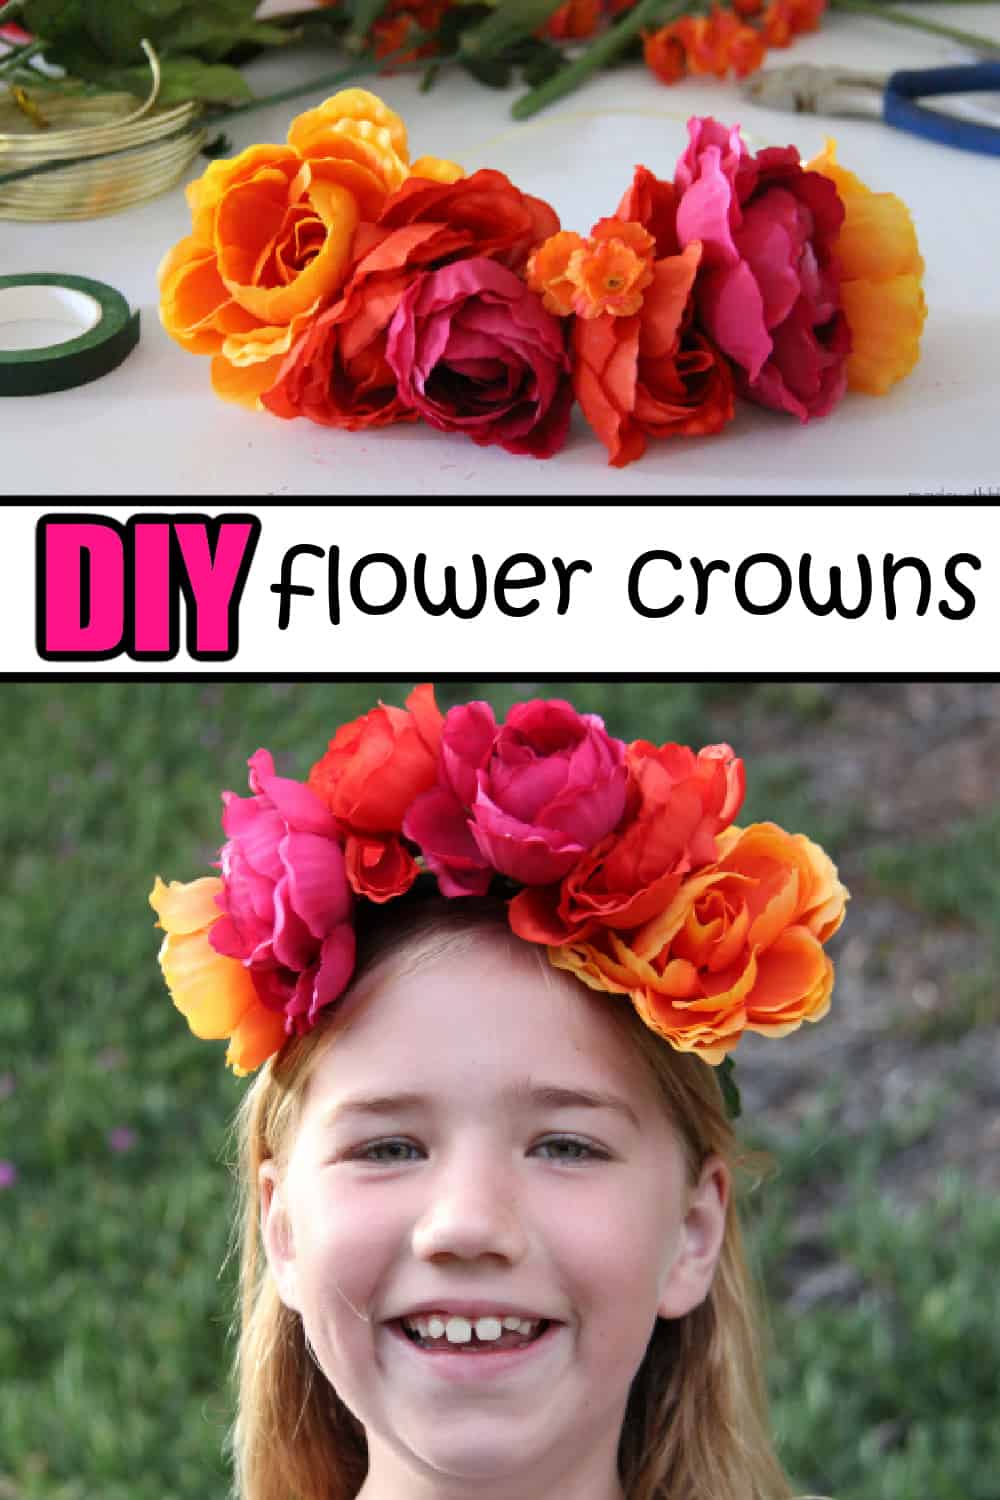
We also have had some crown fun with these fun posts. These crown fit all size heads.
How to Use the Crown?
My how-to guide takes you through the steps to make a basic crown shape. However, you can use this template to create a 3D crown using cardboard. Or you could draw it on construction paper, add elastic on both sides, and make a crown hat for your kids’ birthday, their friends, or a school play.
I see you’re having loads of fun making this crown. You can make your quality time with the kids even more memorable by making other crafts with them. So feel free to browse through my website and choose a craft you all love!
You can ask your kids to add details by pasting beads and other embellishments to decorate it and make it as magnificent as possible.
Don't miss our other Shape Drawings - How to Draw a Cone and How to Draw a Cube
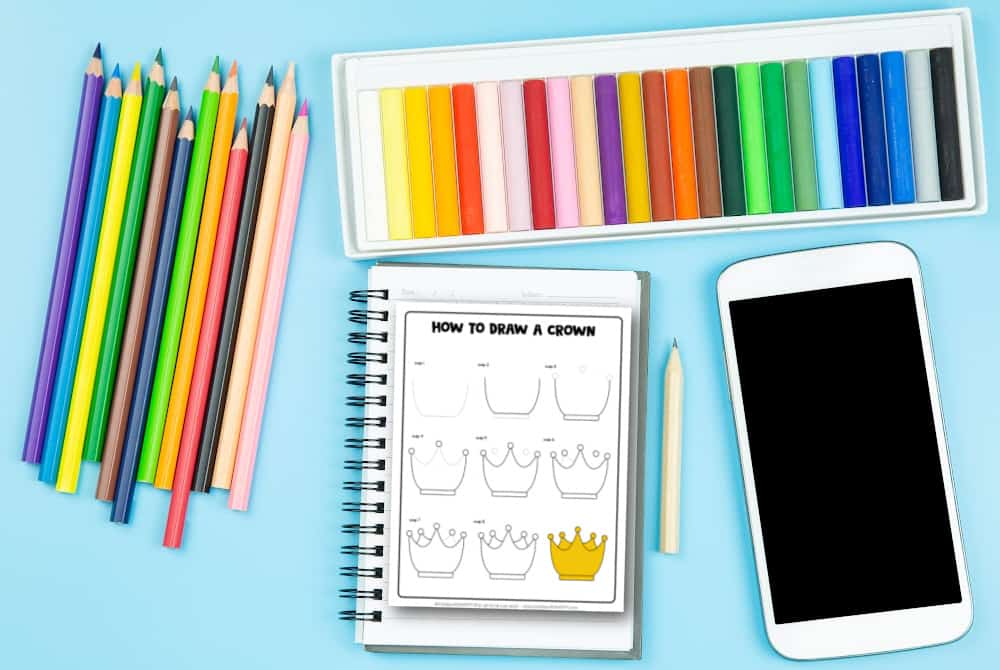
Supplies for Crown Drawing
- Paper
- Crayons, Markers, or Colored Pencils
How To Draw A Crown Step-By-Step Instructions
Here is the easy steps tutorial for a crown drawing easy lesson! Now let's start our crown sketch.
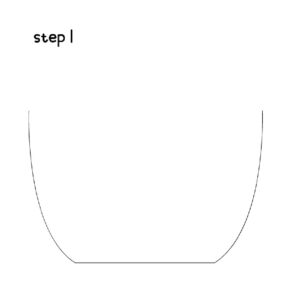
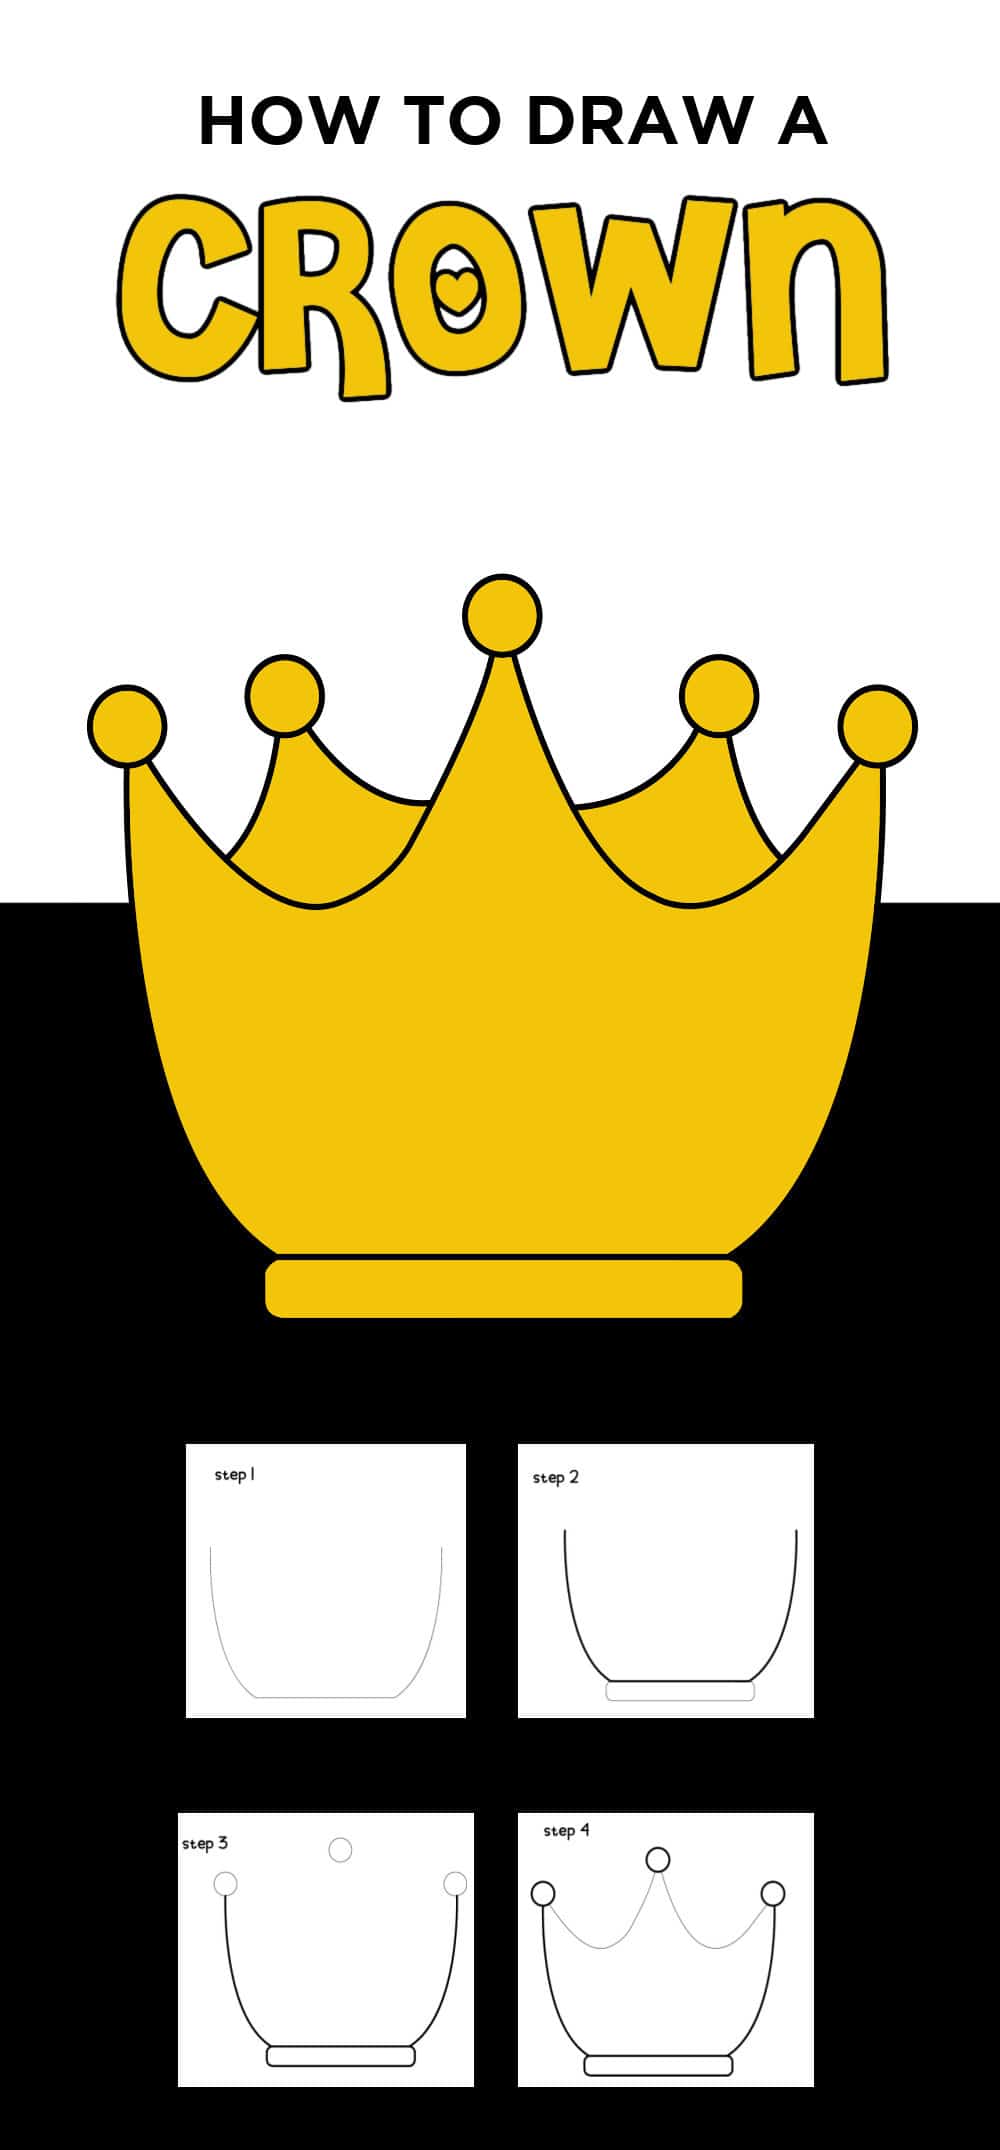
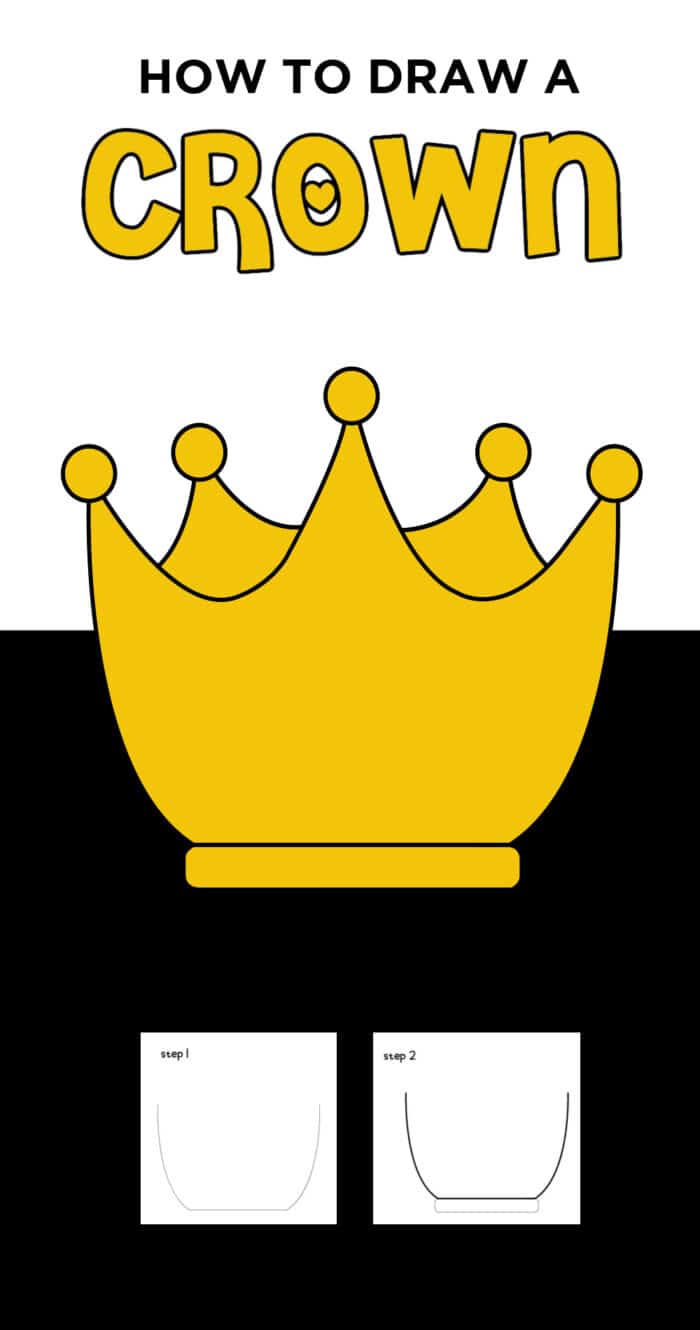
The first step is to draw a curved line in a bowl shape. The bottom of the crown should be a straight line.
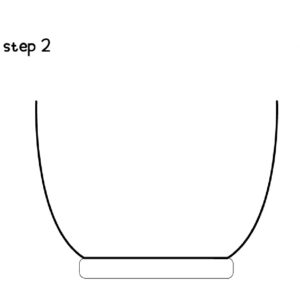
The second step is to draw an additional line at the base of the crown. This should give you two parallel lines. Round up the sides of the new lines.

The next step is to draw small circles at the end of the sides of the crown as well as one more small circle in the middle of the crown and the center circle should be slightly higher.
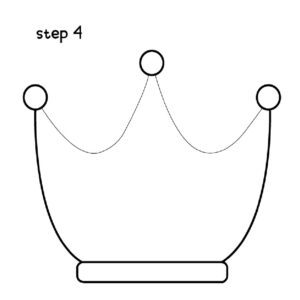
Next is to draw two small curves from one little circle on the left side to the middle of the crown and then another from the middle to the small circle on the right side.
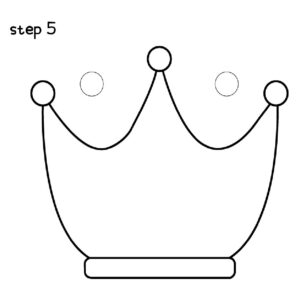
The next step is to draw circles between the crown peaks. The same size as the ones from the previous step.
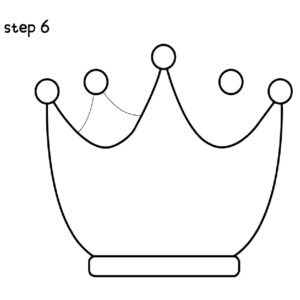
The next time is drawing a slightly curved line from the middle of the left side of the first curved line to the circle in the middle of the curve. Then draw another curved line from that circle down to the middle of the right side of the same first curve line.
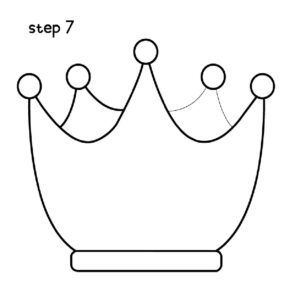
Repeat the same curved lines on the right side of the crown. This should make the new peaks appear to be in the back of the crown.

You now have the basic shape of a crown. The next step is to clean up your sketch lines. and go over with harder pencil lines. Viola, you have a realistic crown drawing.
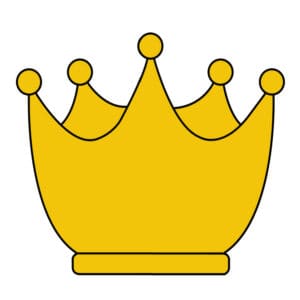
The last step is to go over the crown online with a black pen. Then color in the drawing or paint with acrylic paint. We colored ours a golden yellow color to give it a more realistic crown drawing look, but use whatever bright colors you want for your crown. The most important thing is to have fun with it.
We highlighted this How To Draw Tutorial along with some other fun kid's crafts in our Easy Summer Crafts along with our 101+ Easy Crafts for Kids.
You also do not want to miss our 101+ Printable Coloring Pages For Kids and 101+ Printables For Kids full of Crafts and Coloring Pages.
HAPPY DRAWING!
Other How To Draw Tutorials You'll Enjoy
- How To Draw a Rainbow
- How To Draw a Butterfly
- How To Draw a Bee
- How To Draw a Frog
- How to Draw a Shark

Download The Free Crown Drawing Guide
Simply enter your name and email address in the form below.
*For personal use only
How to Draw a Crown
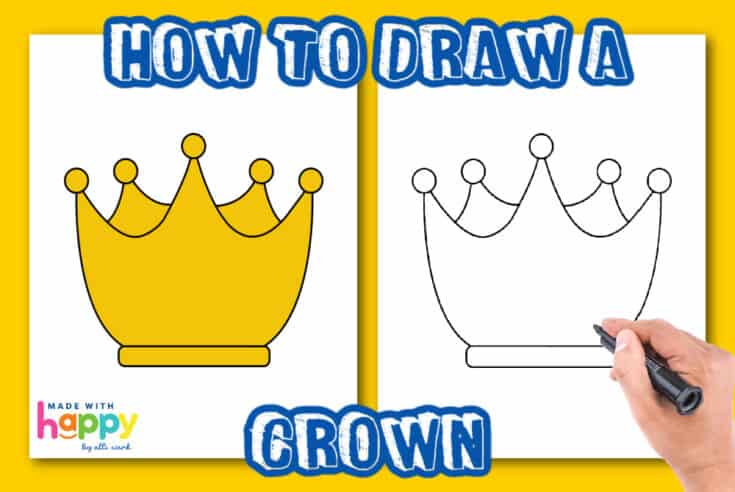
Have some royal fun with this How to Draw a Crown Step By Step Tutorial. This is an easy way to have fun with a crown drawing.
Materials
Tools
- Drawing Pencils
Instructions
The first step is to draw a curved line in a bowl shape. The bottom of the crown should be a straight line.
The second step is to draw an additional line at the base of the crown. This should give you two parallel lines. Round up the sides of the new lines.
The next step is to draw small circles at the end of the sides of the crown as well as one more small circle in the middle of the crown and the center circle should be slightly higher.
Next is to draw two small curves from one little circle on the left side to the middle of the crown and then another from the middle to the small circle on the right side.
The next step is to draw circles between the crown peaks. The same size as the ones from the previous step.
The next time is drawing a slightly curved line from the middle of the left side of the first curved line to the circle in the middle of the curve. Then draw another curved line from that circle down to the middle of the right side of the same first curve line.
Repeat the same curved lines on the right side of the crown. This should make the new peaks appear to be in the back of the crown.
You now have the basic shape of a crown. The next step is to clean up your sketch lines. and go over with harder pencil lines. Viola, you have a realistic crown drawing.
The last step is to go over the crown online with a black pen. Then color in the drawing or paint with acrylic paint. We colored ours a golden yellow color to give it a more realistic crown drawing look, but use whatever bright colors you want for your crown. The most important thing is to have fun with it.
CONNECT WITH MADE WITH HAPPY!
Be sure to follow me on social media, so you never miss a post!
Facebook | Twitter | Youtube | Pinterest | Instagram
Find and shop my favorite products on my Amazon storefront here!
HOW TO DRAW A CROWN
PIN IT TO YOUR DIY BOARD ON PINTEREST!
FOLLOW MADE WITH HAPPY ON PINTEREST FOR ALL THINGS HAPPY!


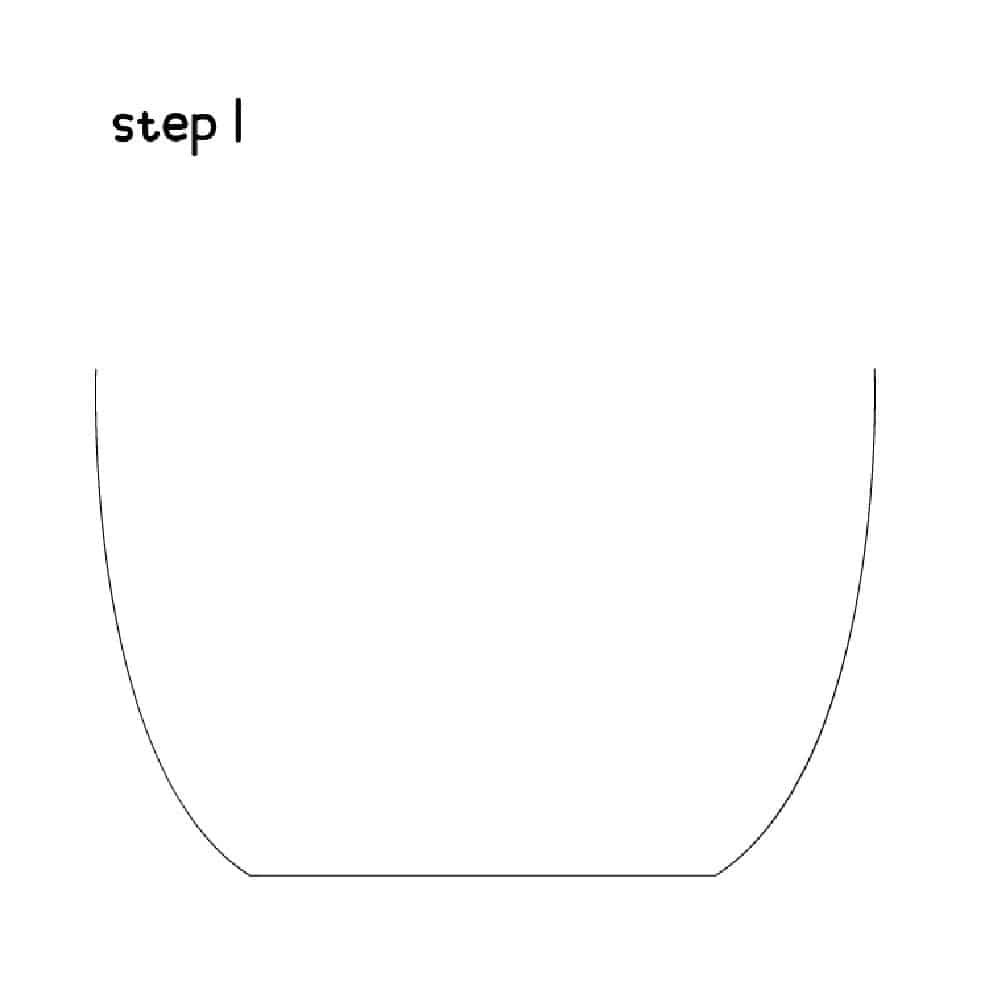 The first step is to draw a curved line in a bowl shape. The bottom of the crown should be a straight line.
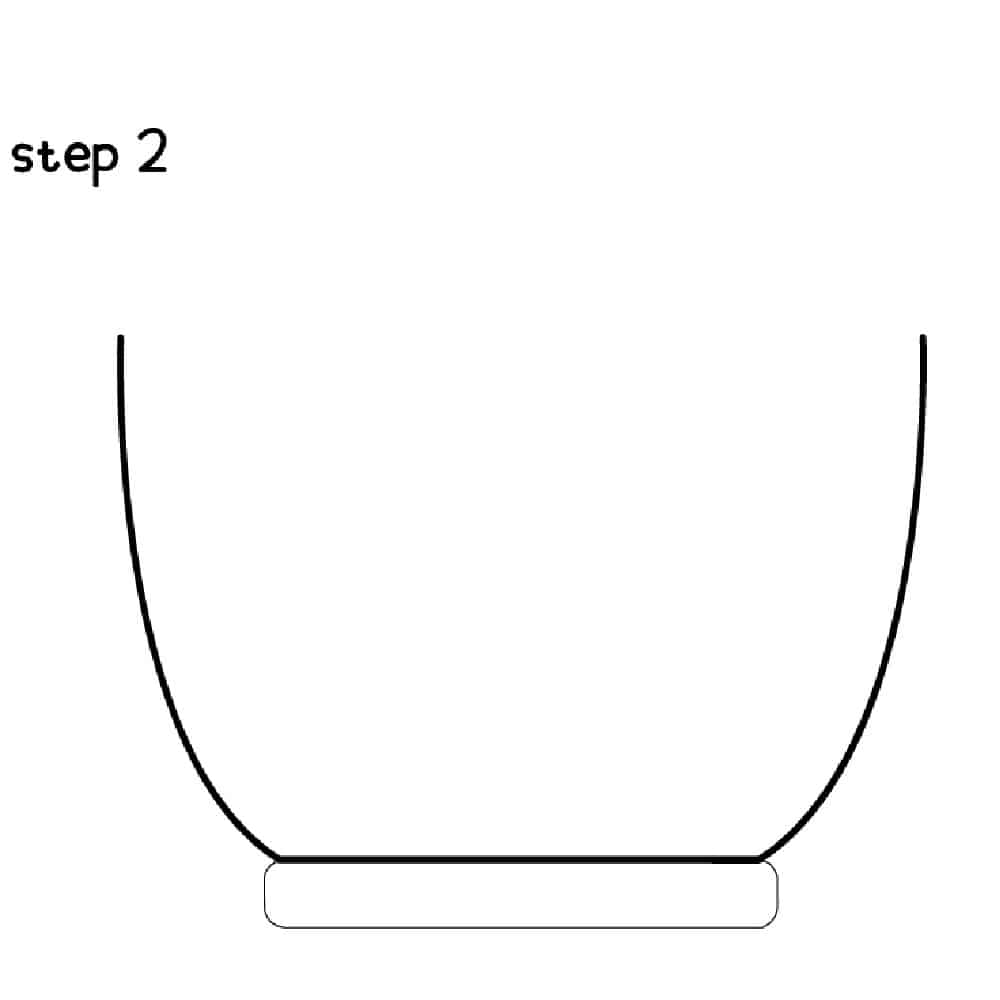 The second step is to draw an additional line at the base of the crown. This should give you two parallel lines. Round up the sides of the new lines.
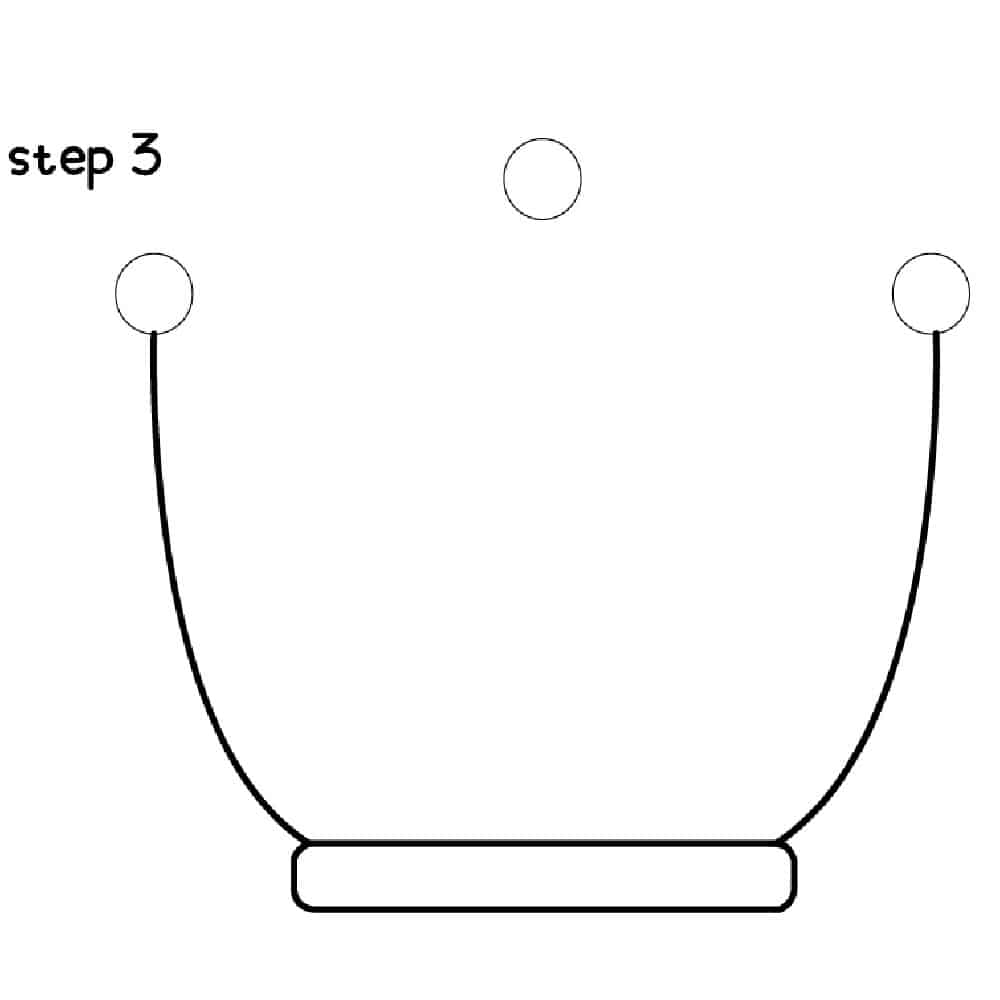 The next step is to draw small circles at the end of the sides of the crown as well as one more small circle in the middle of the crown and the center circle should be slightly higher.
 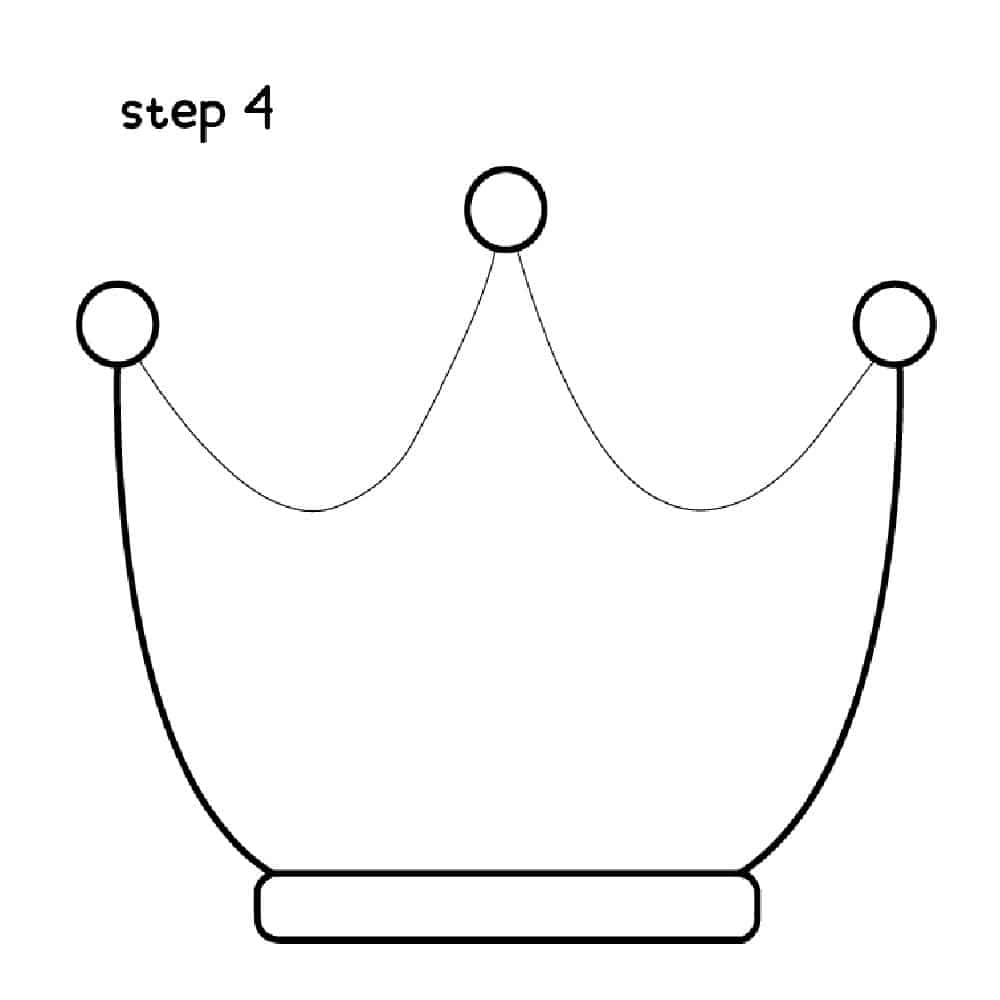 Next is to draw two small curves from one little circle on the left side to the middle of the crown and then another from the middle to the small circle on the right side.
 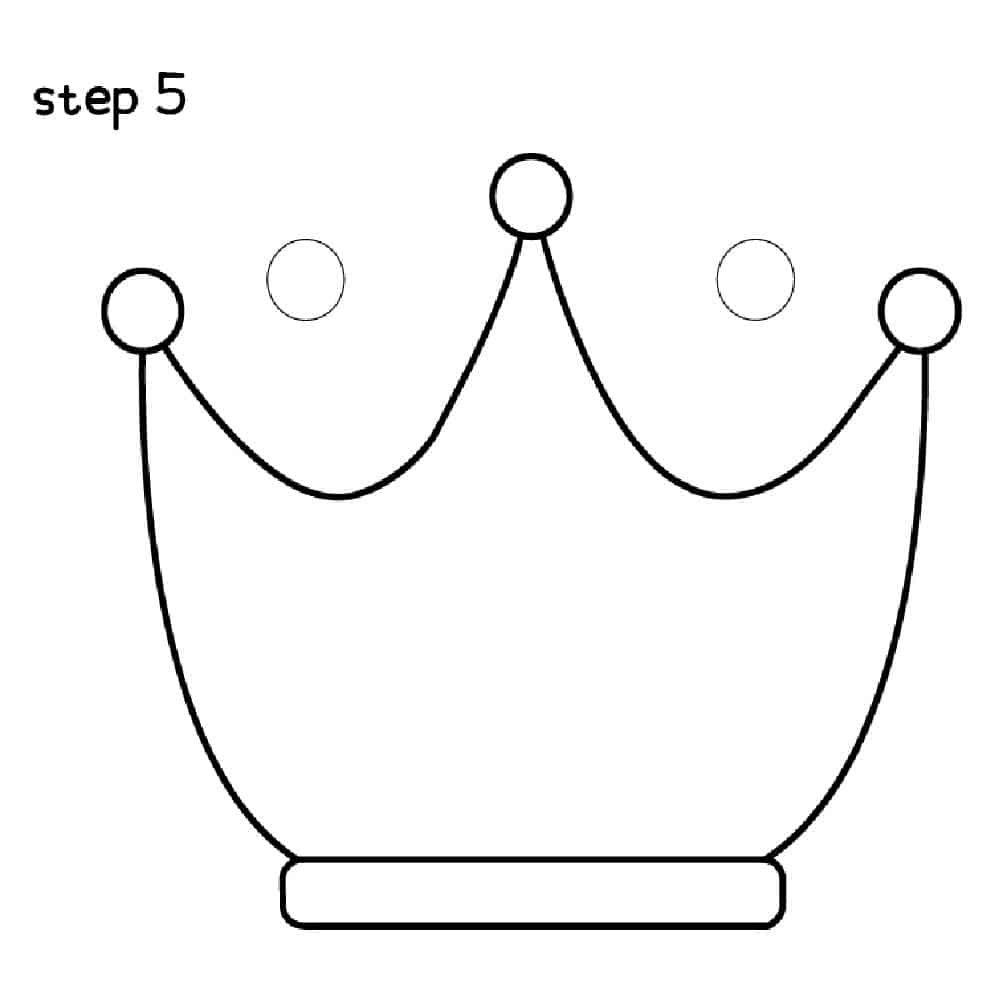 The next step is to draw circles between the crown peaks. The same size as the ones from the previous step.
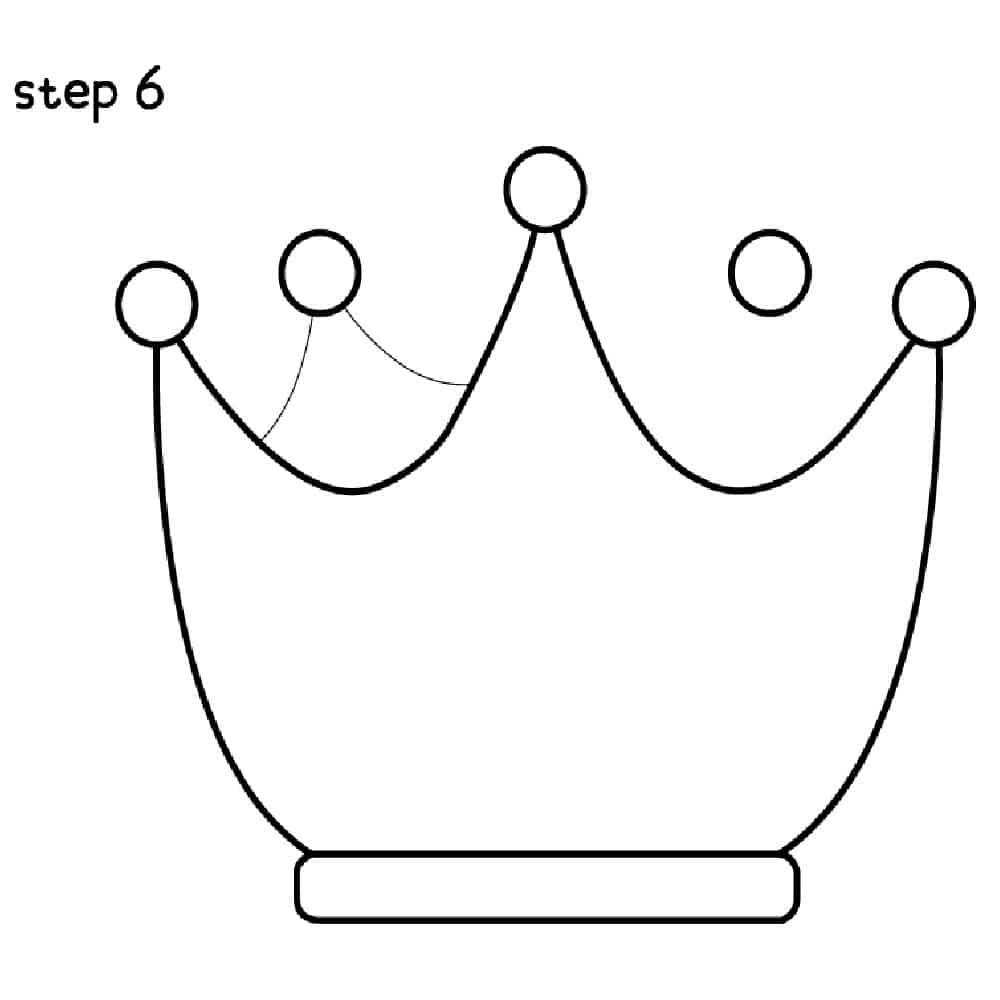 The next time is drawing a slightly curved line from the middle of the left side of the first curved line to the circle in the middle of the curve. Then draw another curved line from that circle down to the middle of the right side of the same first curve line.
  Repeat the same curved lines on the right side of the crown. This should make the new peaks appear to be in the back of the crown.
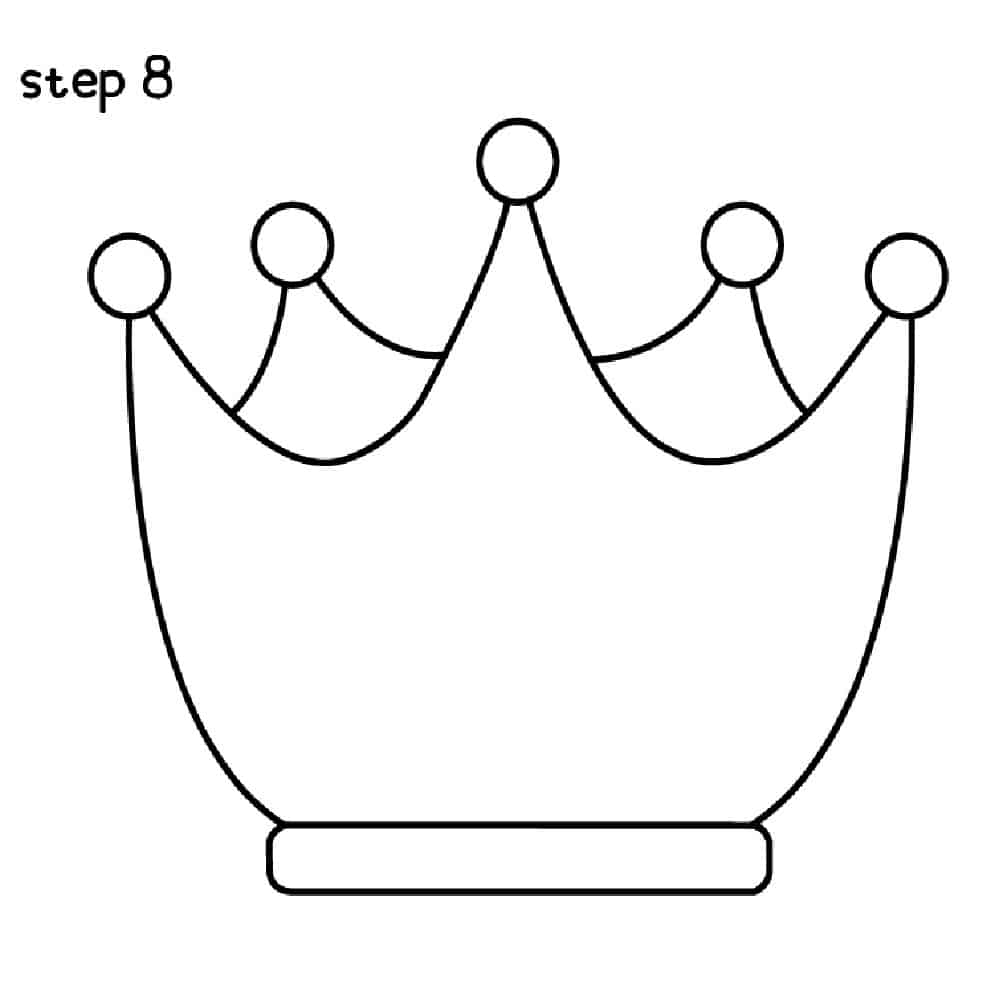 You now have the basic shape of a crown. The next step is to clean up your sketch lines. and go over with harder pencil lines. Viola, you have a realistic crown drawing.
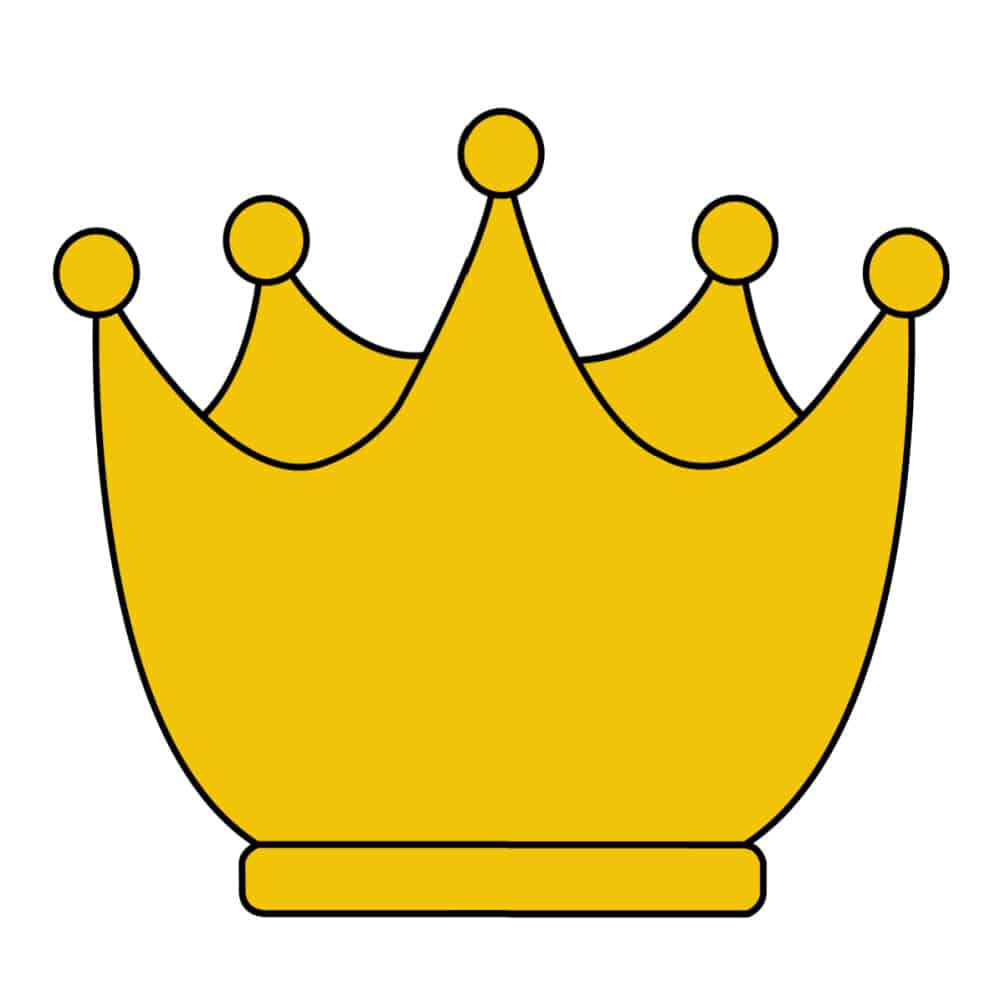 The last step is to go over the crown online with a black pen. Then color in the drawing or paint with acrylic paint. We colored ours a golden yellow color to give it a more realistic crown drawing look, but use whatever bright colors you want for your crown. The most important thing is to have fun with it.