

Want to save this project?
Enter your email below, and then we'll send it straight to your inbox. Plus get awesome new projects from us each week.
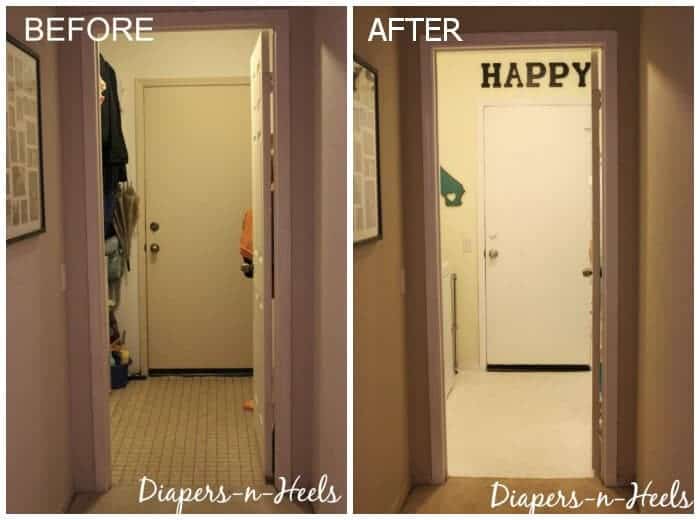
Hello and Happy Day! A few weeks back while showing you the wall stencil in the laundry room, I promised a look at the full laundry room makeover. Well the time has come.That dingy dungeon of a laundry room is now bright and airy and makes it a place we like to be, instead of just a pass through. Well, let's not get too carried away, I'm still not the biggest fan of doing laundry, but hey, it makes it that much more bearable doing it in a pretty room.
Okay, before I show you the before pictures and walk you through all the areas we've changed, I do want to say that the one KEY piece to the makeover was de-cluttering. I mentioned this before, but this room had become the collect all coming in from the garage and so, there was a major improvement by just getting rid of the junk.
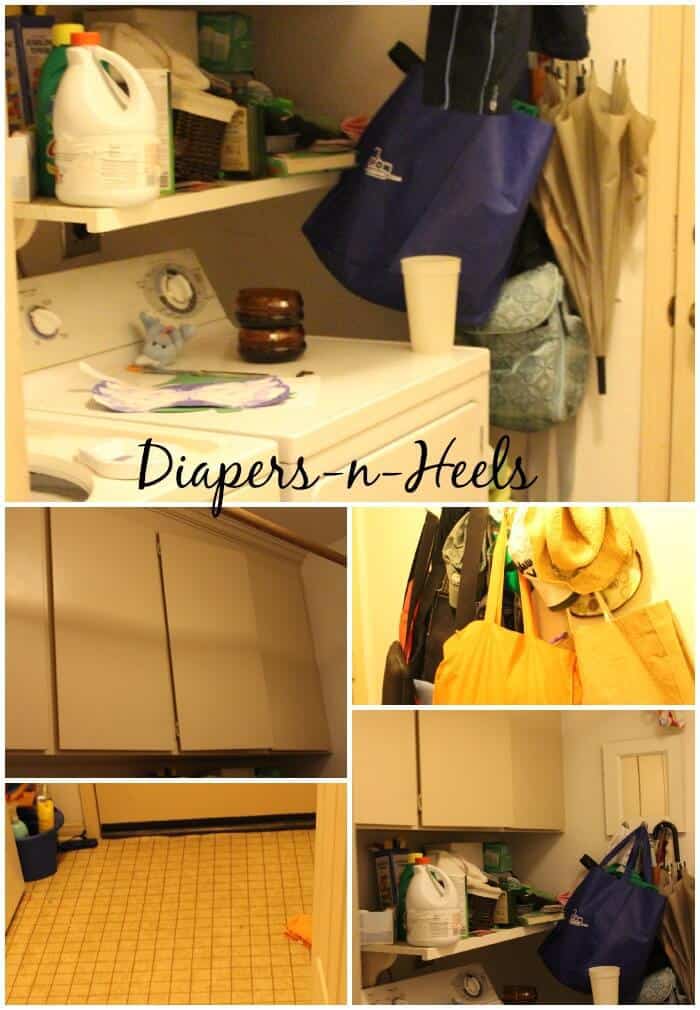
Now onto the makeover. I'm super embarrassed by the before pictures, but all in the name of DNH, I'm showing you the yucky room.The clutter - YUCK. The brown colored cabinets and doors - YUCK. The floor - YUCK.
Here is how we me made it over:
Step 1.) REMOVE EVERYTHING. When organizing, its important to assess all that you have an the area you have to work with. The easiest way to do that is to remove everything from the space.
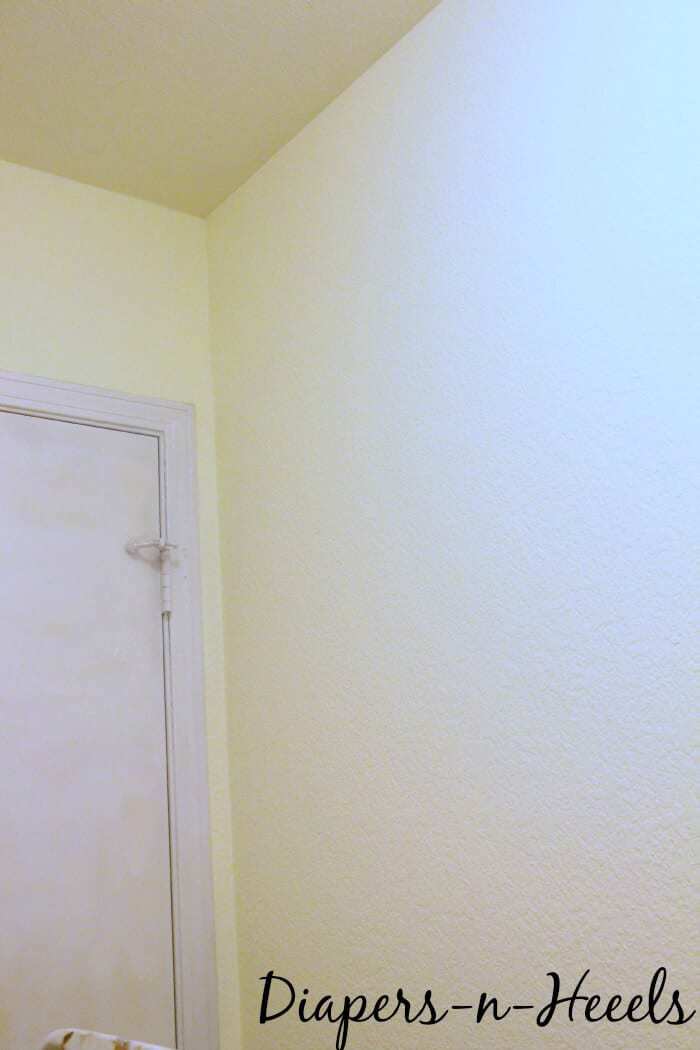
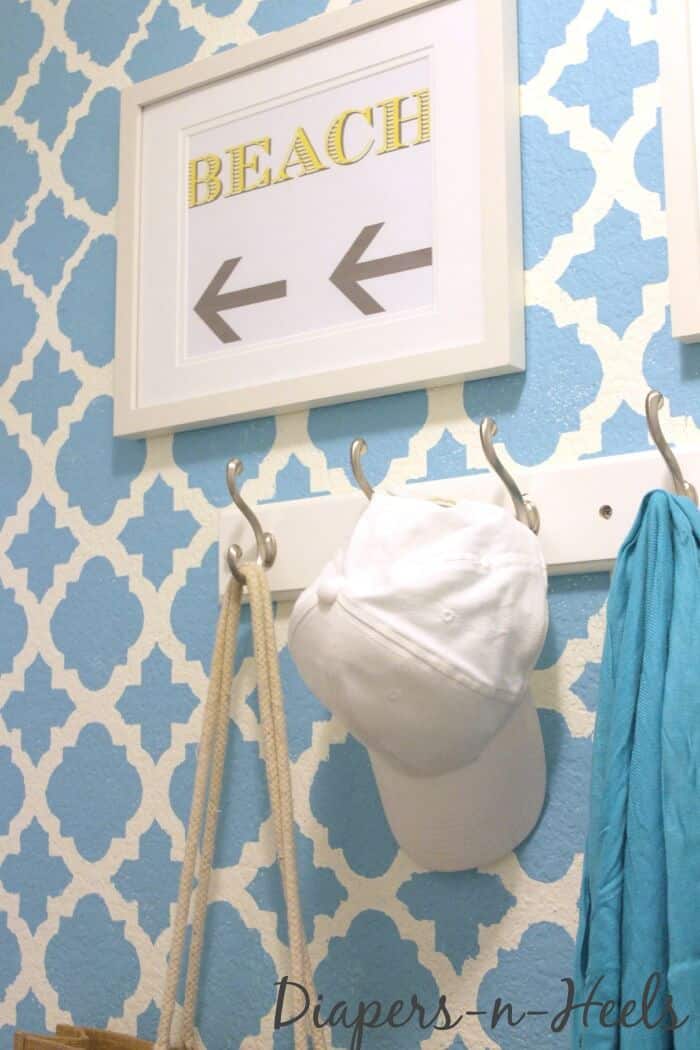
Step 2.) PAINT THE WALLS.I went with lemon white for the walls. I wanted to brighten up this room as much as possible and so it was only one shade off of white.Step 3.) STENCIL - The right wall we stenciled in this bright beachy blue. Here is the full stencil how-to
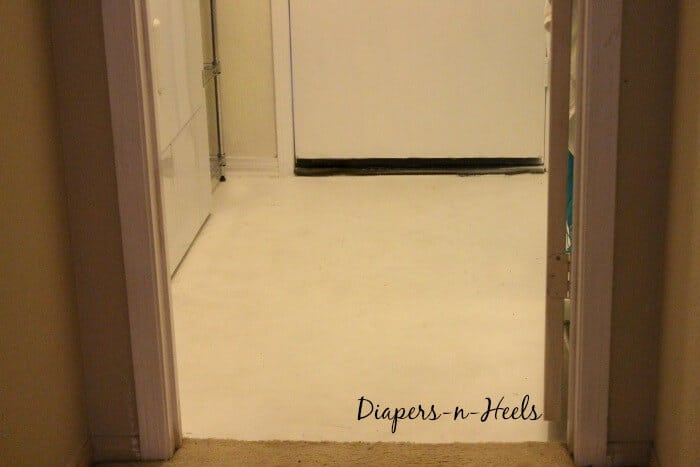
Step 4.) PAINT THE FLOOR - I decided to paint the floor. We are having new wood flooring installed down the hall and into the laundry room in the next couple months, but I simply could not look at the brown linoleum any more. Here is how I painted the floor (coming soon).
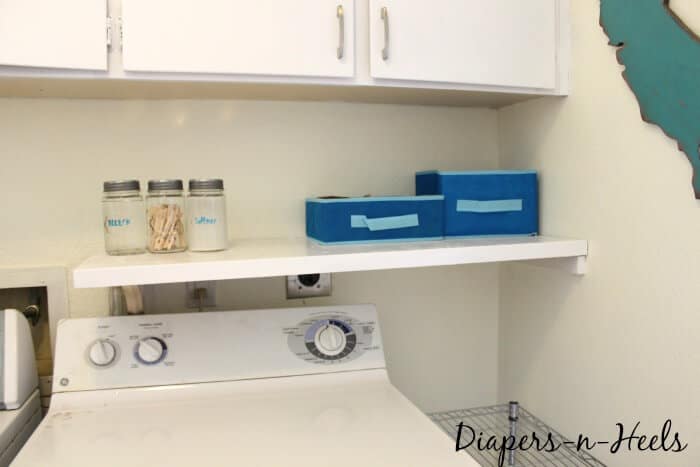
Step 5.) PAINT THE CABINETS AND DOORS AND SHELVES. I'm not sure of why the owners before us did this, but all doors, baseboards, shelves and cabinets were painted that awful beigey brown color. It is awful and I've spent many of hours trying to paint all the doors white.Declutter and painting the cabinets and shelves made the world of difference right?
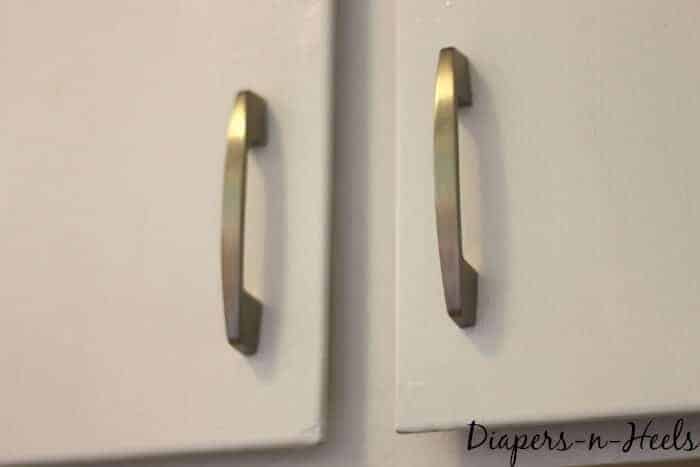
Step 6.) ADD CABINET PULLS - Showing the full tutorial on adding the cabinet pulls here.
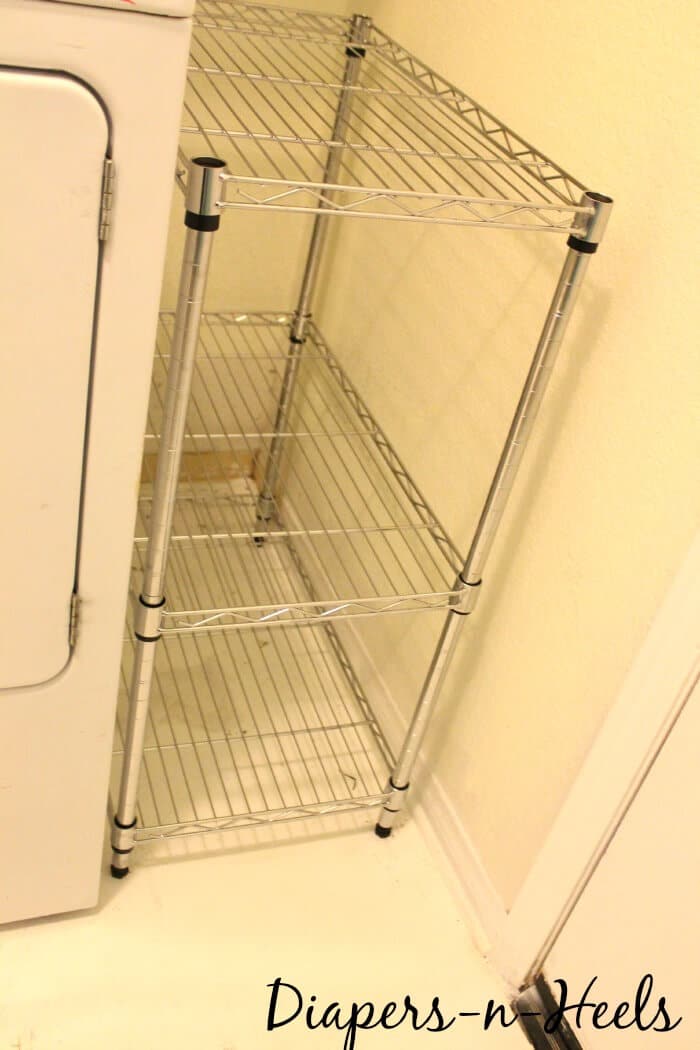
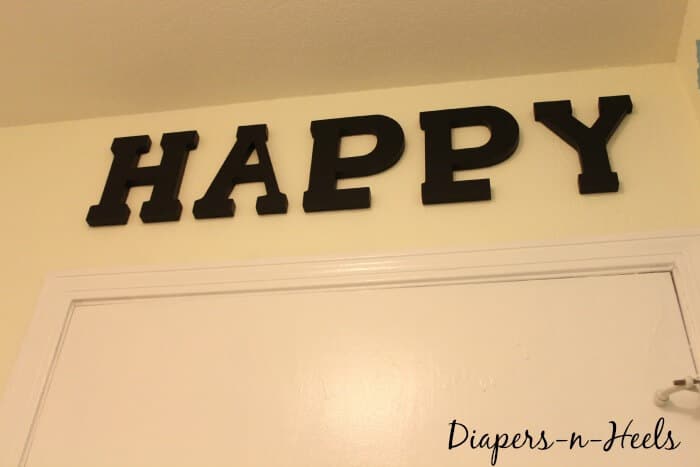
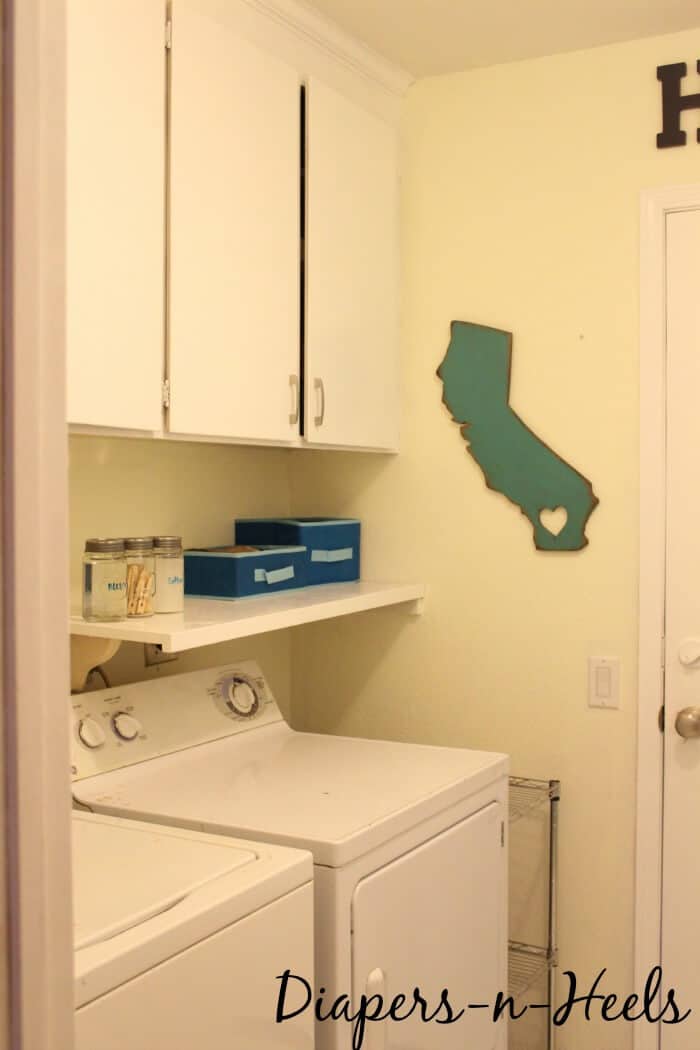
Step 7.) Add all decor and organizational pieces to help the flow of your room.Found this three tiered shelving unit that fit great on the side of the dryer. I've been on the hunt to add rolling casters to the bottom making it easy to pull out and use as a folding table."HAPPY" letters are from Michaels. Noodling on whether to paint them a different color. I'm thinking maybe grey, but need to see them in the space before I can decide.It definitely pulls any space together when you add pops of color like the blue bins or the turquoise California.
The room needs a few more things to complete it like a rug and some other touches, but I figured I'd share with you the transformation before time slips away from me. So what do you think?
If you're looking for more DIY inspiration, here are a few other projects you may enjoy:
You can also find other inspirations on our Home Pinterest Board
Follow Alli Ward's board DNH: Home on Pinterest.


