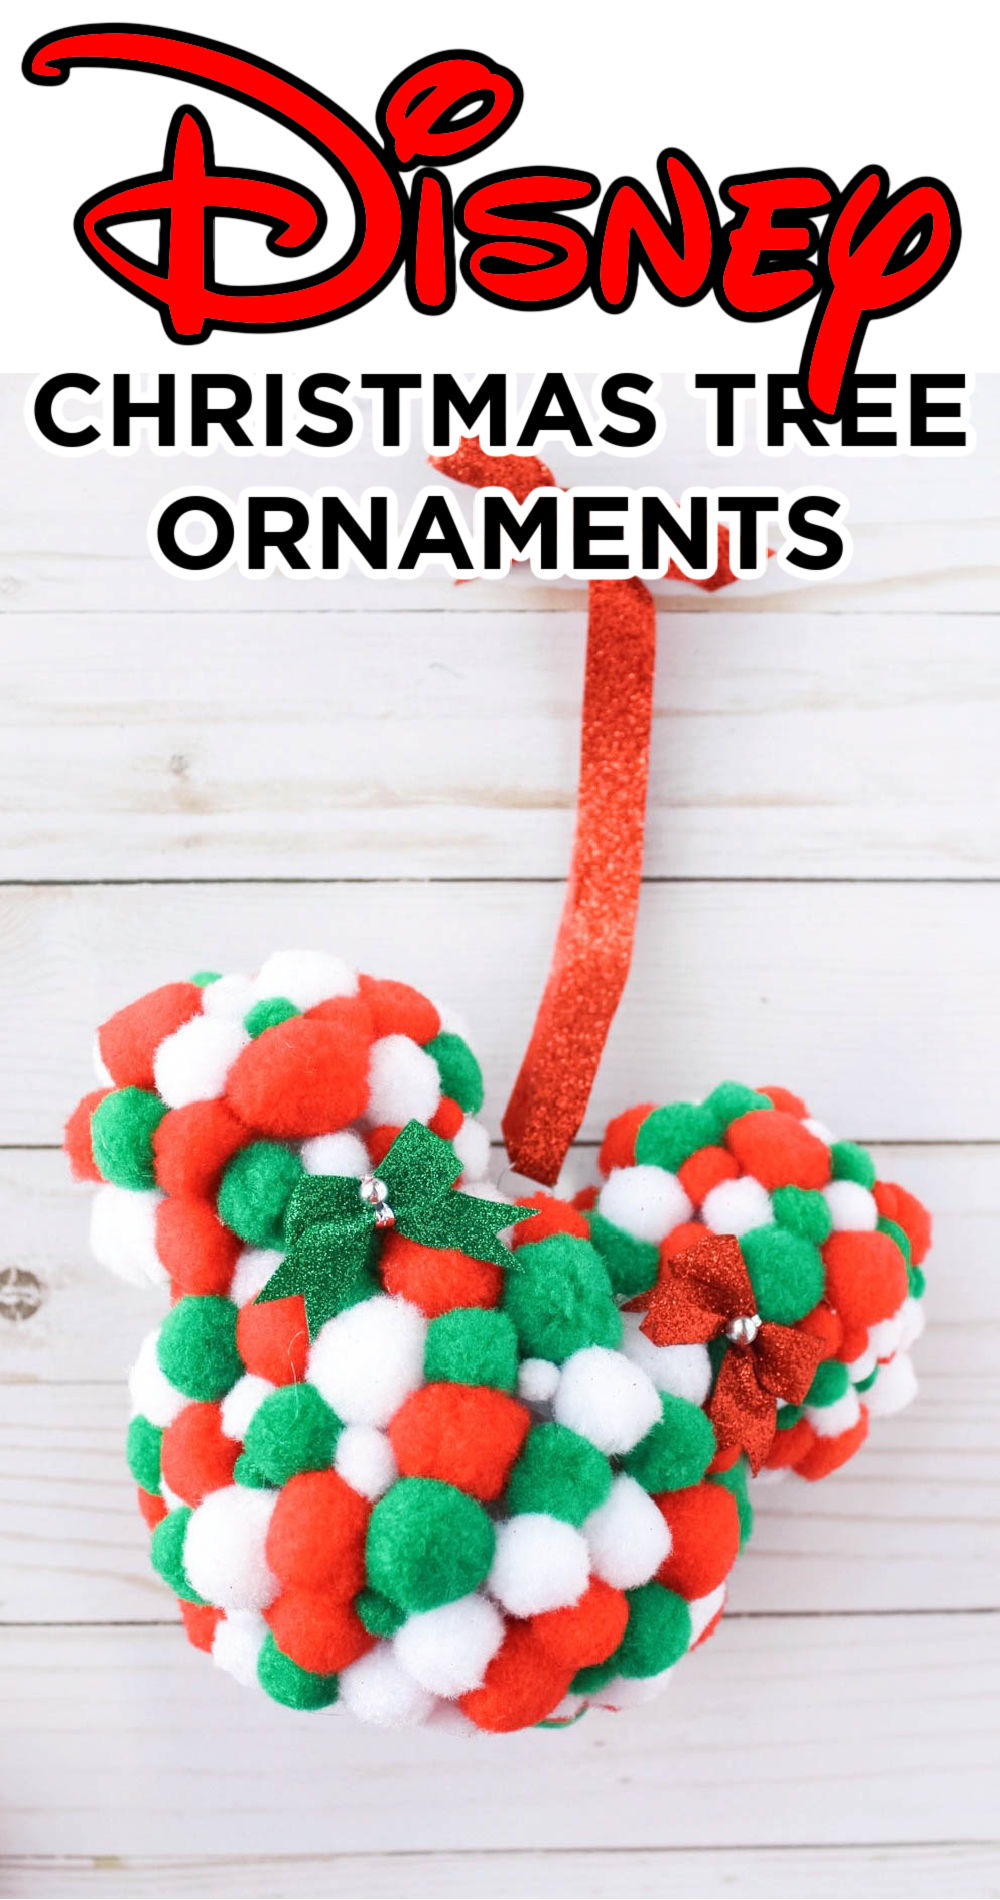
Learn how to create the perfect Disney-inspired Christmas craft with this easy-to-make DIY Dollar Tree Mickey Mouse Ornament.
Want to save this project?
Enter your email below, and then we'll send it straight to your inbox. Plus get awesome new projects from us each week.
This DIY Mickey Mouse Ornament are the perfect craft for the Disney lovers this holiday season and
If you love Disney and Christmas, this is the DIY craft is for you. I've always loved Mickey Mouse and having Disney ornaments on the tree is a must. It's a big family tradition to decorate our Christmas tree together and add all our favorite characters and favorite ornaments. Its a great time of year to add Disney characters to your Christmas Decorations.
We talk about when we bought them and the memories of visiting Disney World together. Adding a homemade element makes our tree that much more special. You can do it too with these easy DIY Mickey Mouse Christmas Ornaments with all items from the dollar store.
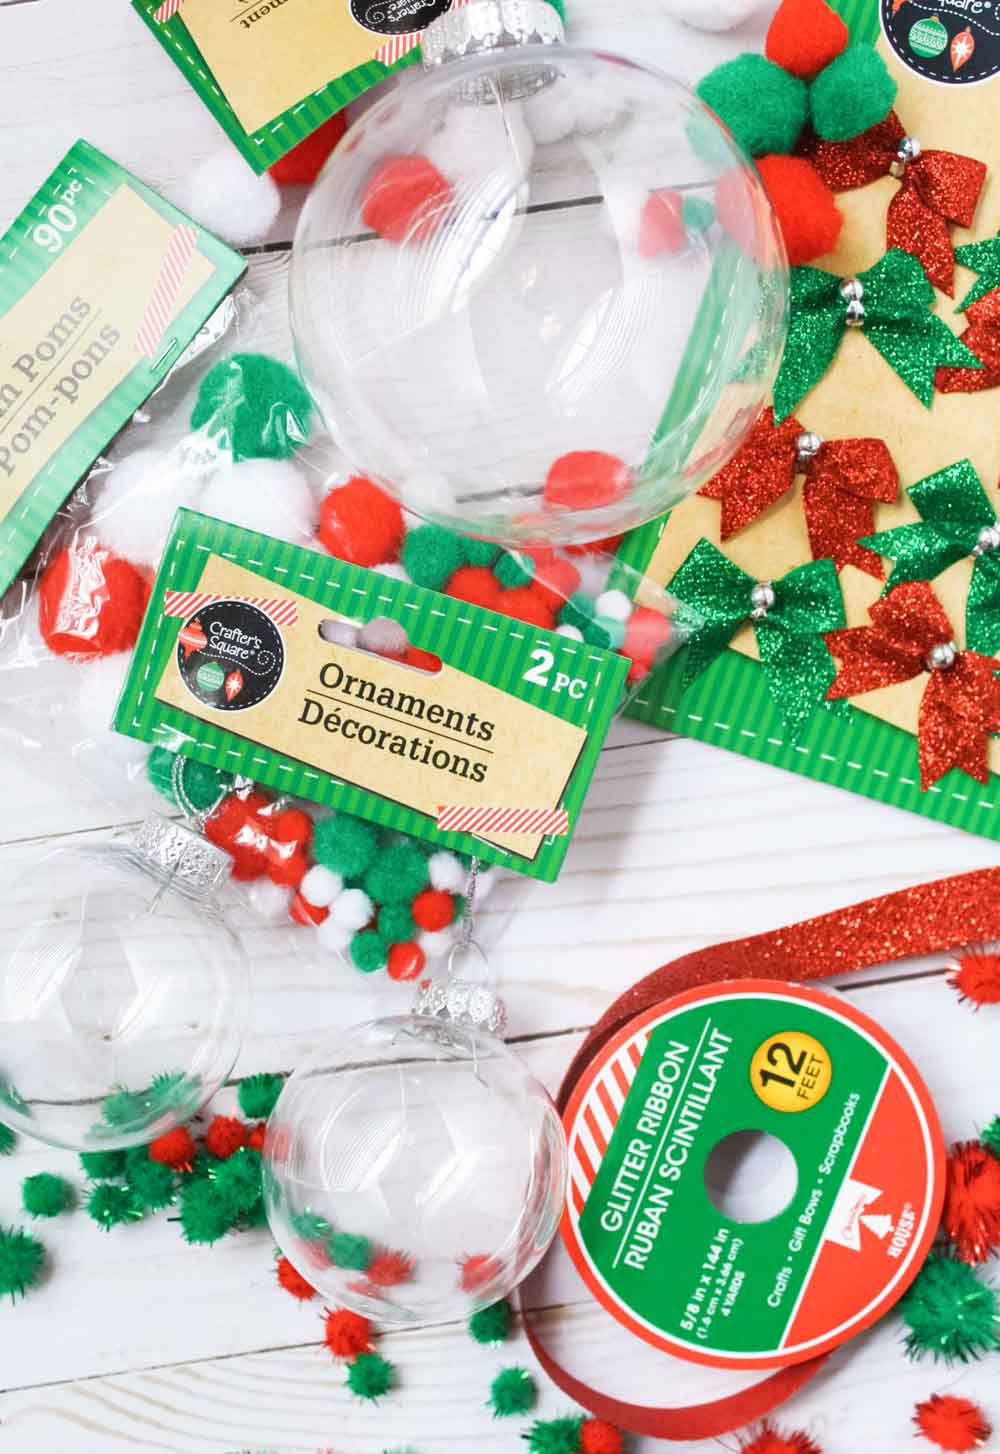
Materials Needed for DIY Mickey Mouse Ornament
This is a super easy and affordable DIY craft with almost all materials gathered from Dollar Tree and tools I already had at home.
- Glue Gun & glue sticks
- Scissors
- Xacto Knife
- 1 Large Plastic Ornament - Dollar Tree
- 1 2-pack smaller plastic ornaments (clear ornaments)- Dollar Tree
- 6-7 packs Holiday color Pom Poms - Dollar Tree
- Red glitter ribbon - Dollar Tree
- Small Holiday Bows Pack - Dollar Tree
- Tweezers (an old pair works)
How to Make a DIY Dollar Tree Mickey Mouse Ornament
Mickey Mouse Heads
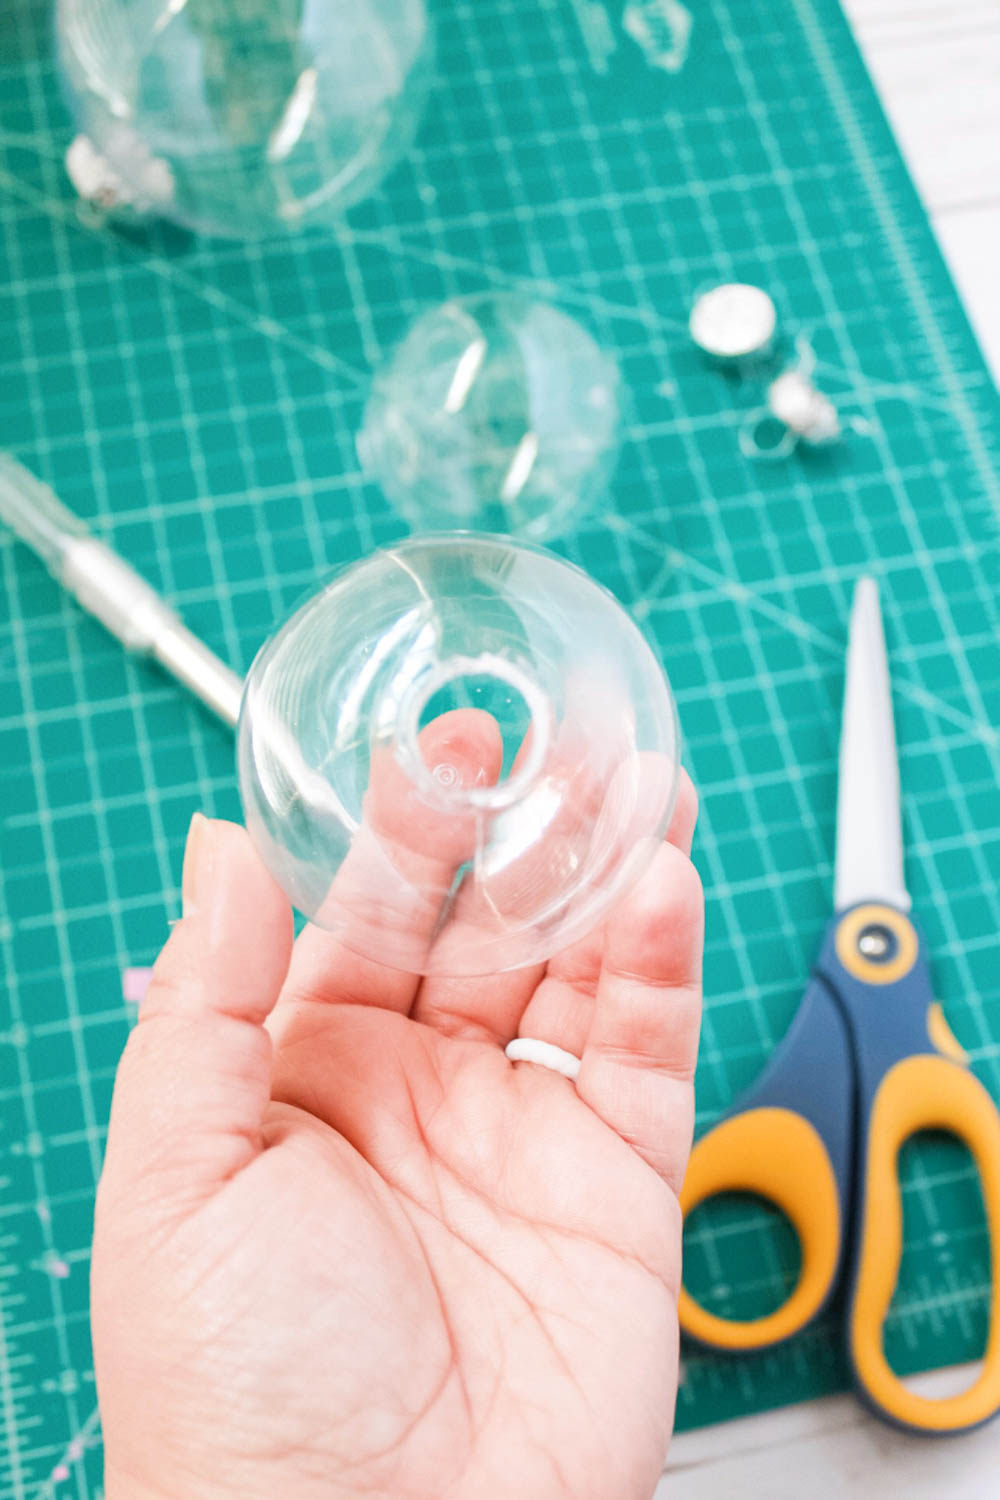
First, take your smaller ornaments and remove the silver top. Then use the knife and scissors to carefully cut off the extra top part. This can take a bit of time so be patient and very careful!
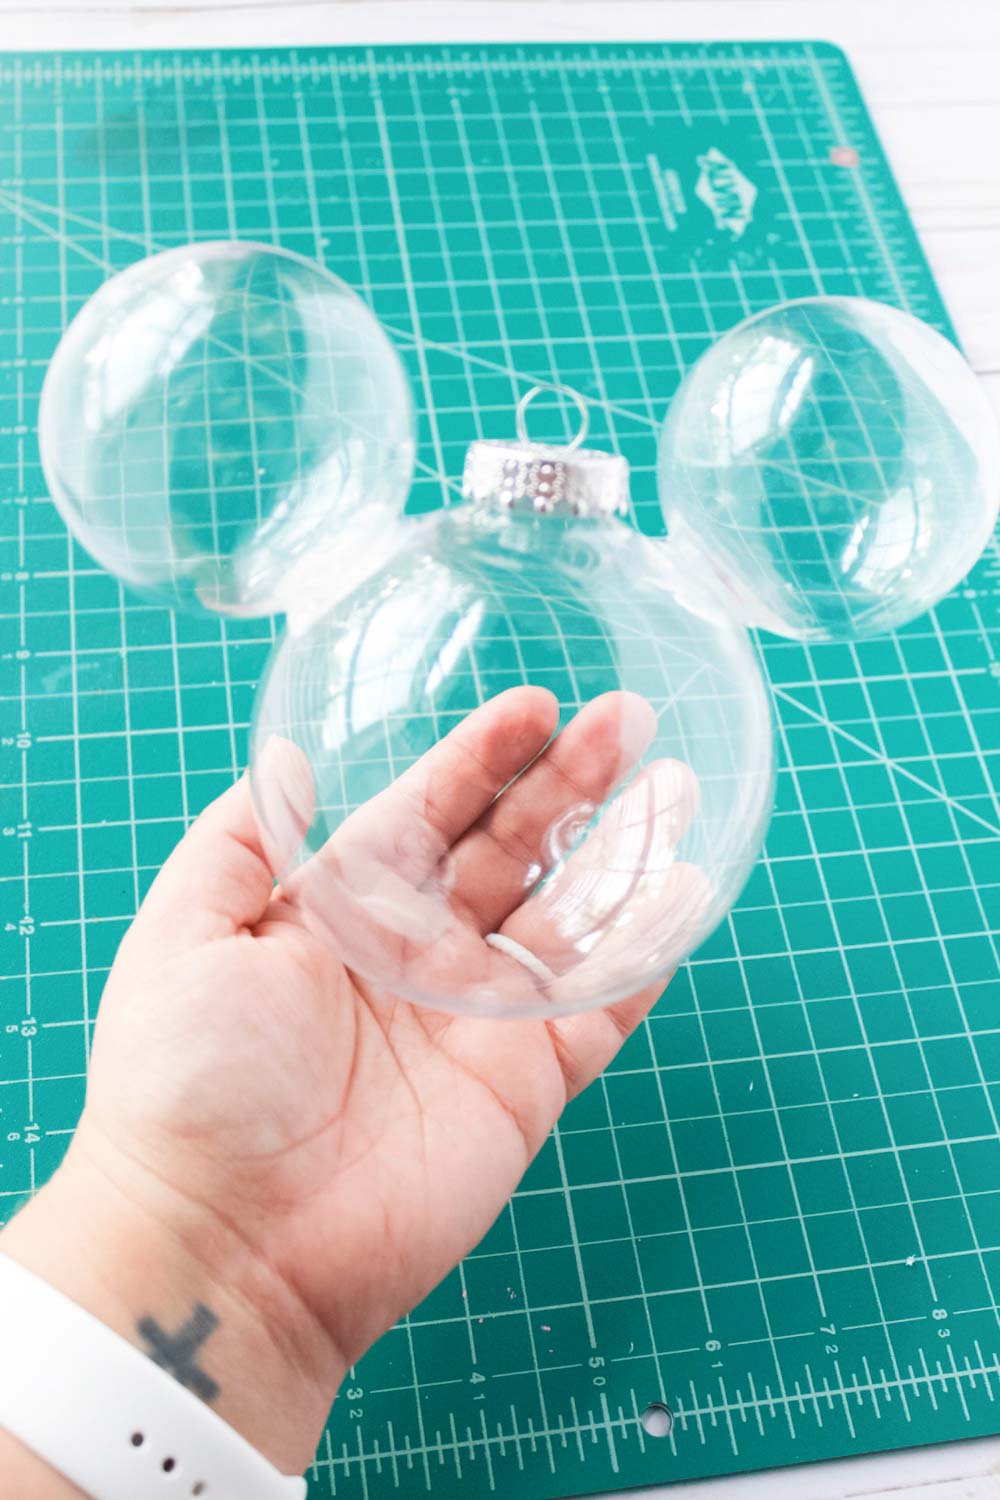
However, perfection isn't necessary. It will be glued to the bigger ornament anyway and hidden with the pom-poms. When you have both small ornaments ready, use the hot glue gun to add them to the bigger ornament in a Mickey Mouse shape.
Make sure to hold each one for a few seconds when you first glue it on to ensure it sticks and the glue dries.
Decorating Mickey Ornaments
Now that you've got the Mickey shape, take the Pom Poms and start adding them. Work in small sections and work fast. I used some old tweezers to help me pick up the poms and place them on the ornament. It protected my fingers from the glue and I could pick up the poms a lot quicker.
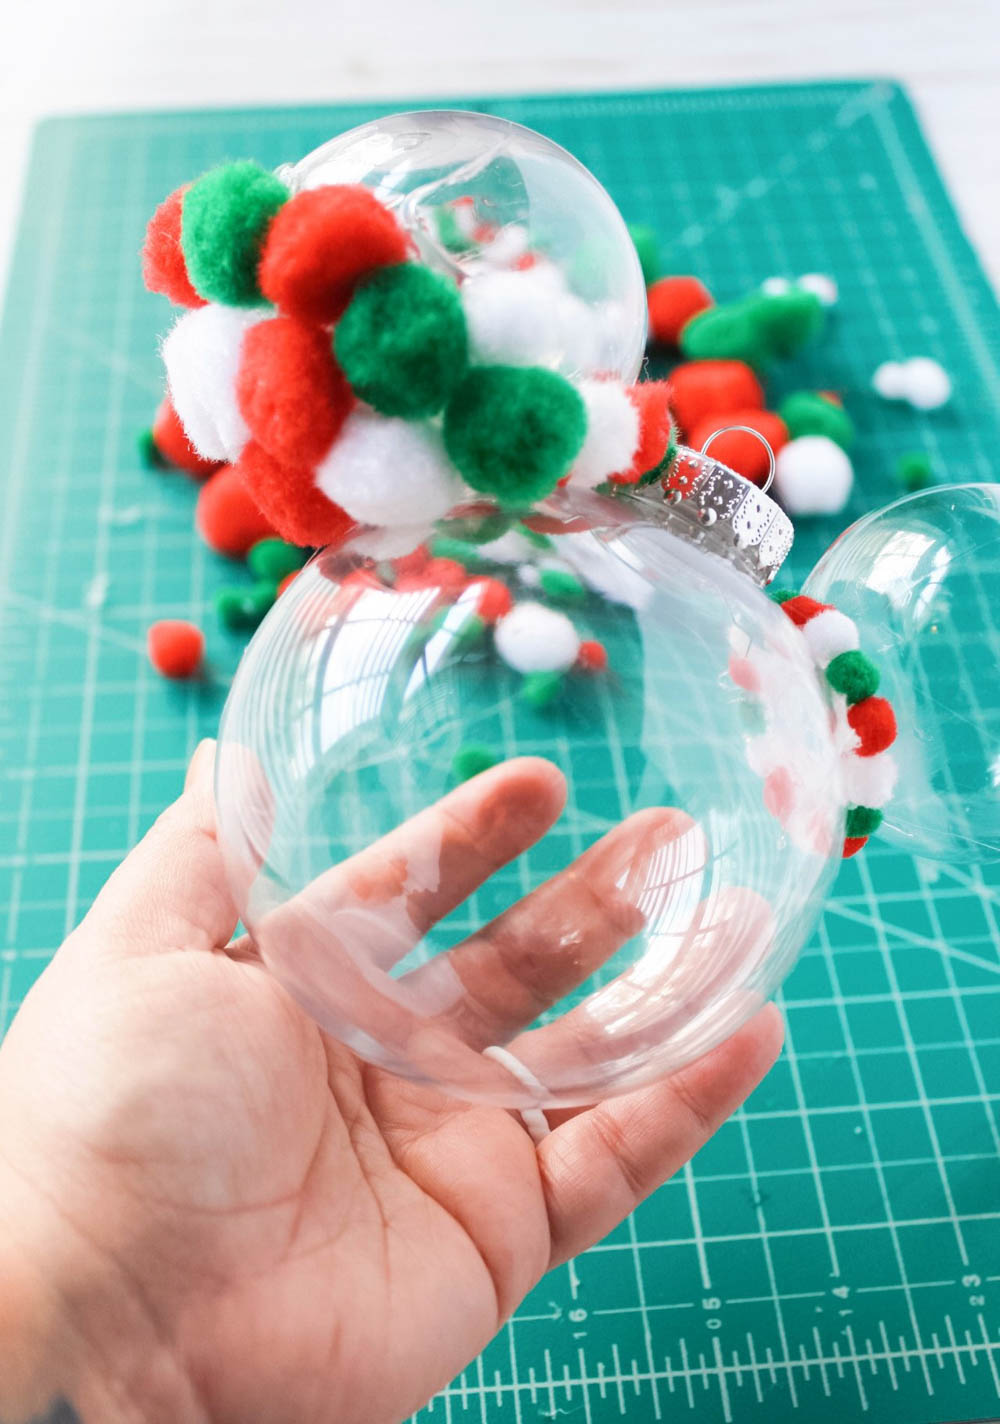
Continue working your way around the ornament mixing the sizes of Pom Poms as you wish. I tried to add the bigger ones to the bottom half of the ornament and add smaller ones to fill in empty spots. You can do it however you like best until it's all filled in.
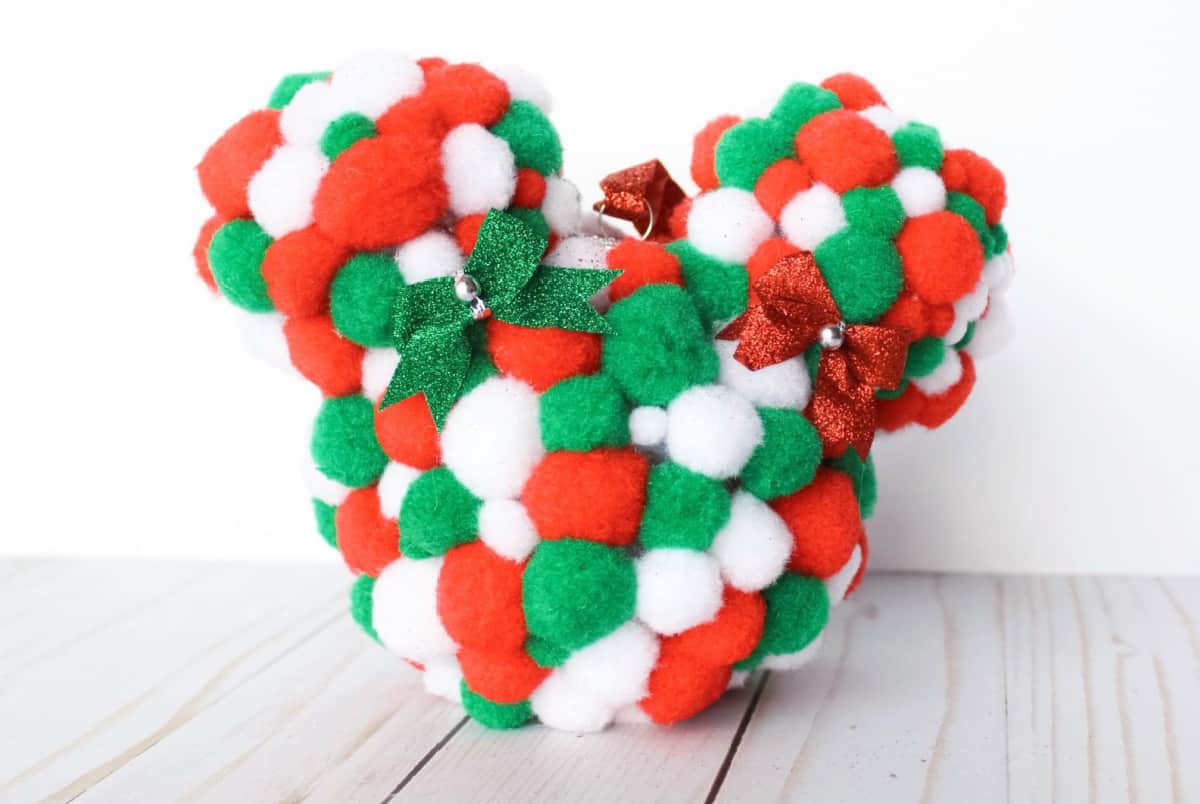
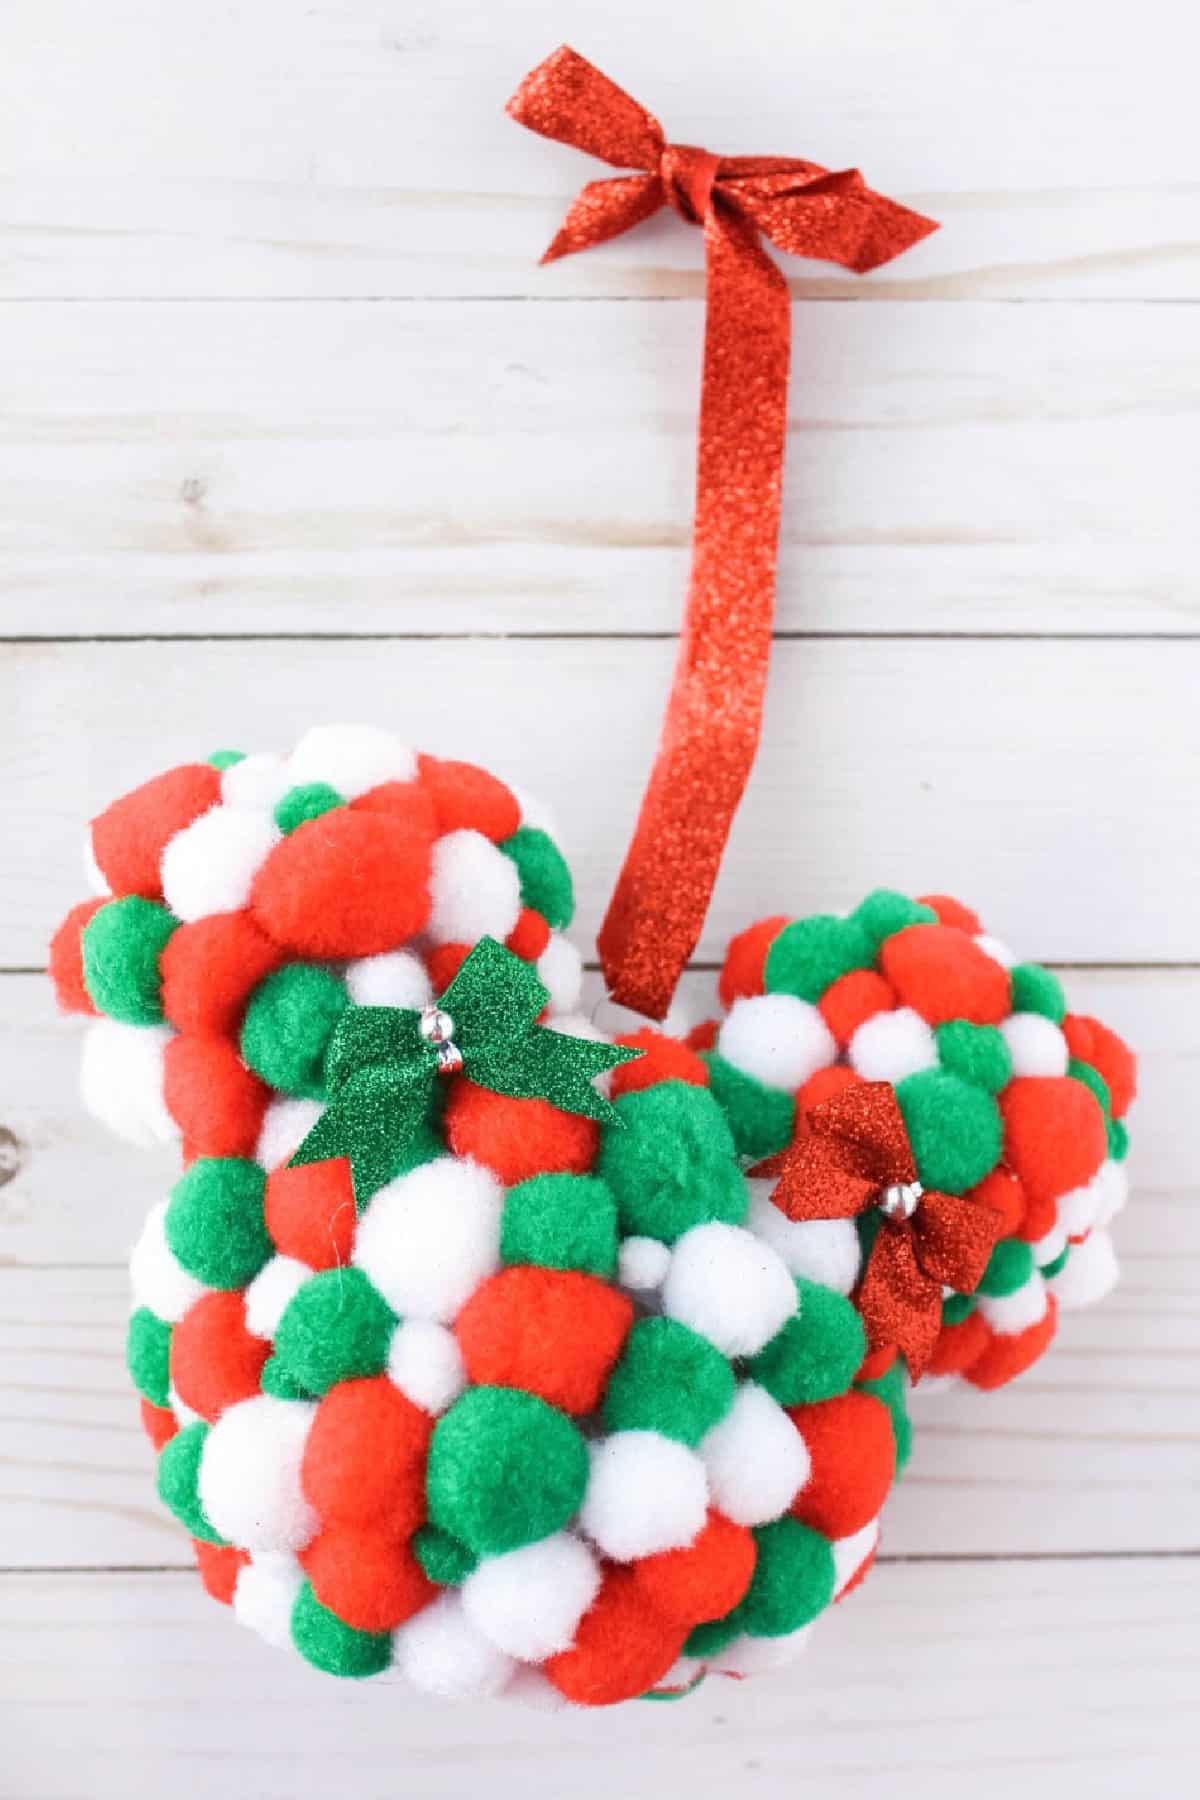
When you completely fill the entire ornament, add any extras you'd like. I glued on a small bow or two and added a piece of red ribbon to the metal top to hand for a special touch. Viola, an easy DIY Mickey Mouse Ornament or even Minnie Christmas Ornaments! I absolutely love how this craft turned out and it is one of my favorite things. and I cannot wait to hang this on our Christmas tree!

Want to make more DIY Disney ornaments? Check out this post: DIY Dollar Tree Disney Ornaments
You can use this technique and create a Mickey Mouse or Minnie Mouse ornament in any way you want. Make this a kid-friendly craft by creating the initial Mickey shape for your child and then letting them paint it or add stickers.
Anyway you do it, I hope you add a little Disney magic to your Holiday with my DIY Dollar Tree Mickey Mouse Ornament craft. Don't miss our other mouse crafts, including M is For Mouse Craft, Mickey Mouse Color By Number, Marble Paper Mickey Mouse, and Mickey Mouse Pumpkin.
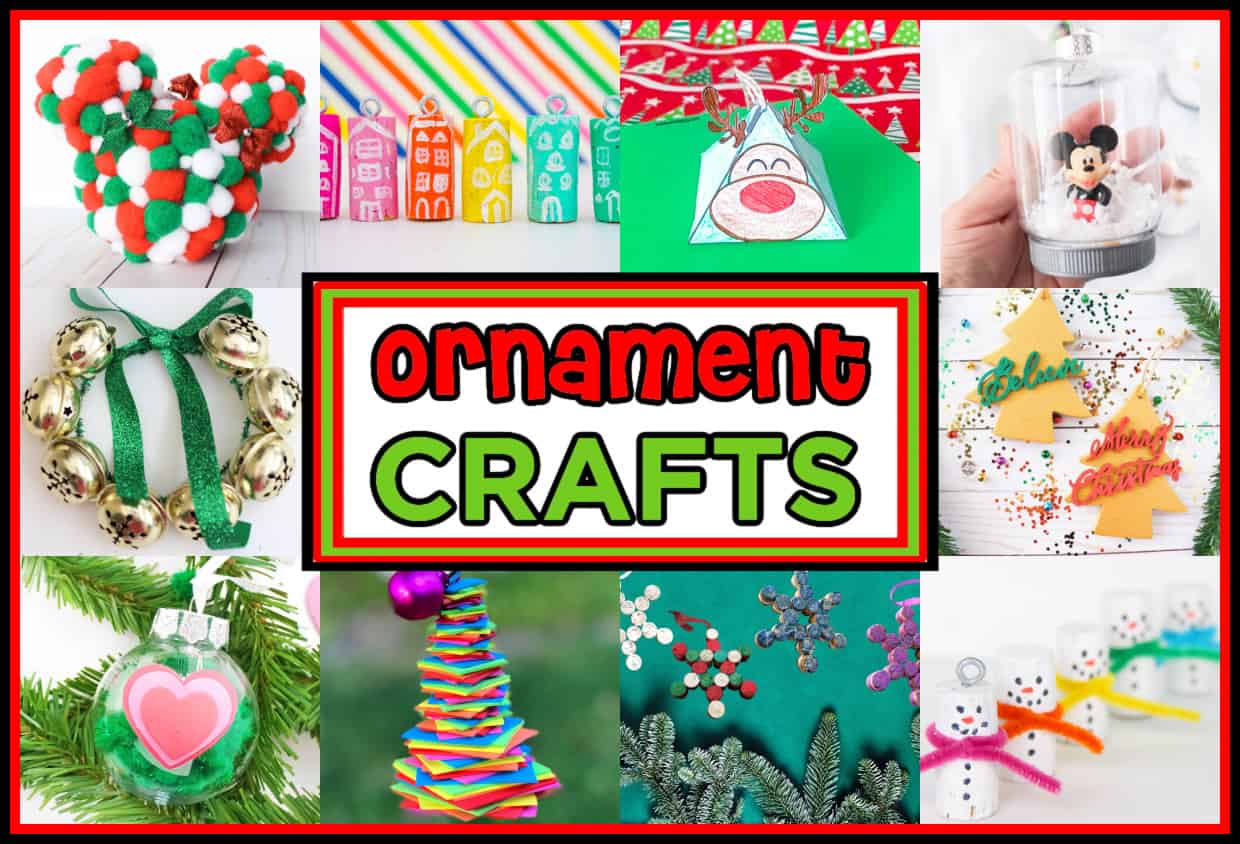
Other Christmas DIY Ornaments You'll Enjoy
- DIY WINE CORK SNOWMAN ORNAMENTS
- SIMPLE YARN STAR ORNAMENT CRAFT
- JINGLE BELL WREATH ORNAMENT
- PRINTABLE CHRISTMAS ORNAMENT - REINDEER ORNAMENT
- THE GRINCH GROWING HEART ORNAMENT

DIY Mickey Mouse Ornament
Equipment
- Glue Gun
- Glue Sticks
- Exacto Knife
- Tweezers (an old pair works)
Ingredients
- 1 big clear Ornament
- 1 2- pack smaller clear ornaments
- 6-7 packs Holiday color Pom Poms
- Red glitter ribbon
- Small Holiday Bows Pack
Instructions
- First, take your smaller ornaments and remove the silver top.

- Then use the knife and scissors to carefully cut off the extra top part. This can take a bit of time so be patient and very careful! However, perfection isn't necessary. It will be glued to the bigger ornament anyway and hidden with the pom-poms.

- When you have both small ornaments ready, use the hot glue gun to add them to the bigger ornament in a Mickey Mouse shape. Make sure to hold each one for a few seconds when you first glue it on to ensure it sticks and the glue dries.
- Now that you've got the Mickey shape, take the Pom Poms and start adding them. Work in small sections and work fast. I used some old tweezers to help me pick up the poms and place them on the ornament. It protected my fingers from the glue and I could pick up the poms a lot quicker.

- Continue working your way around the ornament mixing the sizes of Pom Poms as you wish. I tried to add the bigger ones to the bottom and add smaller ones to fill in empty spots. You can do it however you like best until it's all filled in.

- When you completely fill the entire ornament, add any extras you'd like. I glued two small craft bows and added a piece of ribbon for a special touch. I absolutely love how this craft turned out and I cannot wait to hang this on our Christmas tree!


Video
CONNECT WITH MADE WITH HAPPY!
Be sure to follow me on social media, so you never miss a post!
Facebook | Twitter | YouTube | Pinterest | Instagram
Find and shop my favorite products in my Amazon storefront here!
DIY Mickey Mouse Ornaments
PIN IT TO YOUR DIY BOARD ON PINTEREST!
FOLLOW MADE WITH HAPPY ON PINTEREST FOR ALL THINGS HAPPY!