Learn the simple steps for drawing a school building in this easy and fun tutorial! We've included a free printable too!
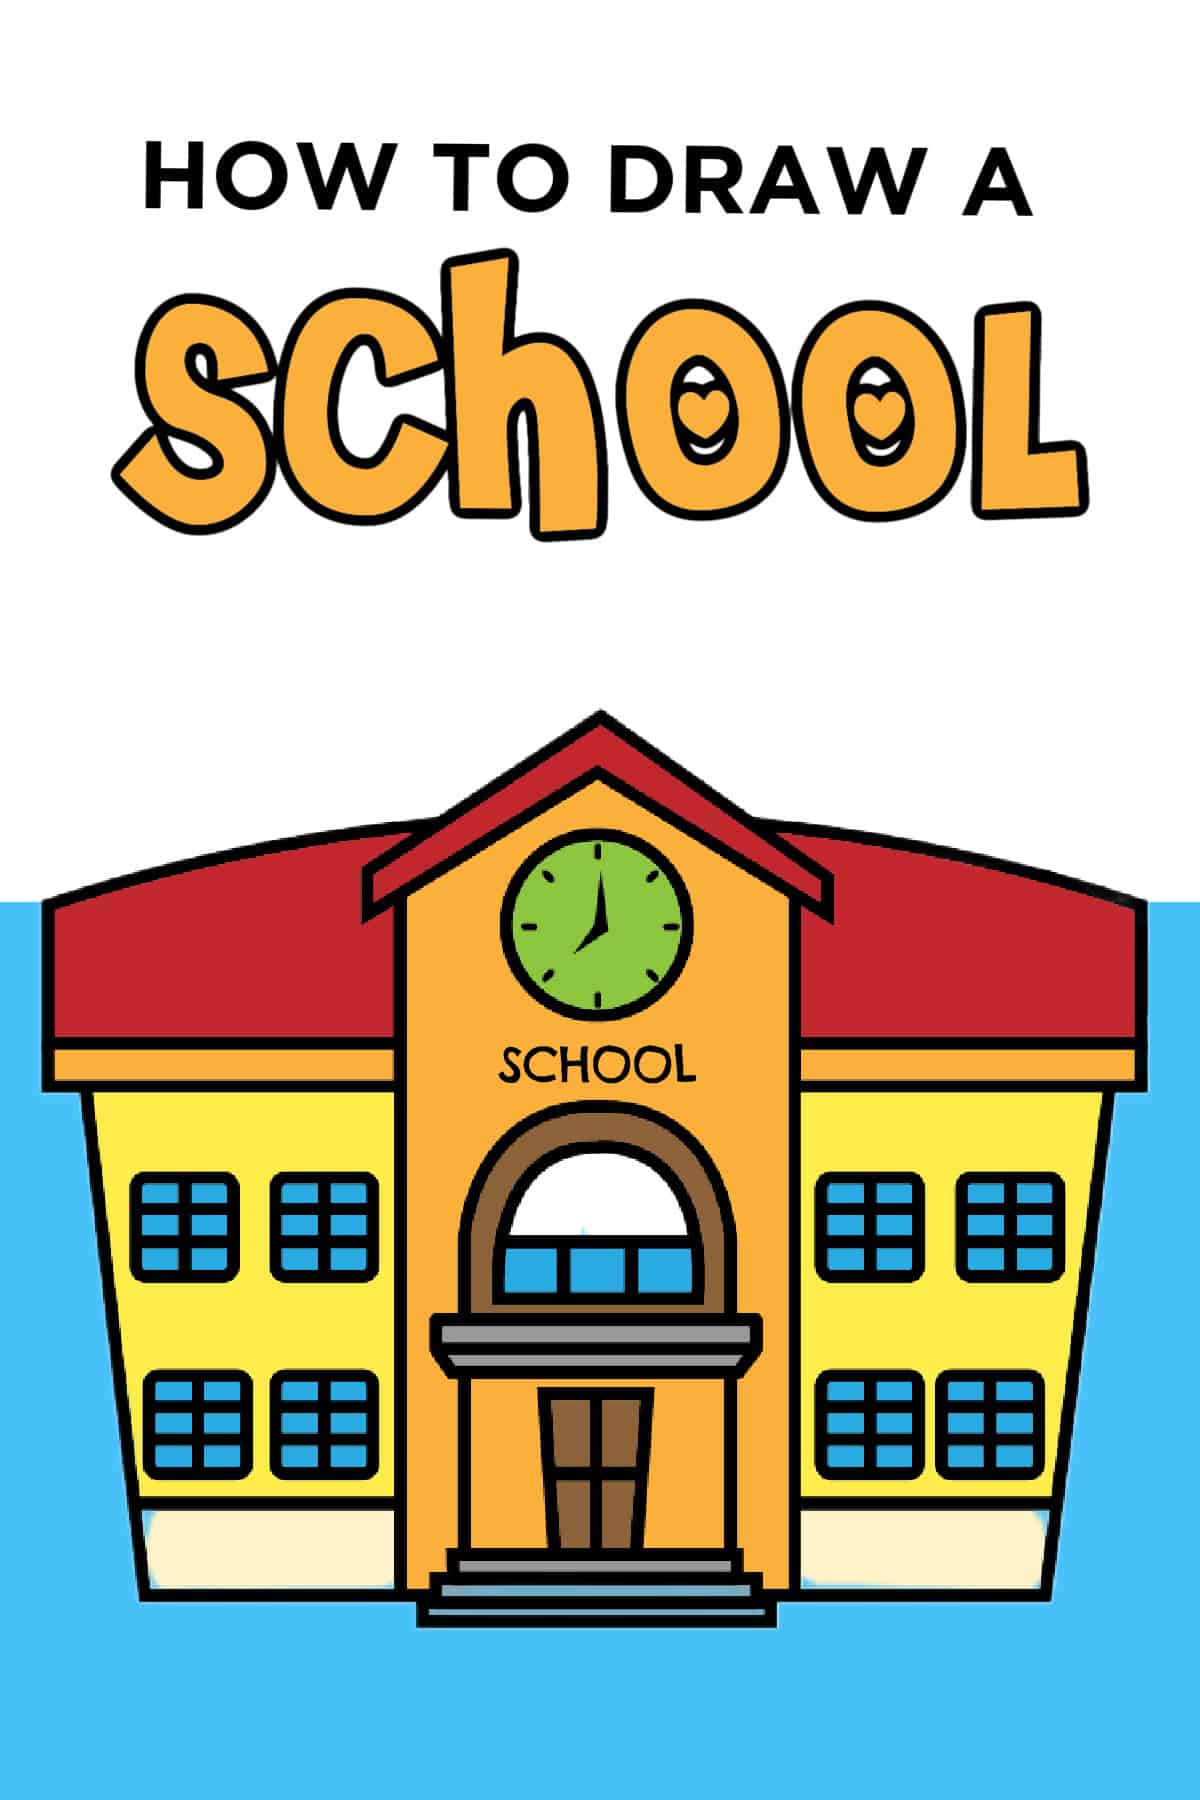
This How to Draw a School Step-by-Step tutorial is so fun for kids of all ages to learn the easy step-by-step lesson on how to make their own school drawing.
It’s back to school time! And what better way to get into the spirit than this simple guide for how to draw a school?
Are your kids so excited? Maybe nervous? A little of both? As soon as we start picking out the school supplies, my kids are over the moon. But those early days always have a couple of jitters!
I find talking about the school, going to the school, figuring out what their own school building looks like, and doing tons of school crafts helps!
So, grab those pencils, markers, or whatever you've got. We're going to have a good time! Rectangle shapes, cute little windows, and some super cute drawings—basically, everything that screams ‘school is in session.’
Don’t worry about it being complicated. I promise it's way simpler than trying to explain that tricky math homework to your 6th grader. Ahhh! When did math become so tricky?
You'll be left with a fab drawing to pin on your fridge. Back to school! Back to school! August or September....Yay! I’m so excited!
Check out our other Back to School Crafts
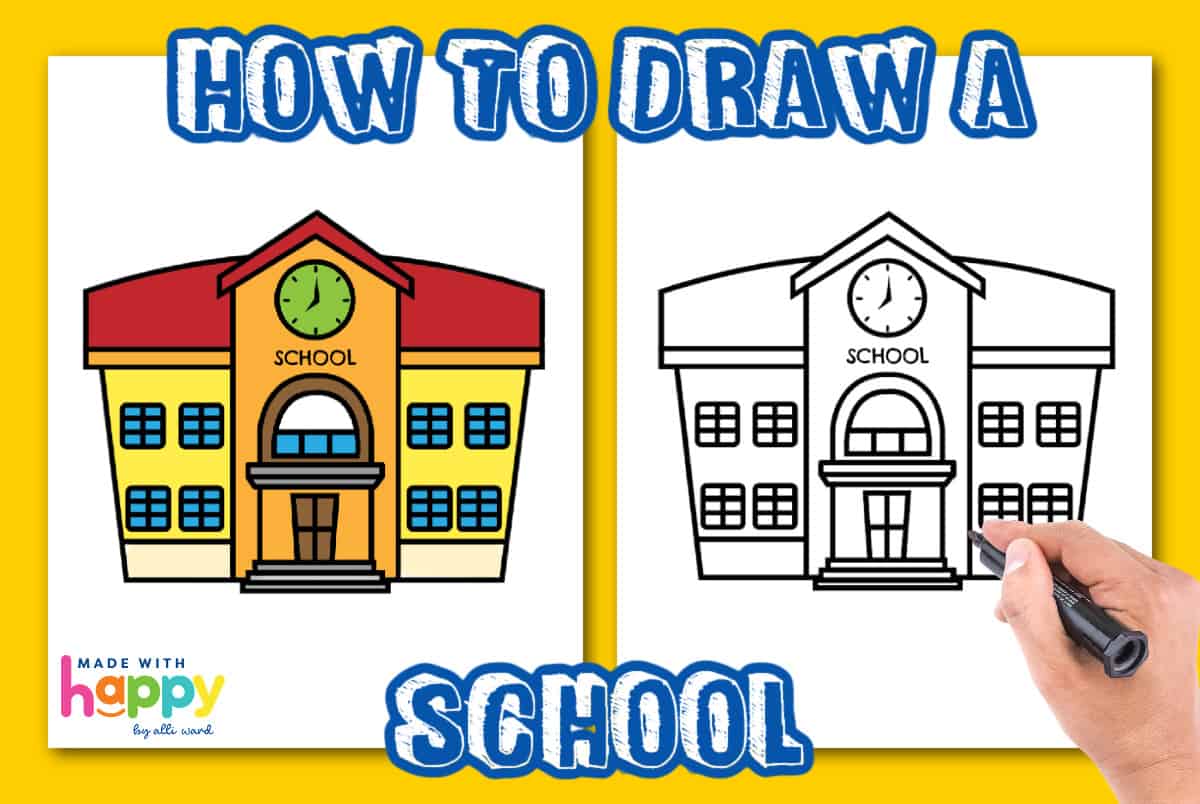
Want to save this project?
Enter your email below, and then we'll send it straight to your inbox. Plus get awesome new projects from us each week.
The School Scene!
I know some of you are cheering that your kids are about to be back in school. And others are holding back the tears as the kids run off to find their friends. Both are totally okay feelings!
Most of us spent our own childhoods in school buildings so schools are just so familiar. Which is why it’s perfect for kids to draw!
We’ve got a cute triangle-shaped roof, walls filled with small rectangles (also known as windows!), and don't forget the front door! It's going to be so cool; you might as well start planning where to hang it. The wall of the school? The living room?
Kids learn best when drawing familiar things. Learning art is totally a way for them to relate to what they see and feel. So how about laying down the foundations of the school, quite literally?
Check out these other Fun School Posts!
Ready, Set, Draw!
No need for your kid to be the next Picasso. We’re keeping it really simple, and it's perfect for beginner artists.
This step-by-step guide that'll walk you through every line, rectangle, and triangle shape that'll make up your masterpiece.
This is the kind of activity that's awesome for little artists in the making. If you’ve got kids who are always doodling on the back of their homework, this is for them!

Keep It Simple!
I love Step-by-Step Tutorials. I know, I know, there are a ton of step-by-step tutorials out there, but ours is special. Why? Because we're providing you with a one-page printable! It’s got 6 easy steps for your own school drawing!
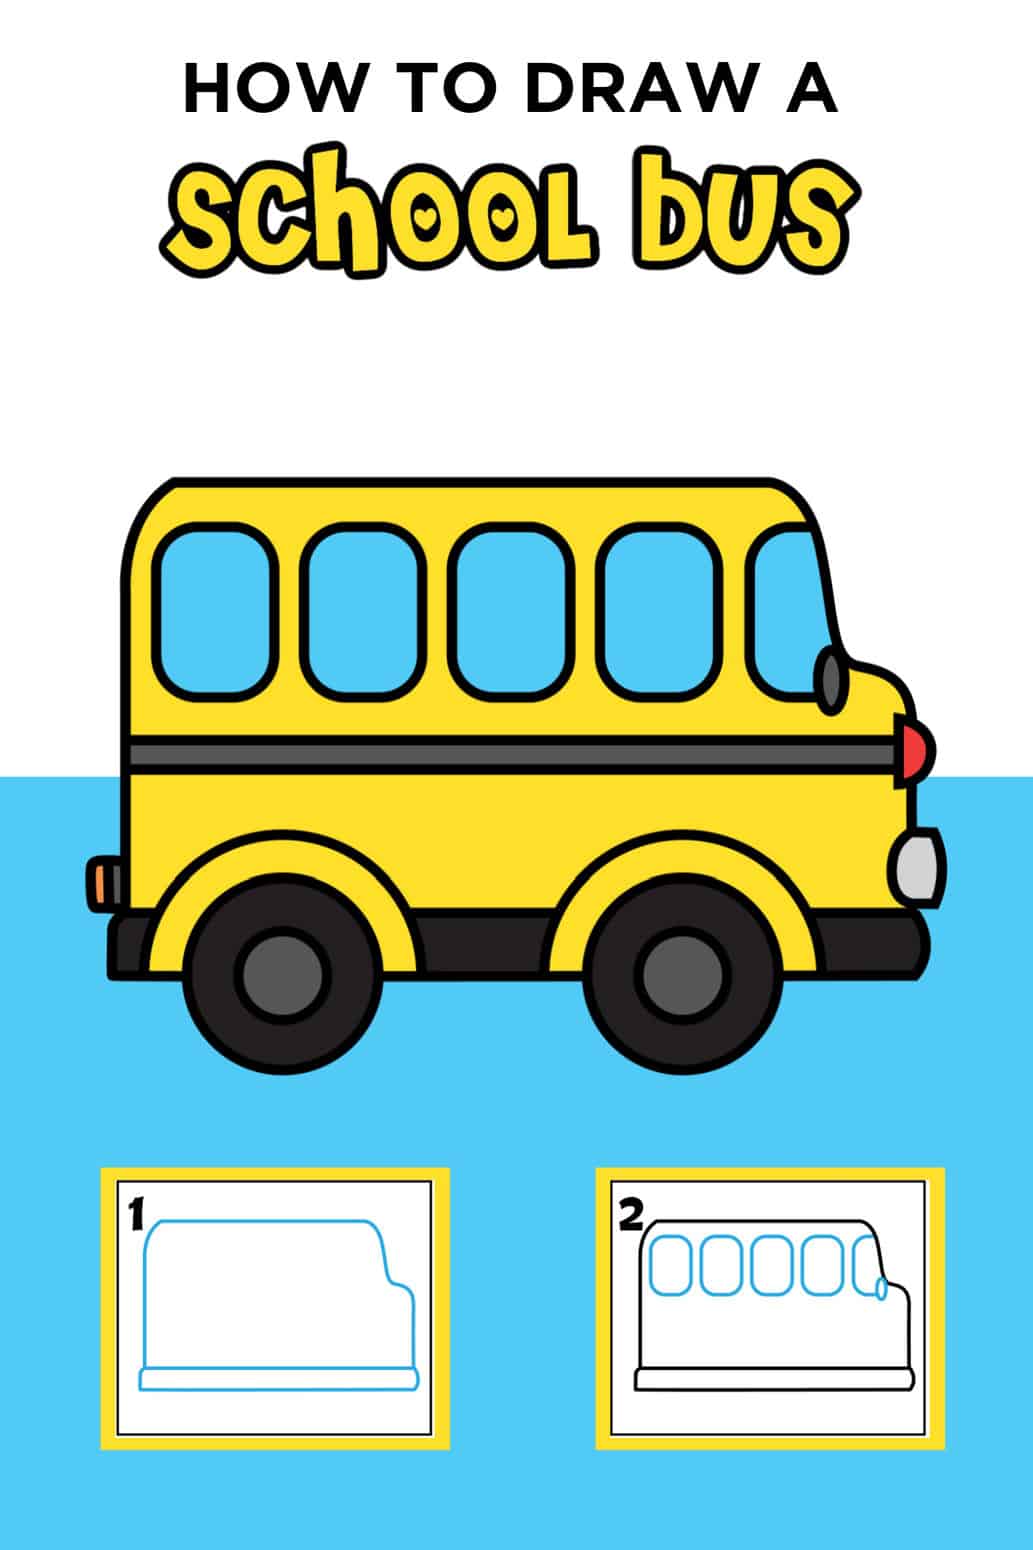
After you're done, draw a school bus or your teacher. Or take the drawing to school and give it to the teacher! They love getting gifts from their students!
Well, what are you waiting for? Hit print on that printable and let’s get sketching. The last step (and most important!) have fun!
Before you start drawing, we also want to ensure you have the right tools. Here are the drawing paper, and drawing pencils we like to use.
If you like these Easy Drawings, then don't miss our Drawing Animals Tutorial Bundle which includes 14 different printable step by step drawing guides.
You also do not want to miss our 101+ Printable Coloring Pages For Kids and 101+ Printables For Kids full of Crafts and Coloring Pages.
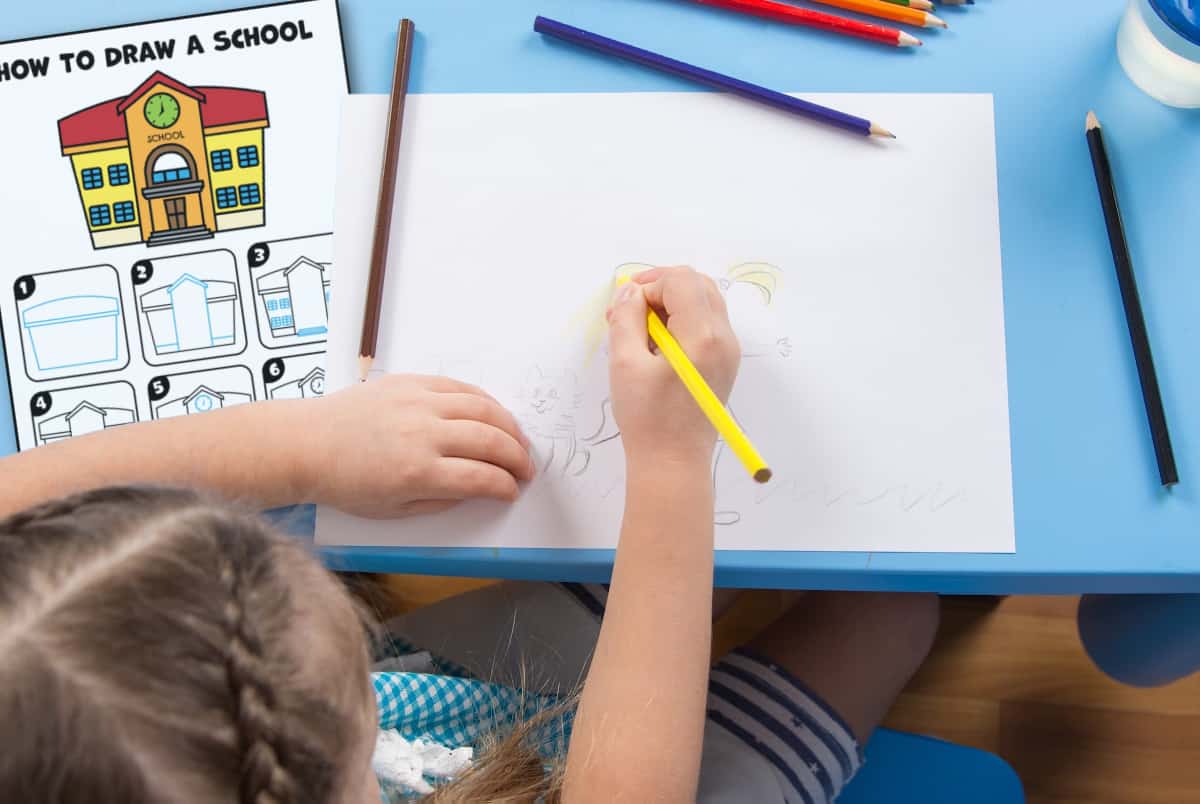
Supplies for School Sketch
- Sheet of Paper
- Crayons, Markers, or Colored Pencils
- Drawing of a School step-by-step guide (download below)
How To Draw a School Step-By-Step
Below we're sharing an easy step-by-step tutorial drawing lesson using basic shapes and straight lines. Don't forget to print out the printable school drawing tutorials at the bottom and follow along.
Grab a piece of paper, and a pencil, and let's draw this school building. Here are the simple steps to how to draw a school.
Note: If you print the tutorial in color, the blue lines indicate the new lines being drawn for each step.
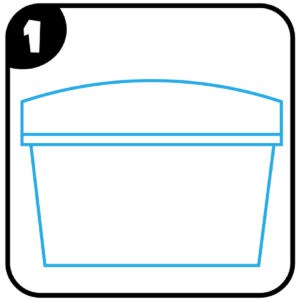
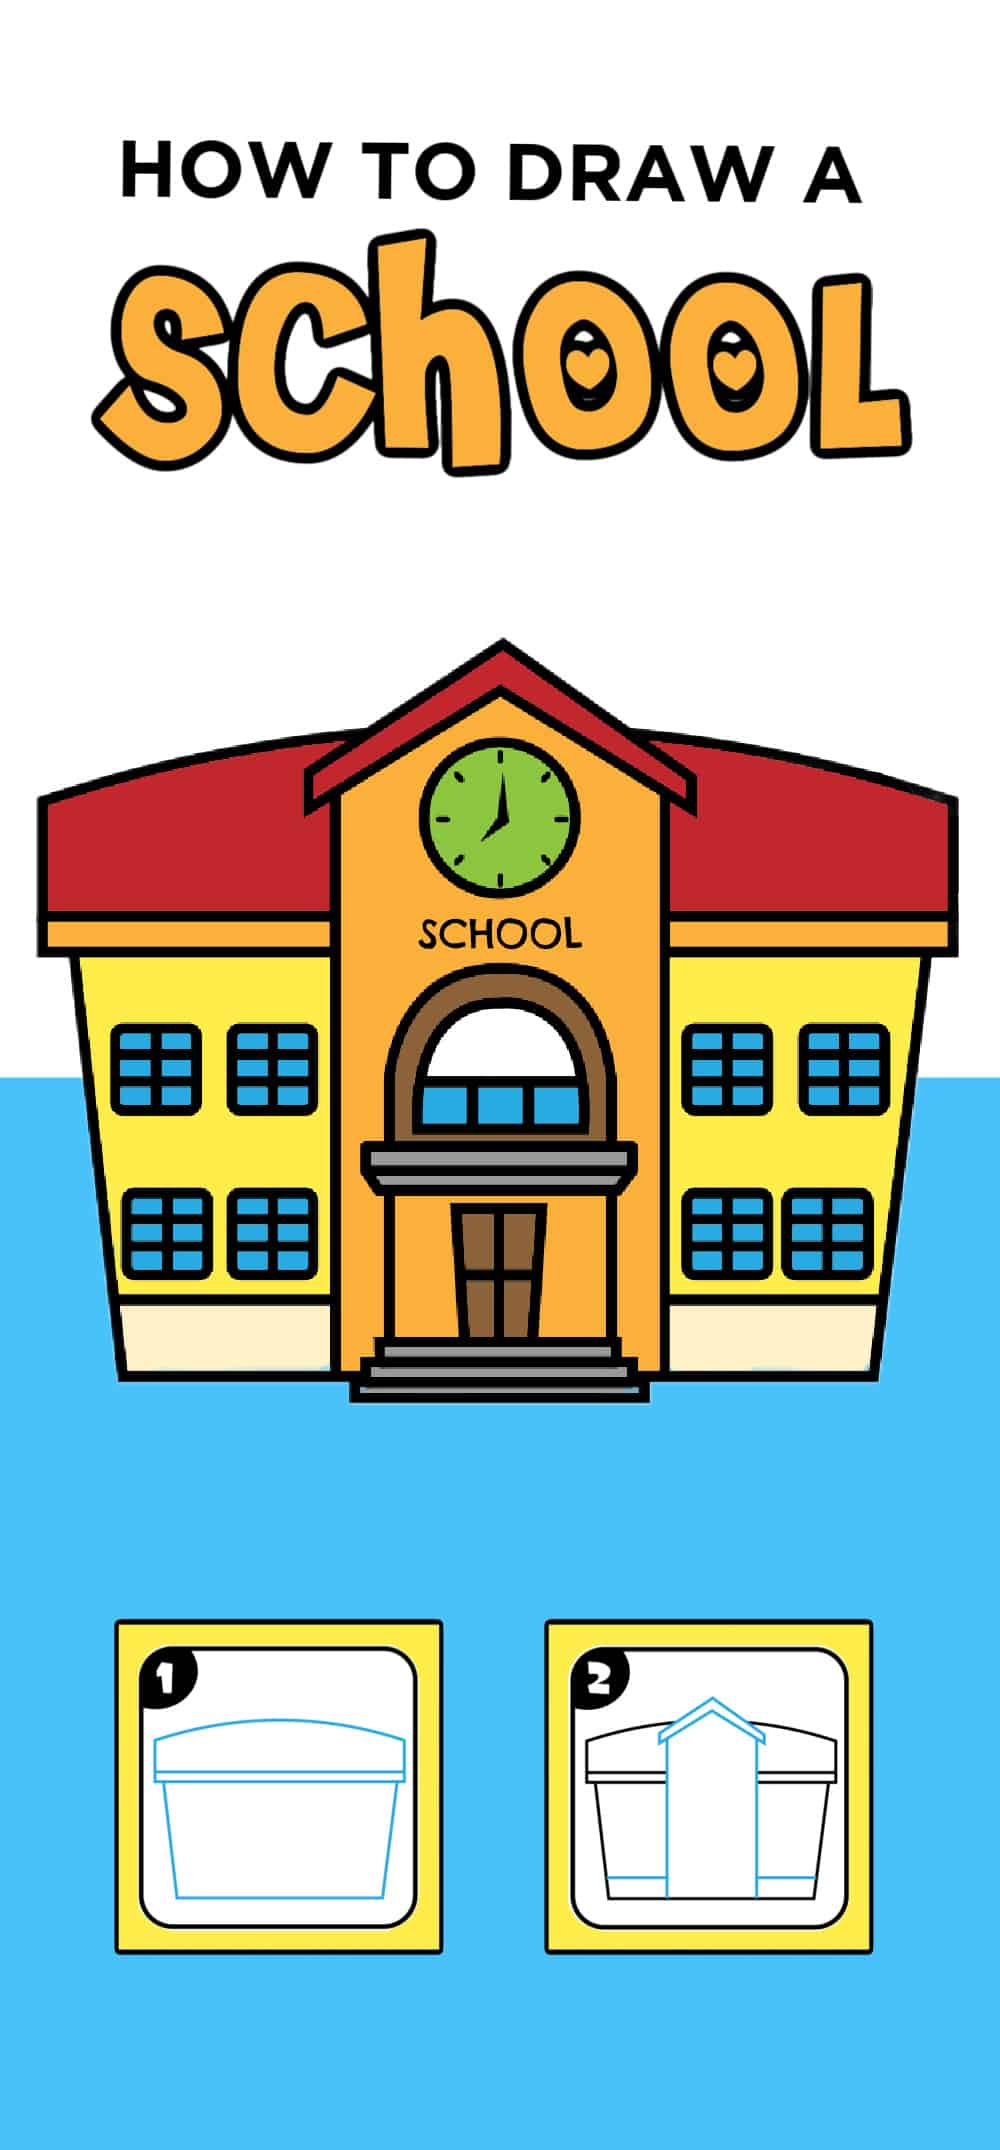
The first step is to draw an upside-down trapezoid shape for the base of the school. Then for the roof of the school, start with a thin rectangle shape on top of the trapezoid that is slightly wider than the base. This will act as the base of the roof. Then draw a vertical line up from one side of the rectangle and then slightly arch the roof and then come down with an additional vertical line towards the other side. It should kind of look like a flower pot.
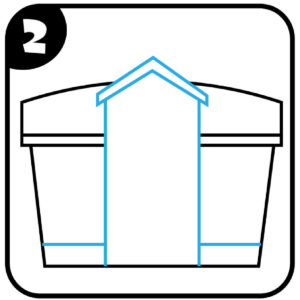
Next, is to draw the front of the school. Starting slightly above the middle of the rooftop, draw an upside-down V shape, ending right below the top of the roof. Similar width to the base of the roof from the previous step, draw another upside V under that, creating the rooftop of the front of the school. Then draw two lines straight down to the base of the building. Then draw a horizontal line towards the bottom of the schoolhouse leaving the front column of the school building empty.
School Windows
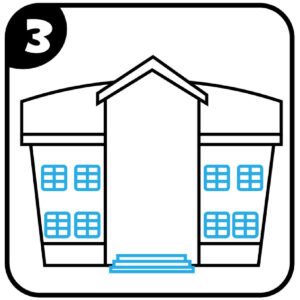
Next, is to add the windows and stairs to the school. We went with rectangular shapes with cross lines creating smaller rectangles for the windows. For the stairs, we drew three thin rectangles with a longer step right below the base of the school the medium right at the base, and then the slightly shorter one above that.
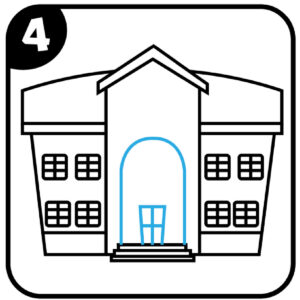
In the fourth step, draw an arch off the top stair going up to right below the roof base. For the front door, we then drew a rectangle with a cross through it, giving it a door look.

Lastly, we added an arch single window above the door, and in the arch as well as the few rectangles above the door. We then drew a simple circle clock towards the peak of the roof above the arch. We then wrote the "SCHOOL" between the clock and the arch, but feel free to write whatever name of the school you would like!

The final step is to outline the school with a black marker on the final lines and erase any extra lines you had while sketching the school.

We think it's fun to color in your school at the end with either crayons, colored pencils, or markers.
We highlighted this Back to School Printable along with some other fun kid's crafts in our September Crafts along with our 101+ Easy Kids Crafts.
You also do not want to miss our 101+ Printable Coloring Pages For Kids and 101+ Printables For Kids full of Crafts and Coloring Pages.
Other Drawing Tutorials You'll Enjoy
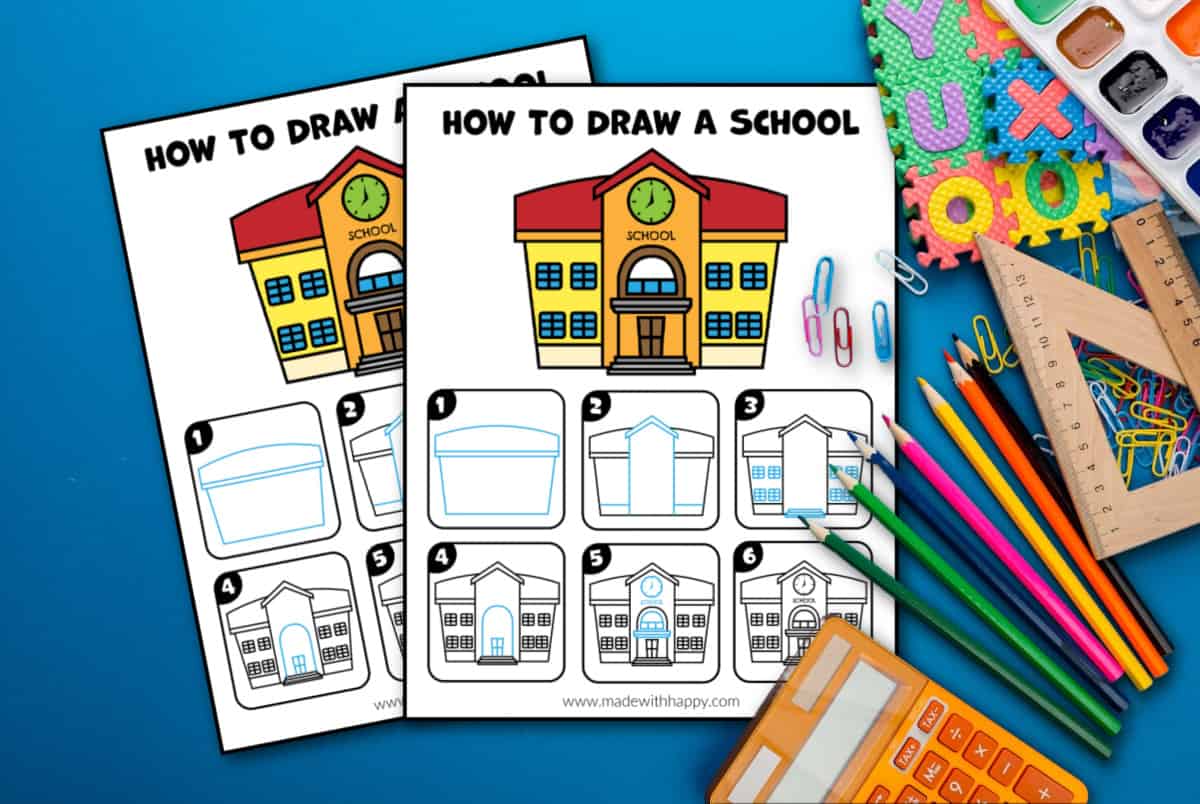
Download Free Printable School Drawing Lessons PDF
Simply enter your name and email address in the form below to be taken directly to the step-by-step instructions pdf file.
*For personal use only
How To Draw a School
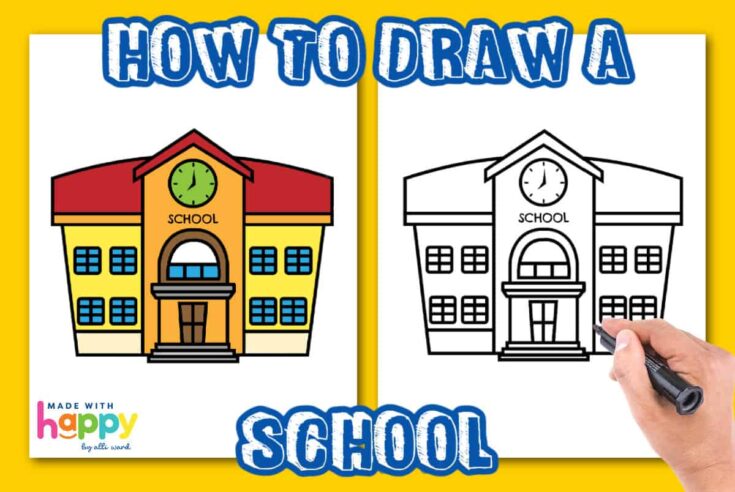
Learn the simple steps for drawing a school building in this easy and fun tutorial! We've included a free printable too!
Materials
Tools
- Drawing Pencils
Instructions
The first step is to draw an upside-down trapezoid shape for the base of the school. Then for the roof of the school, start with a thin rectangle shape on top of the trapezoid that is slightly wider than the base. This will act as the base of the roof. Then draw a vertical line up from one side of the rectangle and then slightly arch the roof and then come down with an additional vertical line towards the other side. It should kind of look like a flower pot.
Next, is to draw the front of the school. Starting slightly above the middle of the rooftop, draw an upside-down V shape, ending right below the top of the roof. Similar width to the base of the roof from the previous step, draw another upside V under that, creating the rooftop of the front of the school. Then draw two lines straight down to the base of the building. Then draw a horizontal line towards the bottom of the schoolhouse leaving the front column of the school building empty.
Next, is to add the windows and stairs to the school. We went with rectangular shapes with cross lines creating smaller rectangles for the windows. For the stairs, we drew three thin rectangles with a longer step right below the base of the school the medium right at the base, and then the slightly shorter one above that.
For the fourth step, draw an arch off the top stair going up to right below the roof base. For the front door, we then drew a rectangle with a cross through it, giving it a door look.
Lastly, we added an arch single window above the door, and in the arch as well as the few rectangles above the door. We then drew a simple circle clock towards the peak of the roof above the arch. We then wrote the "SCHOOL" between the clock and the arch, but feel free to write whatever name of the school you would like!
The final step is to outline the school with a black marker on the final lines and erase any extra lines you had while sketching the school.
We think it's fun to color in your school at the end with either crayons, colored pencils, or markers.
CONNECT WITH MADE WITH HAPPY!
Be sure to follow me on social media, so you never miss a post!
Facebook | Twitter | Youtube | Pinterest | Instagram
Find and shop my favorite products on my Amazon storefront here!
How to Draw a School Easy For Kids
How To Draw a School
PIN IT TO YOUR DIY BOARD ON PINTEREST!
FOLLOW MADE WITH HAPPY ON PINTEREST FOR ALL THINGS HAPPY!


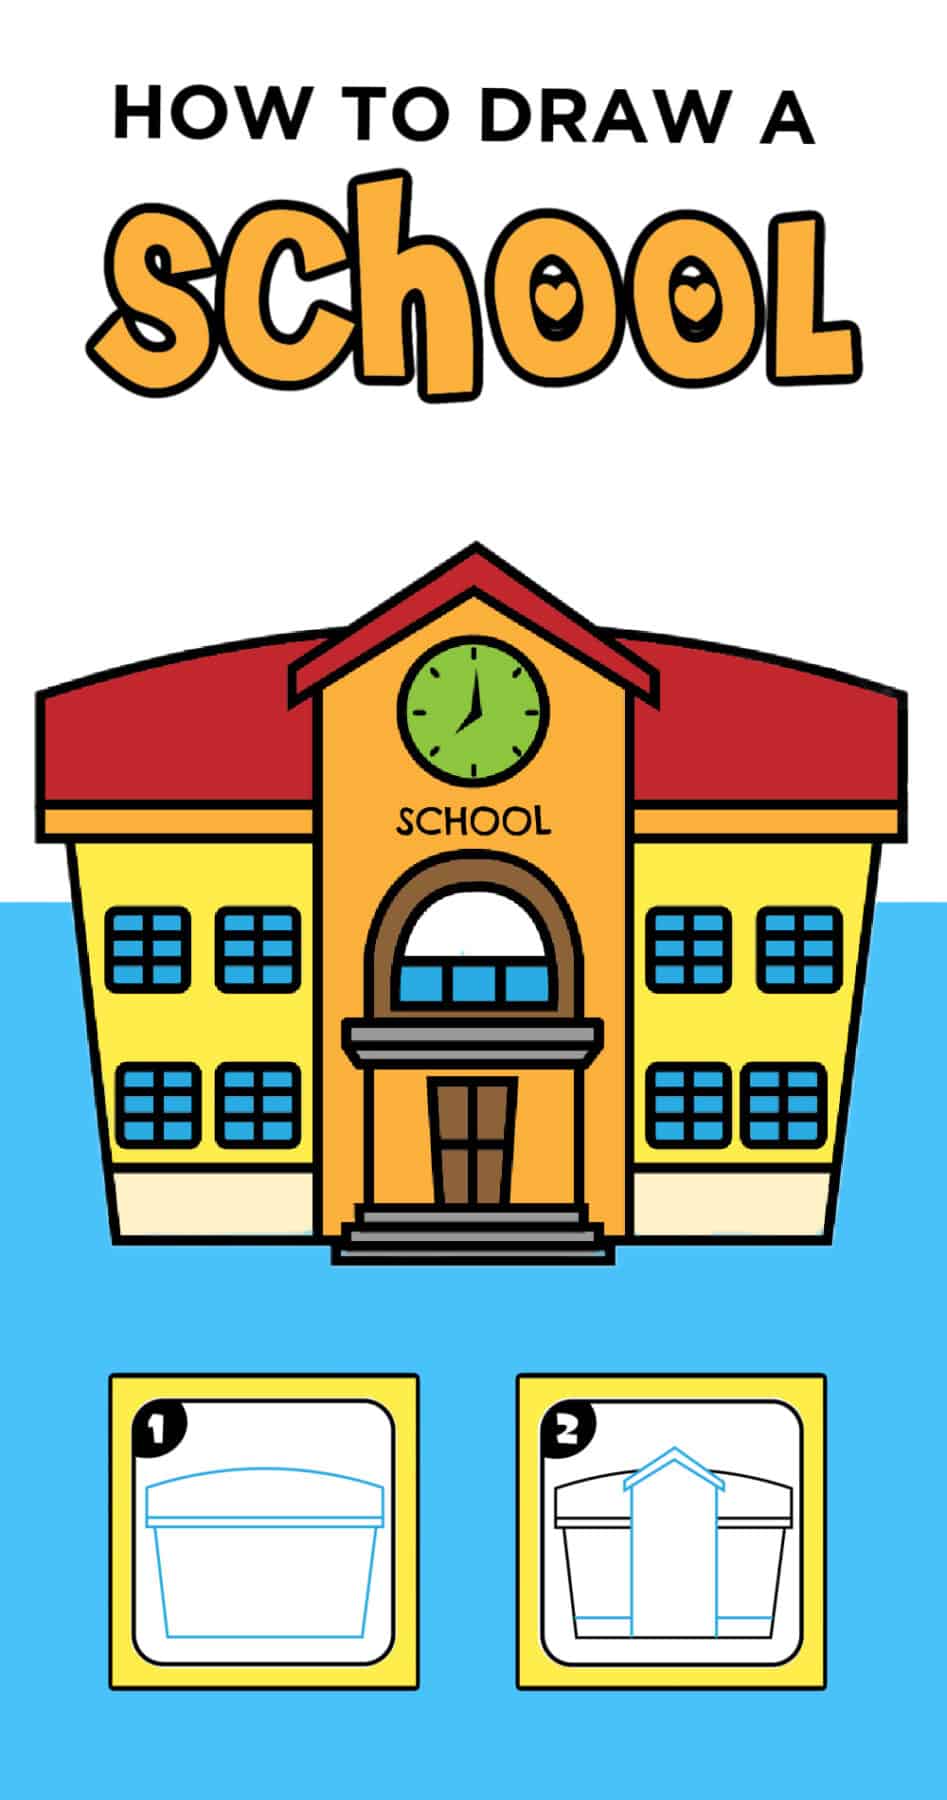


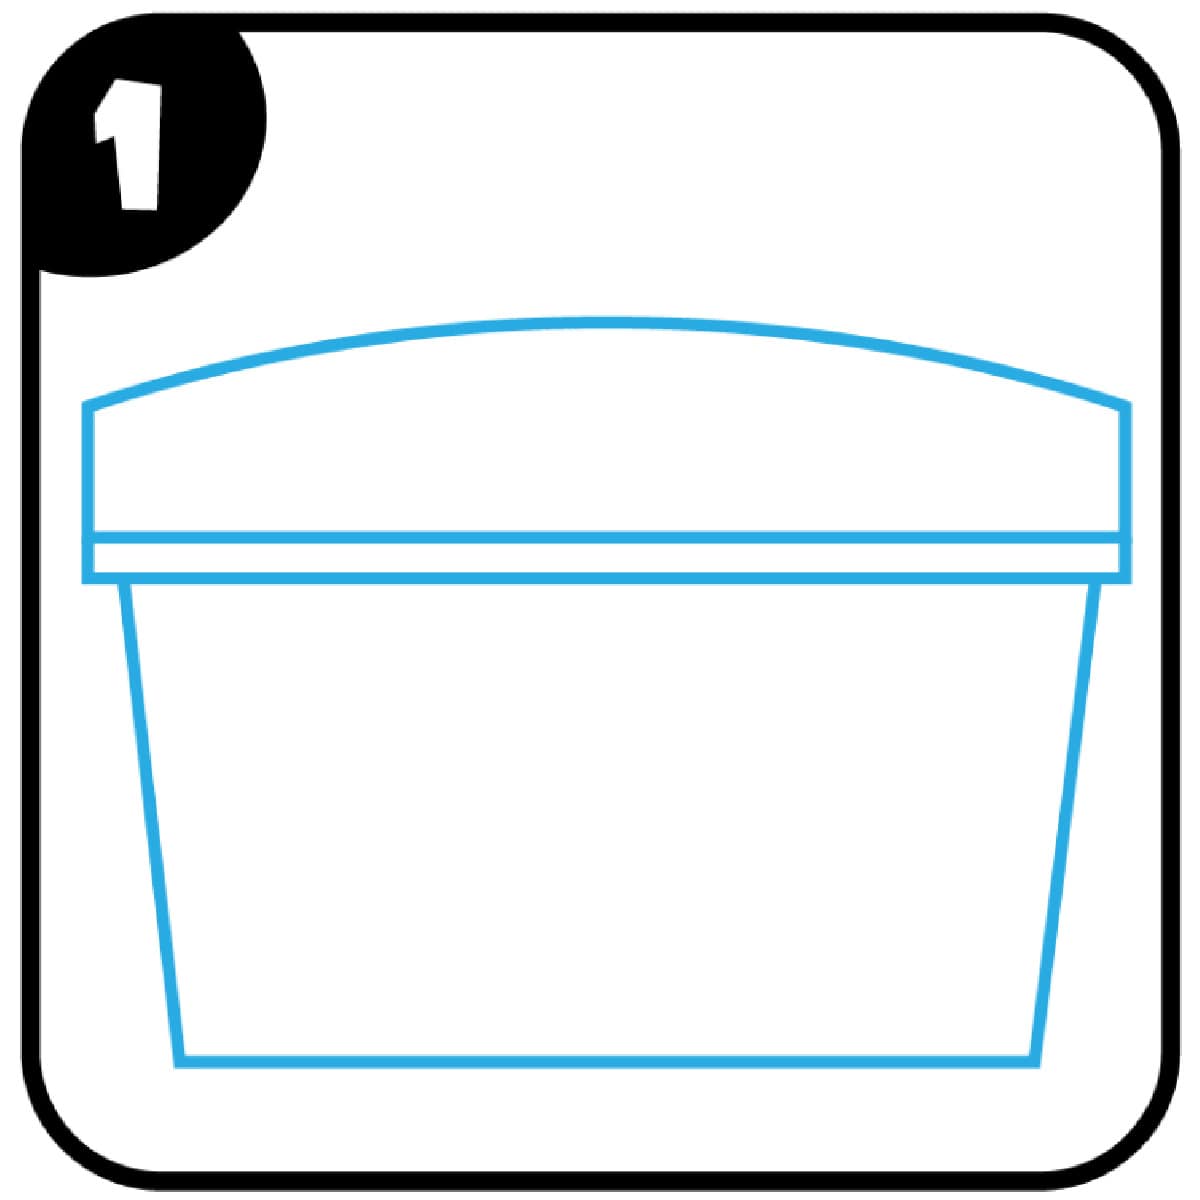 The first step is to draw an upside-down trapezoid shape for the base of the school. Then for the roof of the school, start with a thin rectangle shape on top of the trapezoid that is slightly wider than the base. This will act as the base of the roof. Then draw a vertical line up from one side of the rectangle and then slightly arch the roof and then come down with an additional vertical line towards the other side. It should kind of look like a flower pot.
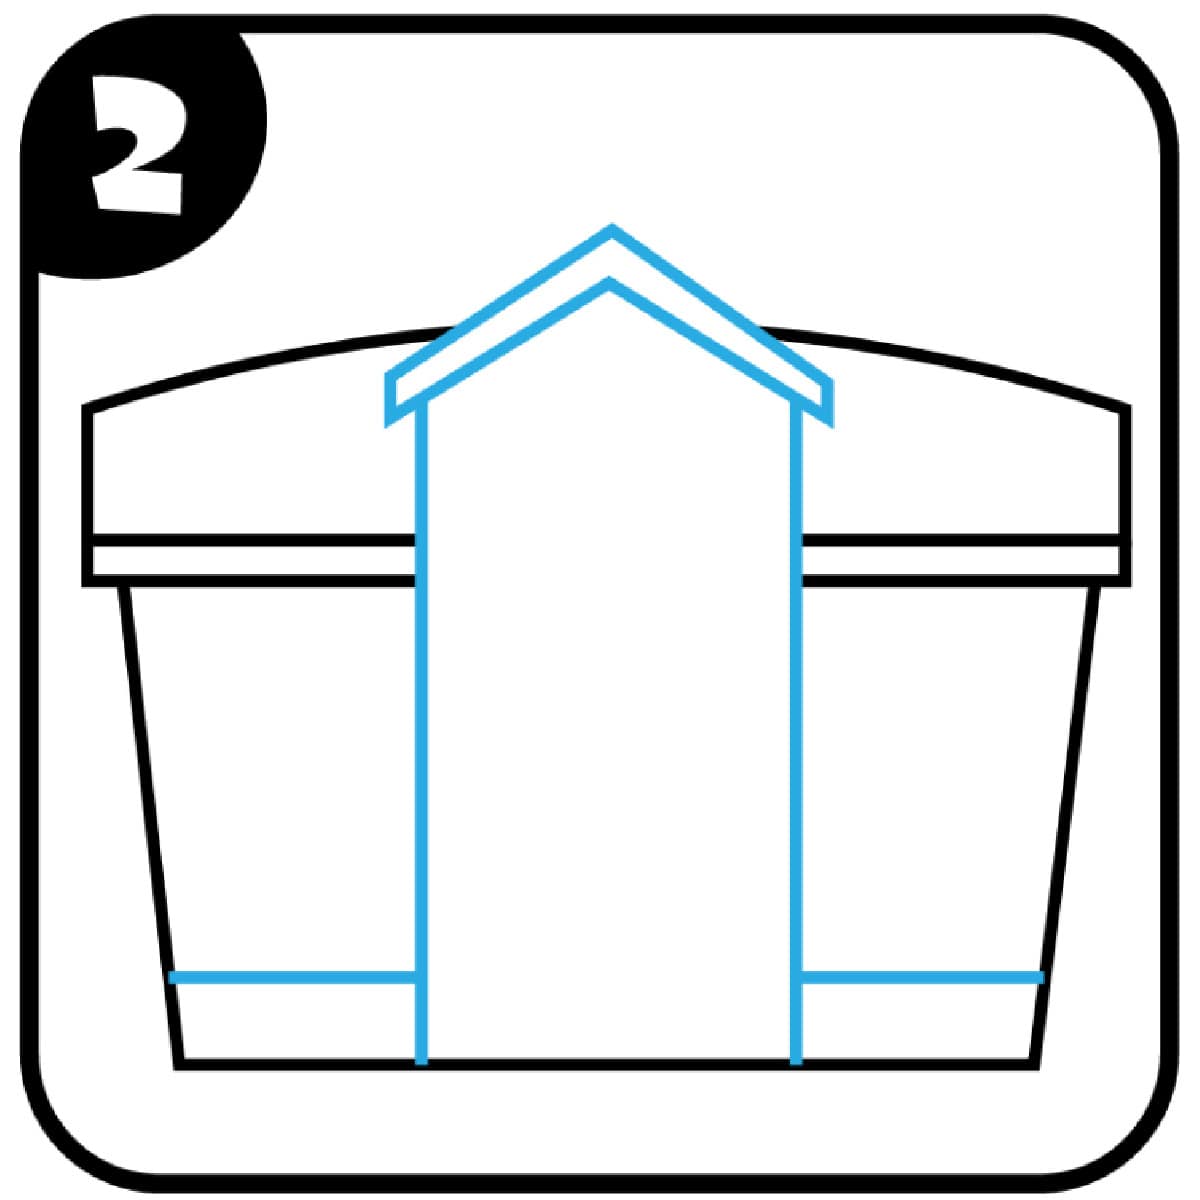 Next, is to draw the front of the school. Starting slightly above the middle of the rooftop, draw an upside-down V shape, ending right below the top of the roof. Similar width to the base of the roof from the previous step, draw another upside V under that, creating the rooftop of the front of the school. Then draw two lines straight down to the base of the building. Then draw a horizontal line towards the bottom of the schoolhouse leaving the front column of the school building empty.
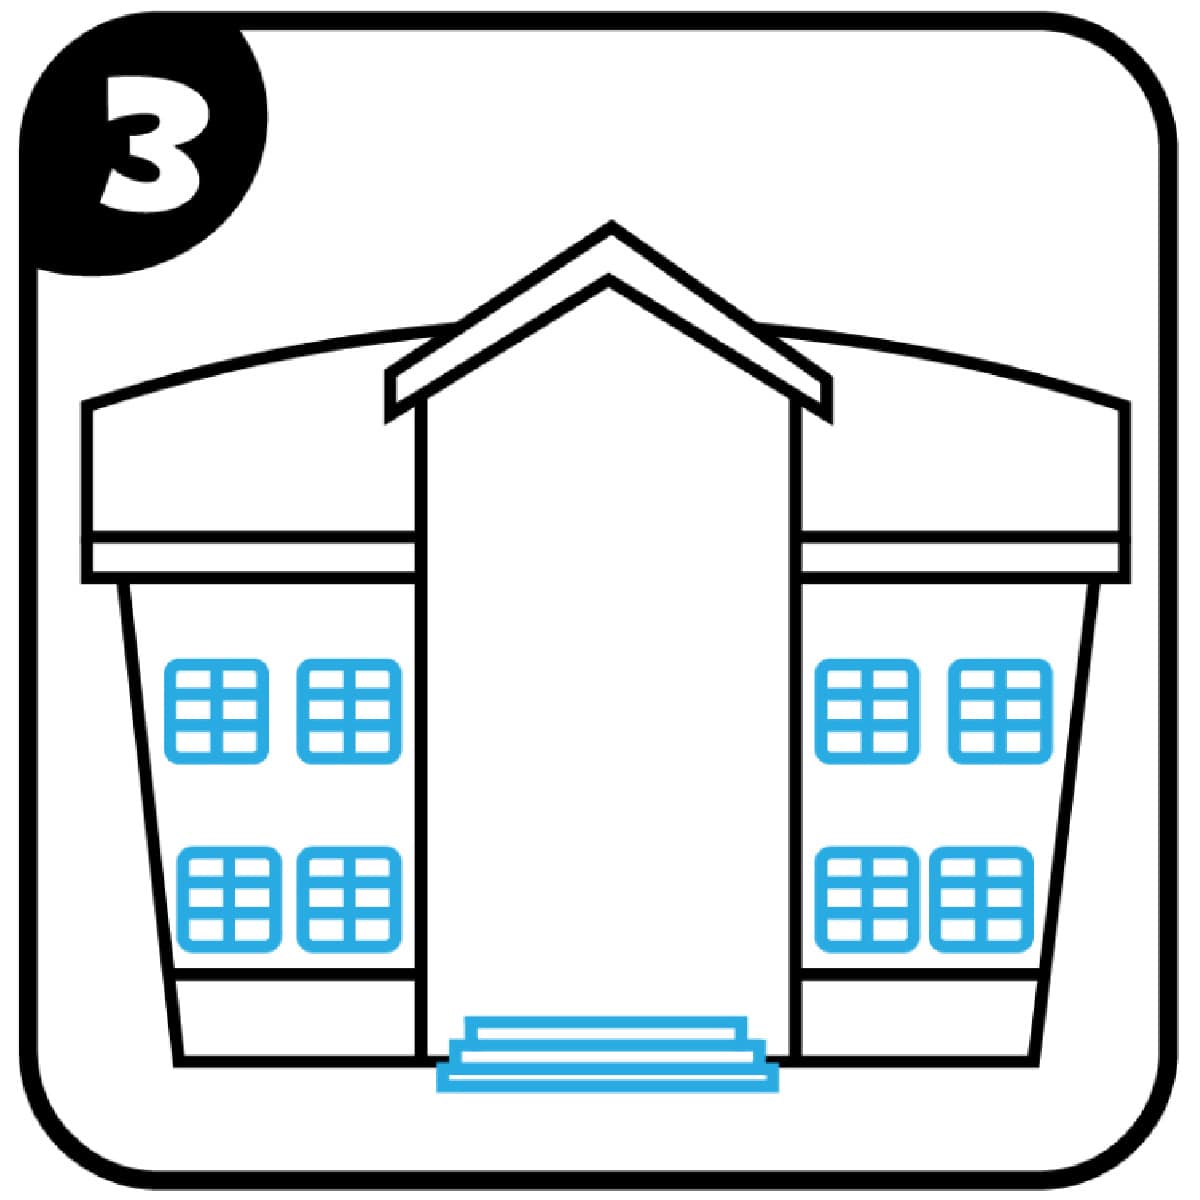 Next, is to add the windows and stairs to the school. We went with rectangular shapes with cross lines creating smaller rectangles for the windows. For the stairs, we drew three thin rectangles with a longer step right below the base of the school the medium right at the base, and then the slightly shorter one above that.
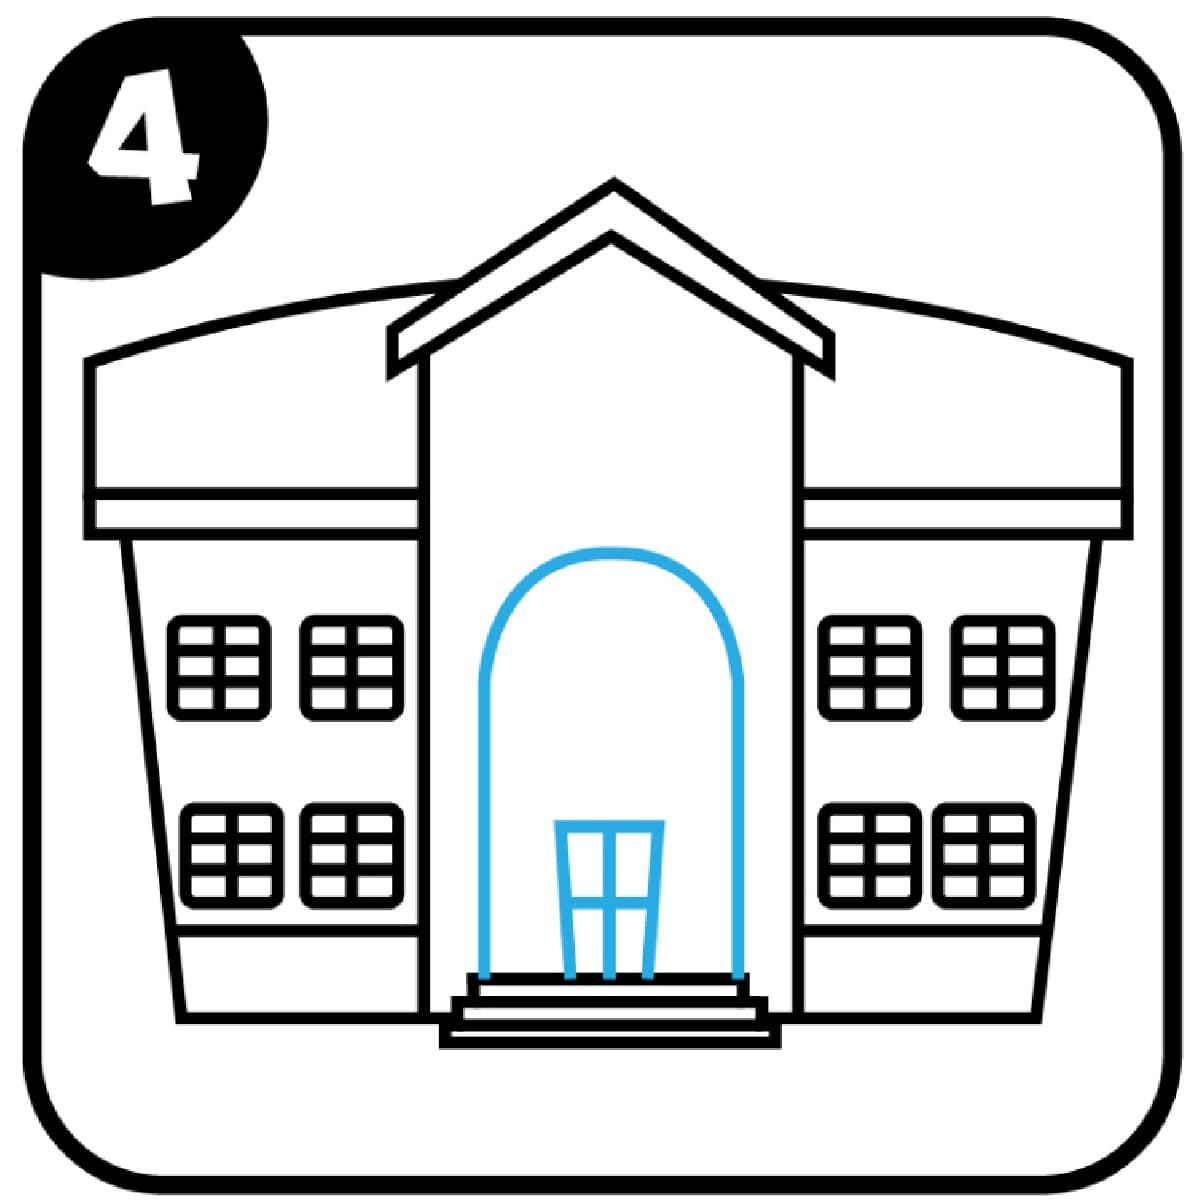 For the fourth step, draw an arch off the top stair going up to right below the roof base. For the front door, we then drew a rectangle with a cross through it, giving it a door look.
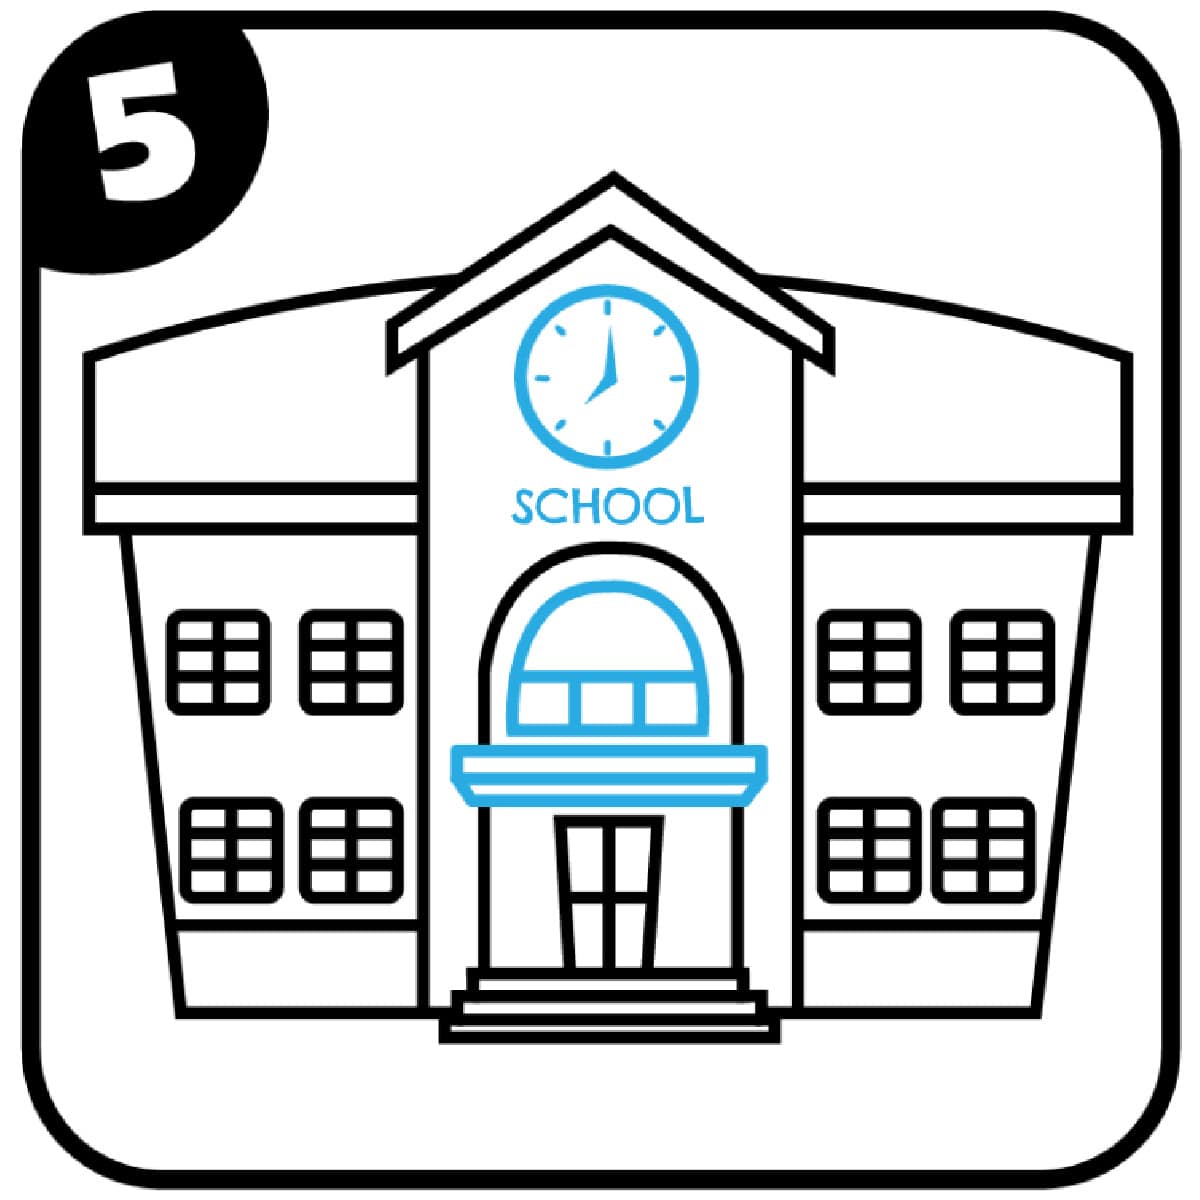 Lastly, we added an arch single window above the door, and in the arch as well as the few rectangles above the door. We then drew a simple circle clock towards the peak of the roof above the arch. We then wrote the "SCHOOL" between the clock and the arch, but feel free to write whatever name of the school you would like!
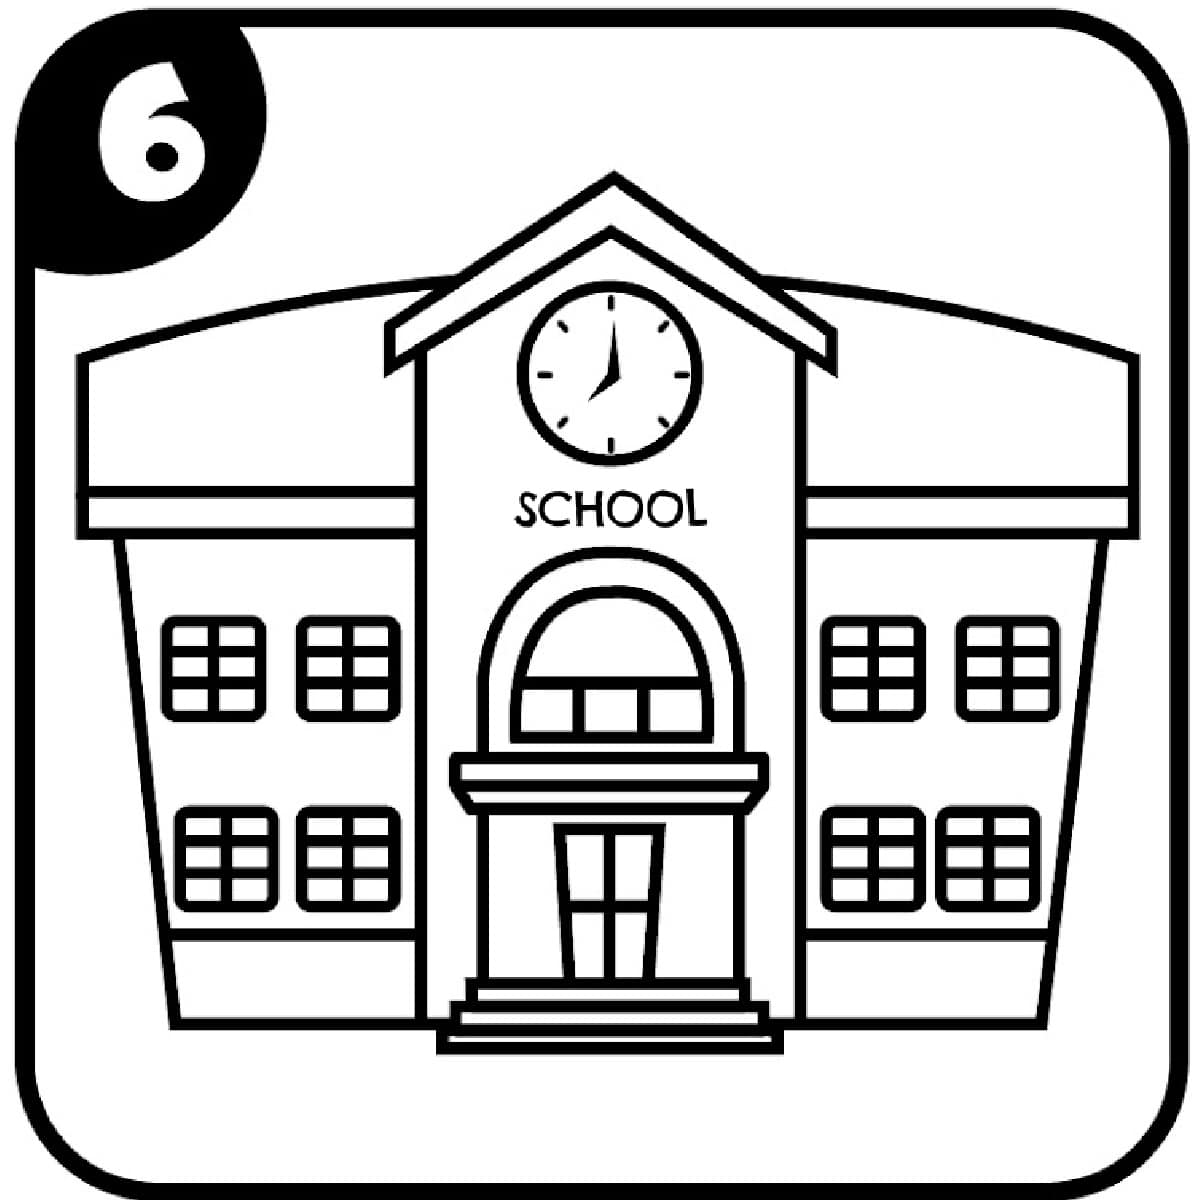 The final step is to outline the school with a black marker on the final lines and erase any extra lines you had while sketching the school.
 We think it's fun to color in your school at the end with either crayons, colored pencils, or markers.