Discover the fun of drawing a school bus with our step-by-step tutorial - perfect for kids and aspiring artists. All aboard the creativity express!
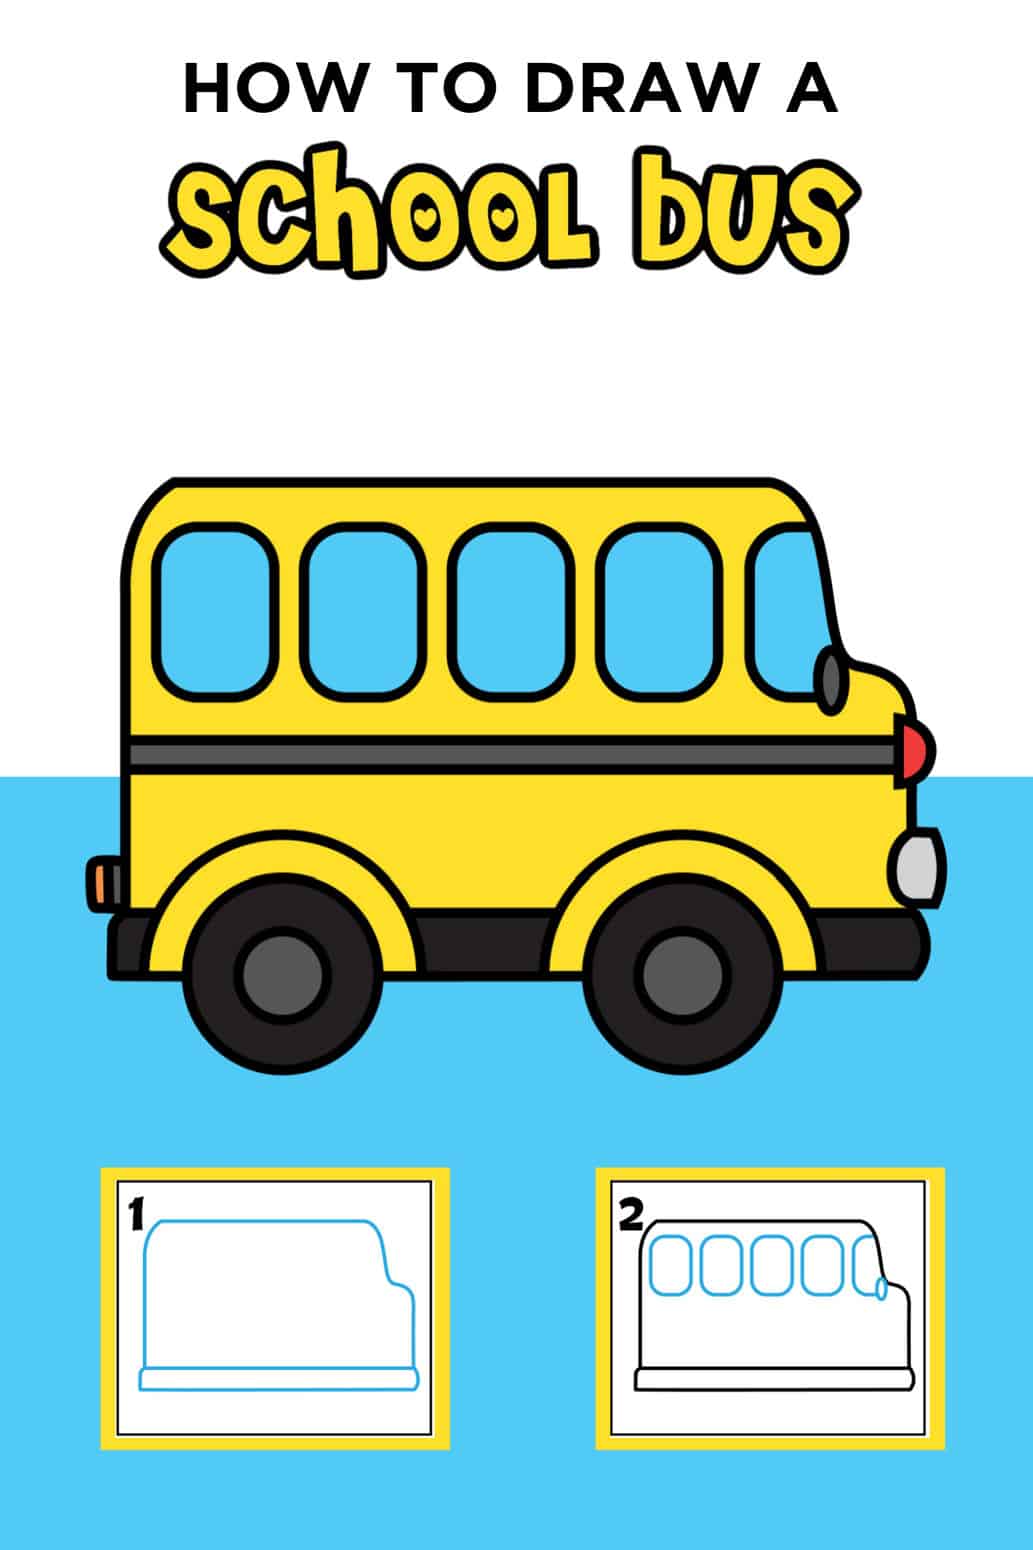
We're on the brink of another bustling school year! What better way to get into the back-to-school spirit than by tapping into our creative sides? That's right, it's time to whip out those art supplies because today, we're learning how to draw a school bus!
Maybe you’re one of those parents just trying to get through those last few weeks of summer. Or perhaps you’re mourning that this time is coming to an end. Perhaps it’s a bit of both! How about the kids? Are they excited? Not quite ready?
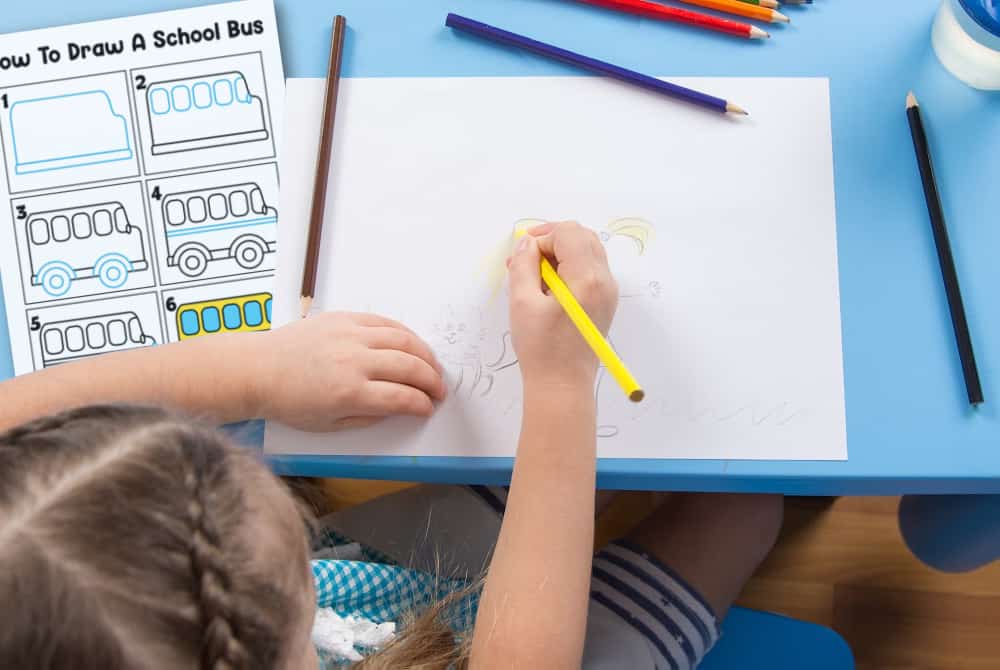
Learning how to draw a school bus can actually help them get in the school mood. Get them thinking about what’s going to be happening and perhaps get them excited if they aren’t already. Plus this is a great way to brush up on those drawing skills while adding a bit of educational fun too. Ready or not, school is upon us!
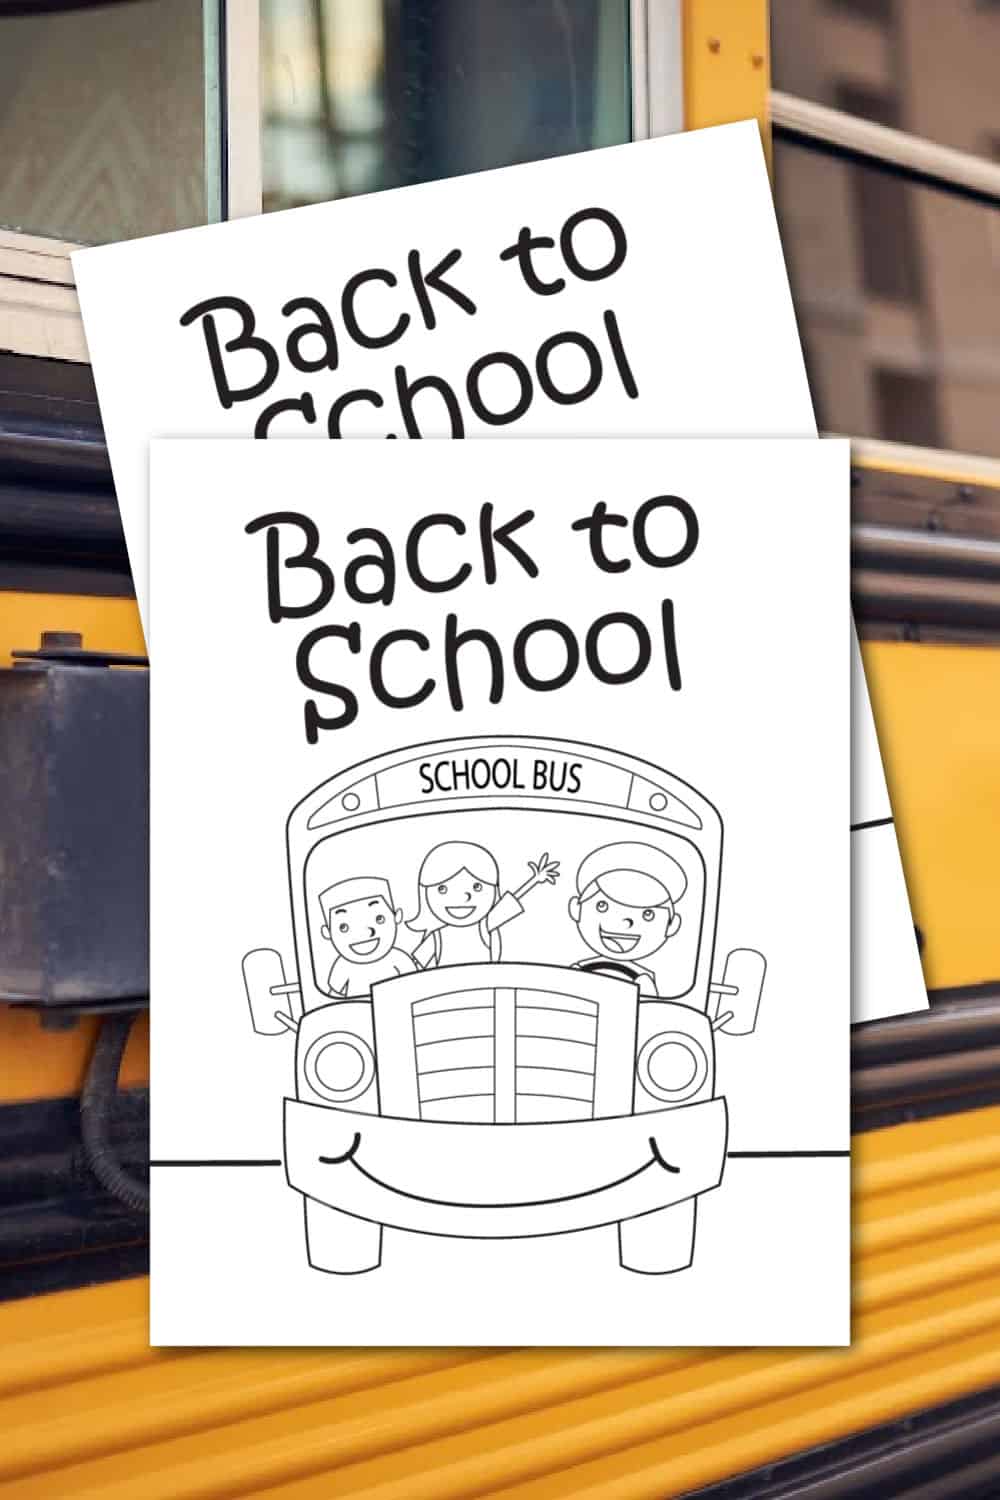
Don't miss all the Back to school fun with our Back to School Crafts, Back to School Coloring Pages, and Back to School Printables.
Want to save this project?
Enter your email below, and then we'll send it straight to your inbox. Plus get awesome new projects from us each week.
Bring On the Yellow School Buses
School buses are pretty iconic, aren't they? Their long yellow body, black stripe, and row of windows are something we all recognize. This step-by-step tutorial is here to guide you and your little artists through each step, making it a breeze to create your own school bus masterpiece.
And hey, while we're at it, those preschoolers are younger artists subtly learning about different forms of transportation. Fun and educational? Now that's a win-win!
If your kids are riding the school bus this fall or not, they’re definitely going to be seeing them. So let’s get them ready. While they’re drawing, you could even go over the bus safety rules. Teach them all about crossing safely and watching for cars. Heaven knows not enough people pay attention to the school bus rules!
Check Out These Other School Bus Fun!
School Bus Drawing Easy
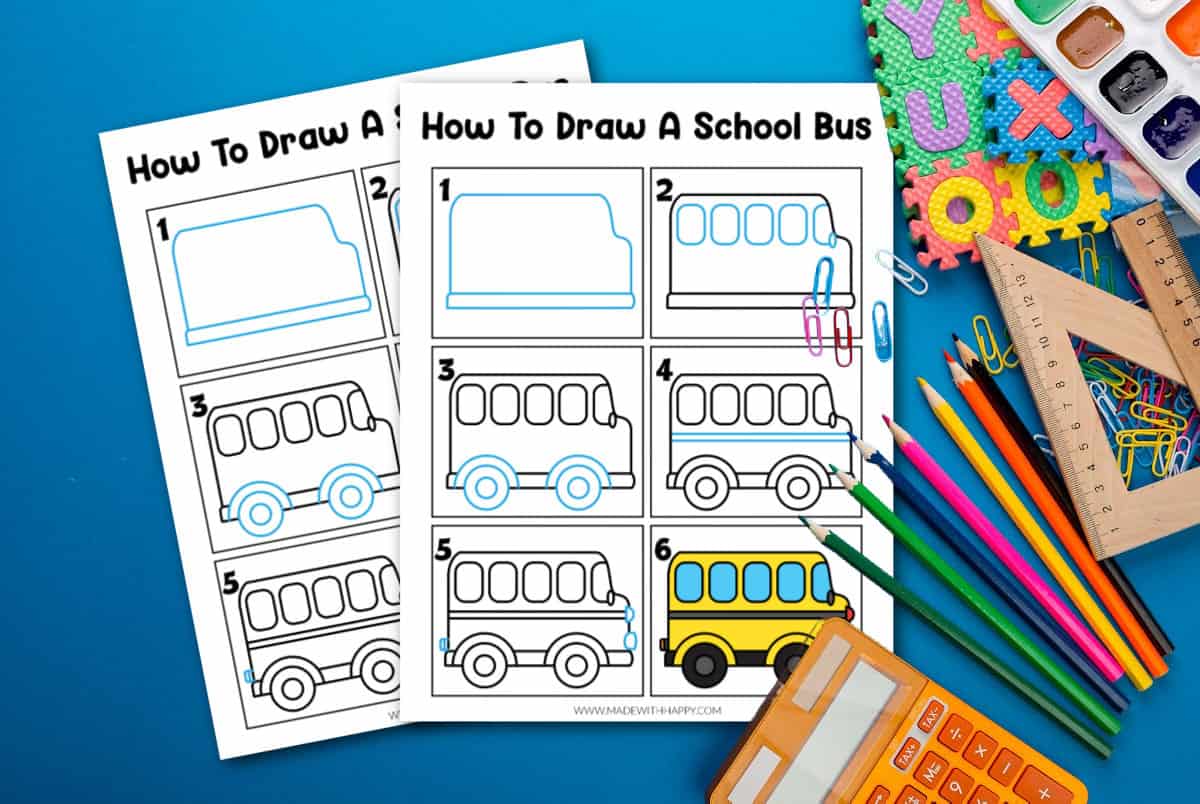
Learning to draw certain characters is always a lot of fun for drawers of any age. We love breaking down each of the drawings into simple steps. It's an easy way for kids of any age to follow along and create their own fun school bus drawing.
We've also created an easy tutorial with step-by-step instructions that are free to print at the bottom of the blog post. I also think having the printable drawing guide helps in making the easy drawings come to life.
If you love drawing tutorials as much as we do, then you will not want to miss some of our other fun drawing lessons.
Before you start drawing, we also want to make sure you have the right tools. Here are the drawing paper, and drawing pencils that we like to use.
Now how to draw a simple school bus step by step!!
Check out our Easy Drawings For Kids!
How To Draw a School Bus Easy
School Bus Body
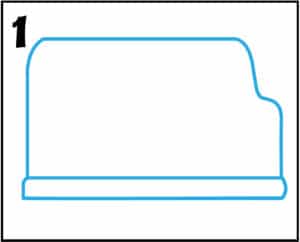
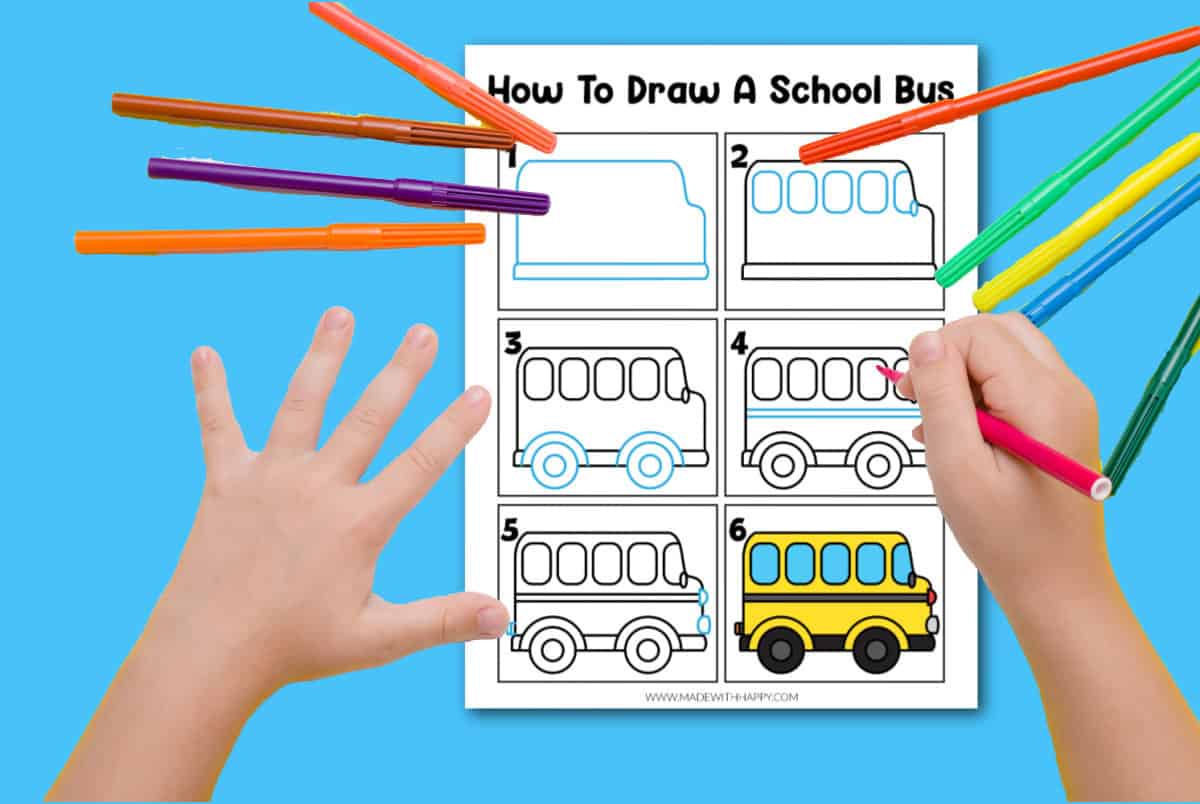
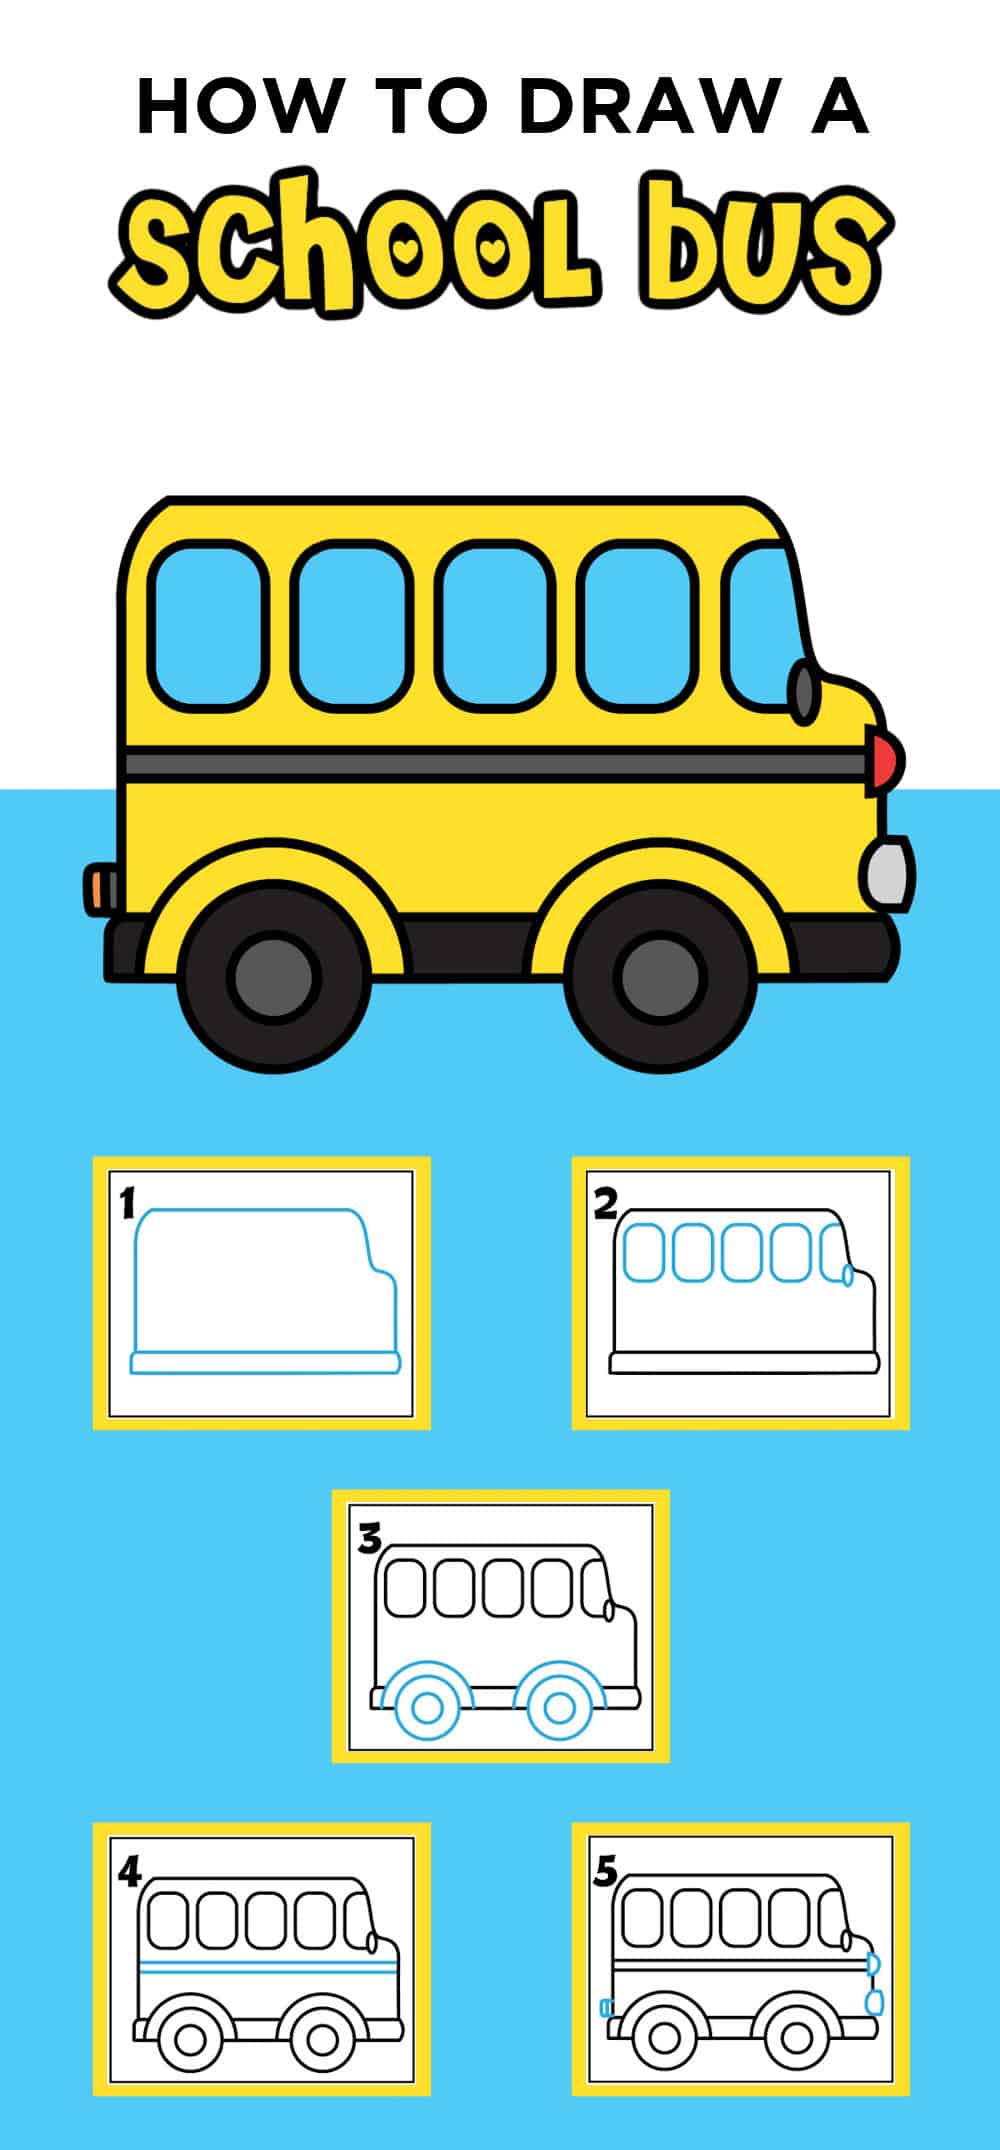
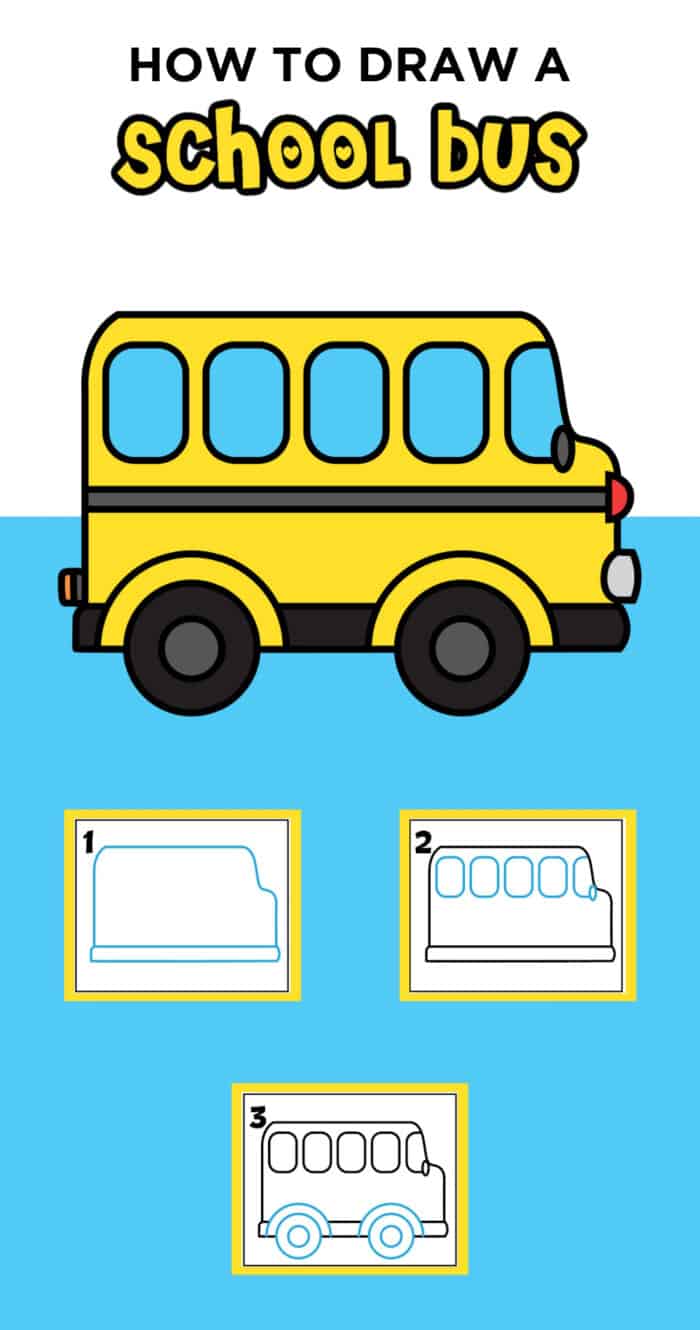
Start by drawing a large rectangle shape with curved corners on the top. As you draw the left line down, curve slightly out and then halfway down draw the an slight horizontal line. Then continue with a straight line down. At the bottom draw a thin slightly longer rectangle creating the bumper.
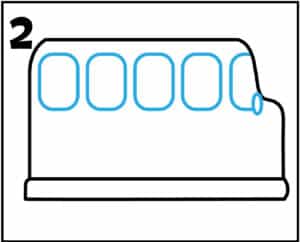
Next, you will draw the windows of the bus. I like to start with the front of the bus, and draw a half rectangle for the front windshield. Then draw similar small rectangles towards the back of the bus. Add a small oval shape right at the curve of the windshield.
School Bus Wheels
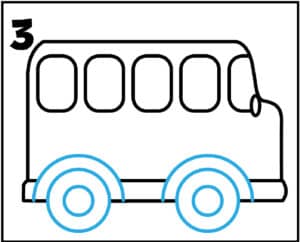
Next, is to the draw the wheels of the bus. I like to start with two small cirlcles with the middle of the circle in line with the bottom of the bus body. Then draw a slightly larger circle for the bus wheels. Lastly, draw a half circle slightly bigger than the wheel and its the upper circle. This will be the wheel fender.
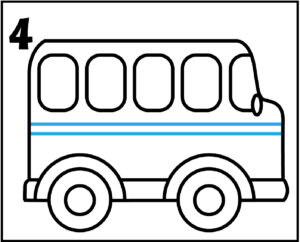
Next, draw to horizontal lines across the entire body of the bus right below the windows and above the fenders.
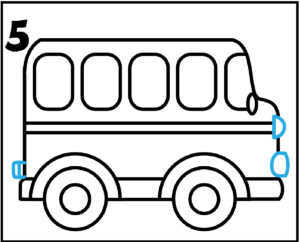
Next draw a small half circle at the front of the bus at the end of the two horizontal lines. Draw an additional small bowl shape right above the front of the bumper. Then draw small rectangle shapes at the back of the bus right above the bumper as the tail lights.
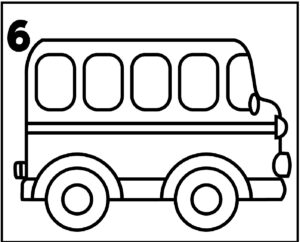
The final step is to go over the drawing of the school bus with a darker pencil and erase all the extra drawing lines.
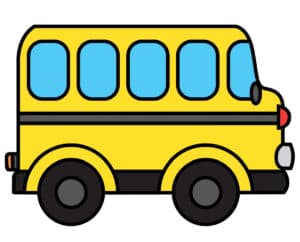
Then use crayons, paints, pencils, or markers to color in your school bus. The more traditional bus has a long yellow body, but feel free to color your bus whatever colors you like!
We highlighted this Back to School Printable along with some other fun kid's crafts in our September Crafts along with our 101+ Kids Crafts.
You also do not want to miss our 101+ Coloring Pages For Kids and 101+ Printables full of Crafts and Coloring Pages.

Other Back to School Printables
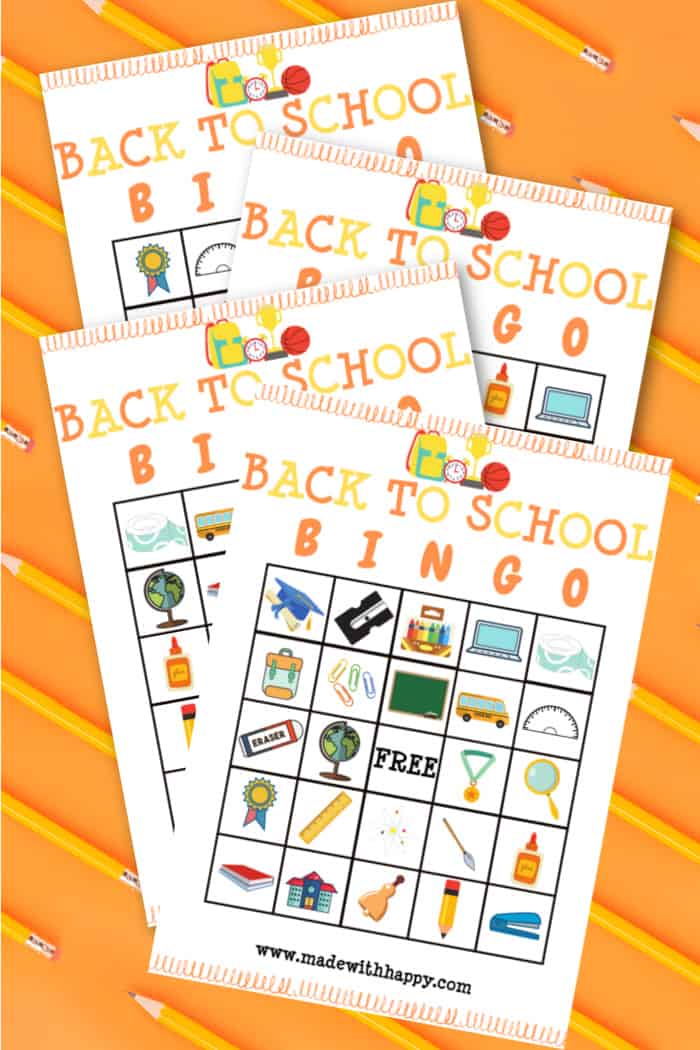
- Back to School Bingo
- All About Me Worksheet
- Printable Dr. Seuss Quotes
- Sign Language Alphabet Printables
- First Day of School Signs
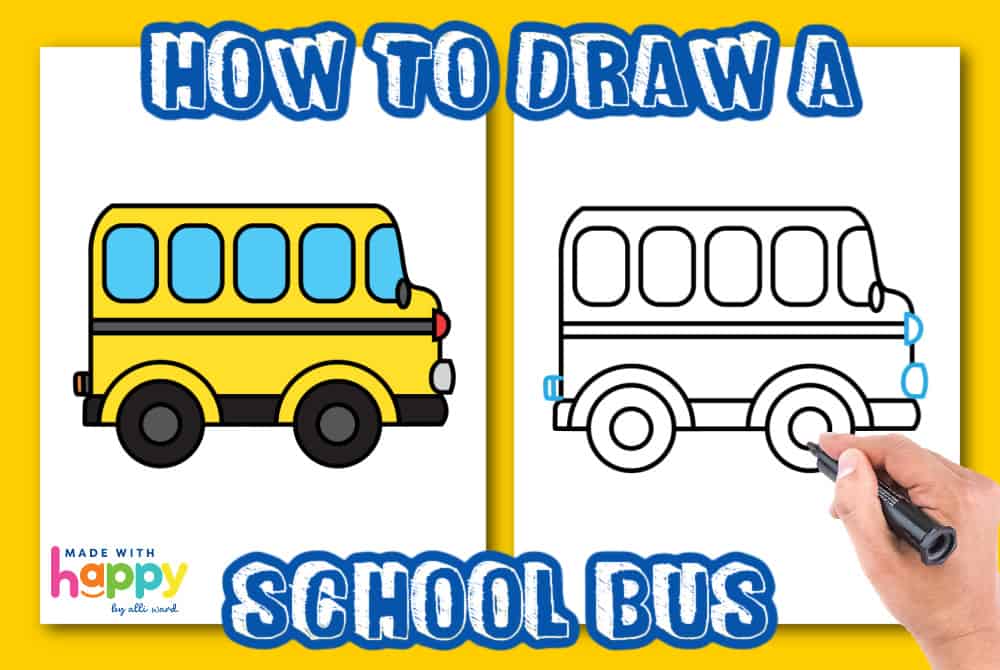
Download Free School Bus Tutorial
Enter your name and email address into the form below and you will be taken directly to the free download How to Draw a School Bus Tutorial pdf file.
*For personal use only
How to Draw a School Bus
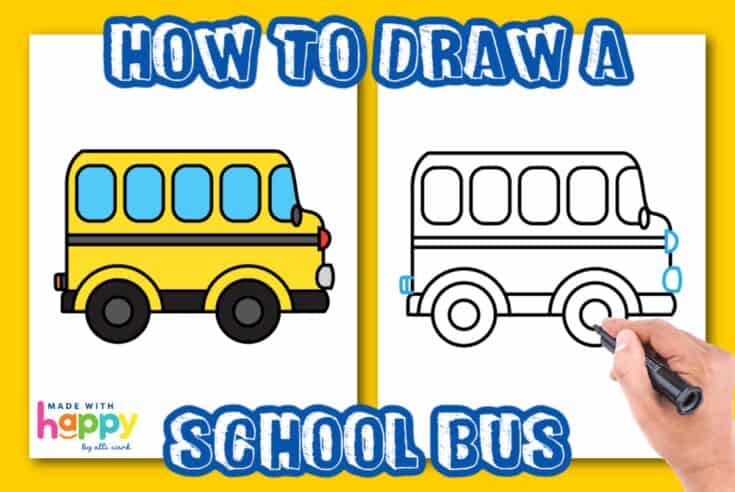
Discover the fun of drawing a school bus with our step-by-step tutorial - perfect for kids and aspiring artists. All aboard the creativity express!
Materials
Tools
- Drawing Pencils
Instructions
Start by drawing a large rectangle shape with curved corners on the top. As you draw the left line down, curve slightly out and then halfway down draw the an slight horizontal line. Then continue with a straight line down. At the bottom draw a thin slightly longer rectangle creating the bumper.
Next, you will draw the windows of the bus. I like to start with the front of the bus, and draw a half rectangle for the front windshield. Then draw similar small rectangles towards the back of the bus. Add a small oval shape right at the curve of the windshield.
Next, is to the draw the wheels of the bus. I like to start with two small cirlcles with the middle of the circle in line with the bottom of the bus body. Then draw a slightly larger circle for the bus wheels. Lastly, draw a half circle slightly bigger than the wheel and its the upper circle. This will be the wheel fender.
Next, draw to horizontal lines across the entire body of the bus right below the windows and above the fenders.
Next draw a small half circle at the front of the bus at the end of the two horizontal lines. Draw an additional small bowl shape right above the front of the bumper. Then draw small rectangle shapes at the back of the bus right above the bumper as the tail lights.
The final step is to go over the drawing of the school bus with a darker pencil and erase all the extra drawing lines.
Then use crayons, paints, pencils, or markers to color in your school bus. The more traditional bus has a long yellow body, but feel free to color your bus whatever colors you like!
CONNECT WITH MADE WITH HAPPY!
Be sure to follow me on social media, so you never miss a post!
Facebook | Twitter | Youtube | Pinterest | Instagram
Find and shop my favorite products on my Amazon storefront here!
HOW TO DRAW A SCHOOL BUS
PIN IT TO YOUR DIY BOARD ON PINTEREST!
FOLLOW MADE WITH HAPPY ON PINTEREST FOR ALL THINGS HAPPY!



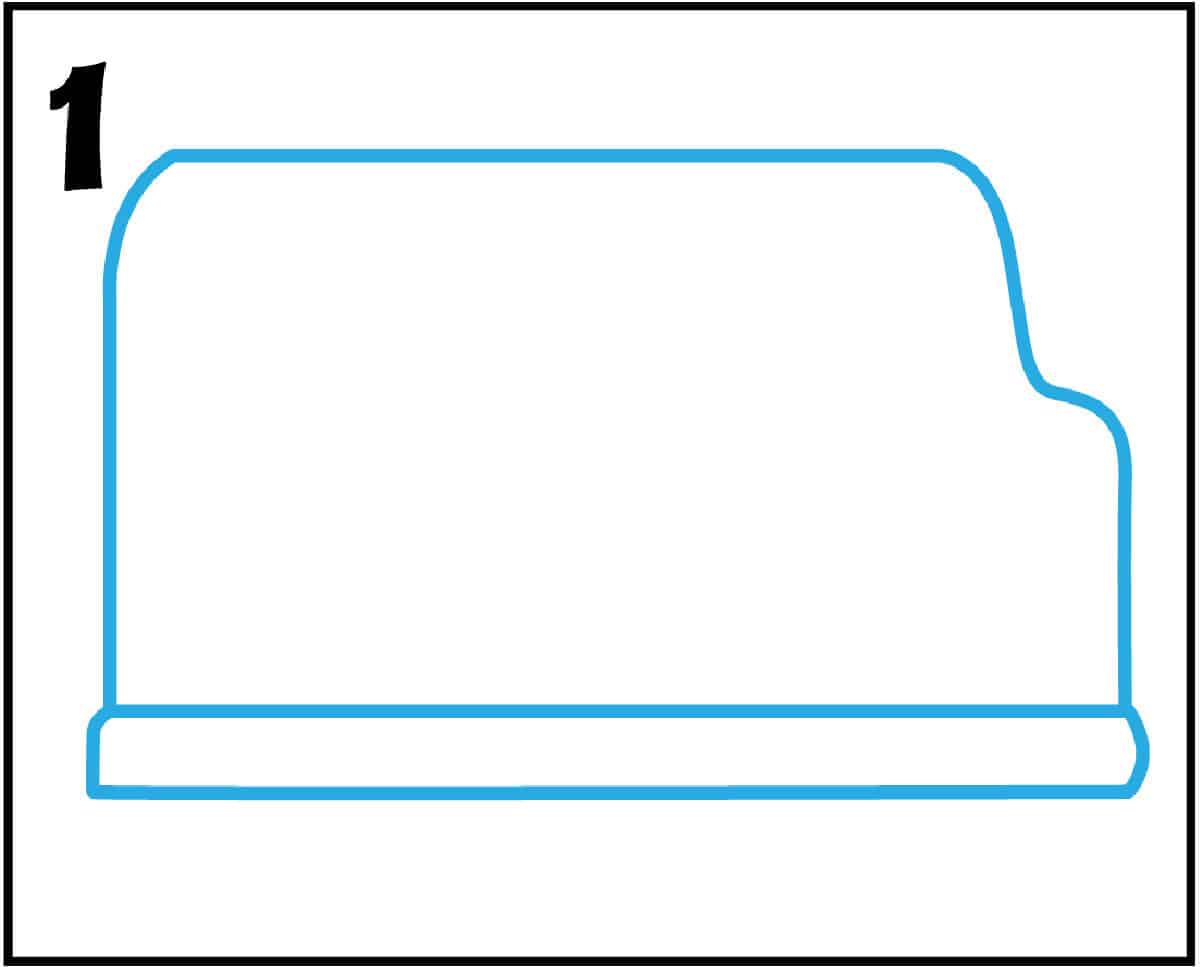 Start by drawing a large rectangle shape with curved corners on the top. As you draw the left line down, curve slightly out and then halfway down draw the an slight horizontal line. Then continue with a straight line down. At the bottom draw a thin slightly longer rectangle creating the bumper.
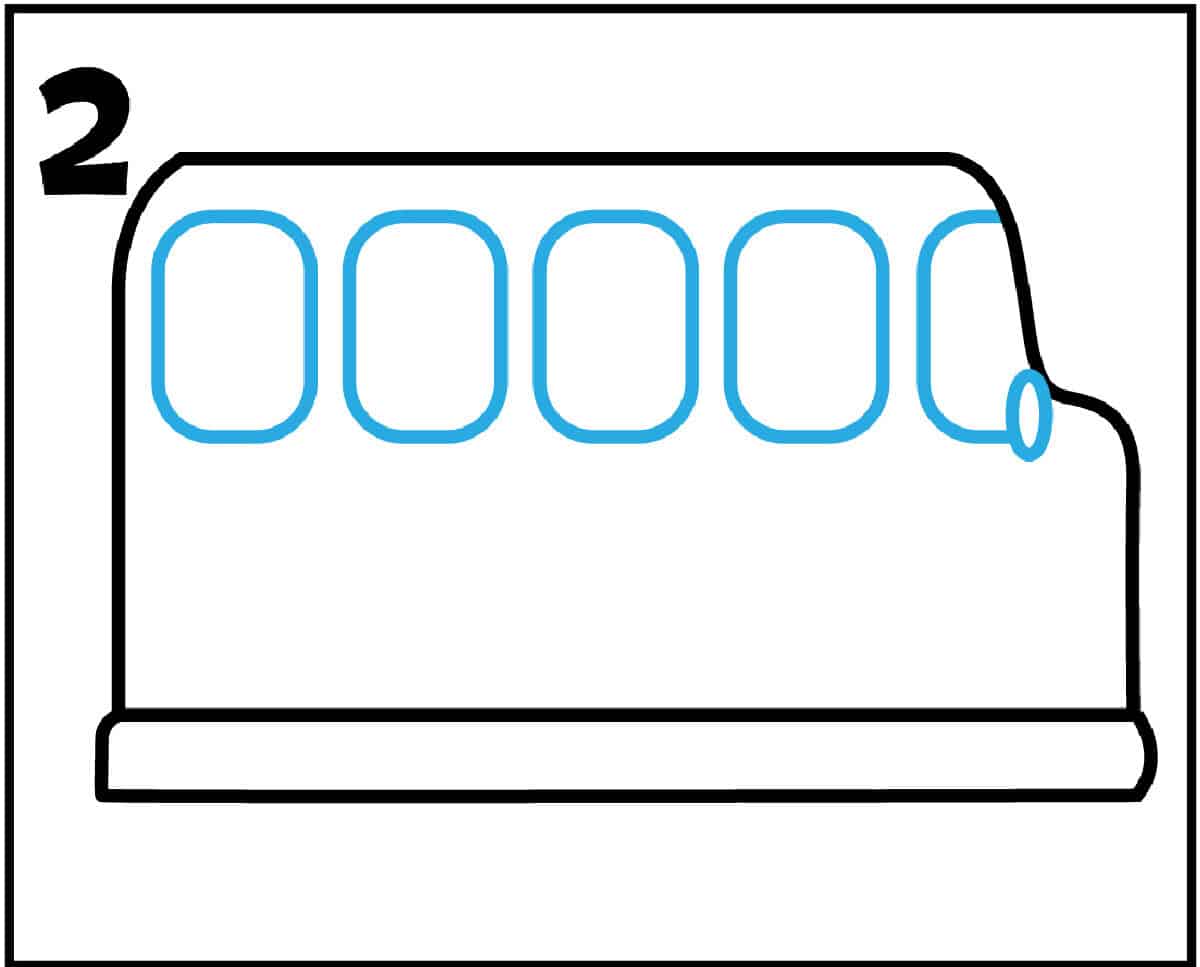 Next, you will draw the windows of the bus. I like to start with the front of the bus, and draw a half rectangle for the front windshield. Then draw similar small rectangles towards the back of the bus. Add a small oval shape right at the curve of the windshield.
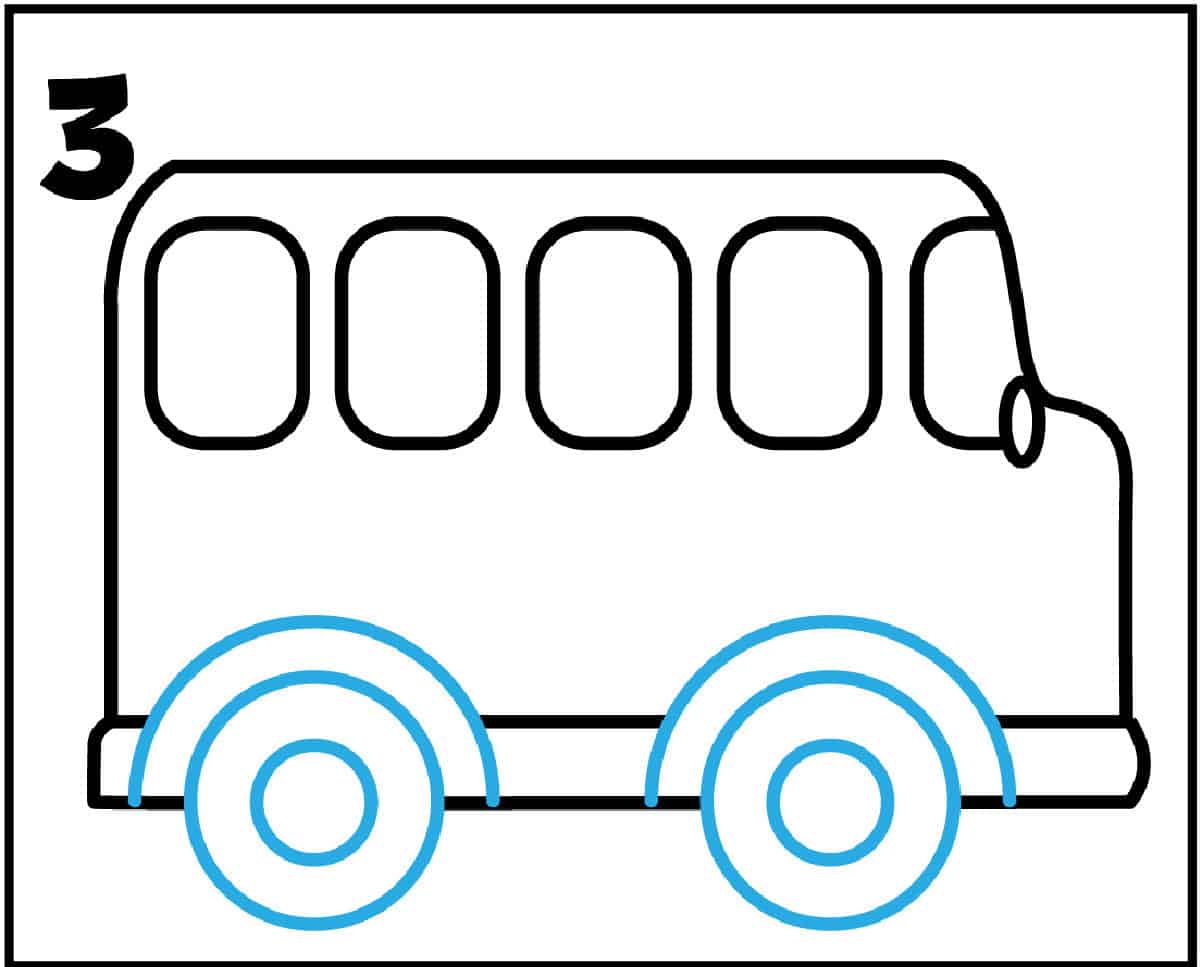 Next, is to the draw the wheels of the bus. I like to start with two small cirlcles with the middle of the circle in line with the bottom of the bus body. Then draw a slightly larger circle for the bus wheels. Lastly, draw a half circle slightly bigger than the wheel and its the upper circle. This will be the wheel fender.
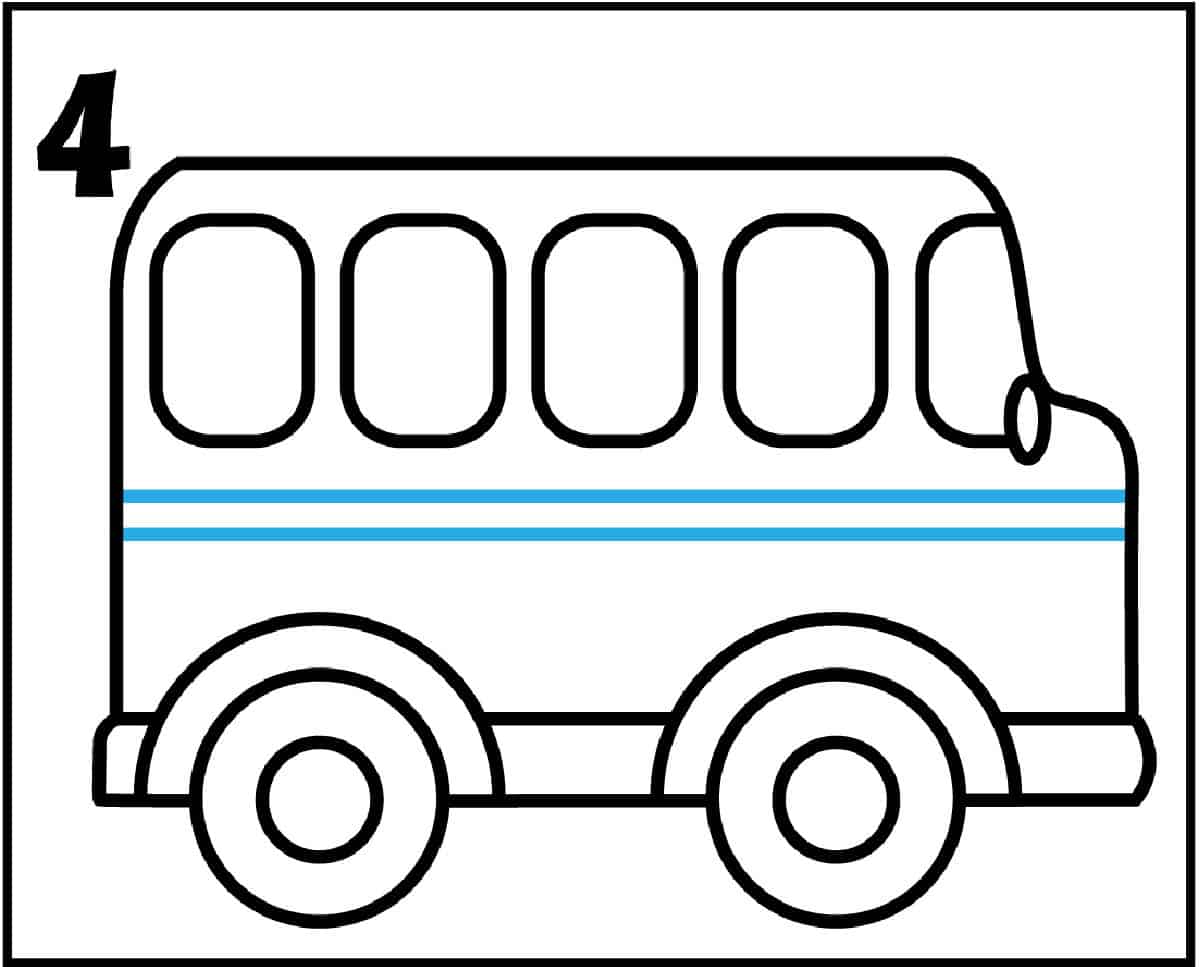 Next, draw to horizontal lines across the entire body of the bus right below the windows and above the fenders.
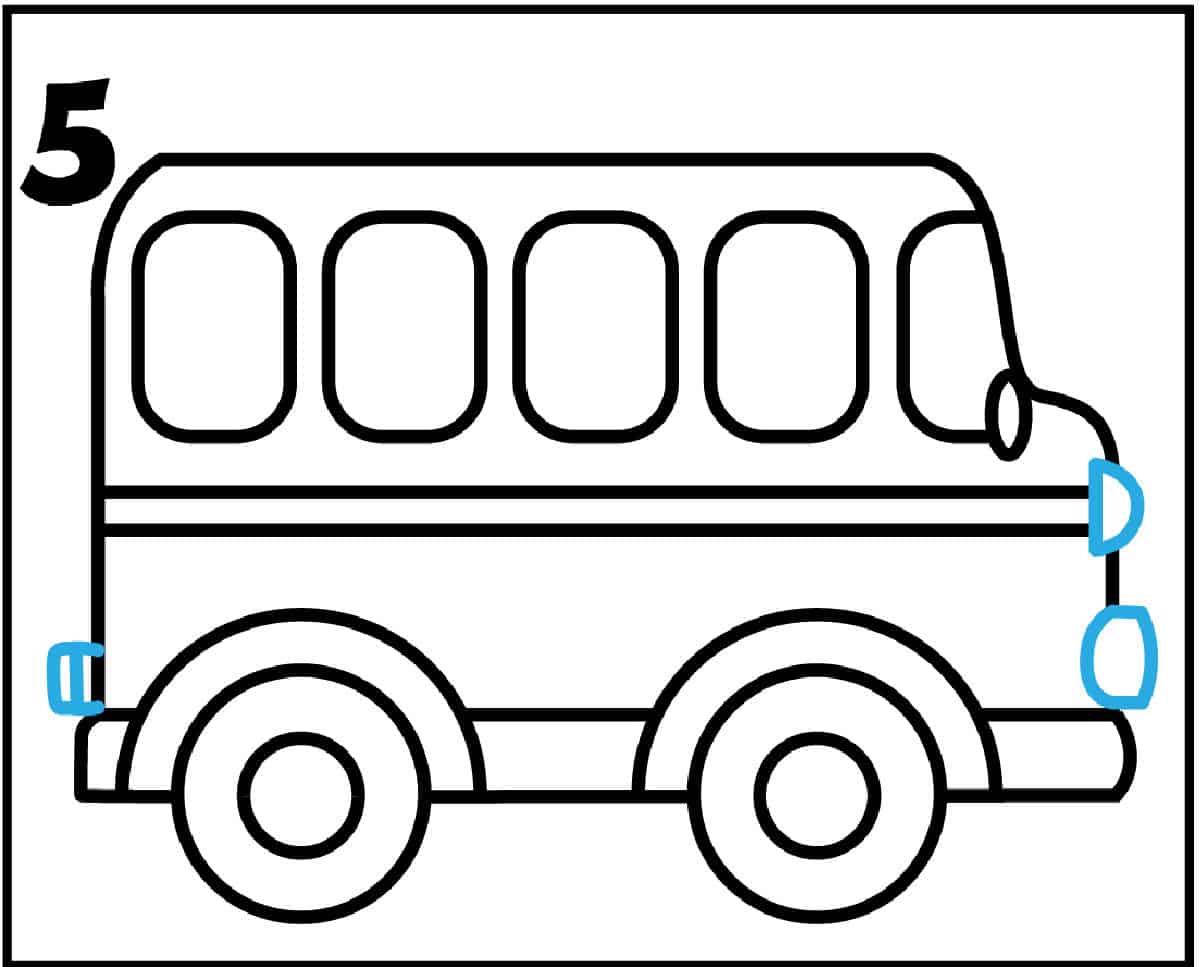 Next draw a small half circle at the front of the bus at the end of the two horizontal lines. Draw an additional small bowl shape right above the front of the bumper. Then draw small rectangle shapes at the back of the bus right above the bumper as the tail lights.
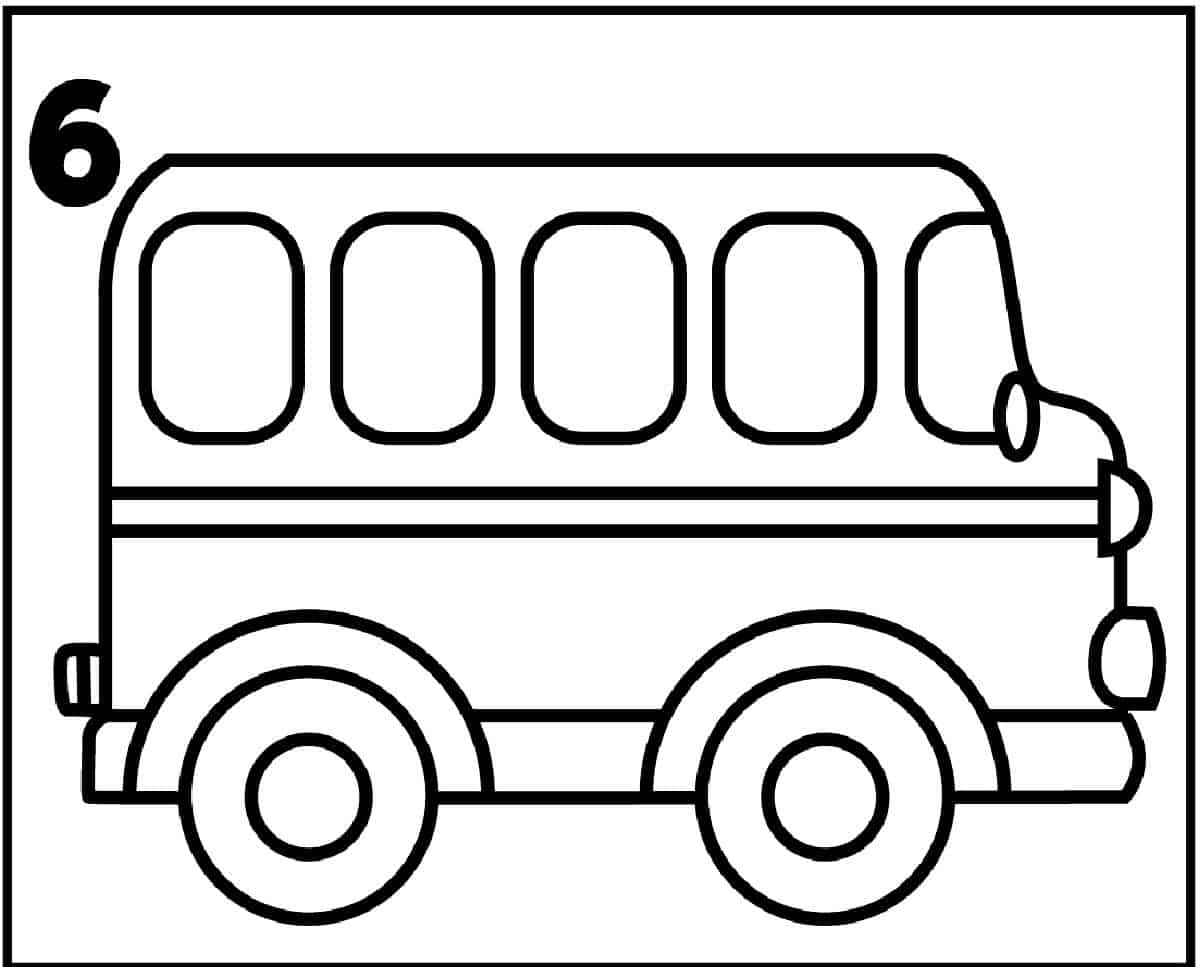 The final step is to go over the drawing of the school bus with a darker pencil and erase all the extra drawing lines.
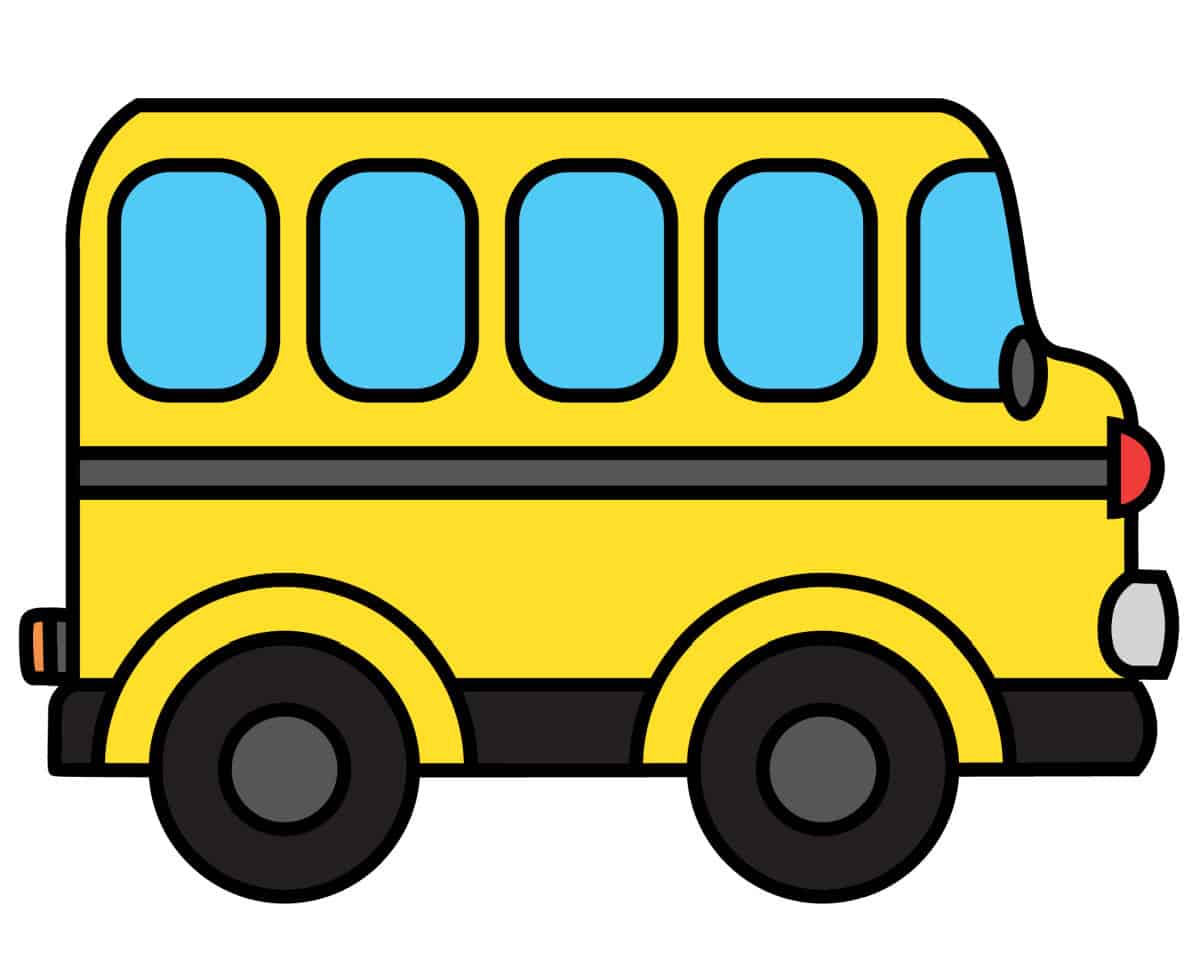 Then use crayons, paints, pencils, or markers to color in your school bus. The more traditional bus has a long yellow body, but feel free to color your bus whatever colors you like!