Learn how to draw an apple step-by-step with our easy tutorial! Discover essential tips and create a sweet apple illustration.
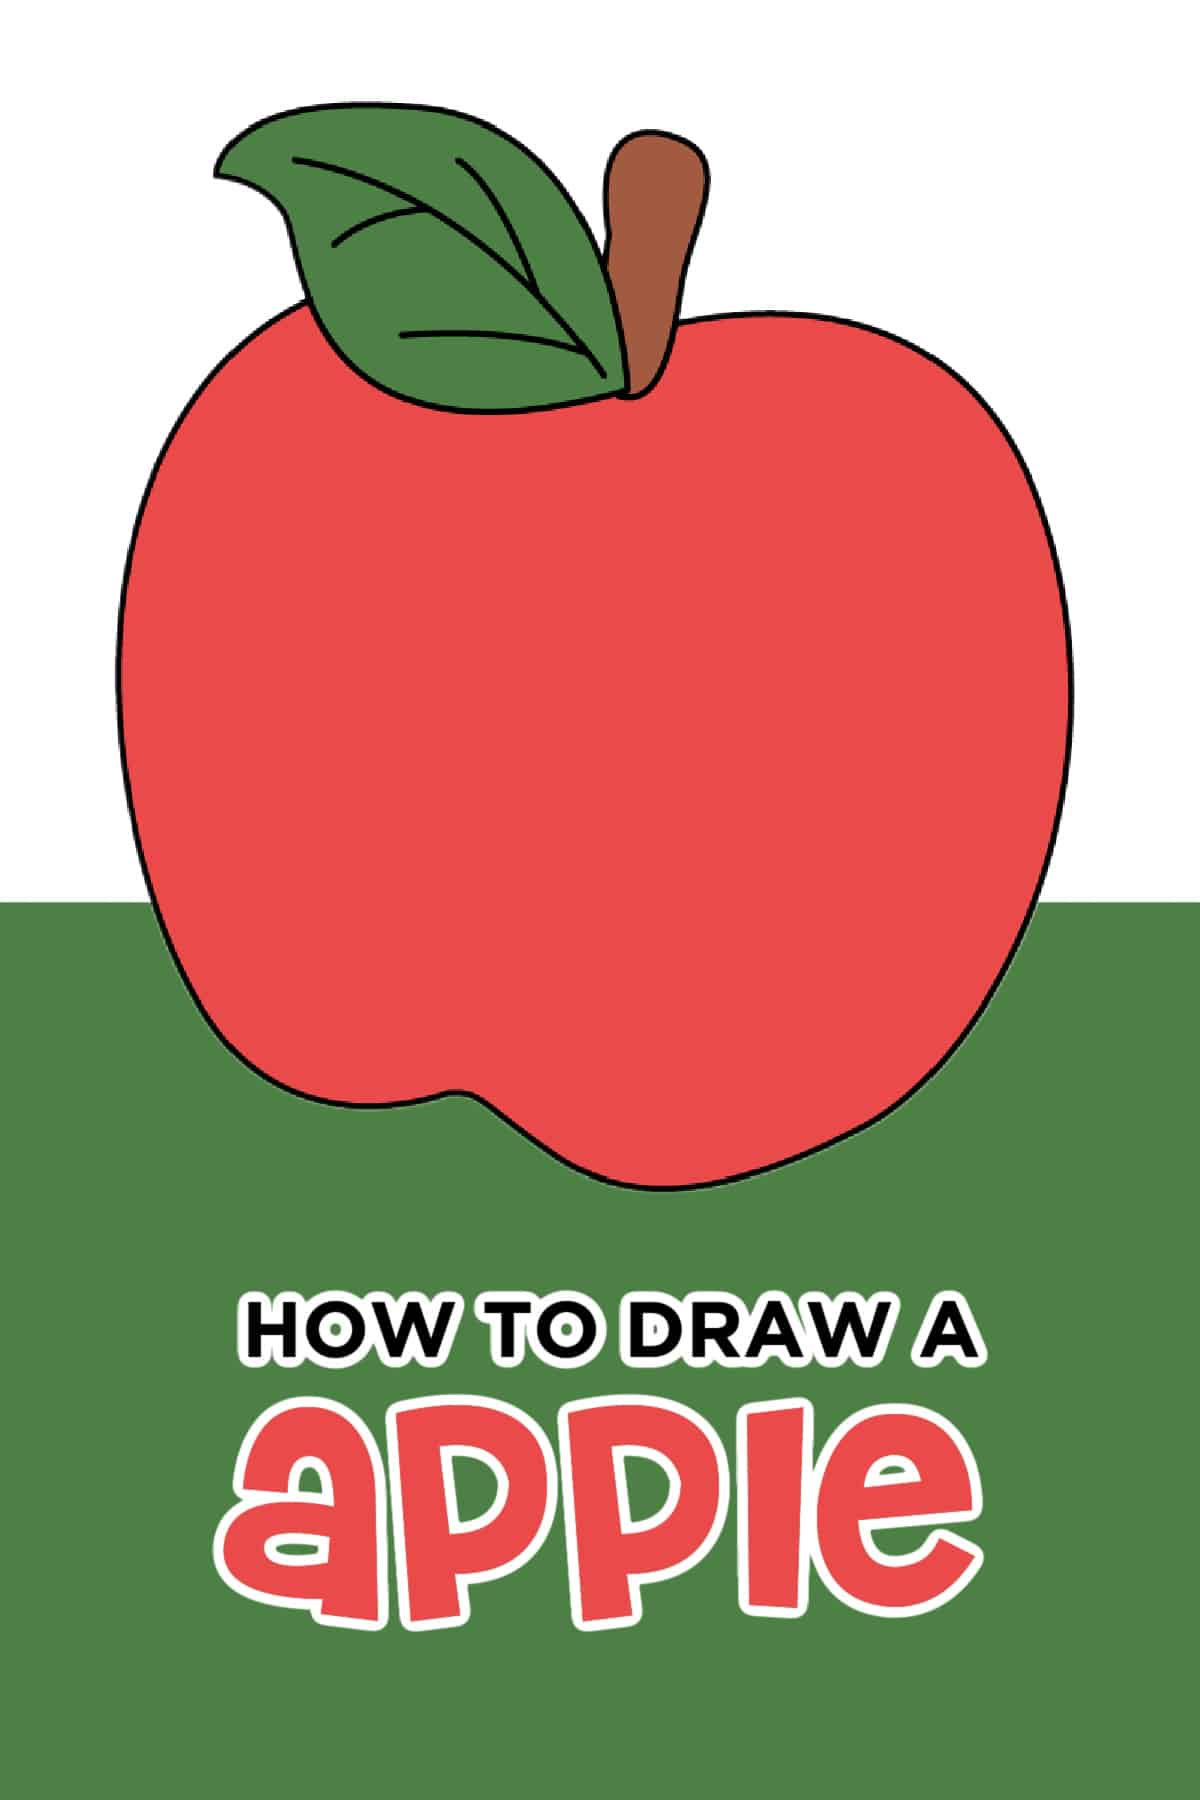
This How to Draw an Apple easy step-by-step tutorial is so fun for kids of all ages to learn the quick easy steps on sketching their own Apple drawing.
Today we are going to learn how to draw an apple! This nutritious fruit is one of the first few that a child learns to recognize. Why? Well, because "A for.....APPLE!" It's one of the most popular fruits.
Besides being a subject of still life art, apples have a lot of health benefits. They are full of Vitamin C, antioxidants, and phytonutrients that help boost immunity. If your kids haven't been having enough of these healthy delights, make this the day they start. You can make fun dishes for them, from apple pies to apple strudels and even some juicy smoothies.
But first, let's build their interest in the juicy red apples with a simple drawing craft.

Want to save this project?
Enter your email below, and then we'll send it straight to your inbox. Plus get awesome new projects from us each week.
Reasons to Never Leave Out Drawing Crafts
We know that all kids love coloring, but do they all love drawing? I'm not so sure! But learning to draw is an exciting way to develop fine motor skills, improve cognitive functioning, and build up hand-eye coordination. And if we can make the learning process fun, there's no way they won't take an interest in drawing.
Drawing also helps improve memory skills. Your kids will be able to recall shapes, colors, and objects better. Plus, it's an excellent way to encourage creative thinking and artistic expression.
The best thing about this apple drawing is that you're getting step-by-step instructions with it. It'll make the entire process easy. I also have some tips on this for you below.
This fun fruit drawing is also part of our monthly drawings including November Drawings.
Tips to Make Drawing Easy
If this drawing activity is your child's first, here are a few tips that might come in handy:
- Start with basic shapes like circles, triangles, and rectangles. Use them as the building blocks to make your apple look realistic.
- Keep a real apple before them and encourage them to observe it. They can also touch to have a better understanding of the shape of the apple.
- Draw a light apple sketch for the younger ones and let them trace it.
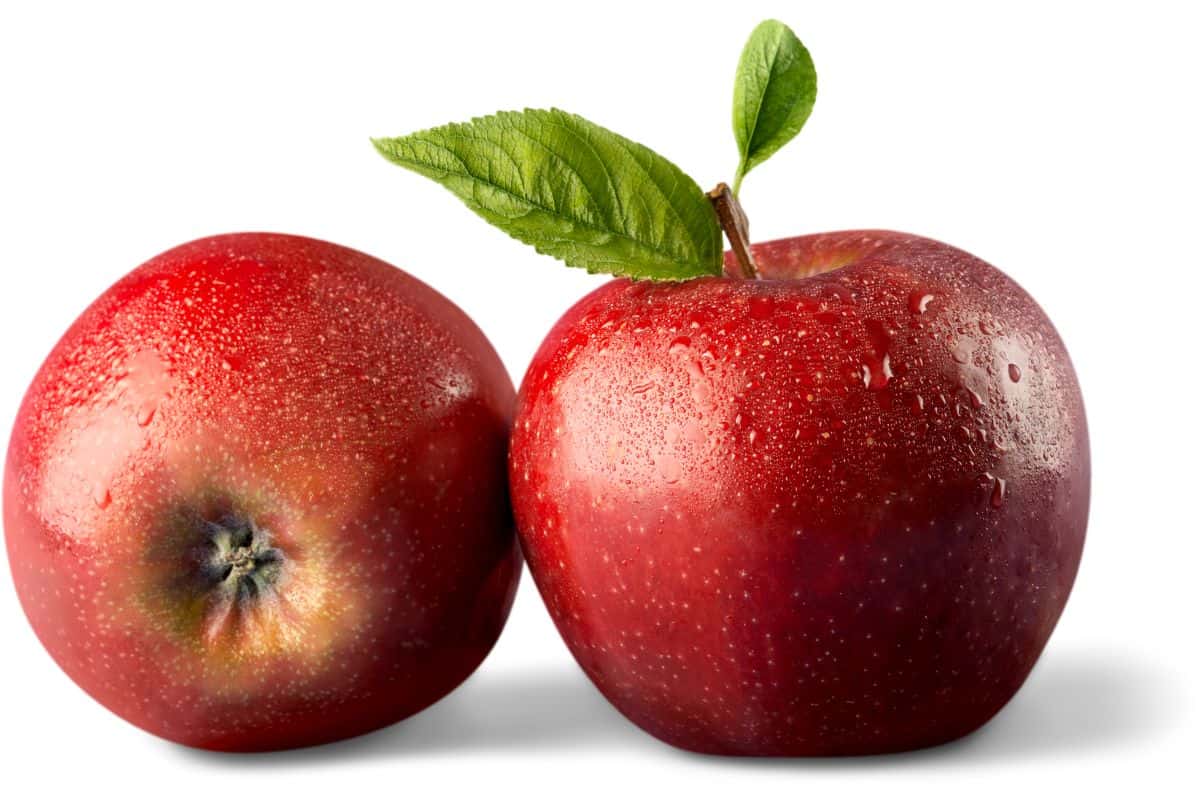
Tips to Make the Drawing More Realistic
These tips are for young artists looking for ways to polish their skills.
- Use a combination of curved lines and wavy lines to draw an outline.
- Shade the darker areas of the apple with an HB pencil.
- Add some texture and highlights near the apple stem with light strokes.
- Add some shadow around the edges of the apple to make it look three-dimensional.
- Use different tones of red to add depth to your drawing.
Check out these other Fun Apple Activities!
Making Drawing Fun!
Once your little artist has his apple ready, bring it to life with some colors and sparkles. Let your child decide whether he wants to color the apple red or yellow, the stem brown or black, and the leaf green or yellow.
Some other things you can try are:
- Draw eyes and a smiley face on the apple.
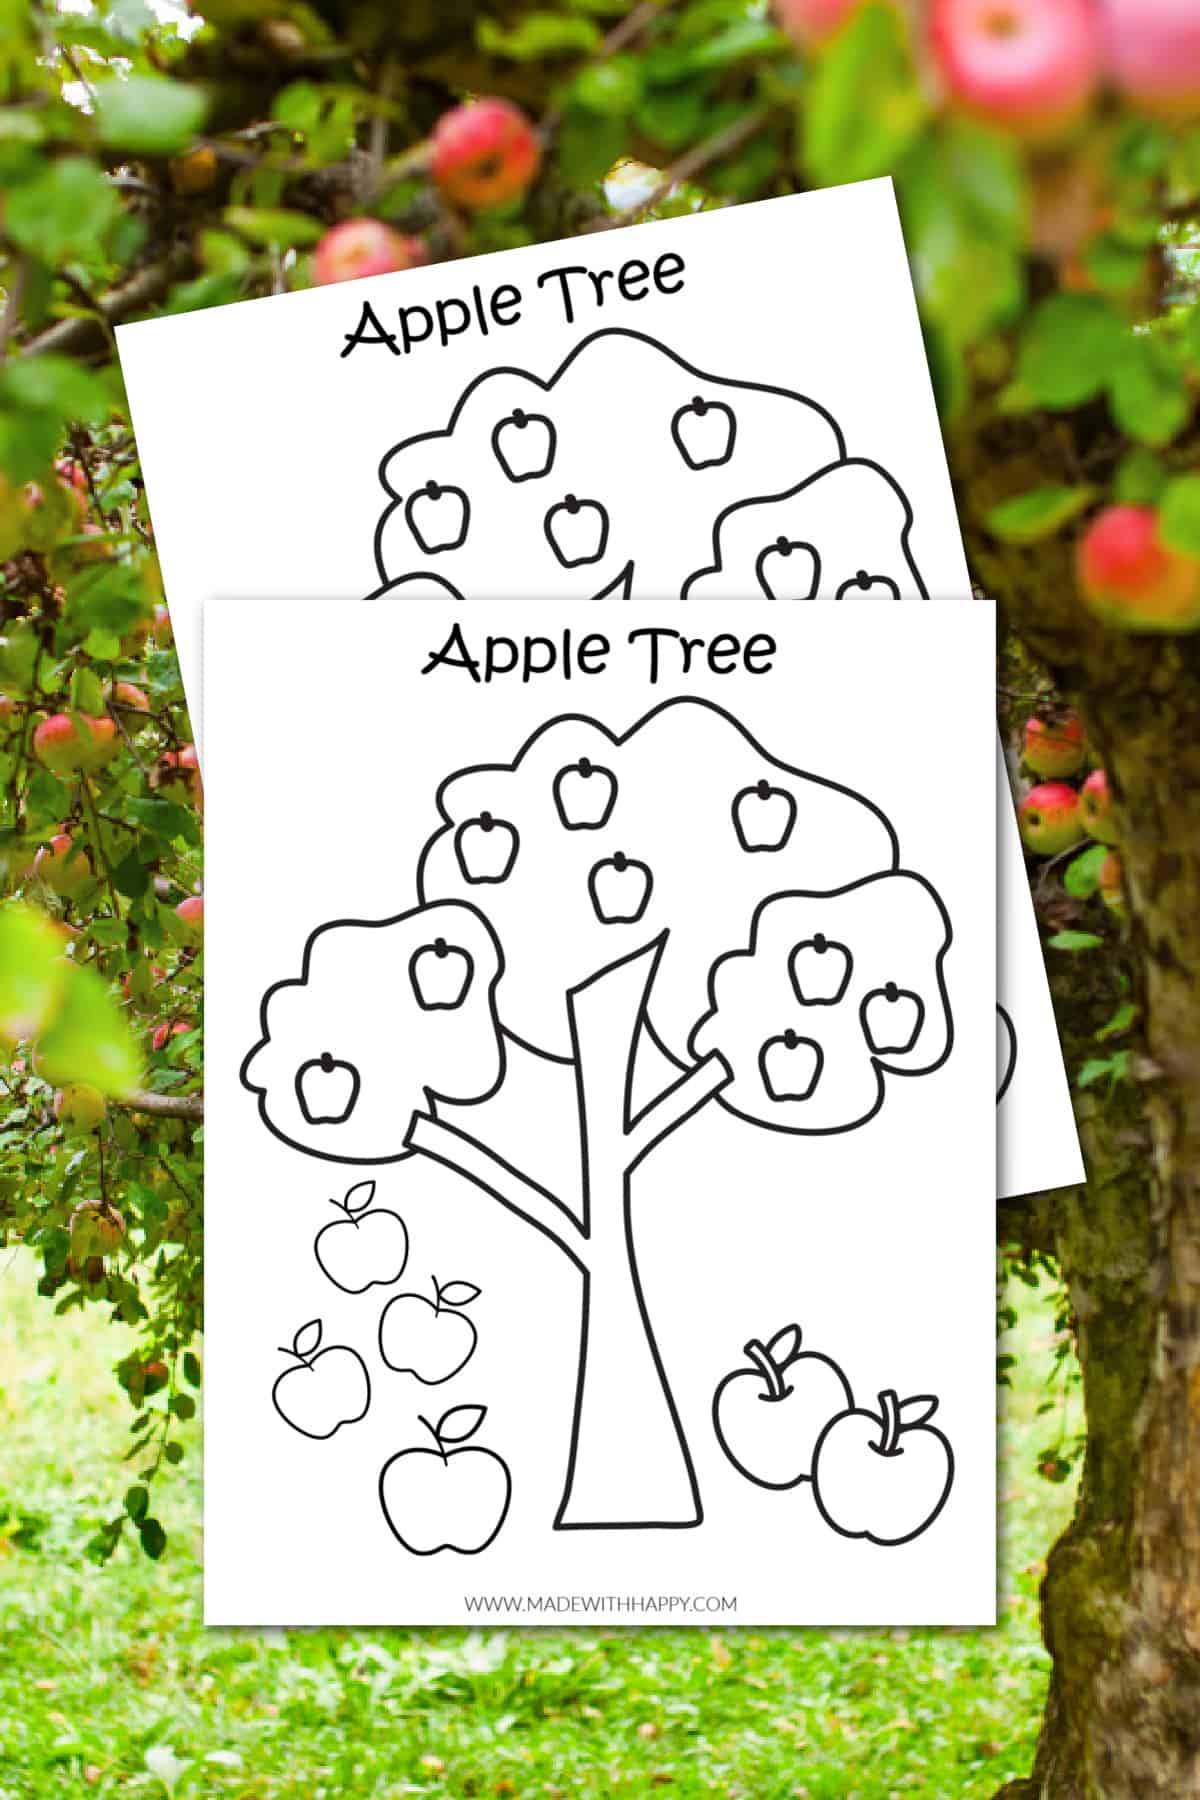
- Draw a few apple trees around it.
- Make a colorful apple drawing with color variations.
- Sprinkle some glitter on the body of the apple.
Don't miss our Easy Drawings for Kids!
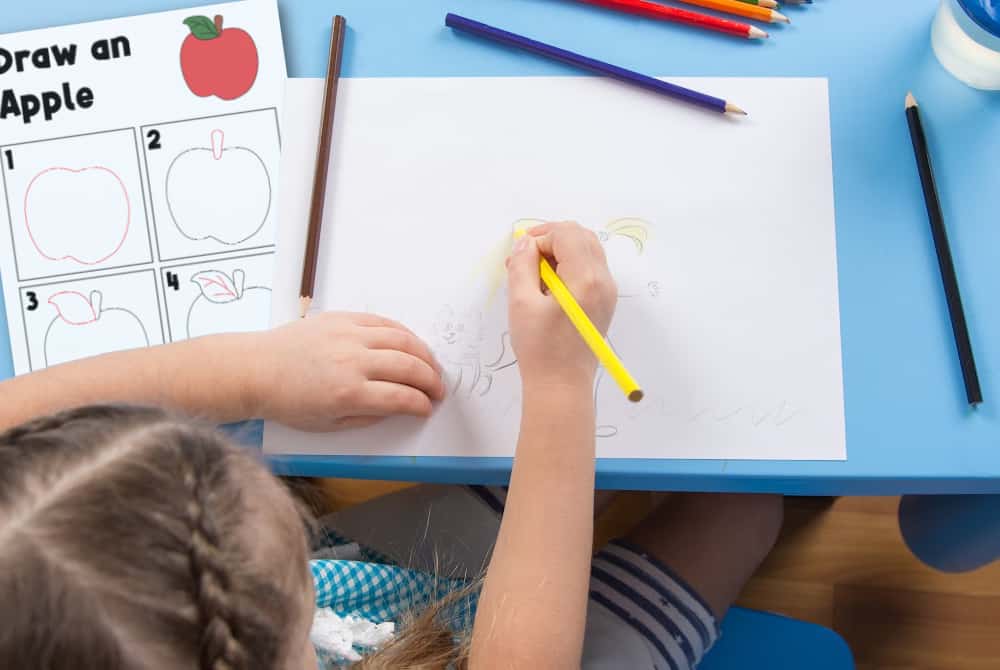
Apple Drawing Tutorial
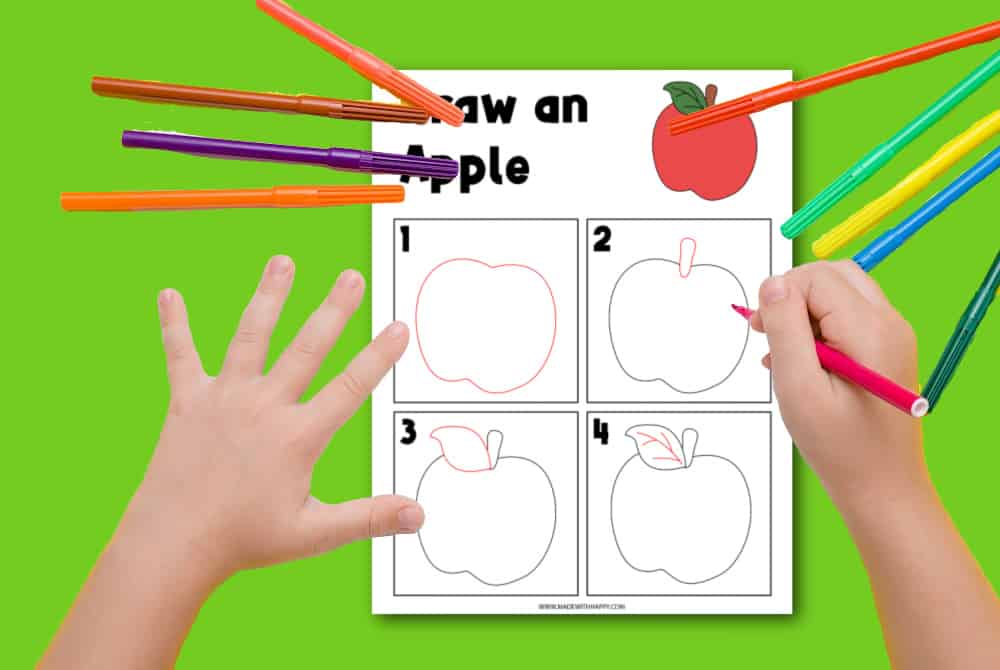
I've added easy step-by-step instructions for you at the end of this post. There are only four simple steps from the top of the apple right to the leaf. I hope you and your little beginner artists will have a great time learning how simple lines will result in a work of art.
Learning to draw items and fruit is always fun for drawers of any age. We love breaking down each of the drawings into a step-by-step guide. I also think having the printable drawing guide helps in making the easy drawings come to life.
If you love drawing tutorials as much as we do, then you will not want to miss some of our other fun easy drawings for kids.
Before you start drawing, we also want to make sure you have the right tools. Here are the drawing paper, and drawing pencils that we like to use.
Now onto the simple apple drawing!!
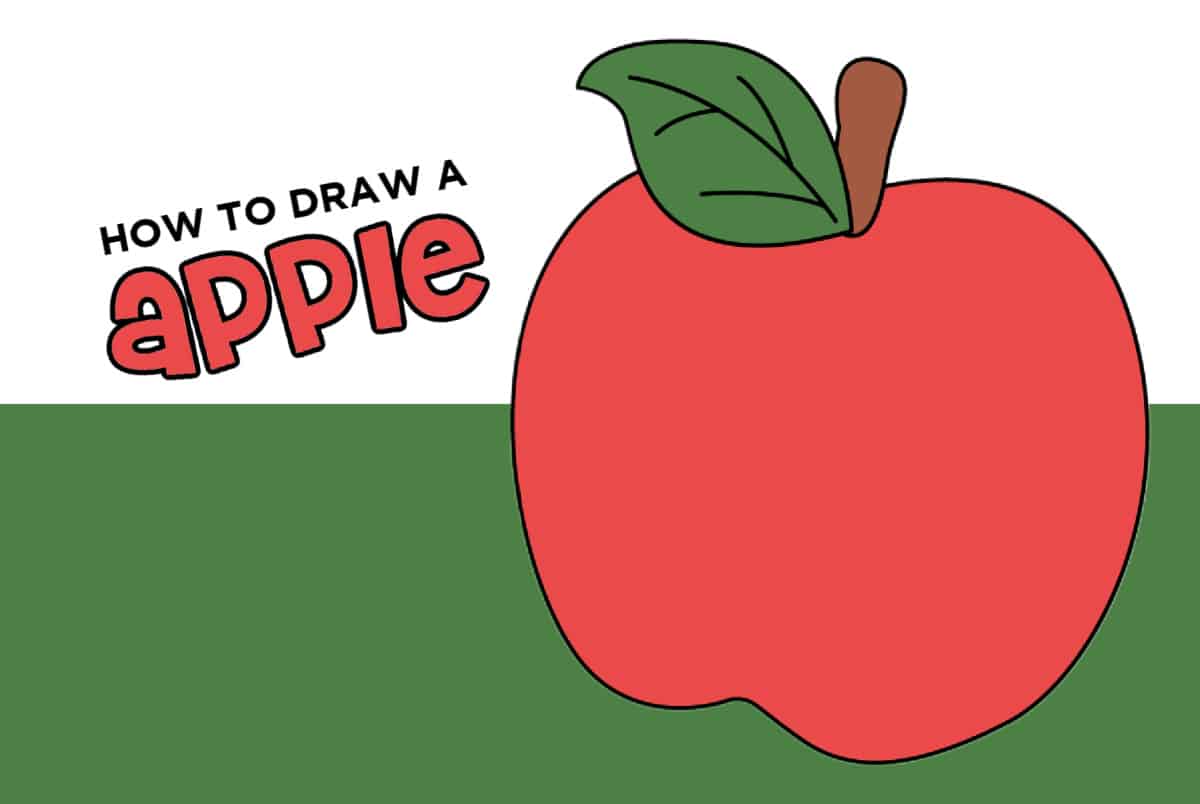
How To Draw an Apple
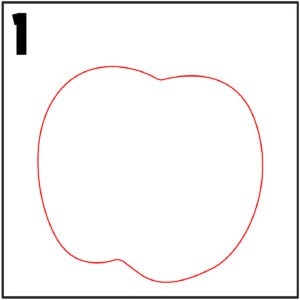
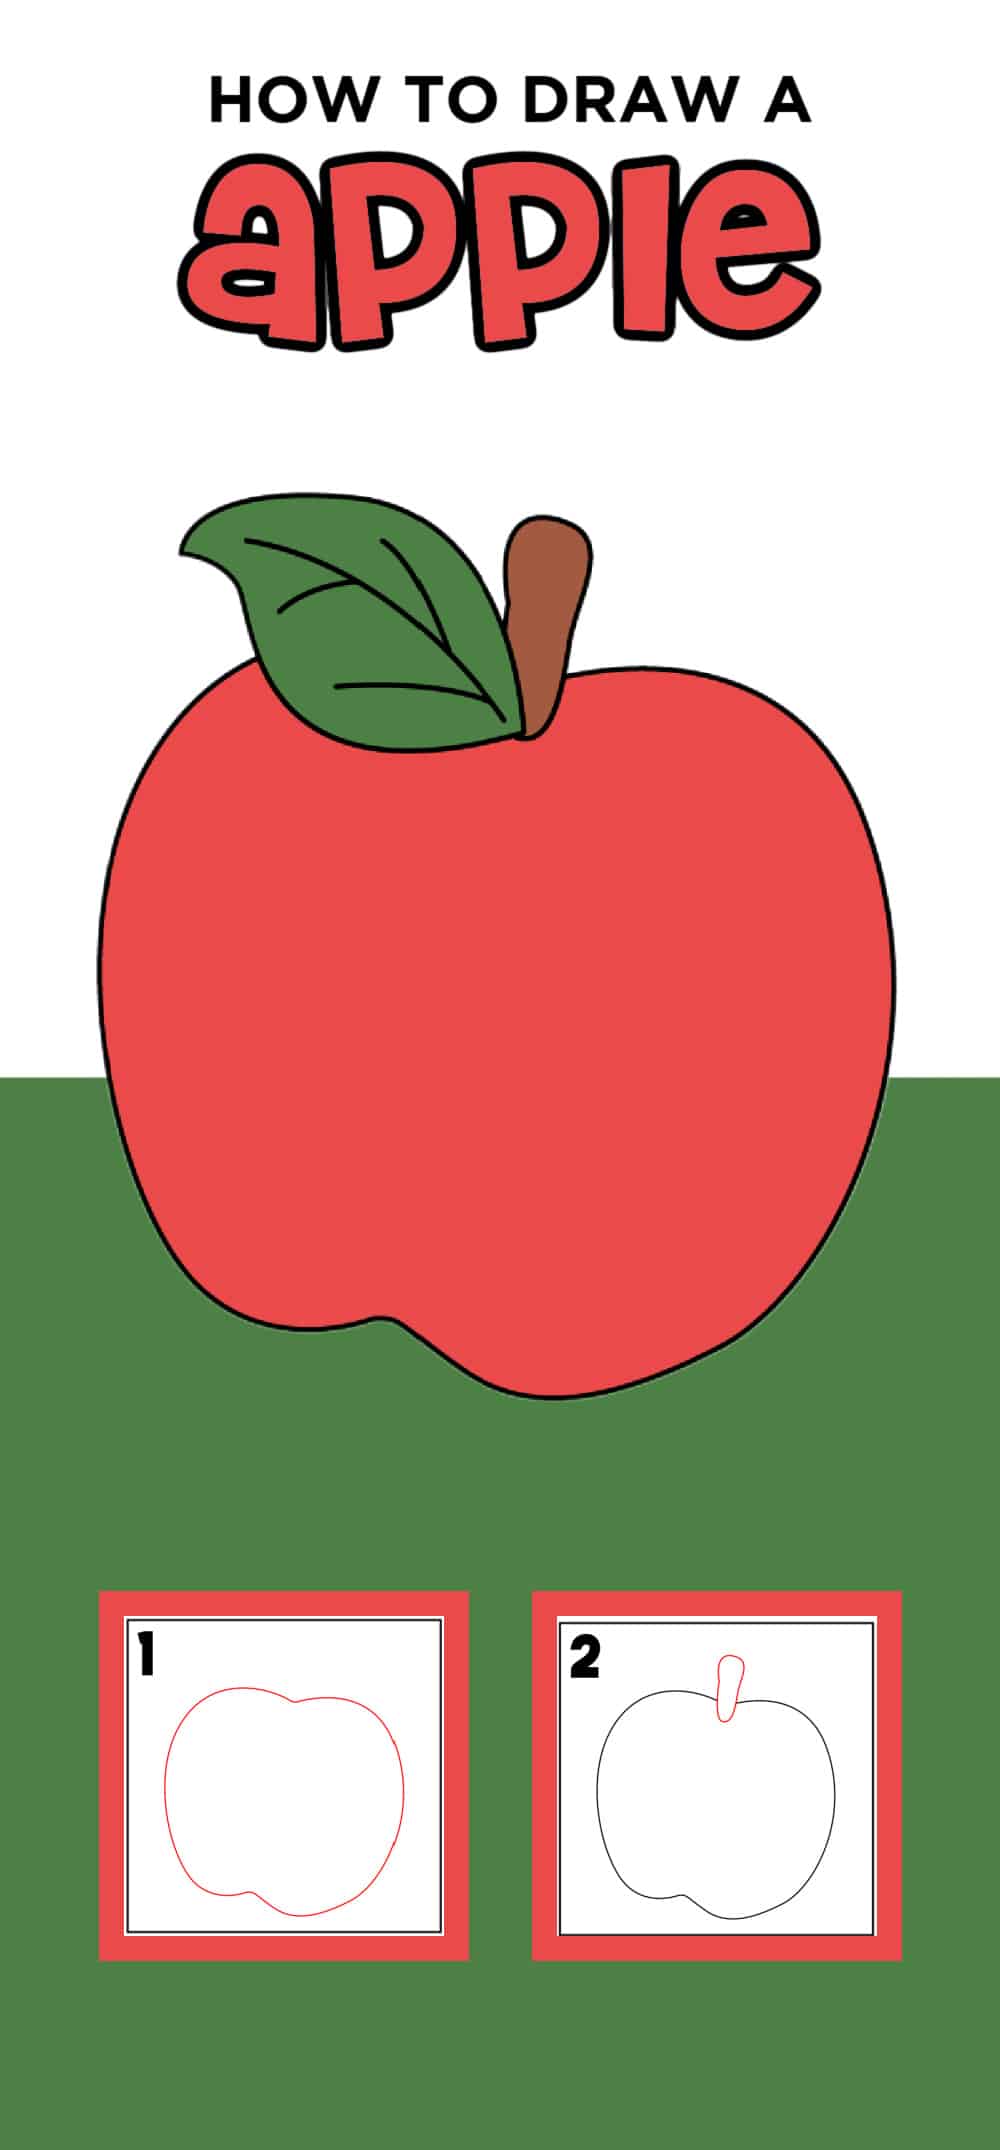
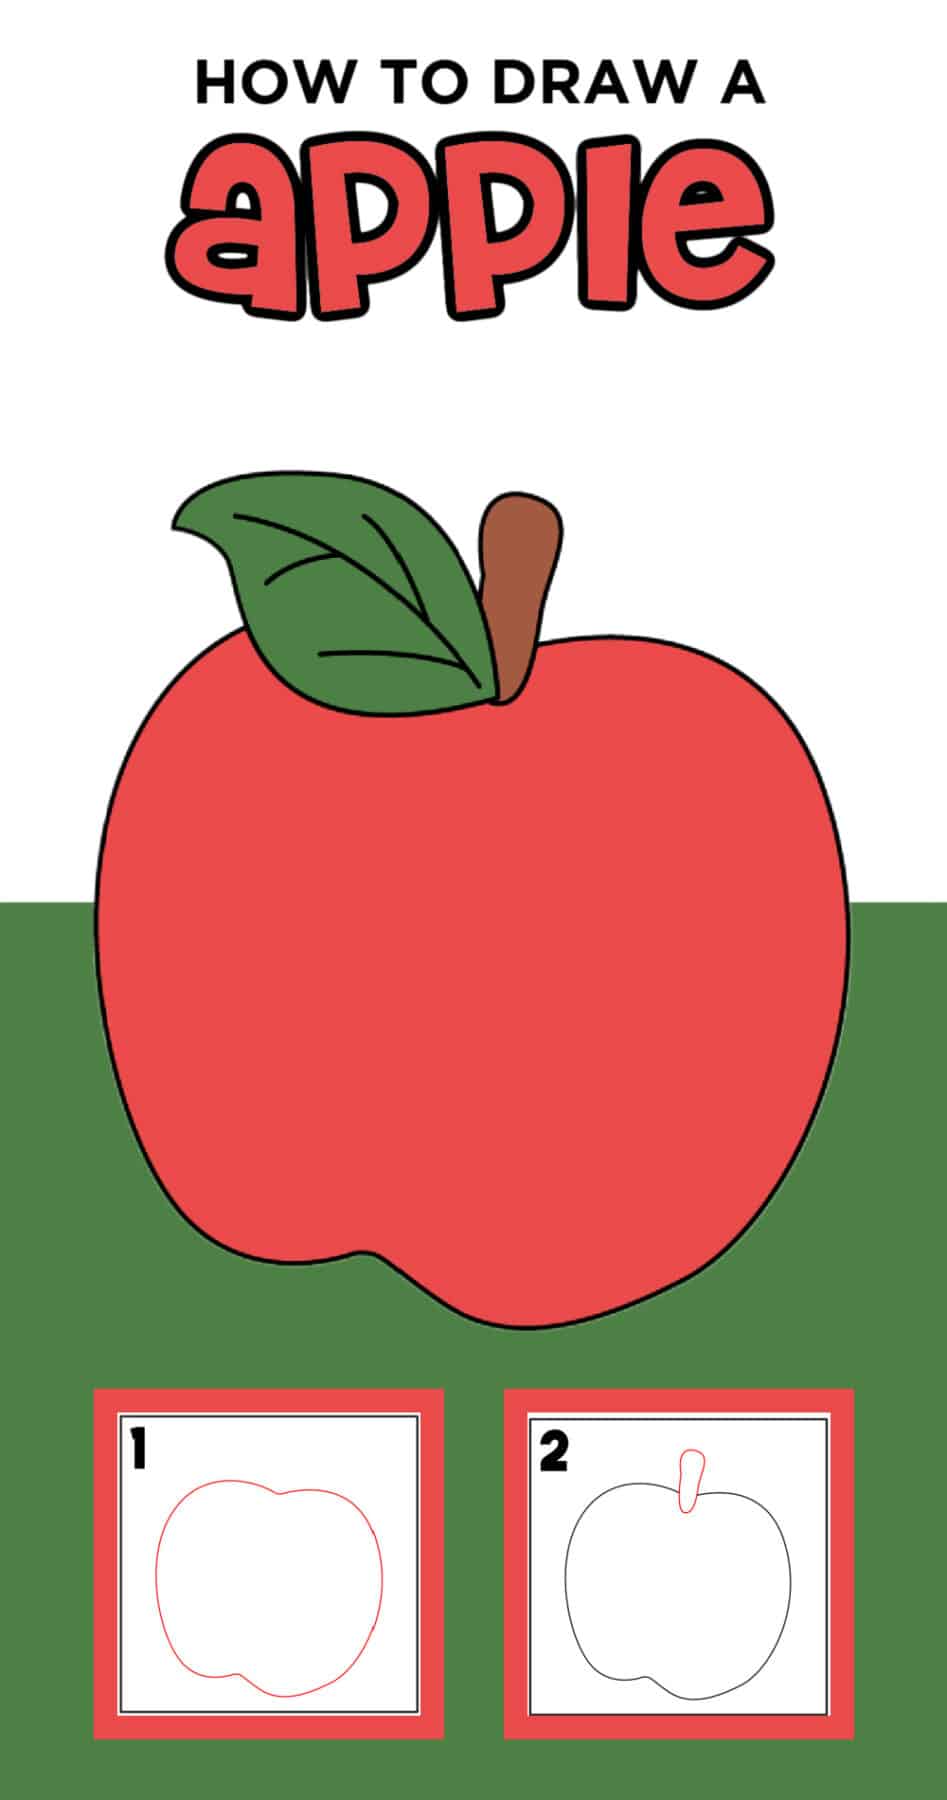
The first step is to draw the base shape of an apple. It's not a perfect circle. It's more like two if you were to draw two ovals that overlap at a slight v in the middle. Erase the middle lines to give you the basic apple shape.
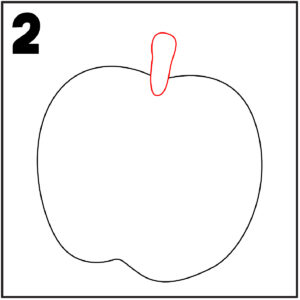
Next, it's time to draw the stem of the apple. We went with a basic shape, but you may want it to slightly curve. Whichever stem you draw, make sure it is drawn right in the "v" of the top of your apple.
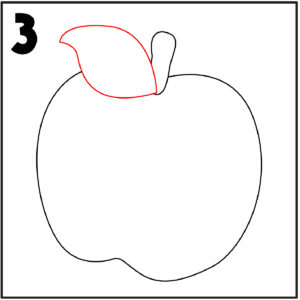
The next step is to draw a leaf off the stem of your apple. A curve line off where the stem meets the apple and out.
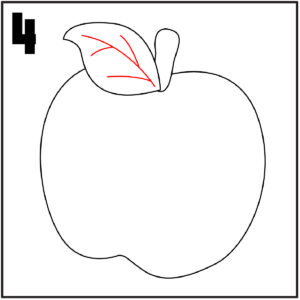
For the fourth step, add extra lines and details to the leaf. Drawing in the veins of the leaf with simple small lines. Viola, you have an apple drawing!
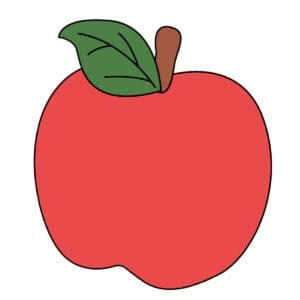
The last step is to clean up any extra light lines. Once you have your drawing where you want it, we like to go over the lines with a hard pencil line and outline the apple with a black sketch pen.
Color in your apple using crayons, markers, or even acrylic paint can be fun too!
We highlighted this Easy Drawing For Kids along with some other fun kid's crafts in our September Craft along with our 101+ Easy Kids Crafts.
You also do not want to miss our 101+ Fun Coloring Pages For Kids and 101+ Free Kids Printables full of Crafts & Coloring Pages.
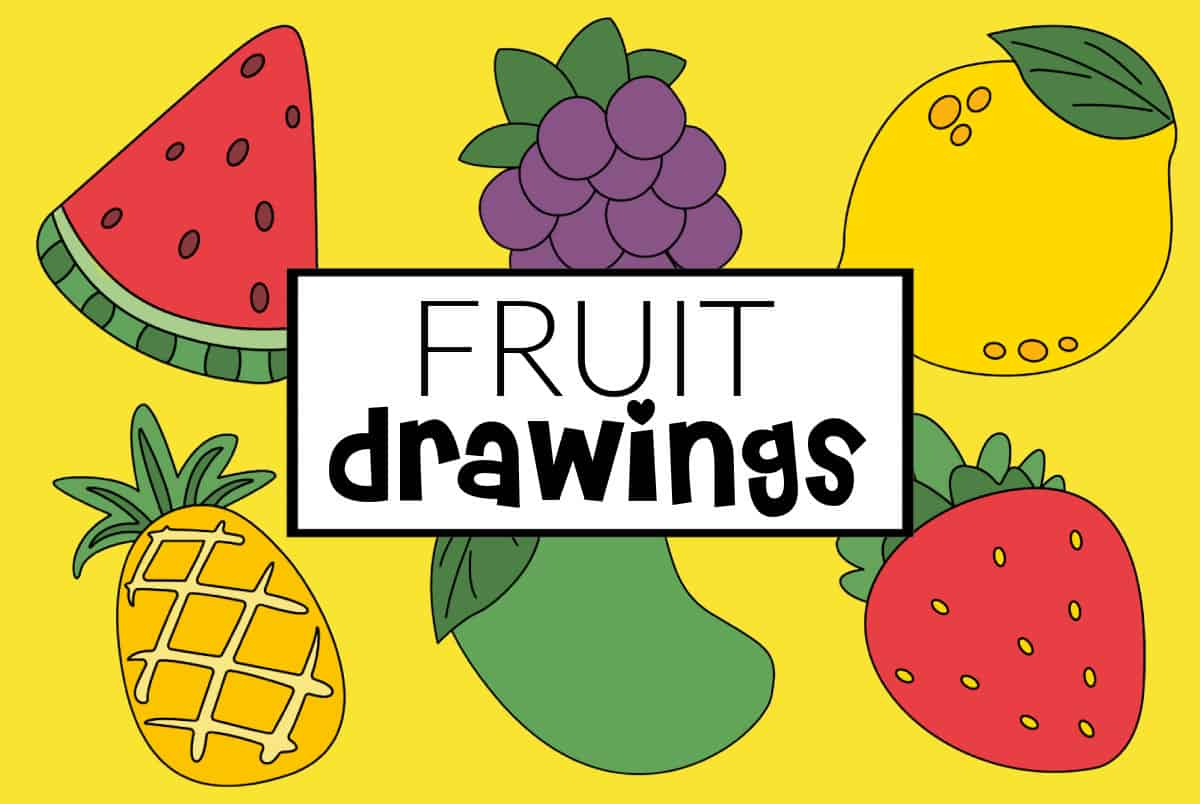
Other Fruit Drawings
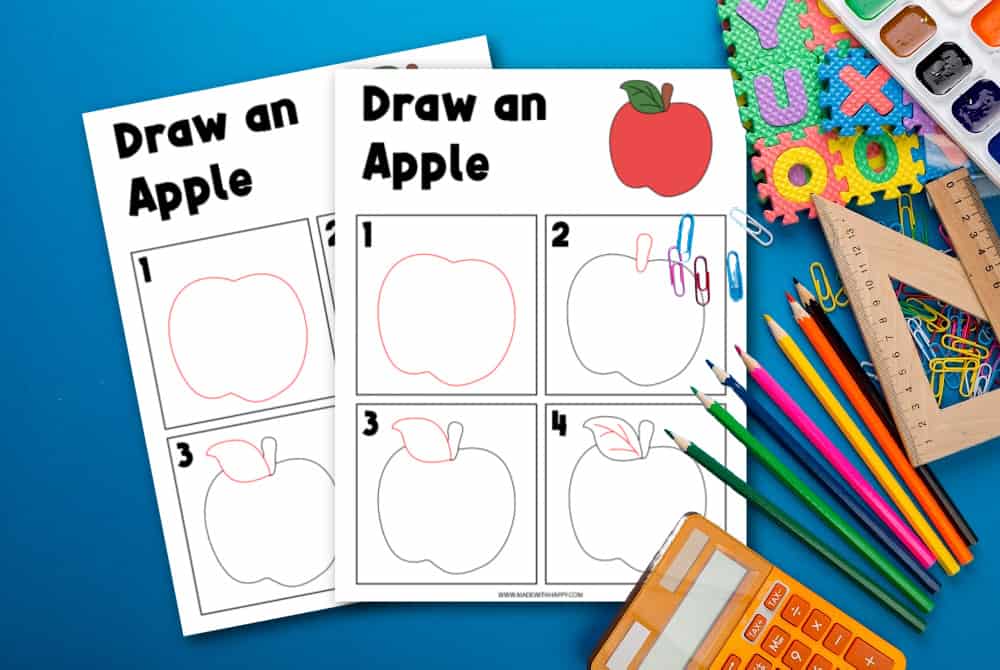
Download the Free Printable Apple Drawing Guide
Enter your name and email in the form below and you'll be taken directly to the Free Printable Apple Drawing Guide pdf file.
*For personal use only
How to Draw an Apple
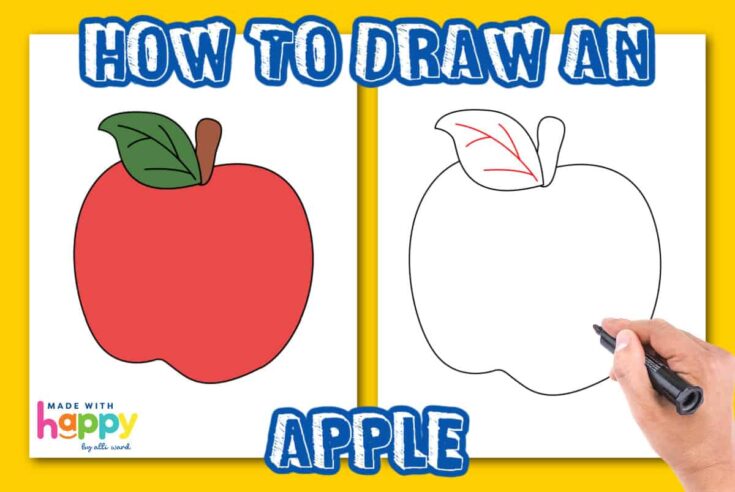
Learn how to draw an apple step-by-step with our easy tutorial! Discover essential tips and create a sweet apple illustration.
Materials
Tools
- Drawing Pencils
Instructions
The first step is to draw the base shape of an apple. It's not a perfect circle. It's more like two if you were to draw two ovals that overlap at a slight v in the middle. Erase the middle lines to give you the basic apple shape.
Next, it's time to draw the stem of the apple. We went with a basic shape, but you may want it to slightly curve. Whichever stem you draw, make sure it is drawn right in the "v" of the top of your apple.
The next step is to draw a leaf off the stem of your apple. A curve line off where the stem meets the apple and out.
For the fourth step, add extra lines and details to the leaf. Drawing in the veins of the leaf with simple small lines. Viola, you have an apple drawing!
The last step is to clean up any extra light lines. Once you have your drawing where you want it, we like to go over the lines with a hard pencil line and outline the apple with a black sketch pen.
CONNECT WITH MADE WITH HAPPY!
Be sure to follow me on social media, so you never miss a post!
Facebook | Twitter | Youtube | Pinterest | Instagram
Find and shop my favorite products on my Amazon storefront here!
How To Draw an Apple
PIN IT TO YOUR DIY BOARD ON PINTEREST!
FOLLOW MADE WITH HAPPY ON PINTEREST FOR ALL THINGS HAPPY!


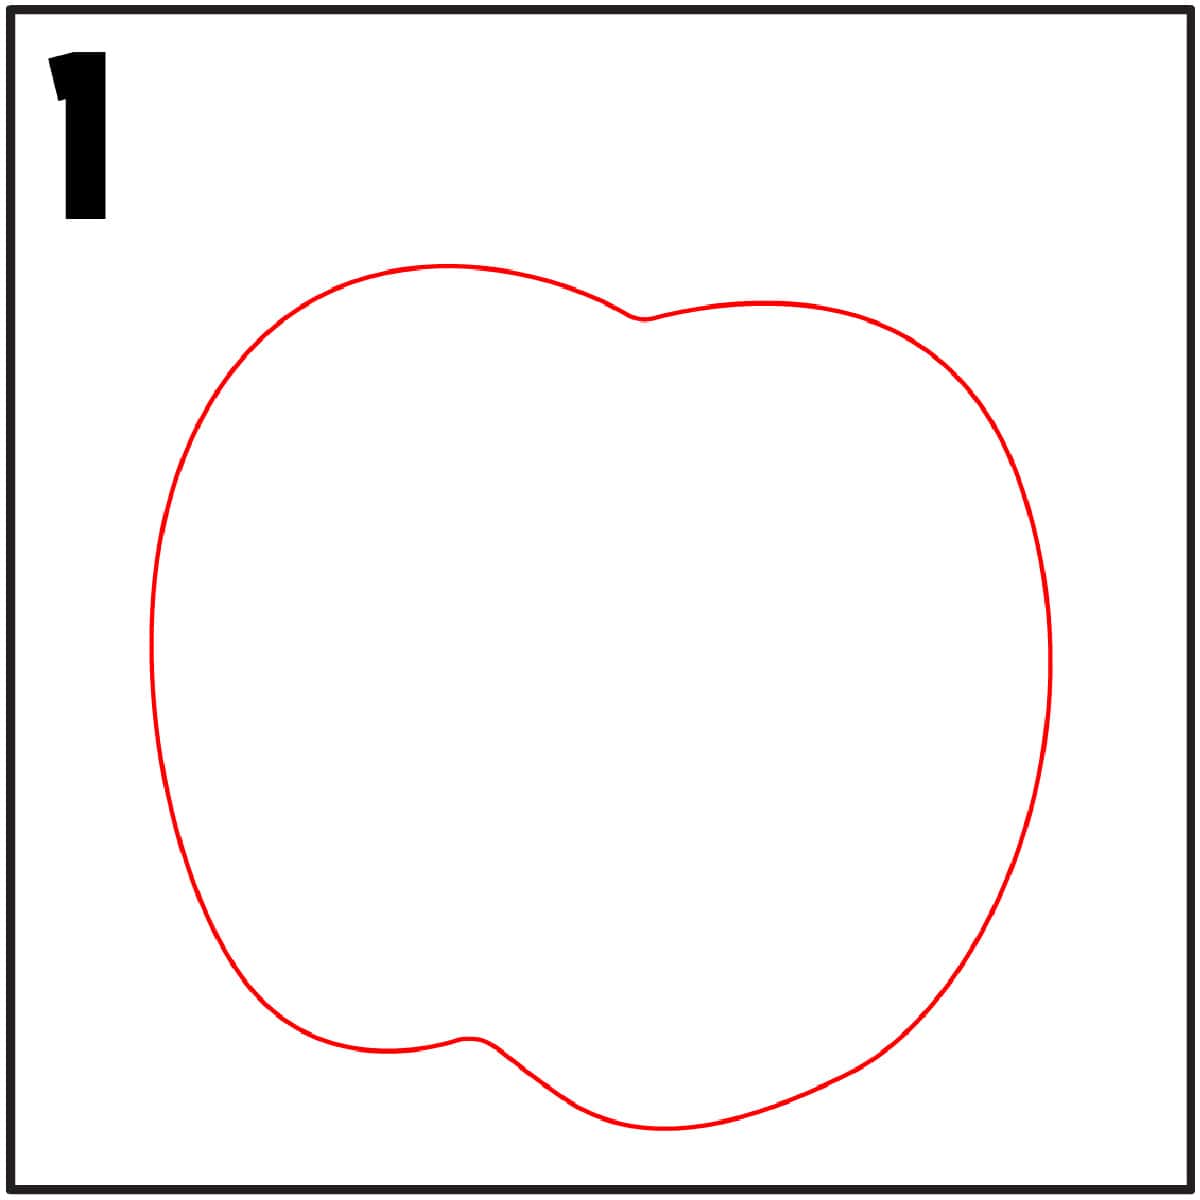 The first step is to draw the base shape of an apple. It's not a perfect circle. It's more like two if you were to draw two ovals that overlap at a slight v in the middle. Erase the middle lines to give you the basic apple shape.
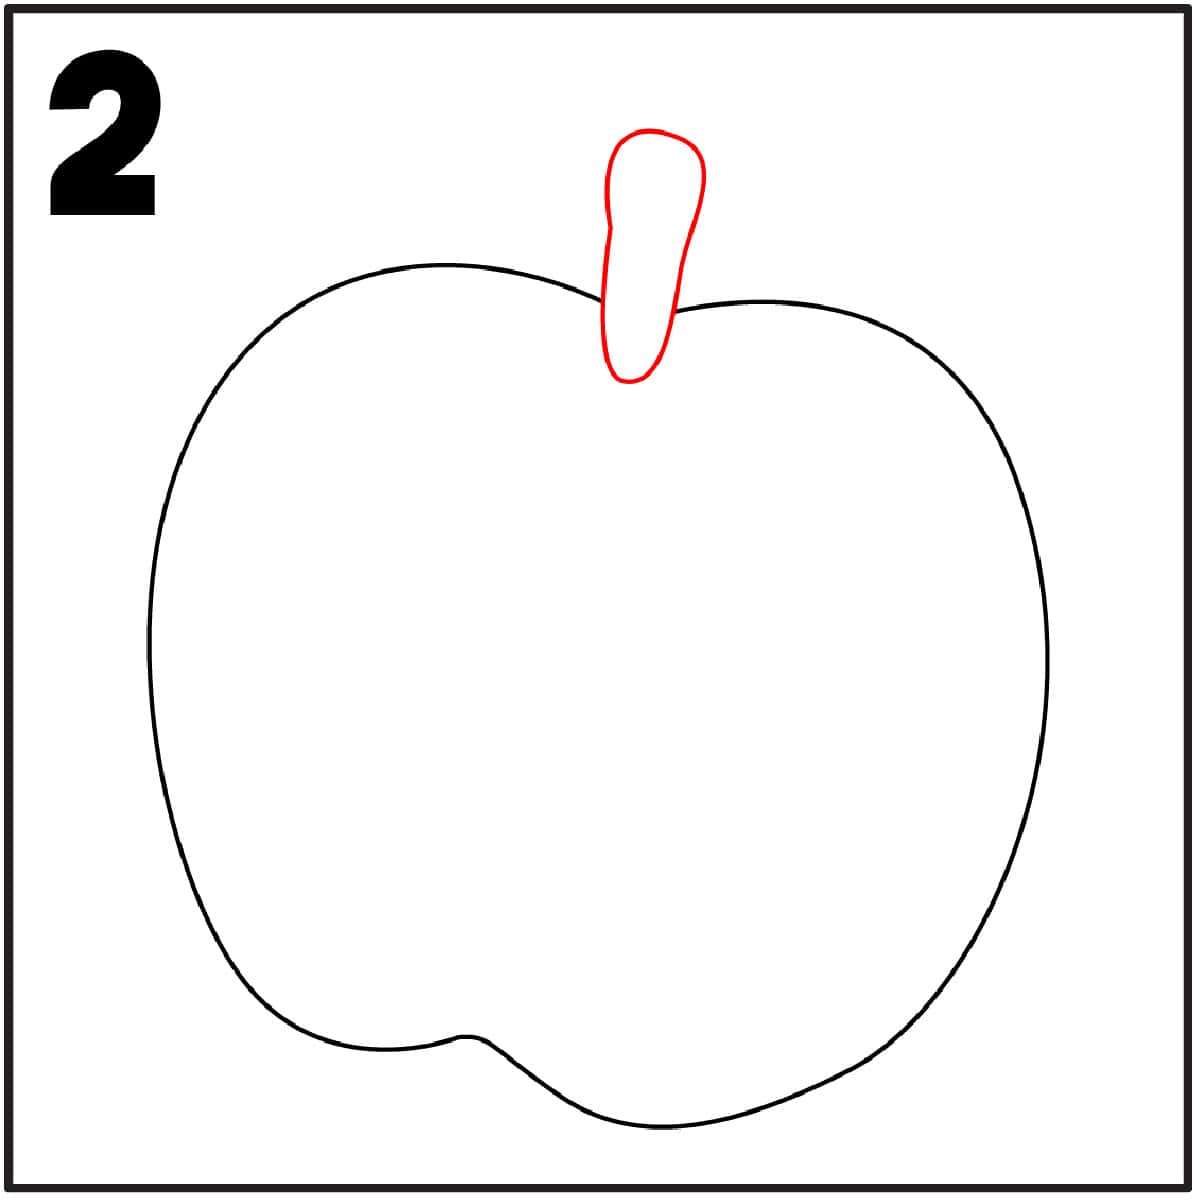 Next, it's time to draw the stem of the apple. We went with a basic shape, but you may want it to slightly curve. Whichever stem you draw, make sure it is drawn right in the "v" of the top of your apple.
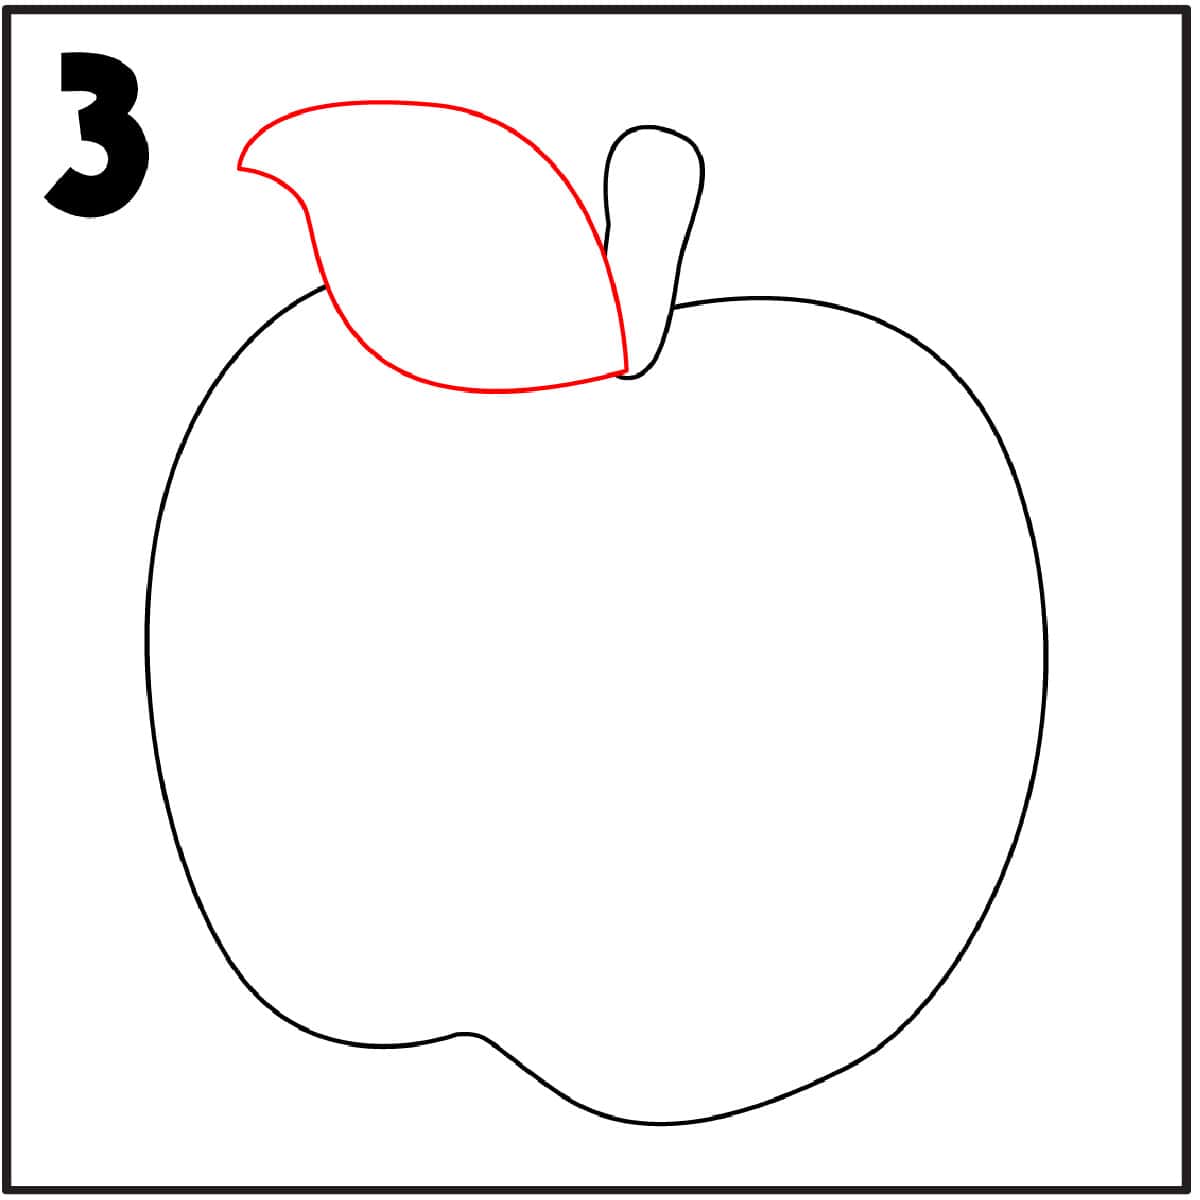 The next step is to draw a leaf off the stem of your apple. A curve line off where the stem meets the apple and out.
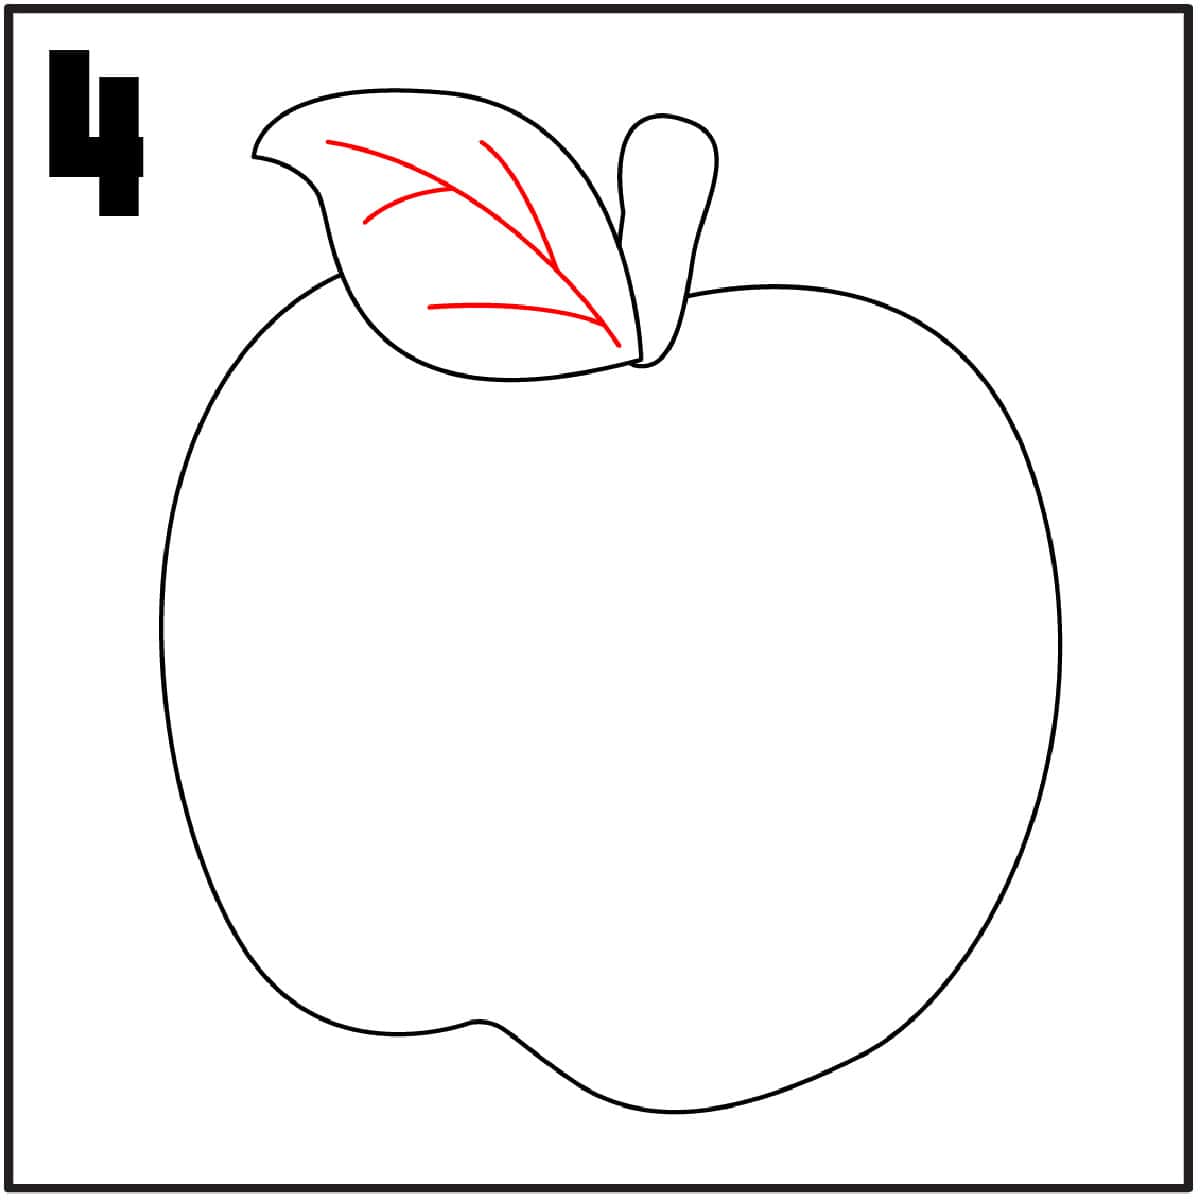 For the fourth step, add extra lines and details to the leaf. Drawing in the veins of the leaf with simple small lines. Viola, you have an apple drawing!
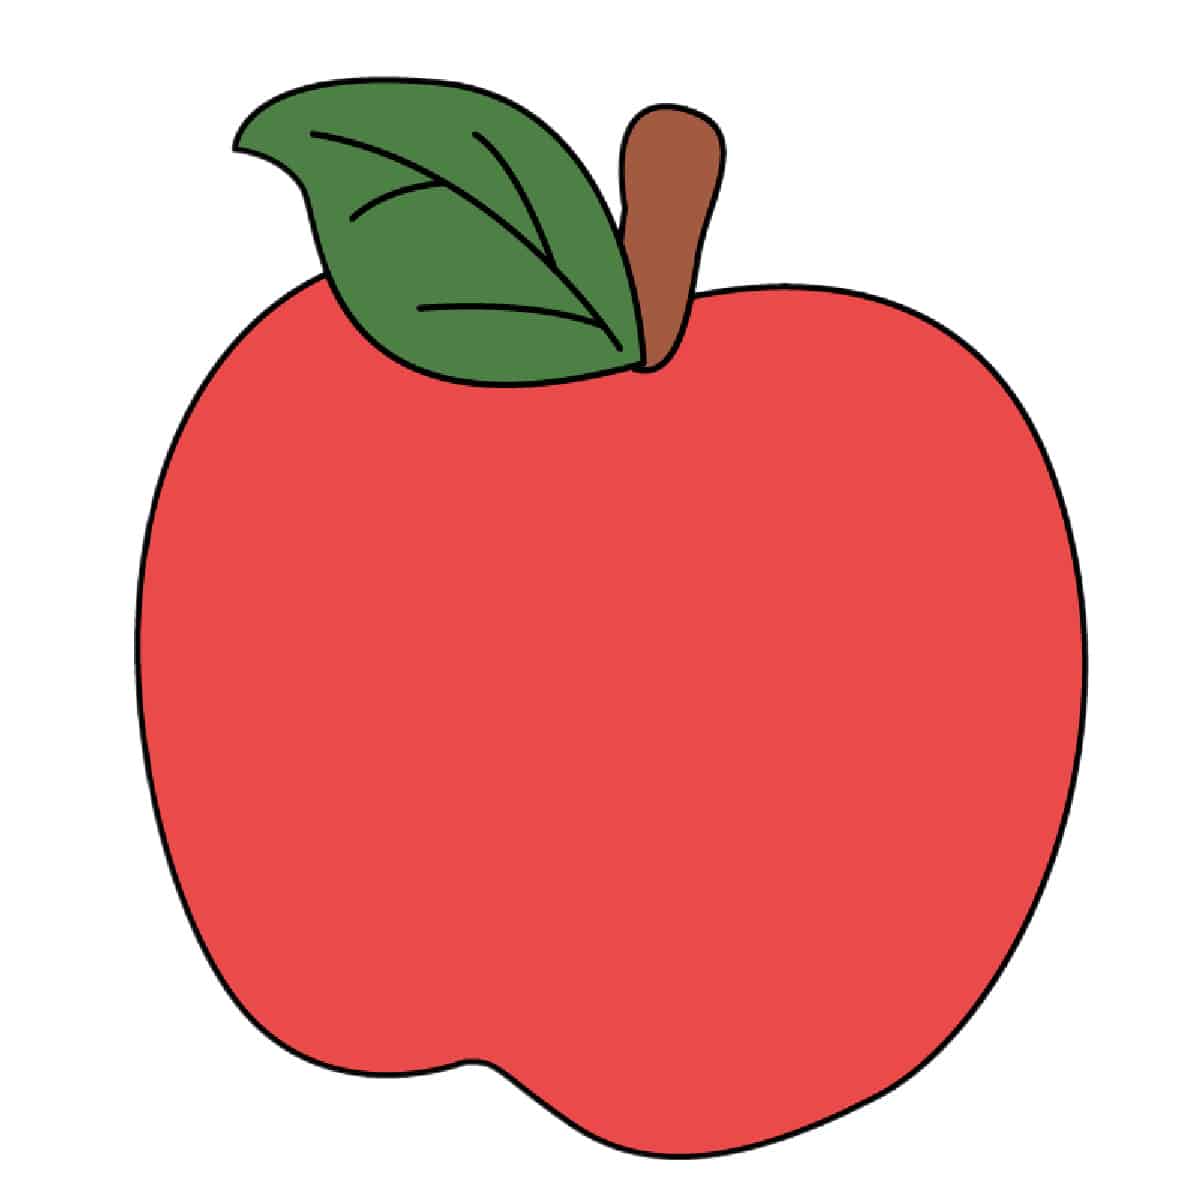 The last step is to clean up any extra light lines. Once you have your drawing where you want it, we like to go over the lines with a hard pencil line and outline the apple with a black sketch pen.