Create this fun and easy dream catcher craft for kids in under 30 minutes using simple paper and few craft supplies and a free template.
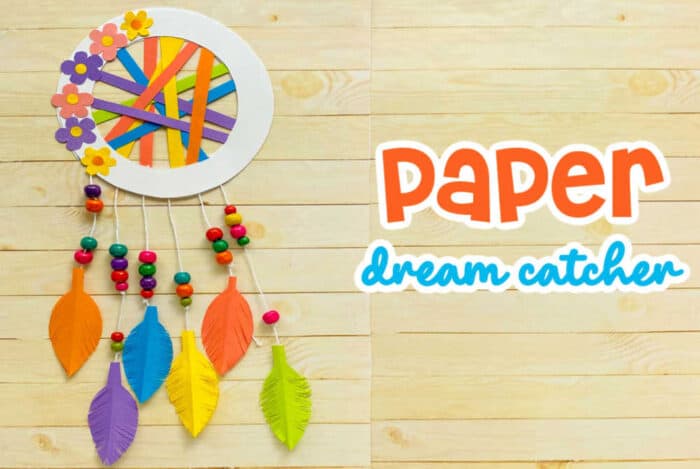
This paper dream catcher craft for kids is a great activity for both younger and older kids. Bring on the good dreams and have some fun creating this beautiful dream catcher.
We highlighted this Paper Craft along with some other fun kid's crafts in our November Crafts along with our 101+ Easy Craft Ideas for kids.
You also do not want to miss our 101+ Printable Coloring Pages For Kids and 101+ Printables For Kids full of Crafts and Coloring Pages.
What is a Dream Catcher?
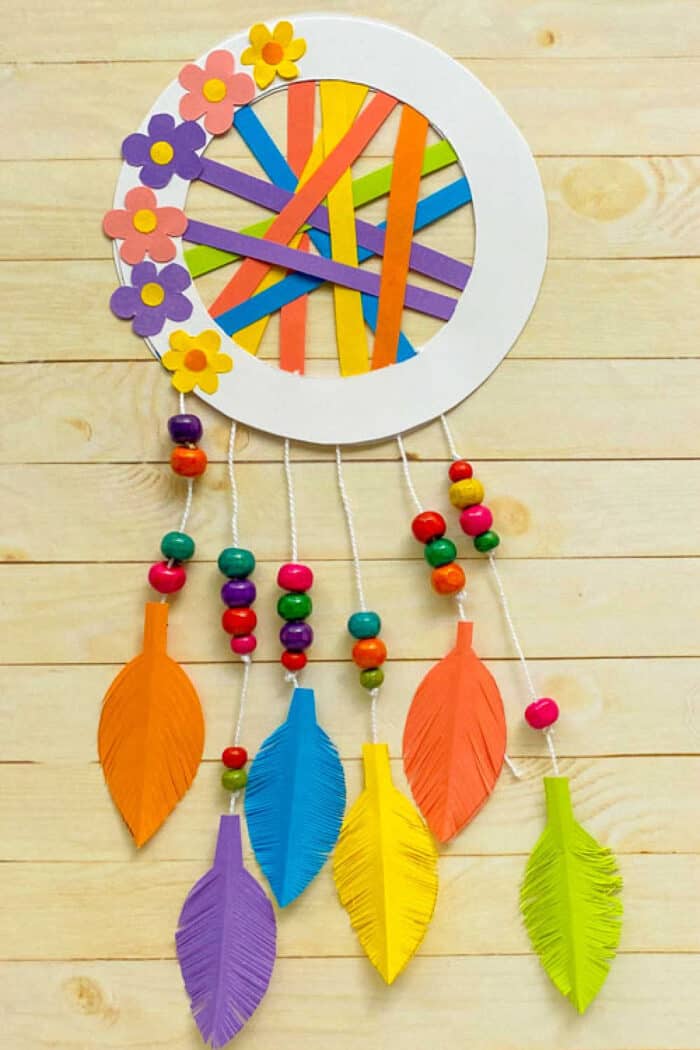
Dream catchers are beautiful crafts that can be done with kids while getting creative on designs; kids can also learn about Native American Culture. I knew that the net designed in the middle of the dream catcher represented the net to catch bad dreams, but I found out that the round shape symbolizes the earth, and the feathers represent ladders allowing sweet good dreams to fall on the sleeping person.
These often were made to give to new mothers for their infants in tribes across the nation. These DIY dream catchers can be a lovely art and history project to do in the classroom or at home while seeing your child(ren) get creative with colors and netting design; this craft can also help fine motor skills.
Crafting with Kids
If your kid(s) love doing crafts or you have craft time in your classroom, craft supplies you typically have stocked could be used for this craft; such as washi tape, paper plates, pipe cleaner, an embroidery hoop, metal ring, pom poms, beads, and long pieces of construction paper.
As a stay-at-home parent, I have learned that these are the main items I have to keep because my oldest child loves crafting anything she can! I love seeing her imagination grow each time she creates. I was able to find a small wooden box at a thrift store that we now like to keep all the crafting essentials in; it was a lot of fun to add to it. We also have been able to find plenty of items we need for crafts at the thrift store as well, and it is always a joyful moment for my daughter because she knows she will get to create even more!
Kids having their own dream catcher (especially ones they got to make themselves) in their room as home decor can also help with those nighttime fears and help them feel more in control of thinking happy thoughts before bedtime and sweet dreams.
This is a great way to get their creative juices flowing and to see their dream catcher idea come to life!
Want to save this project?
Enter your email below, and then we'll send it straight to your inbox. Plus get awesome new projects from us each week.
Supplies For Making a DIY Dreamcatcher
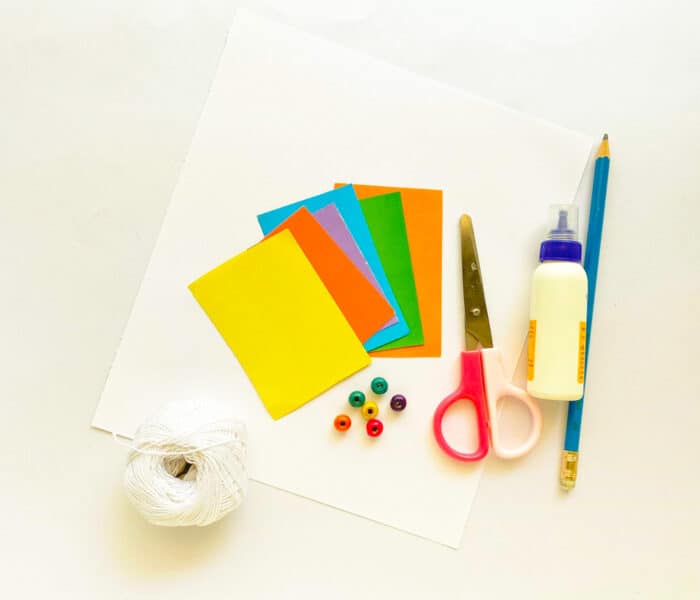
This particular activity is a simple dream catchers project you and your child(ren) can have fun with while talking about shapes (big and small), colors, and the history of Native Americans that began such a beautiful tradition. Sharing Native American crafts is something we would love to see. We love the seeing the designs you and your children create; you can tag us on social media (IG: @madewithhappy )
- Cardstock paper
- Craft papers
- Printable Dream Catcher Template (grab below)
- Pencil
- Ruler
- Scissors
- Glue
- Thread
- Beads
- Hole Punch
How to Make a Dream Catcher
Here are the step-by-step instructions on how to make an easy DIY dream catcher.
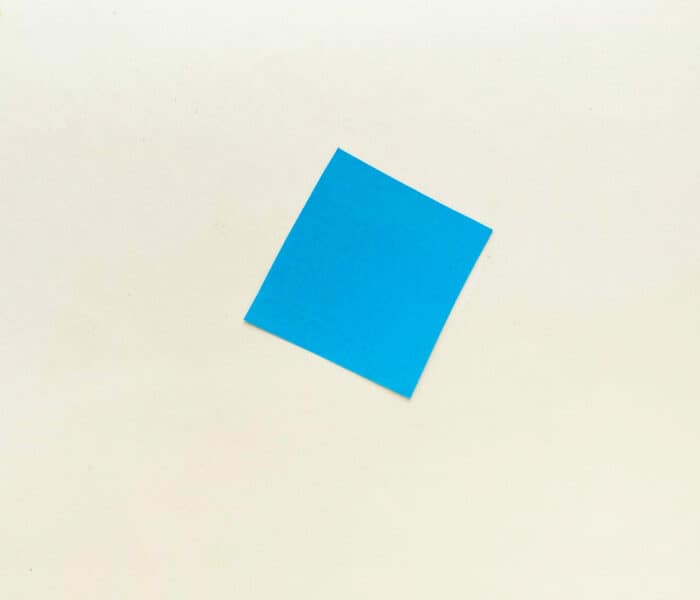
Gather the supplies and print out the PDF templates. Cut out a square piece of colorful craft paper.
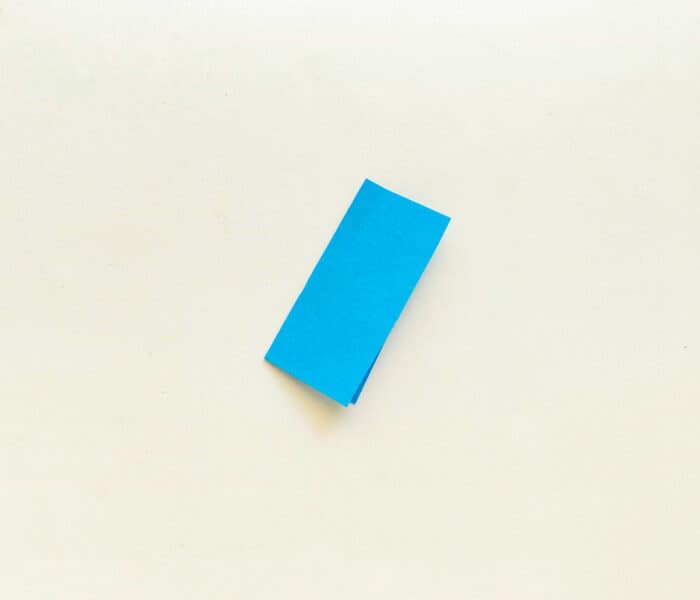
Fold the paper in half.
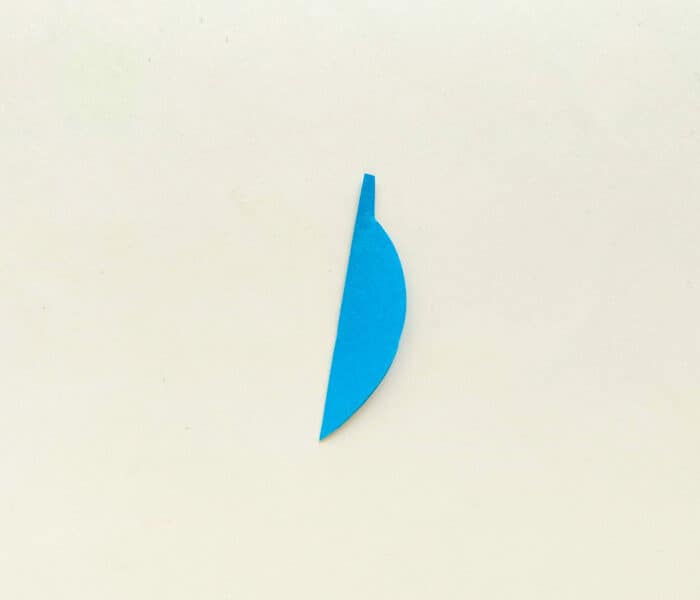
Then cut the paper using the template.
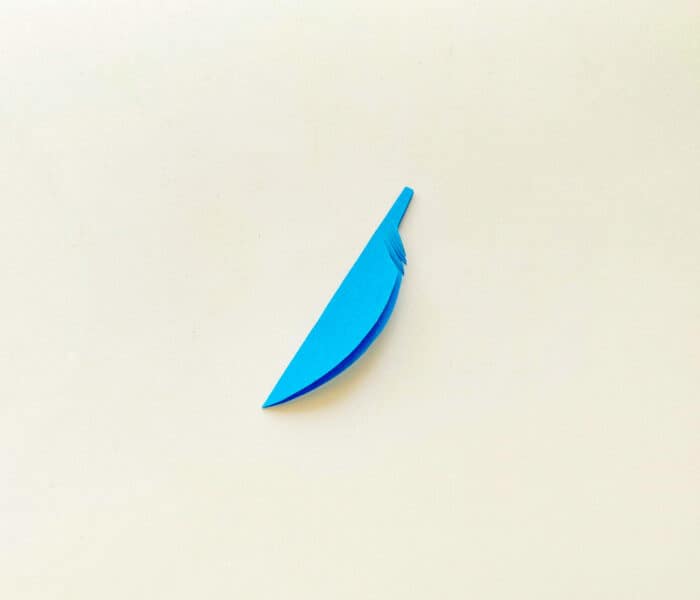
Now make a thin diagonal cut on the feather. Start cutting from the opened end but do not cut all the way to the closed end of the fold.
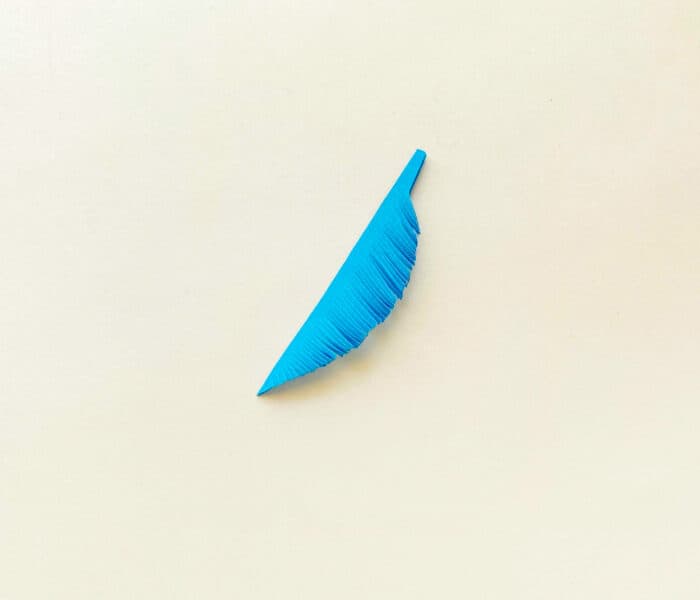
Make similar thin diagonal cuts all the way to the end of the feather.
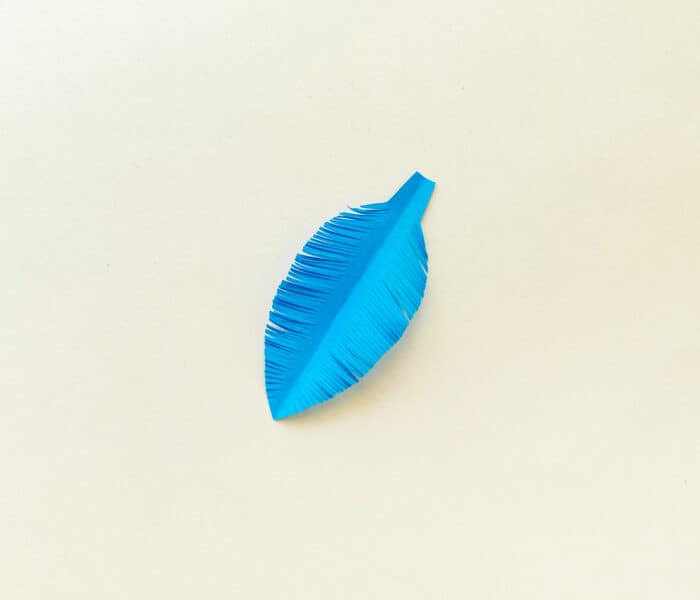
Open the fold.
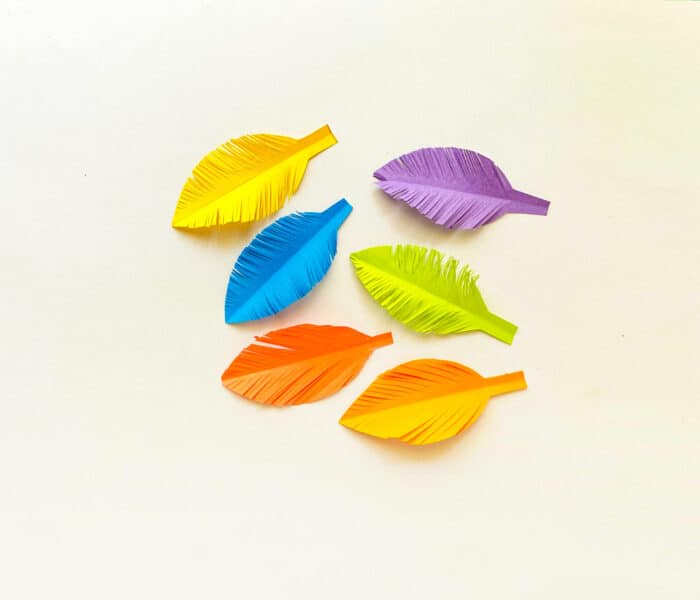
Similarly, make a few more feathers.
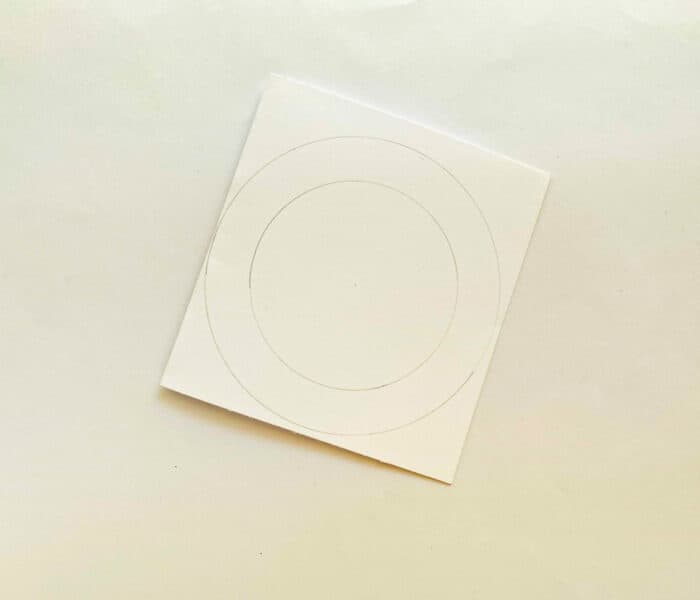
Take white cardstock paper.
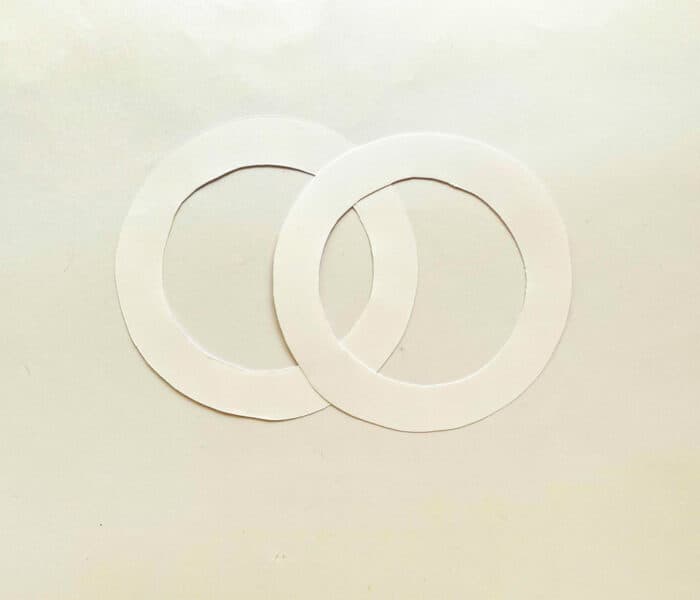
Cut out the bases for the dream catcher from the cardstock paper.
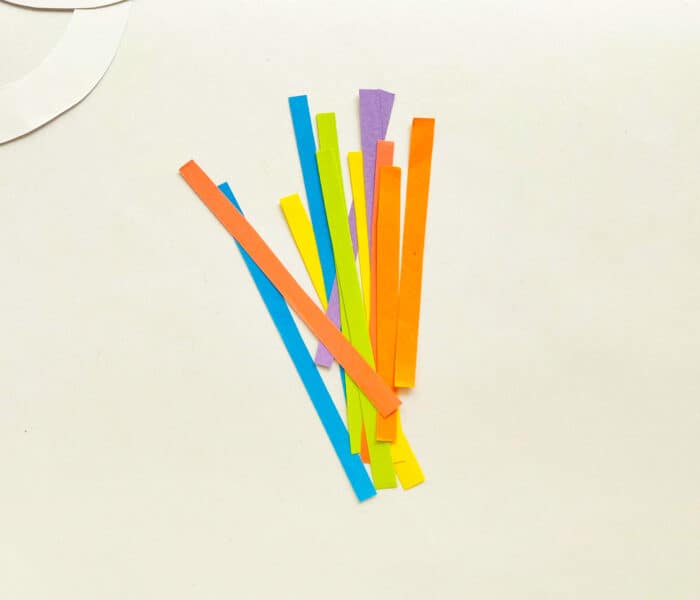
Cut out colorful paper strips.
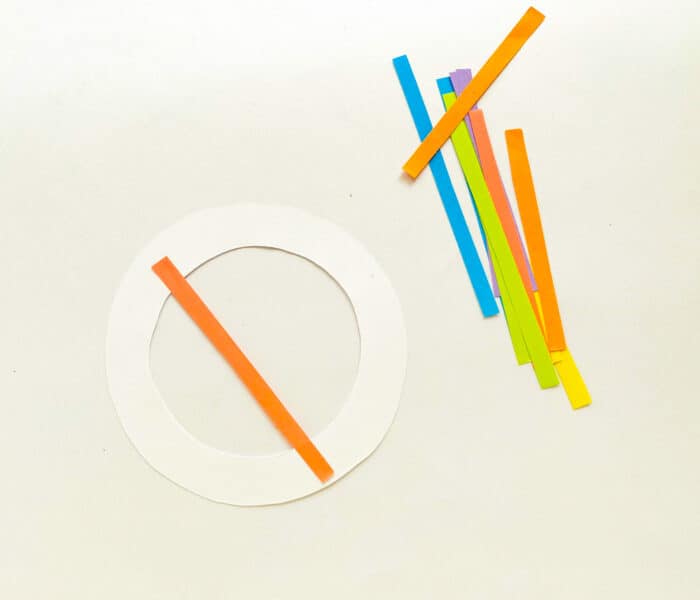
Start gluing the colorful paper strips across the base.
Step 12:
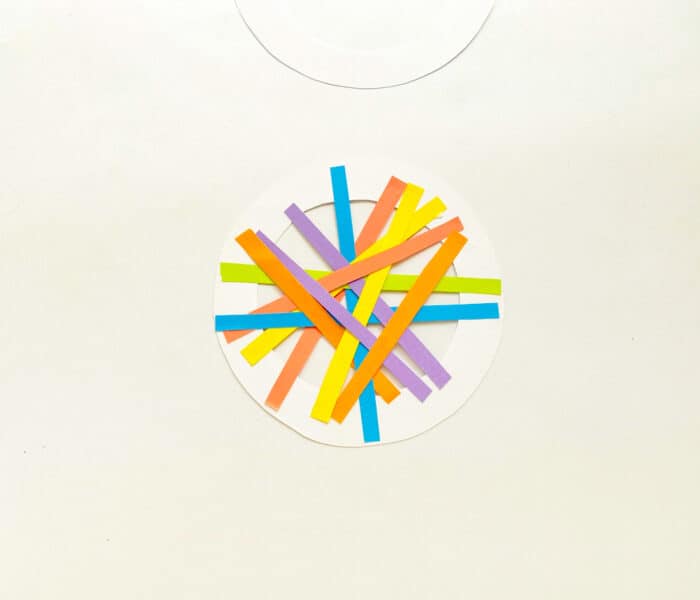
Finish gluing all the paper strips.
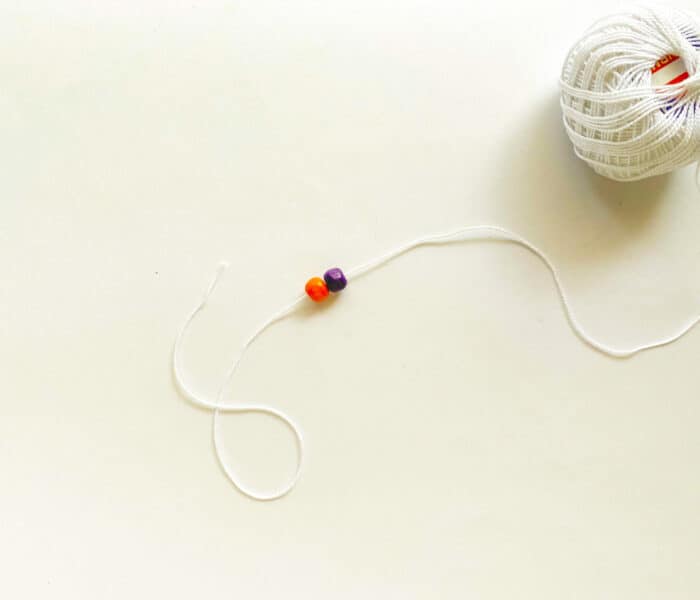
Take the beads and thread. Insert colorful beads through the thread, and tie a knot at the end so the beads stay in place.
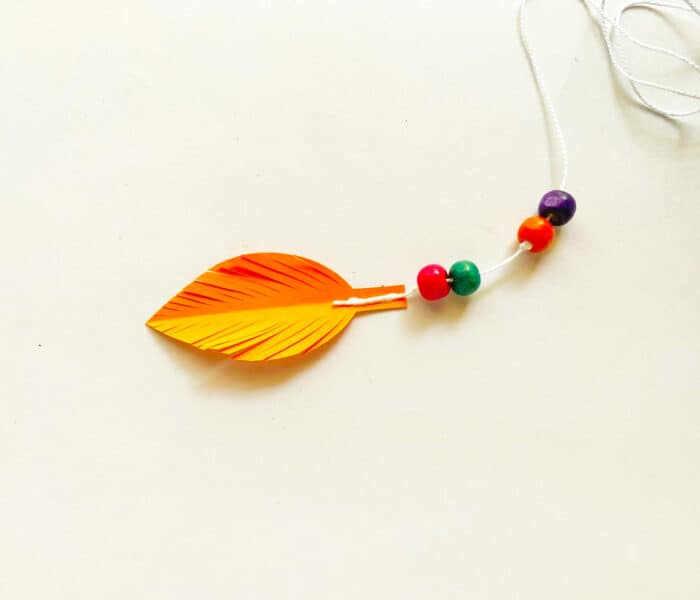
Glue the paper feather at the end of the beaded thread.
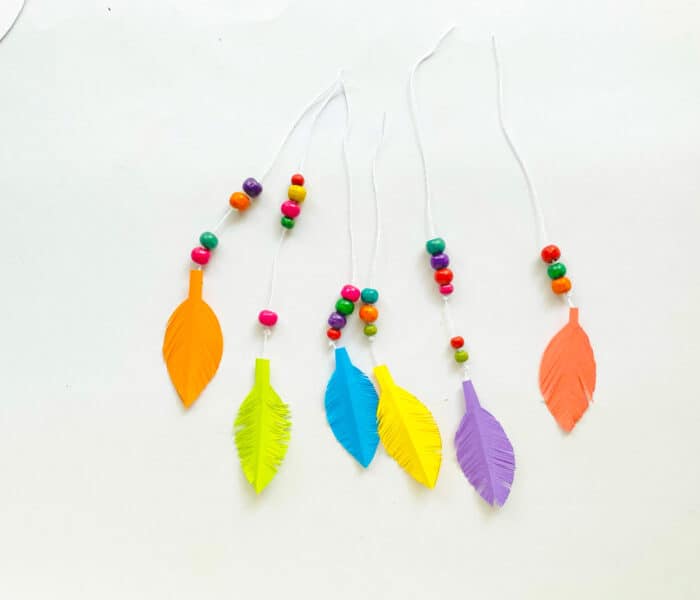
Similarly, glue the rest of the feathers with beaded threads.
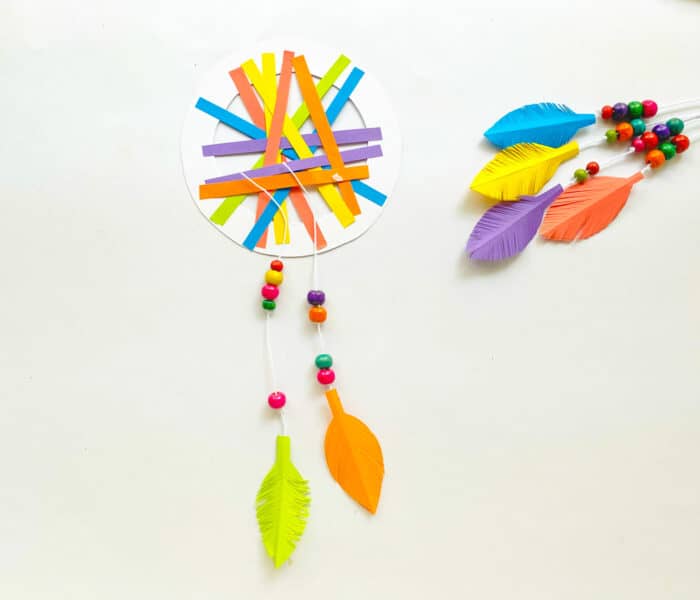
Now glue the threads on the base.
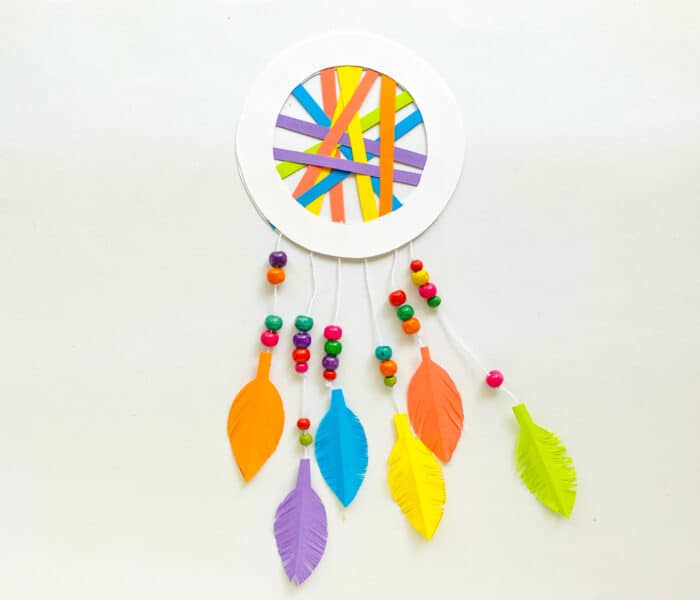
Take the second base and glue it over the first base so it looks neat.
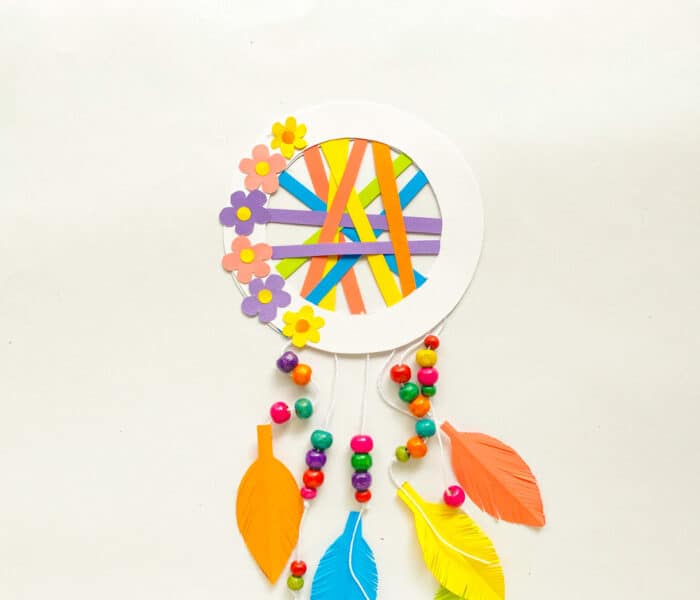
Cut out the flowers from the templates and glue them on the base to decorate it. To hang it, punched a hole in the top of the hoop of the dream catcher and hang it with a piece of string.
Download Easy Dream Catcher Template
Other Printable Kids Crafts You'll Love
- BUTTERFLY CRAFT FOR KIDS
- MOTHER'S DAY POP UP FLOWER CARD
- CHINESE DRAGON PUPPET KIDS CRAFT
- 3D PAPER CACTUS CRAFT
- SALT PAINTING - LEAF ART FOR KIDS
Paper Dream Catcher Craft
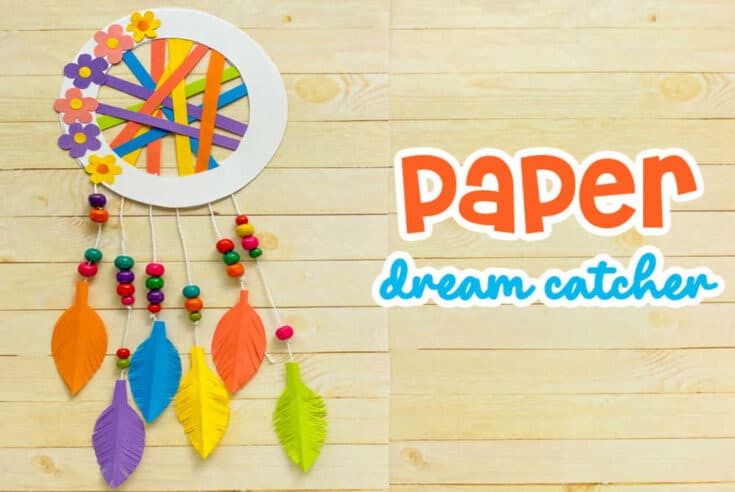
Create this fun and easy dream catcher craft for kids in under 30 minutes using simple paper and few craft supplies and a free template.
Materials
- Cardstock paper
- Craft papers
- Printable Dream Catcher Template (grab below)
- Pencil
- Ruler
- Glue
- Thread
- Beads
Tools
Instructions
Gather the supplies and print out the PDF templates. Cut out a square piece of colorful craft paper.
Fold the paper in half.
Then cut the paper using the template.
Now make a thin diagonal cut on the feather. Start cutting from the opened end but do not cut all the way to the closed end of the fold.
Make similar thin diagonal cuts all the way to the end of the feather.
Open the fold.
Similarly, make a few more feathers.
Take white cardstock paper.
Cut out the bases for the dream catcher from the cardstock paper.
Cut out colorful paper strips.
Start gluing the colorful paper strips across the base.
Finish gluing all the paper strips.
Take the beads and thread. Insert colorful beads through the thread, and tie a knot at the end so the beads stay in place.
Glue the paper feather at the end of the beaded thread.
Similarly, glue the rest of the feathers with beaded threads.
Now glue the threads on the base.
Take the second base and glue it over the first base so it looks neat.
Cut out the flowers from the templates and glue them on the base to decorate it. To hang it, punched a hole in the top of the dream catcher and hang it with the thread
CONNECT WITH MADE WITH HAPPY!
Be sure to follow me on social media, so you never miss a post!
Facebook | Twitter | Youtube | Pinterest | Instagram
Find and shop my favorite products in my Amazon storefront here!
SIMPLE DREAM CATCHER CRAFT
PIN IT TO YOUR DIY BOARD ON PINTEREST!
FOLLOW MADE WITH HAPPY ON PINTEREST FOR ALL THINGS HAPPY!
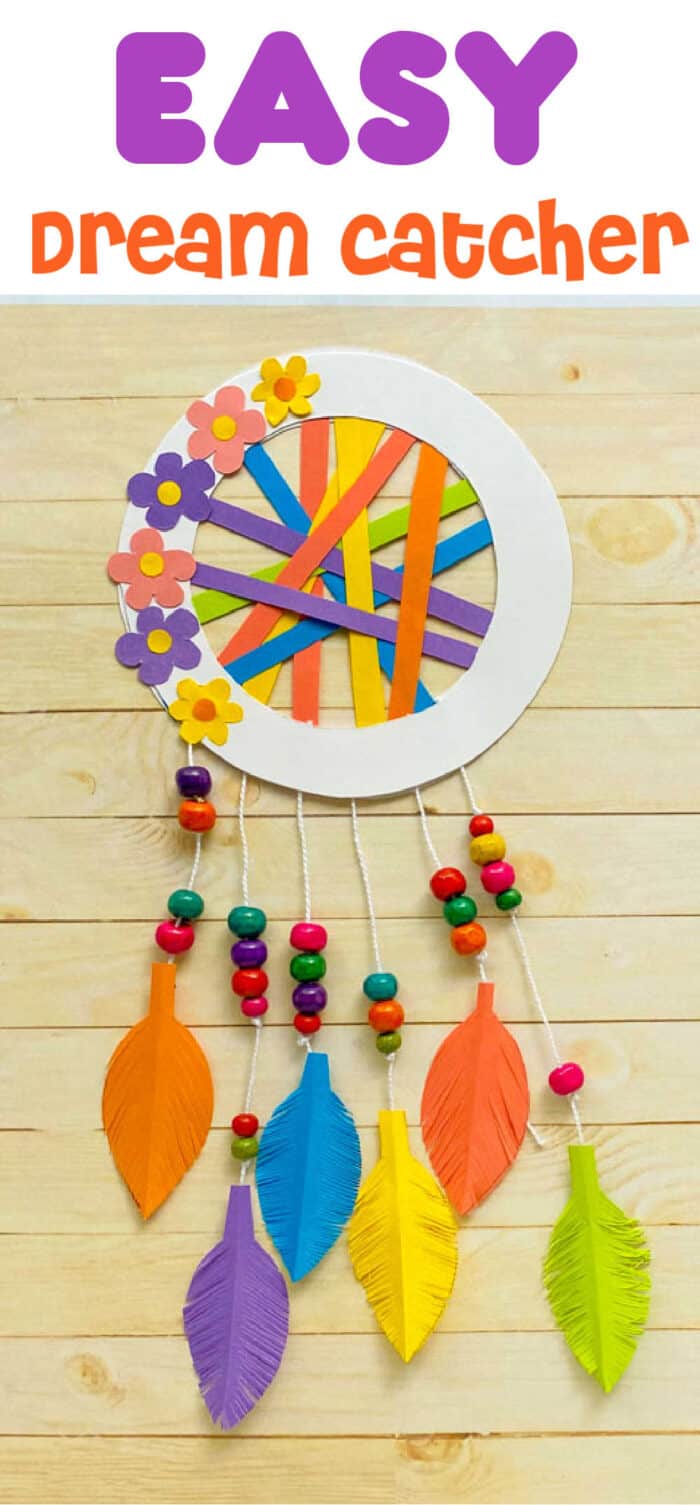


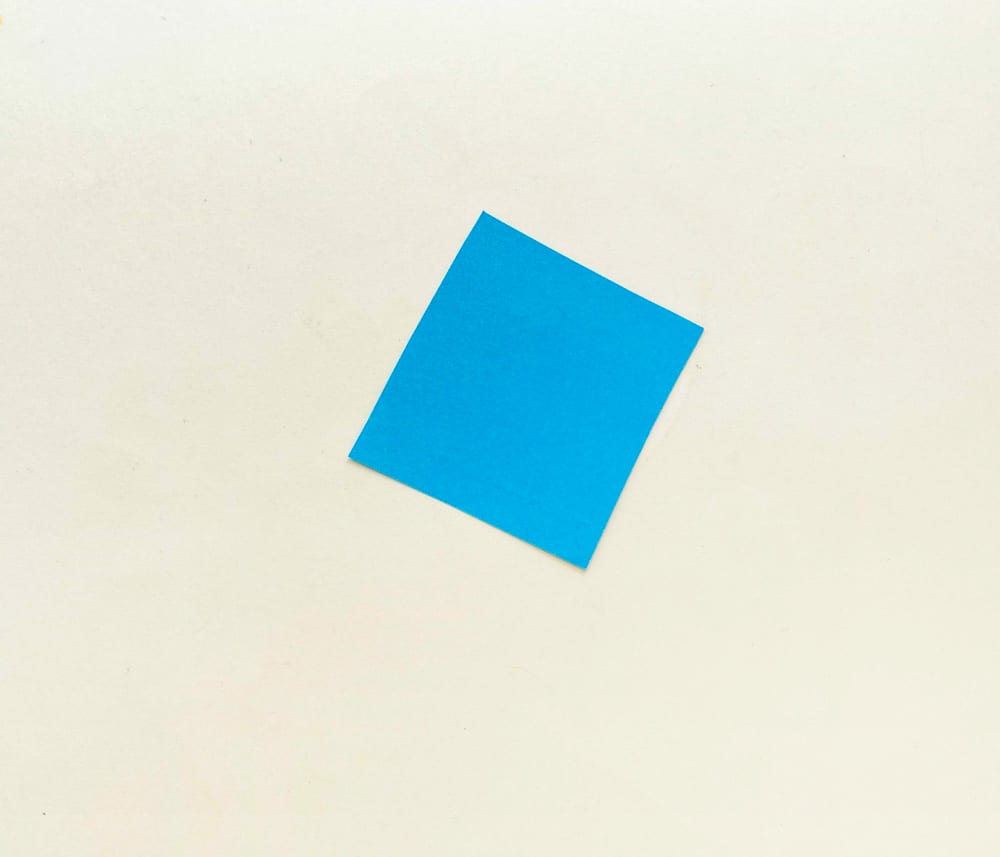 Gather the supplies and print out the PDF templates. Cut out a square piece of colorful craft paper.
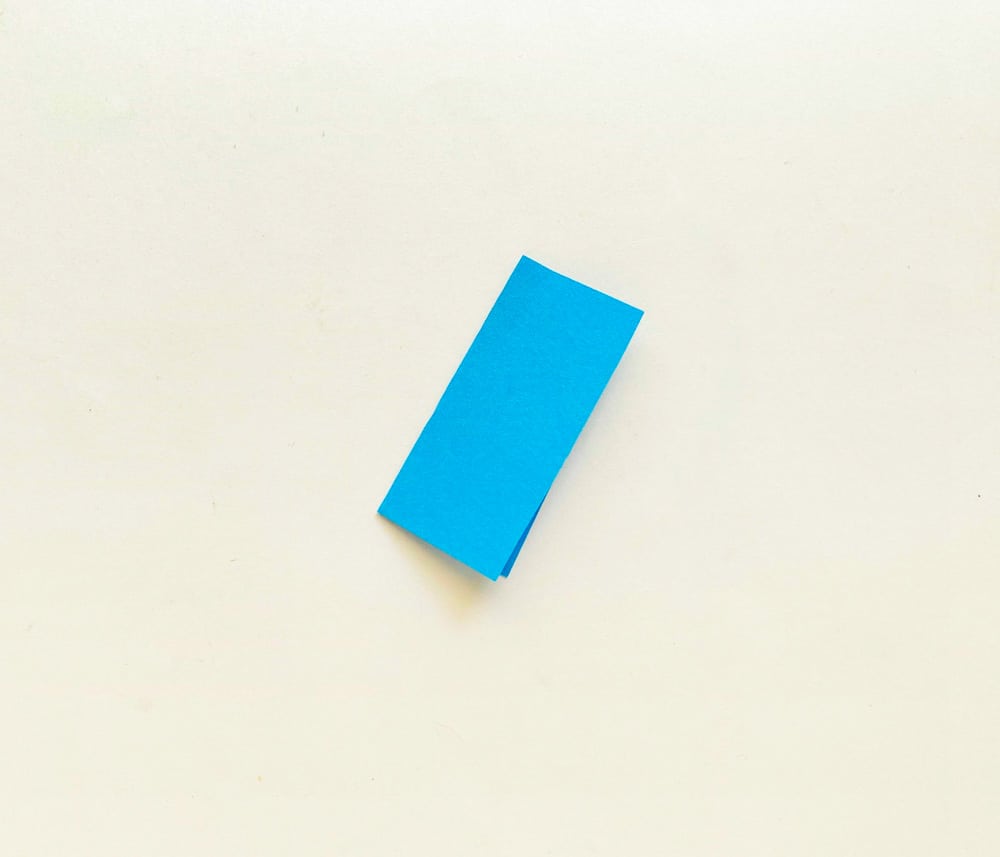 Fold the paper in half.
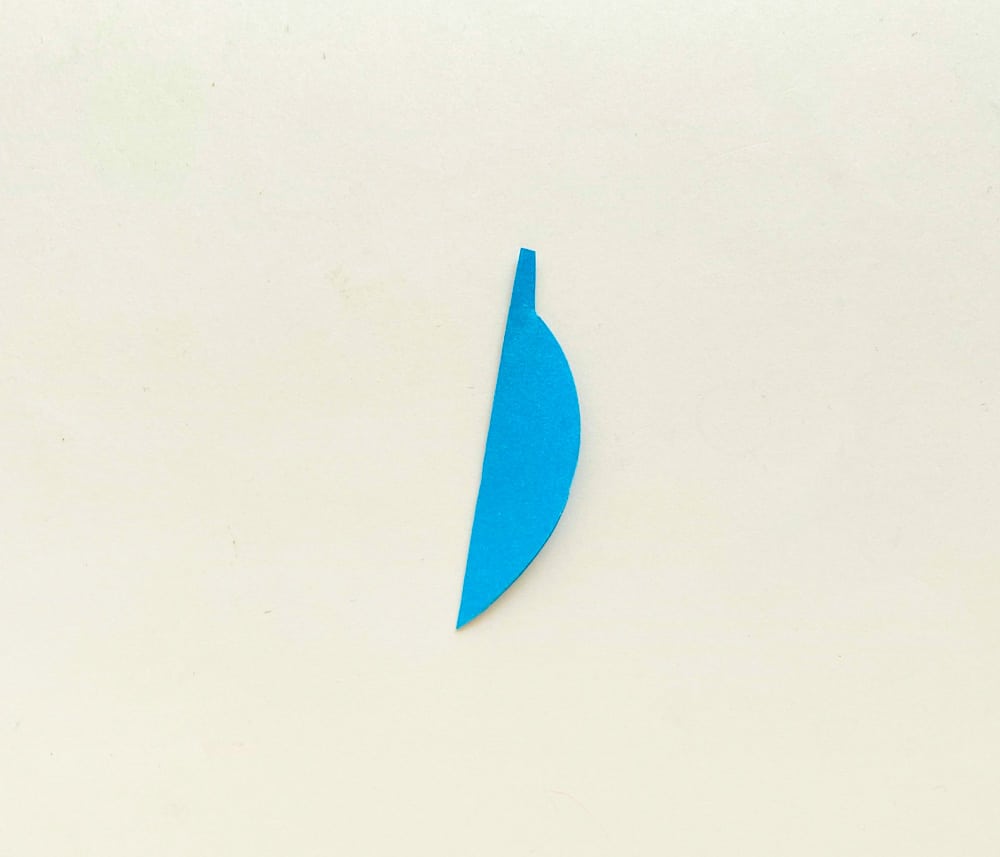 Then cut the paper using the template.
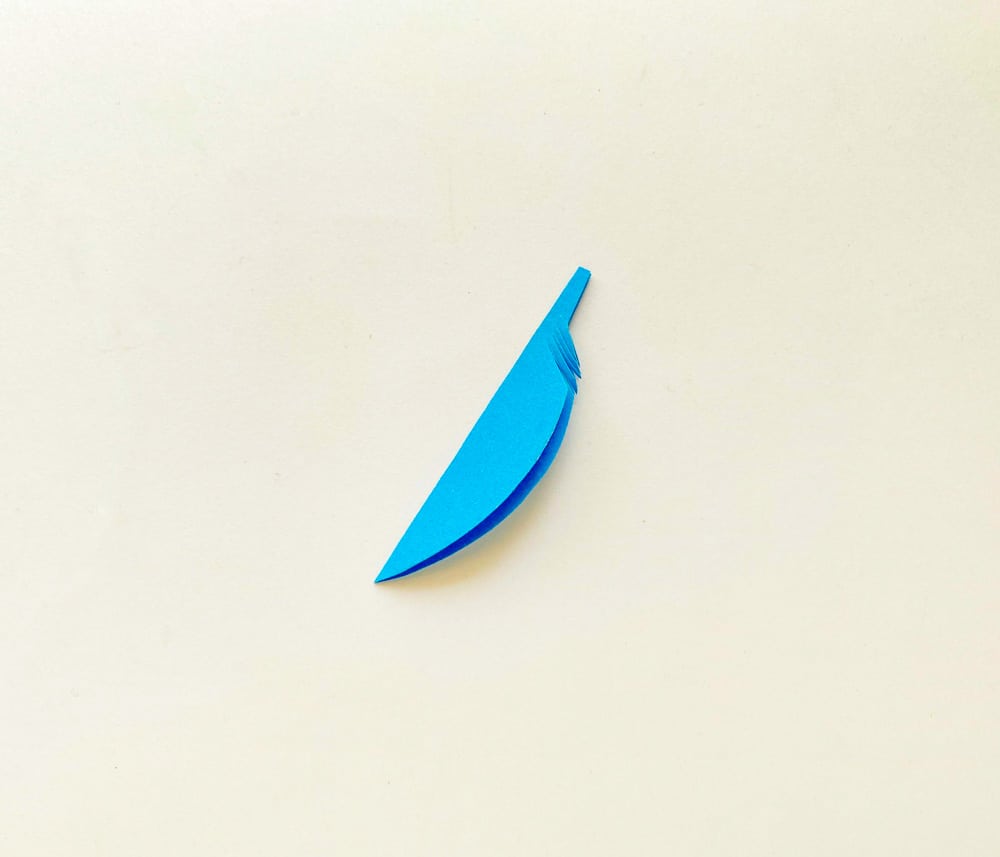 Now make a thin diagonal cut on the feather. Start cutting from the opened end but do not cut all the way to the closed end of the fold.
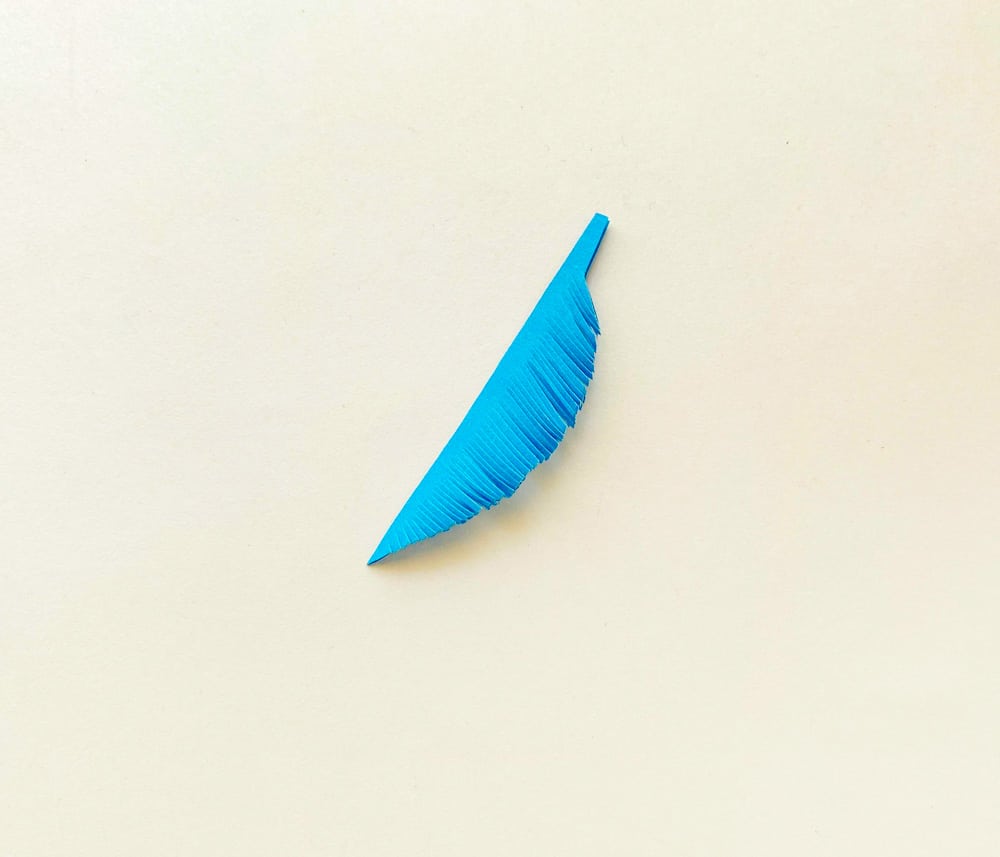 Make similar thin diagonal cuts all the way to the end of the feather.
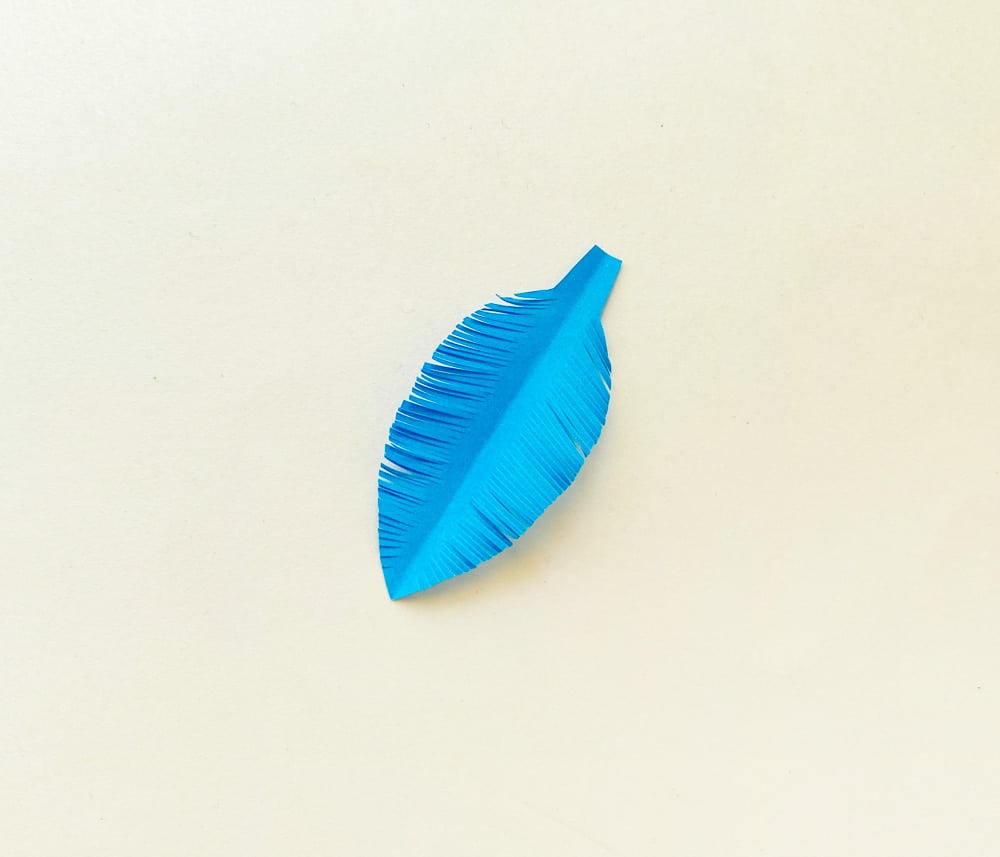 Open the fold.
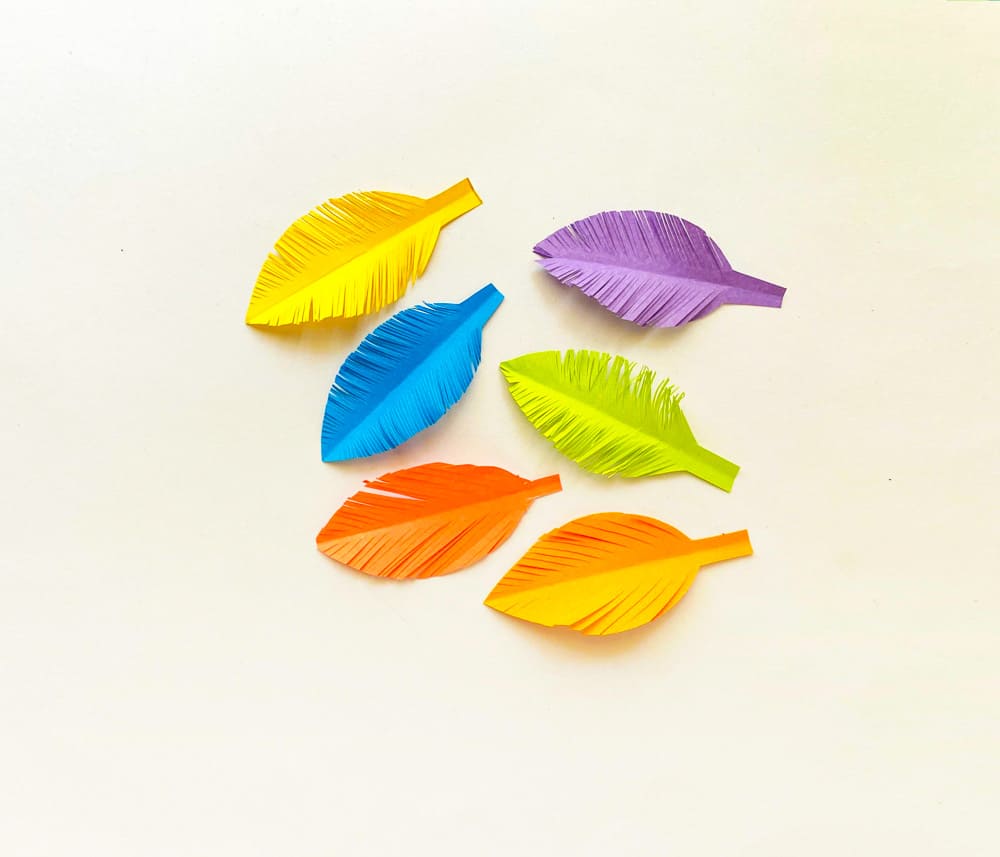 Similarly, make a few more feathers.
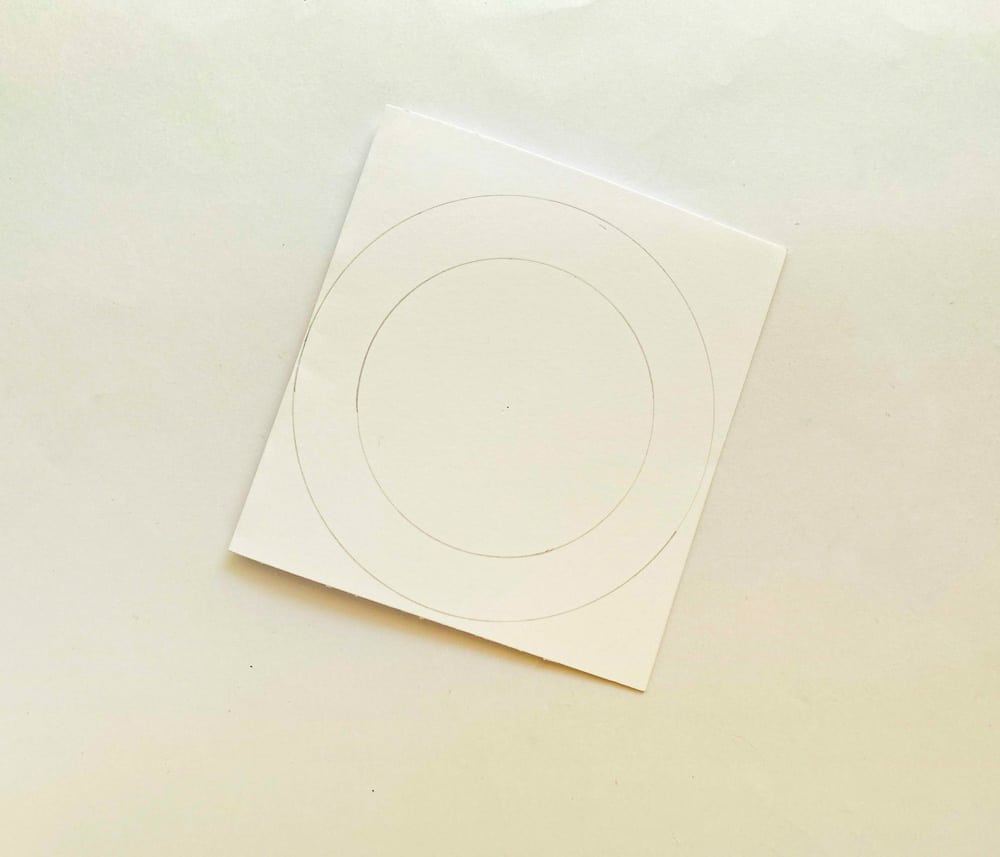 Take white cardstock paper.
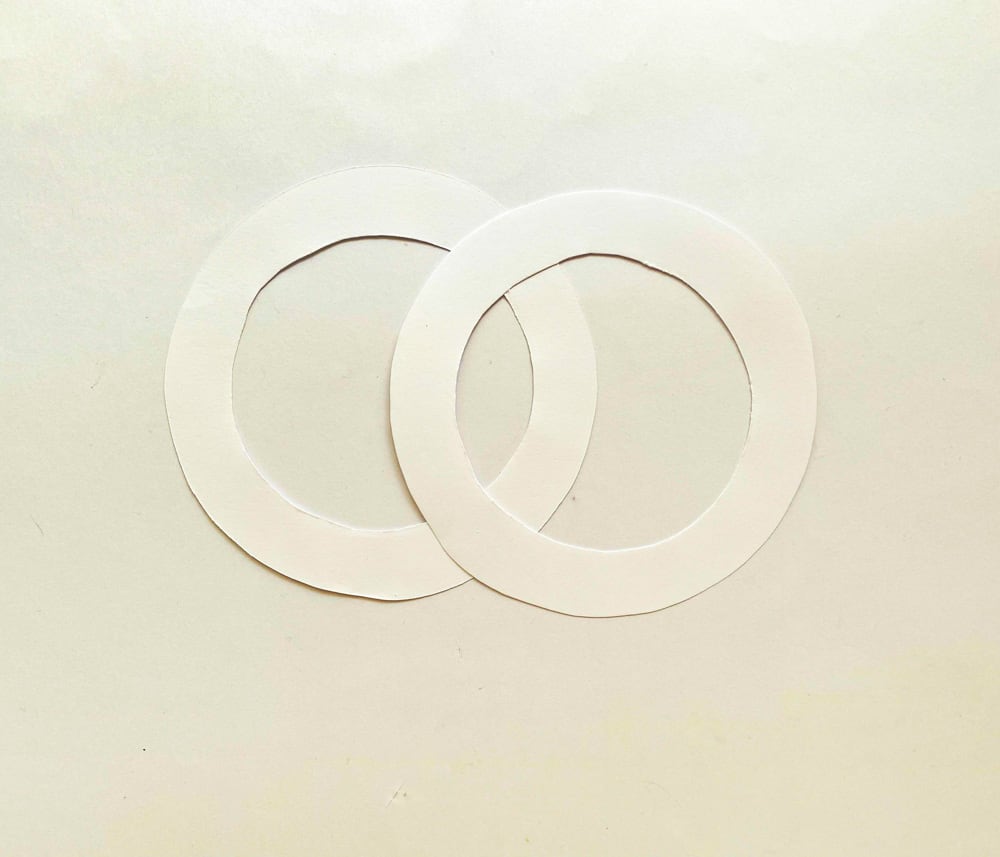 Cut out the bases for the dream catcher from the cardstock paper.
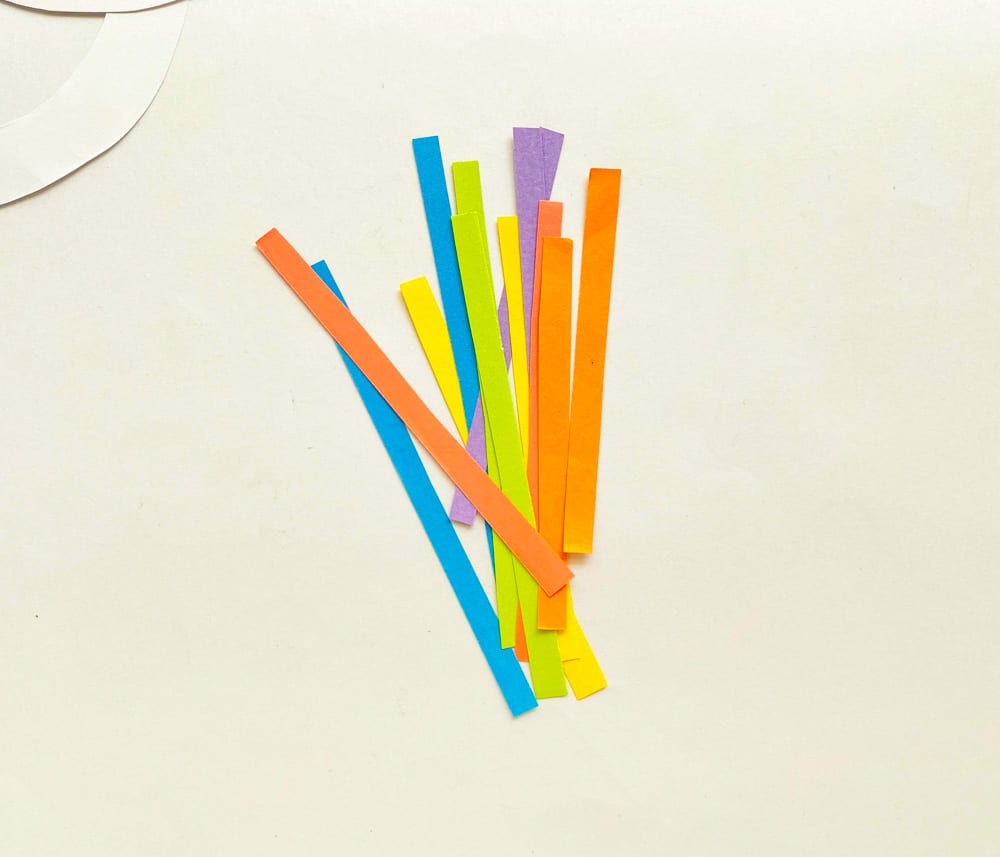 Cut out colorful paper strips.
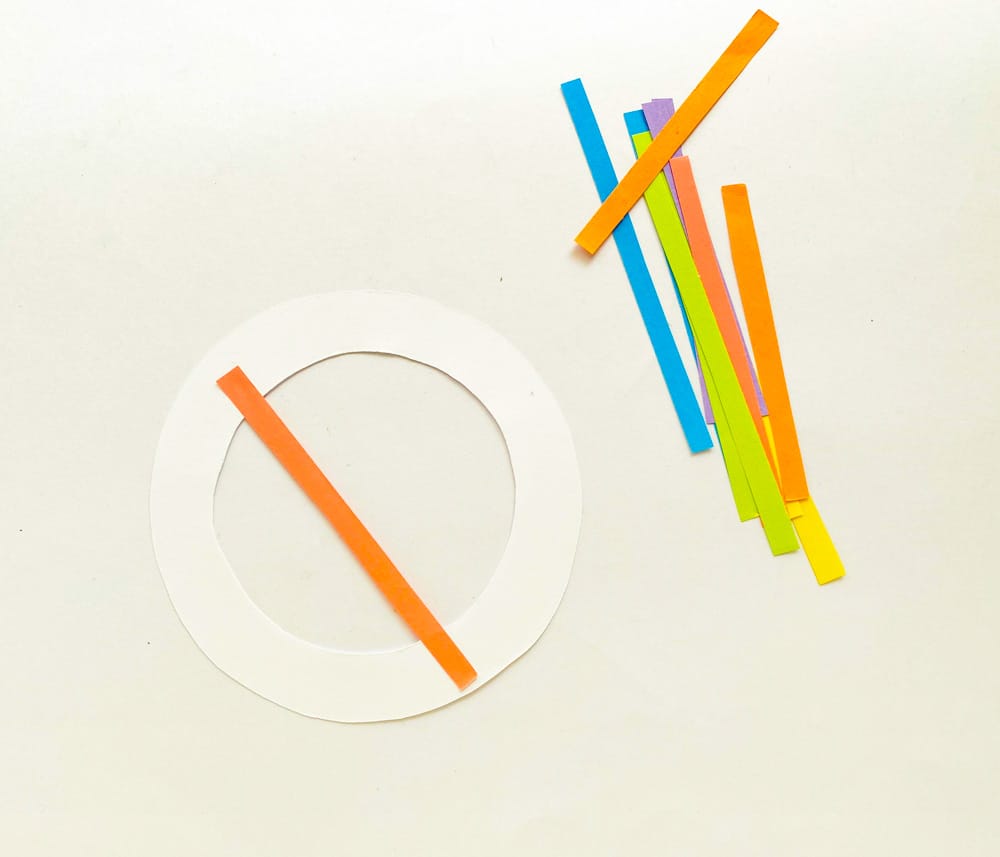 Start gluing the colorful paper strips across the base.
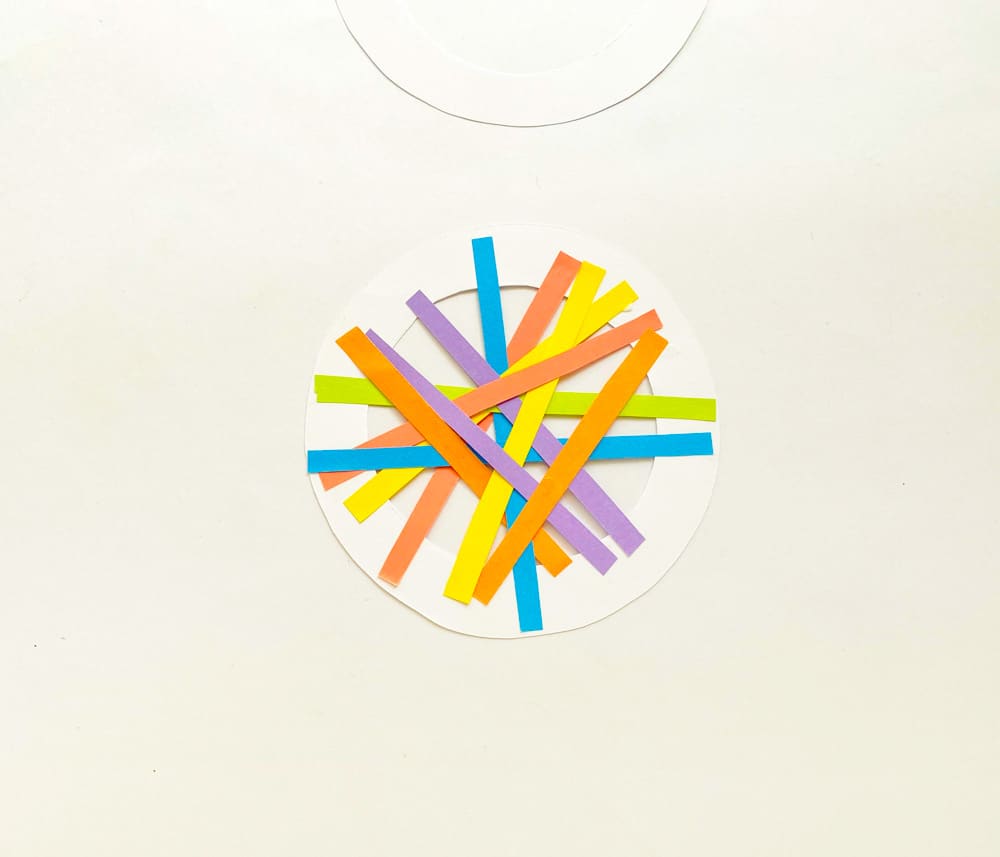 Finish gluing all the paper strips.
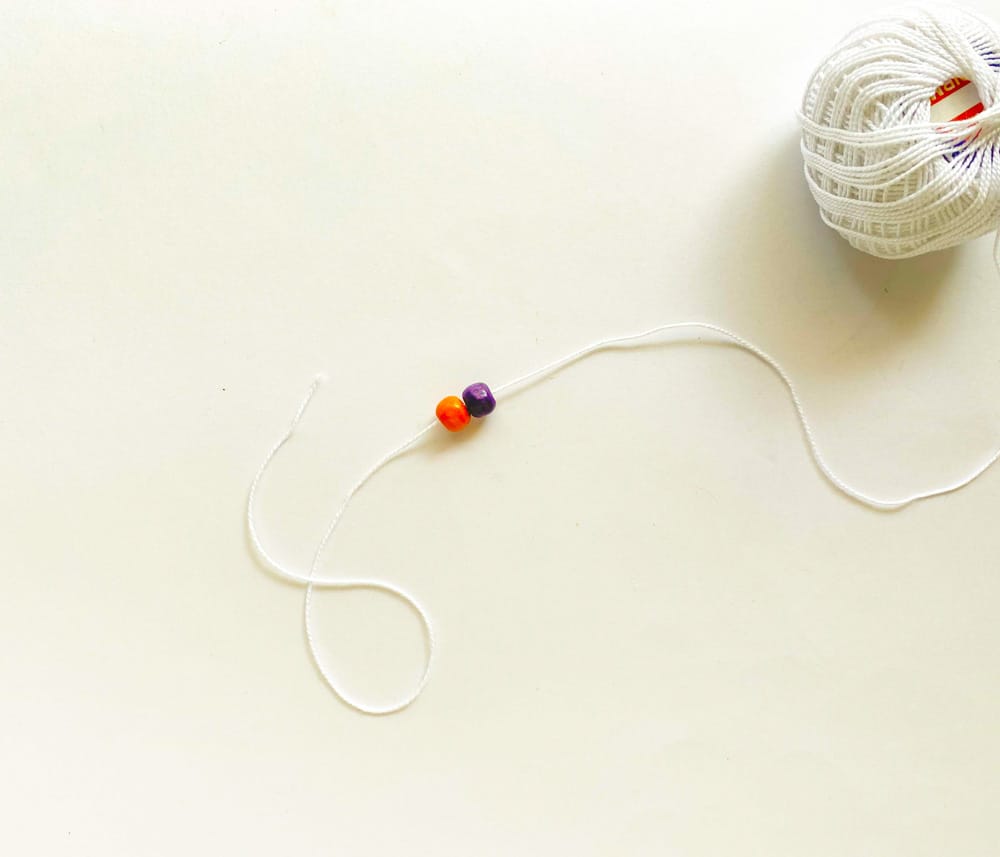 Take the beads and thread. Insert colorful beads through the thread, and tie a knot at the end so the beads stay in place.
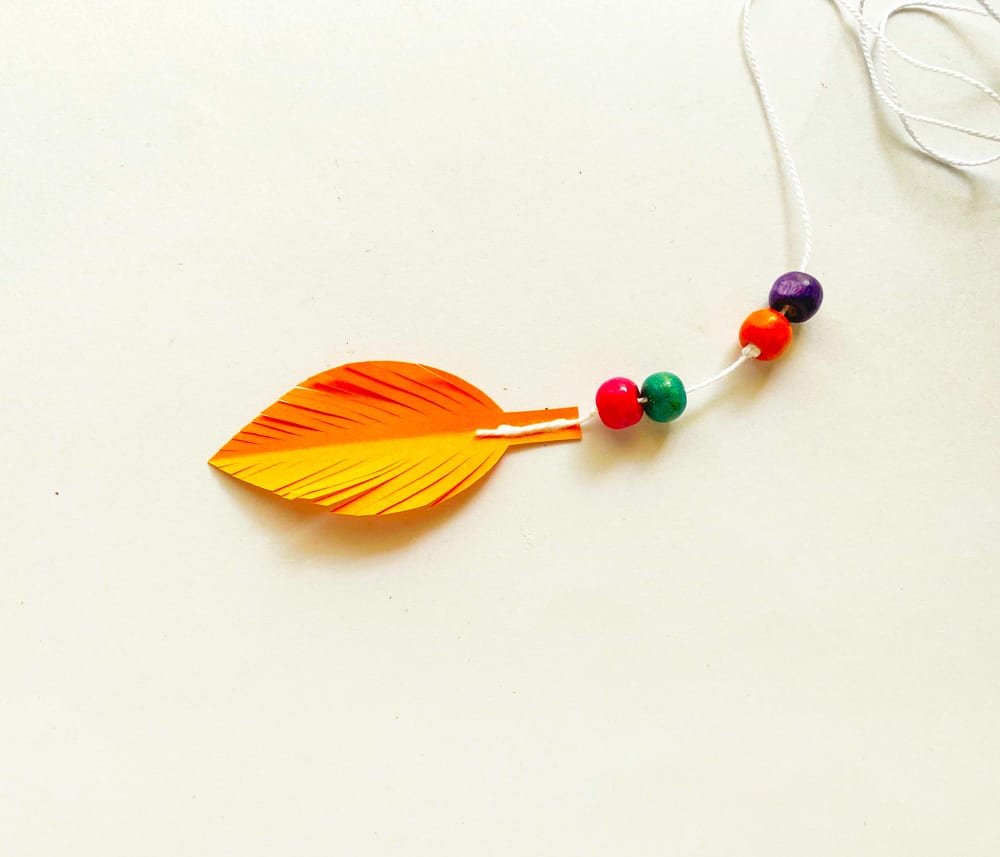 Glue the paper feather at the end of the beaded thread.
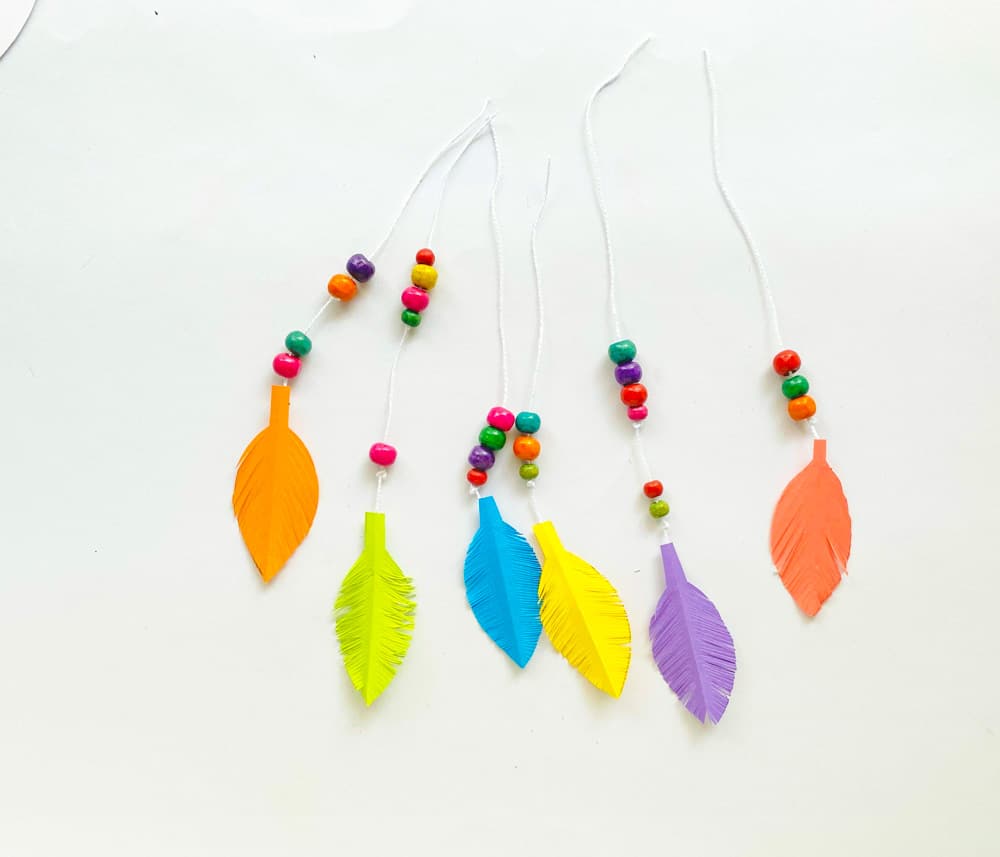 Similarly, glue the rest of the feathers with beaded threads.
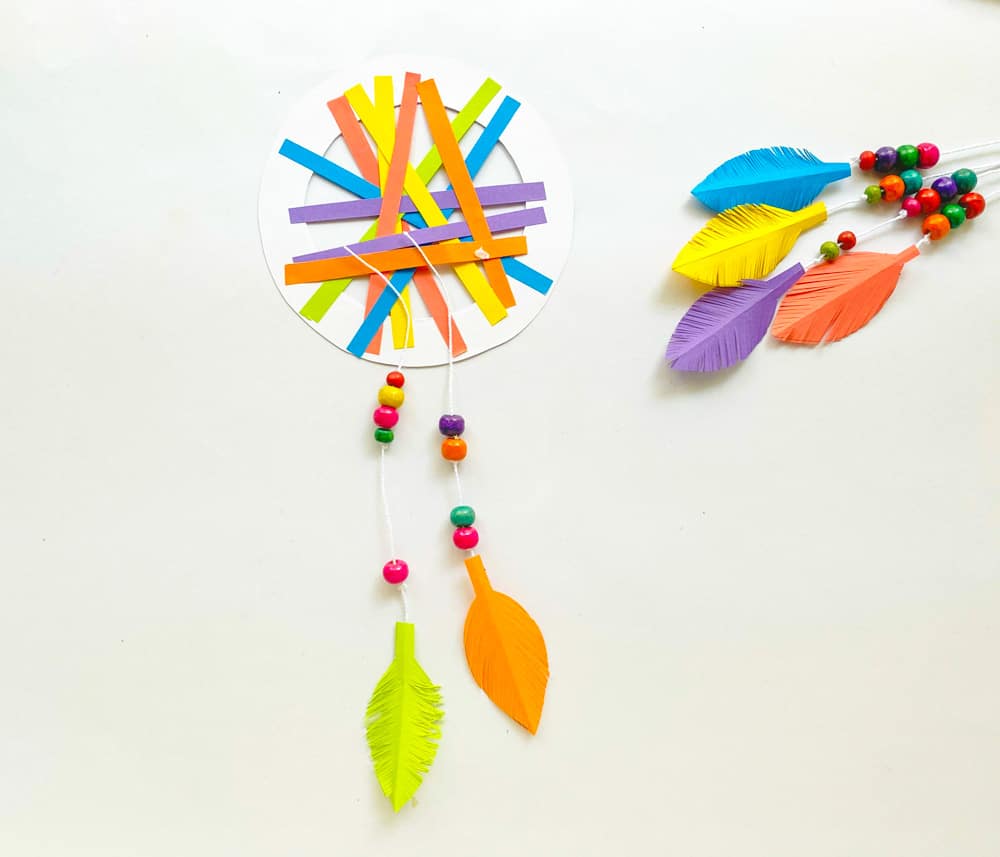 Now glue the threads on the base.
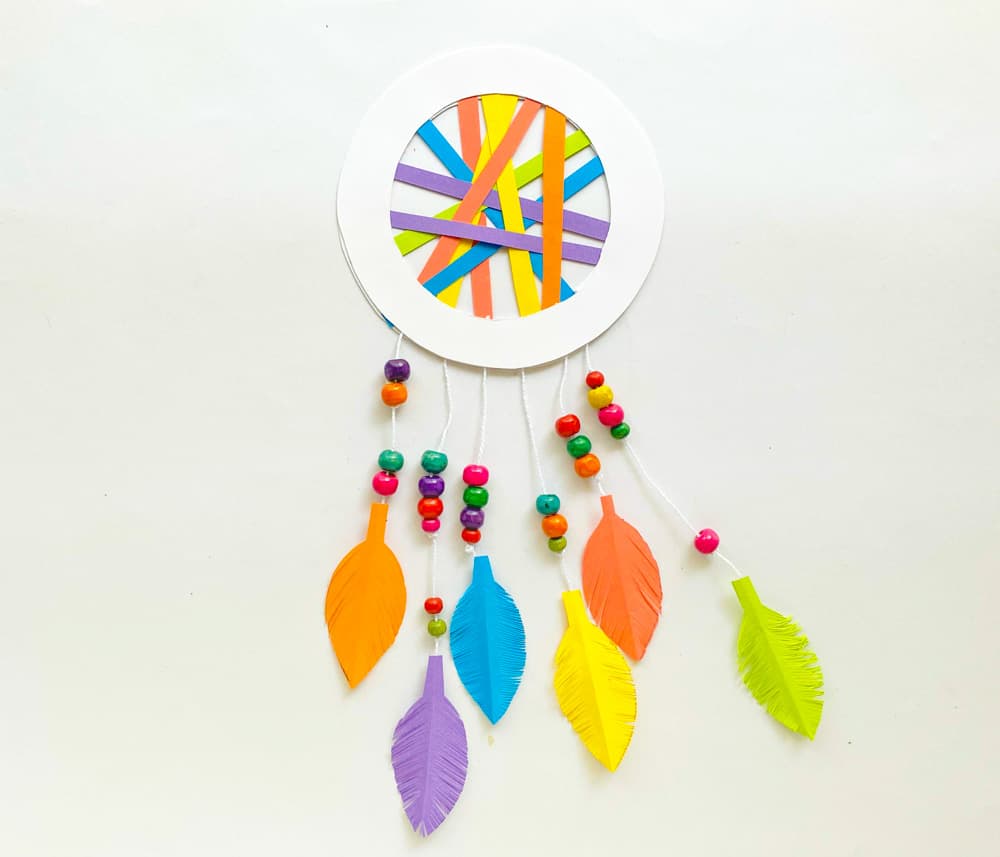 Take the second base and glue it over the first base so it looks neat.
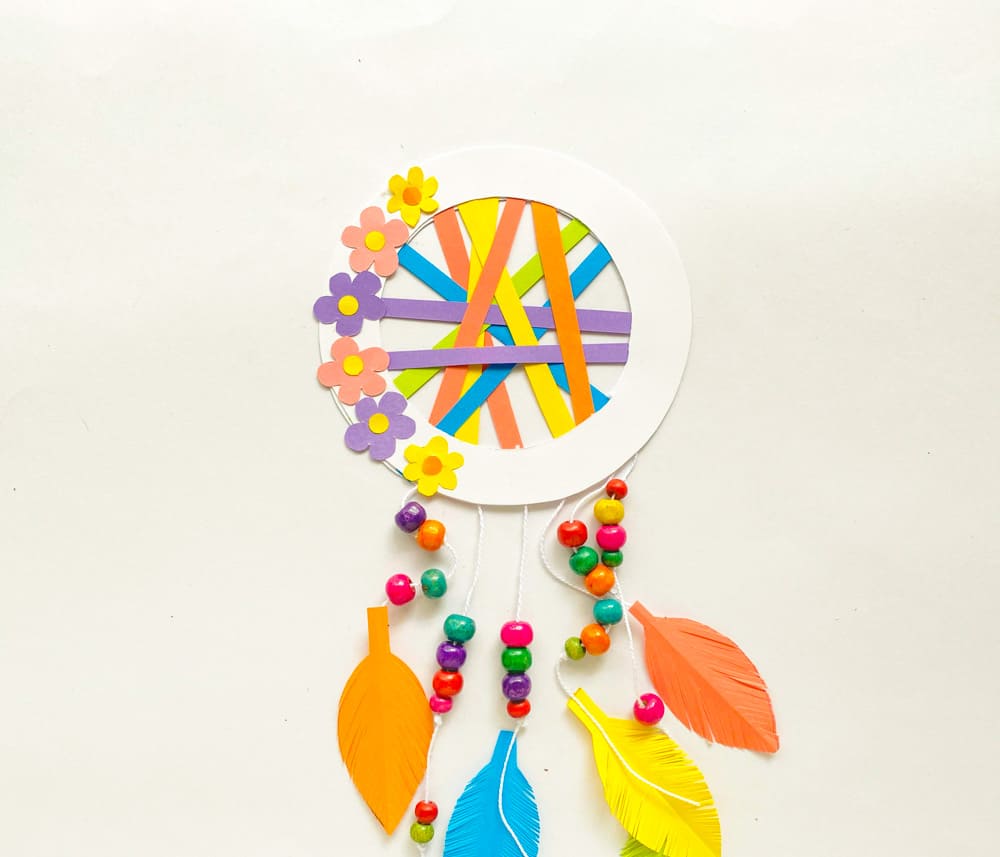 Cut out the flowers from the templates and glue them on the base to decorate it. To hang it, punched a hole in the top of the dream catcher and hang it with the thread