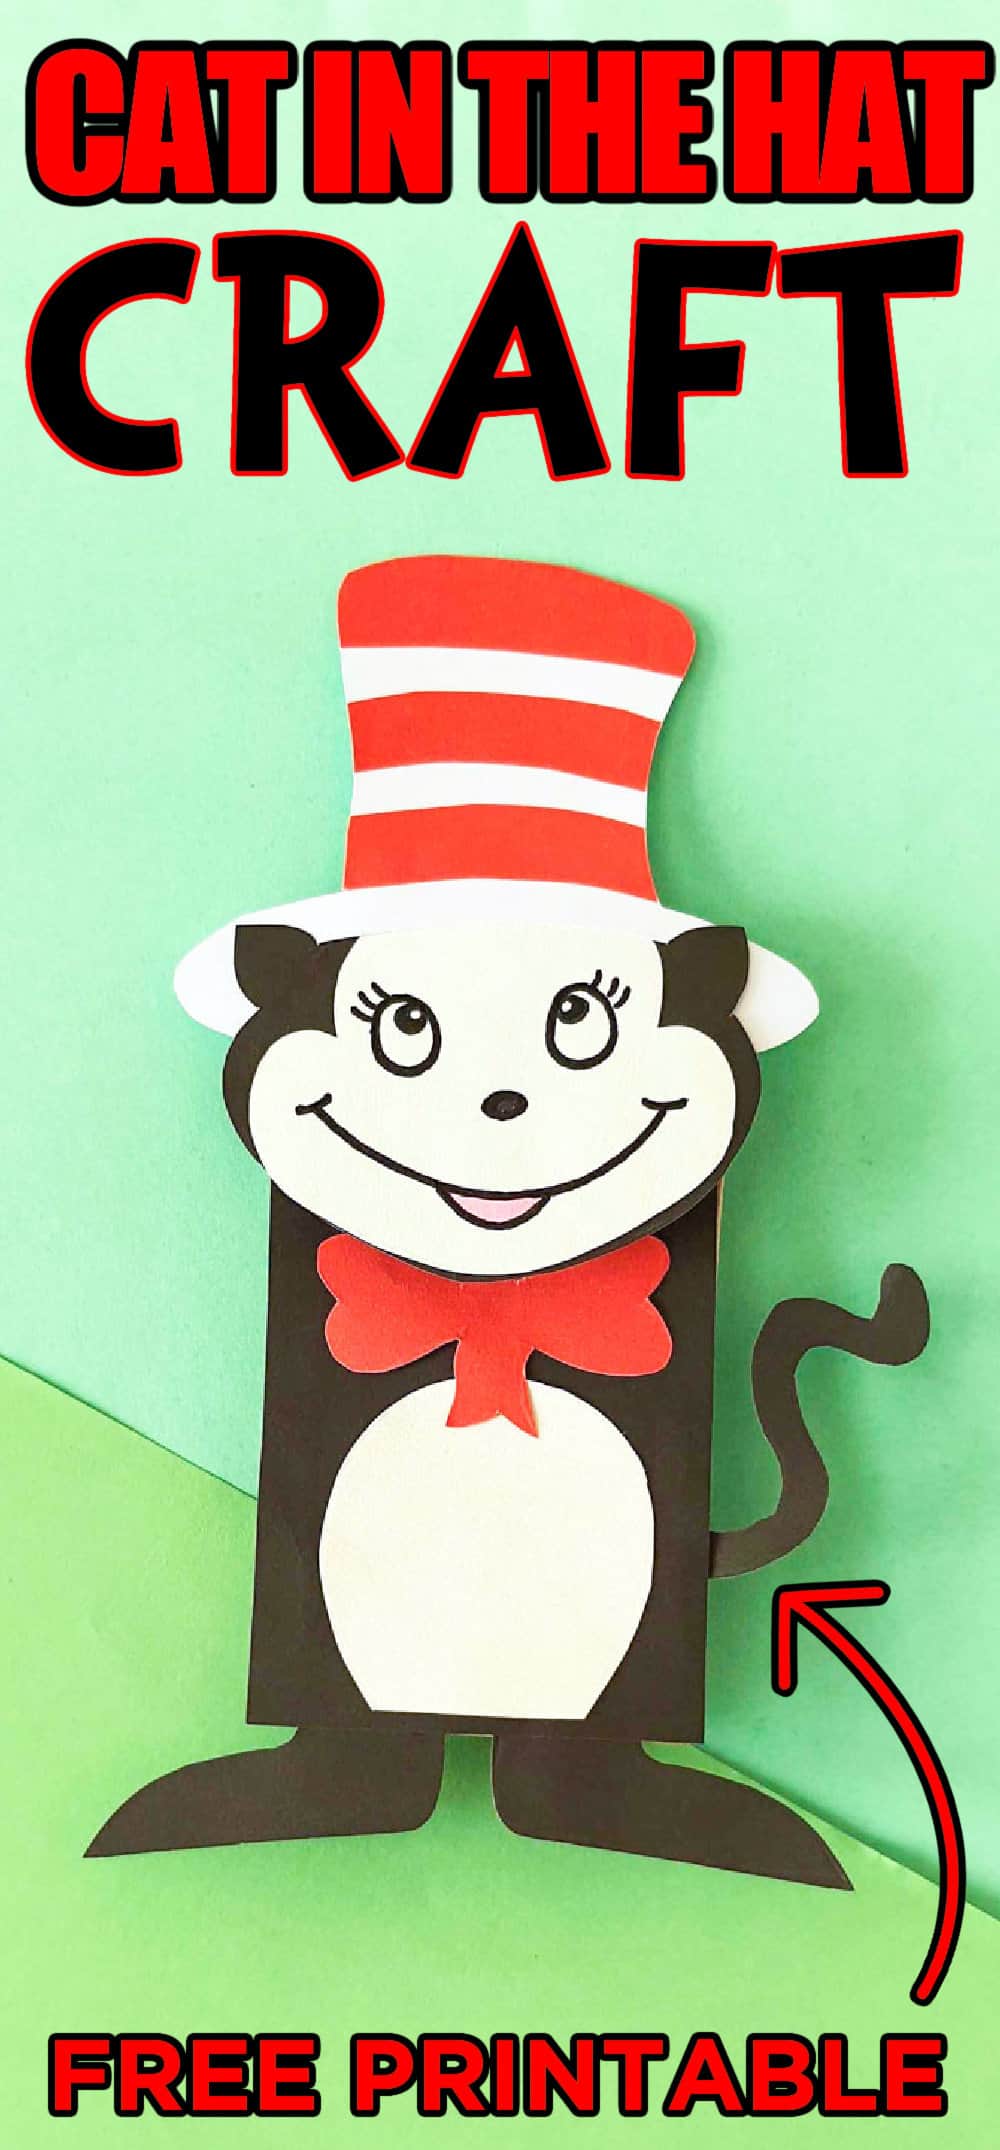
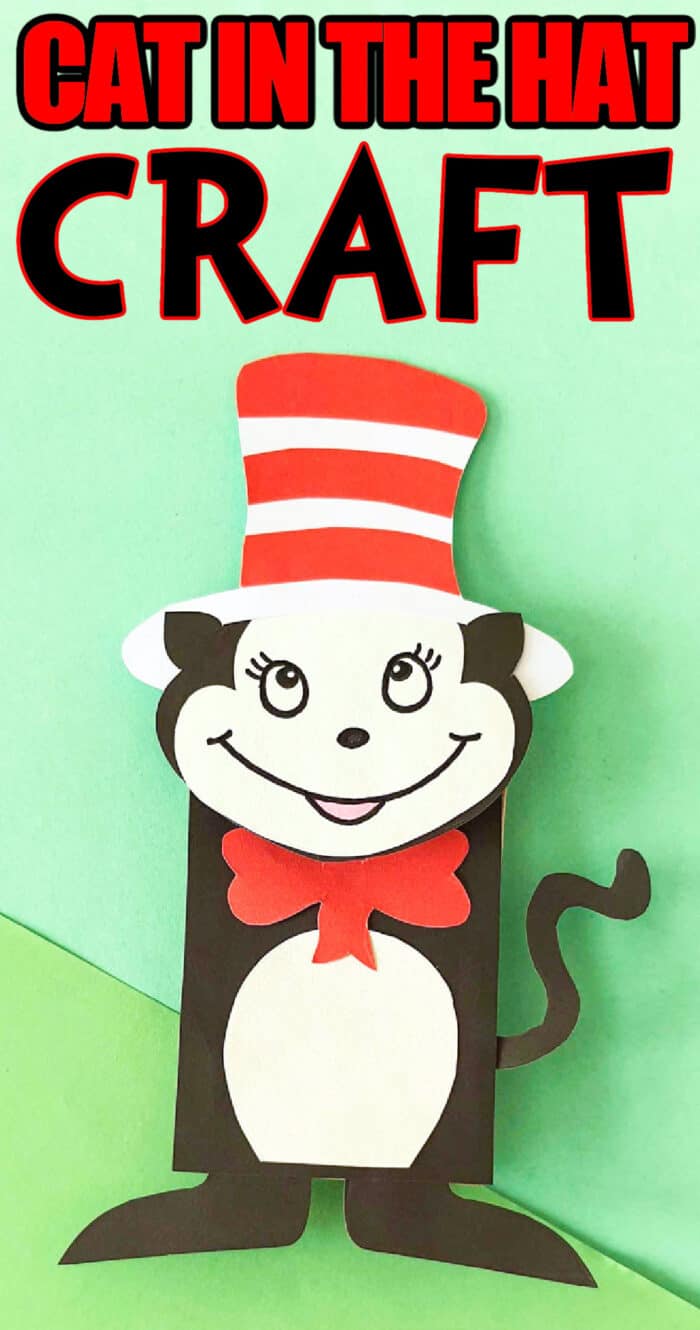
Lots of Dr. Seuss fun with this Cat in The Hat Craft Paper Bag Puppet with a free printable template is fun for kids of all ages!
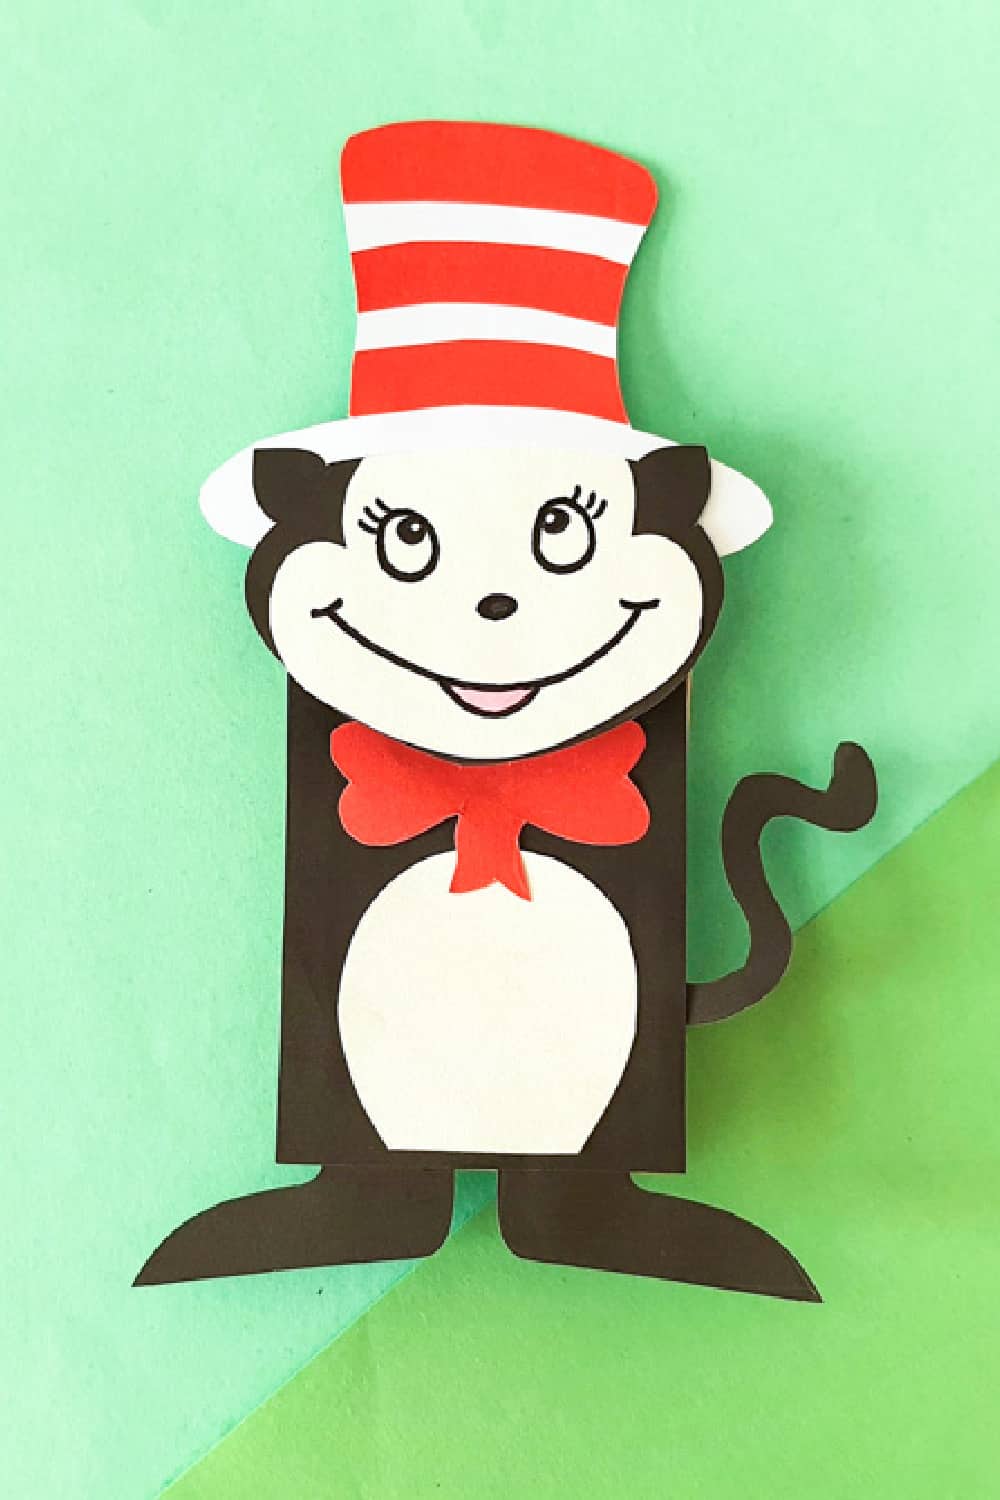
This paper Cat in the Hat craft is a great craft in celebration of March 2nd which happens to be Dr. Seuss's Birthday and Read Across America Day. That week is also called Read Across America Week also called Dr. Seuss Week.
A fun paper craft like this easy Cat in the Hat paper bag puppet is the perfect activity for both younger kids and older kids in honor of Dr. Seuss. Added so much fun if it's your favorite Dr. Seuss Book.
Want to save this project?
Enter your email below, and then we'll send it straight to your inbox. Plus get awesome new projects from us each week.
Cat In The Hat
When we were kids, Dr. Seuss's books were an all-time favorite time pass. Some popular books included “How the Grinch Stole Christmas”, “Horton Hears a Who”, and " Green Eggs and Ham.” And all these books were turned into movies that our kids love!
However, one of my favorite books - Dr. Seuss books is “The Cat in the Hat.” While I enjoyed reading the book, my kids had a great time watching the movie! And looking at how much they loved the character, I did what I do best: I created a Cat in the Hat craft!
Plus, Dr. Seuss Day is just a few weeks away, and what’s a better than to honor him with Dr. Seuss crafts?
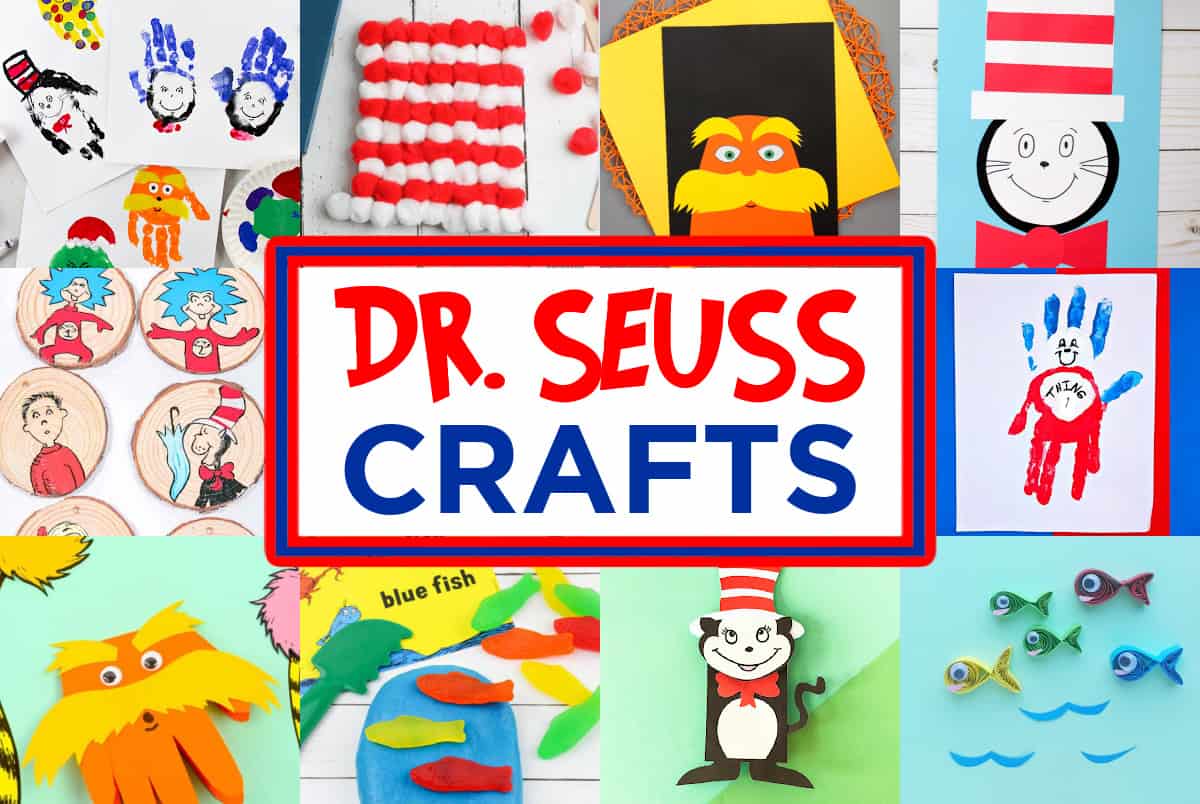
Dr. Seuss Crafts
Check Out These Other Fun Dr. Seuss Crafts and Activities
Check out our other Cat Crafts including C is For Cat Craft, Halloween Cat Coloring Page, and Cat Paper Luminary Craft.
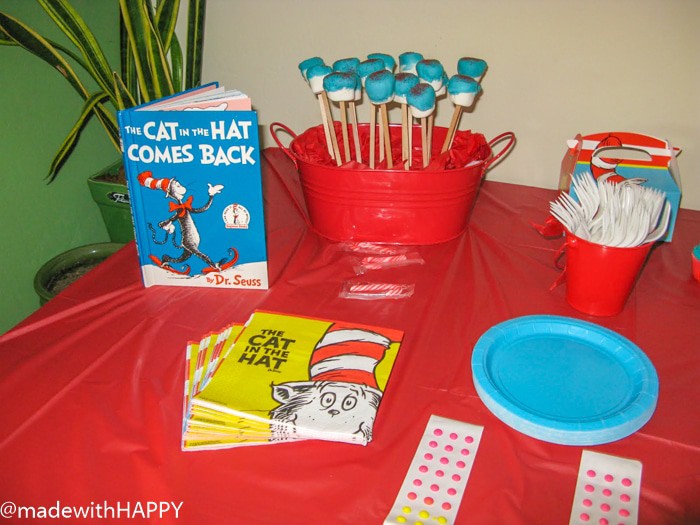
Why Cat in the Hat Crafts?
If you want to indulge your kids in healthy activities, one of the best ways is to do crafts activities. These kids' crafts have plenty of benefits and are a great way to keep the kids busy doing something productive.
For one, arts and crafts activities are fun! If you’re looking to spend quality time with your kids where everyone enjoys, sit them down and start making crafts. Secondly, it’s an excellent way to develop fine motor skills in growing kids.
When making simple crafts, children use their visual senses as well as their hands, which helps enhance their hand-eye coordination. Moreover, crafts are a great way of getting the kids’ brain cells working trying to figure out what to do next and how to do it in the best possible way.
When kids work with different materials and supplies, they learn new things like textures and colors. In short, crafts are a healthy activity that helps develop different skills in kids and brings out their creative side.
Don't miss our full list of Paper Bag Crafts
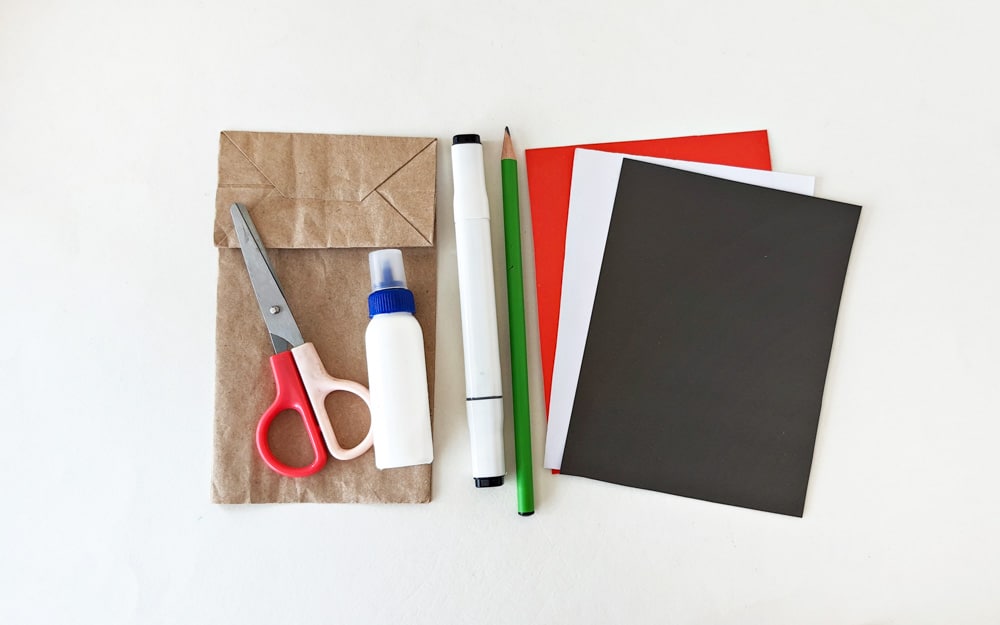
Cat in the Hat Craft Supplies
- Cat in The Hat Template (Download Below)
- Colored Craft Papers (black, red, and white cardstock)
- Pencil for Tracing
- Craft Glue
- Black Marker
- Scissors
- Paper bag
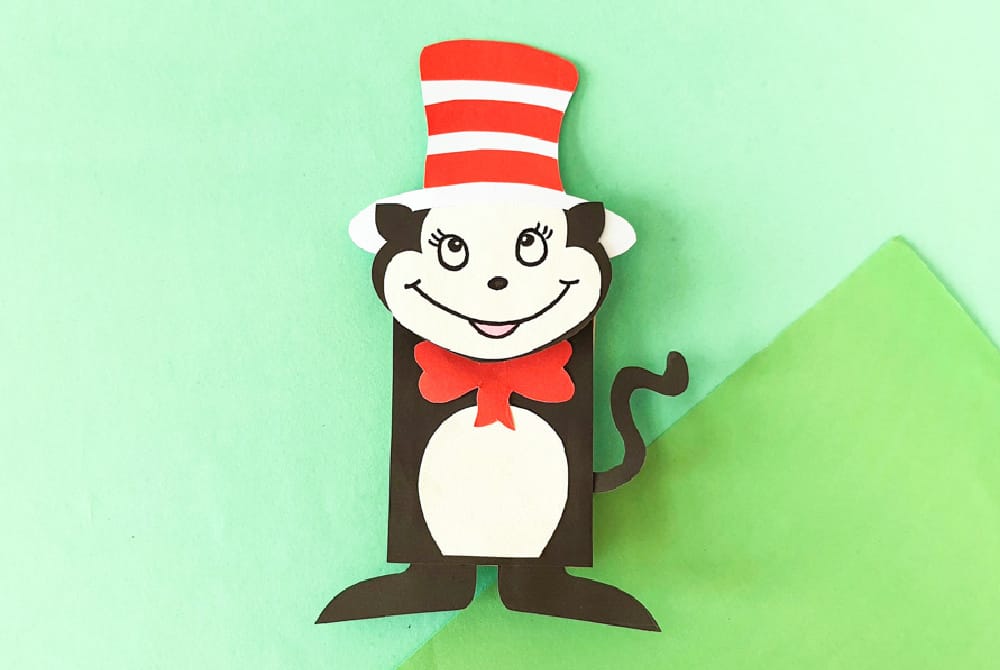
How To Make Cat In The Hat Puppet
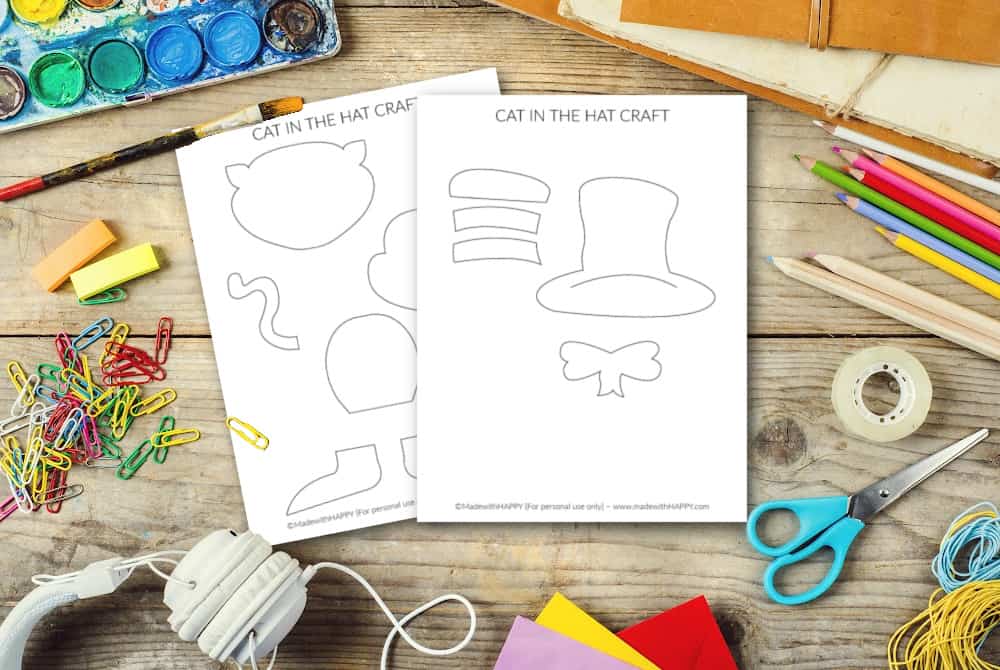
Start by downloading the templates for the cat in the hat craft. Print on white craft paper, white card stock or white construction paper. Cut out each of the shapes in the template.
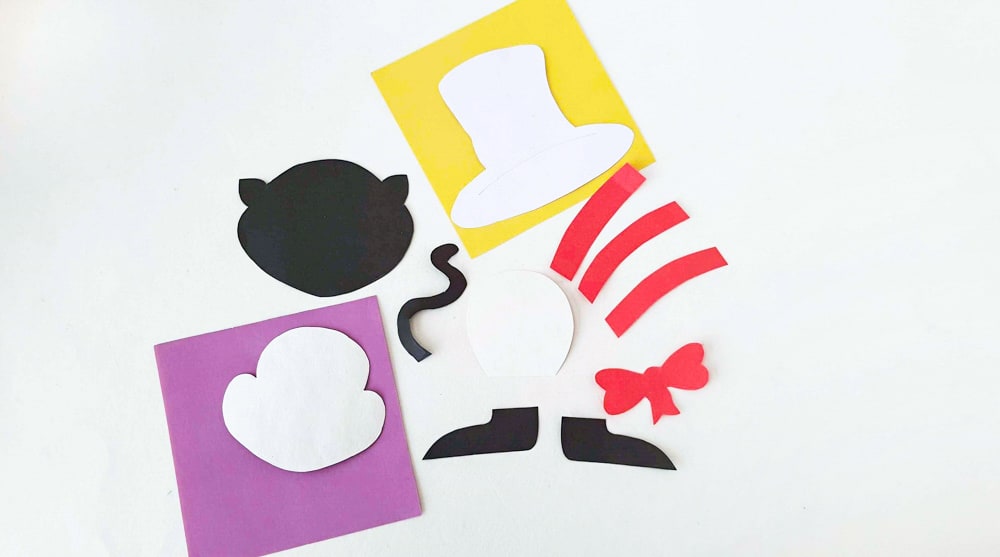
Using a pencil, trace each of the different shapes on the different color craft paper and cut them out. Head, feet and tail with black paper. hat Strips and bowtie with red paper. and the remainder pieces with white paper.
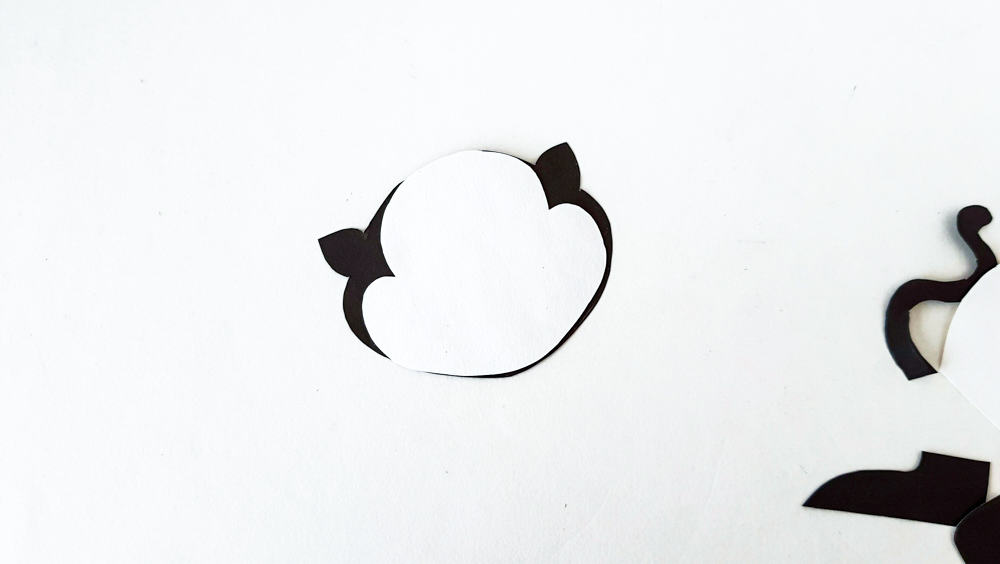
Glue the white face onto the black cat head.
Cat's Face
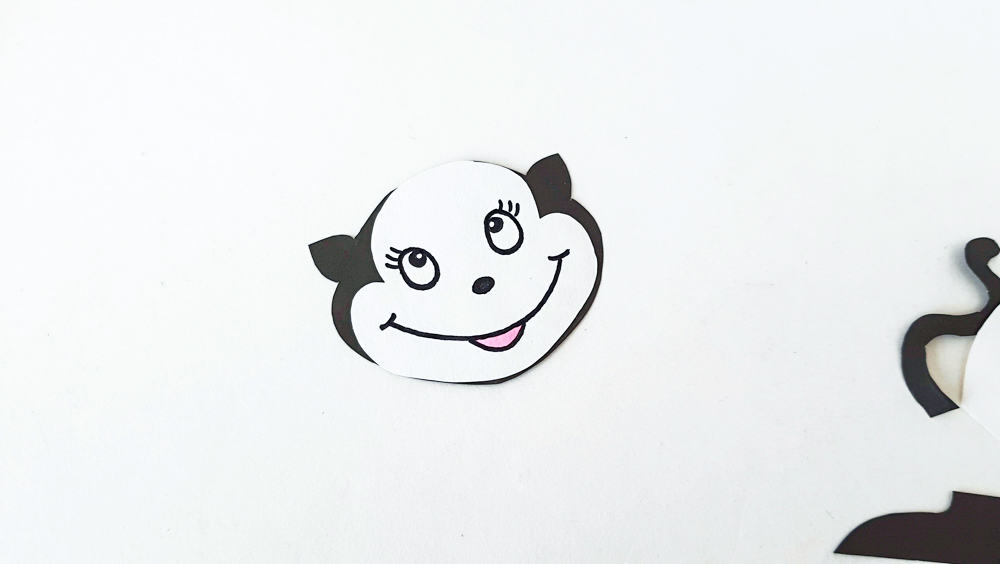
Using a black marker, draw on the face of the cat. A simple cat's face with two eyes, a small oval nose, and a line for a smile.
Cat's Hat
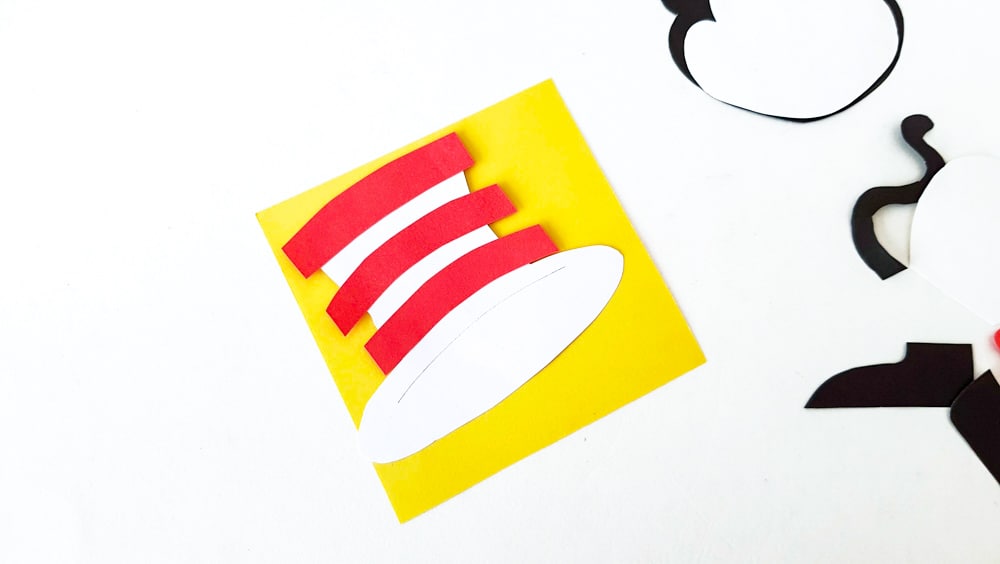
Next we're making the cat's hat. Attach the red strips with glue on the hat, horizontally. Cut a slit below the bottom red strip of the hat only the width of the top of the hat.
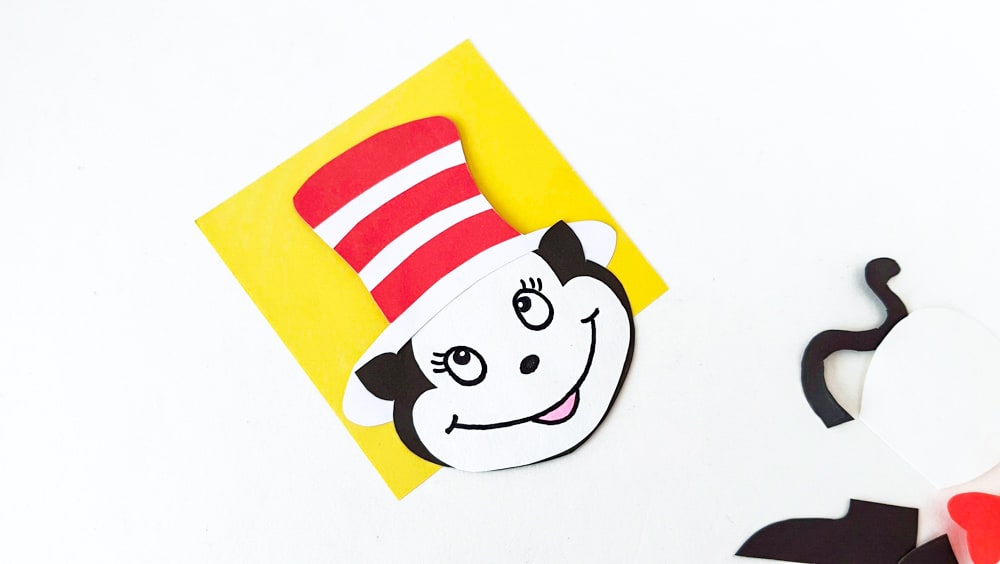
You can either glue the ends of the red strips around the back of the hat or cut them off right at the outline of the hat. Insert the top end of the head through the hat slit, from below. Use glue to join the head with the hat.
Cat's Body
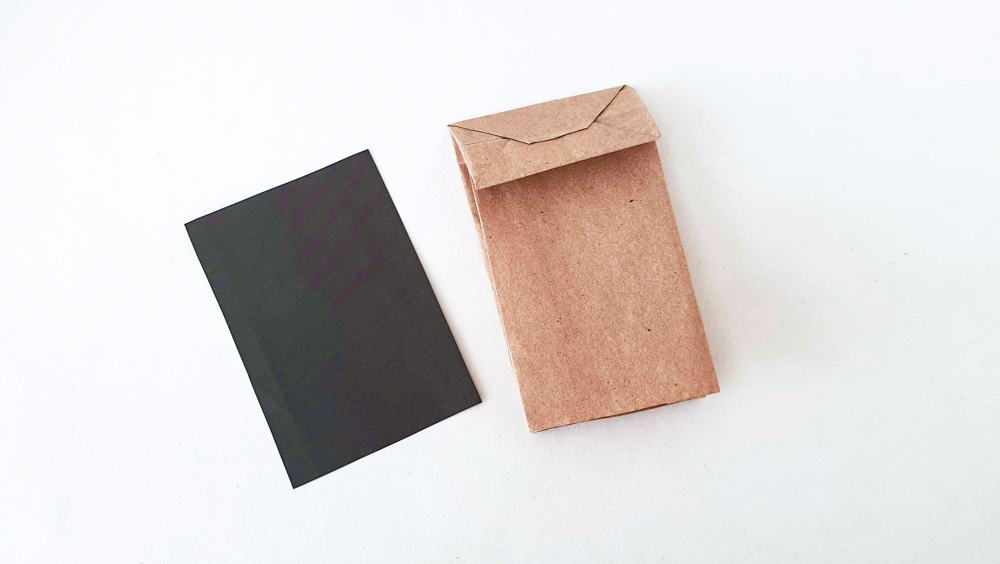
Select a paper bag or make a paper bag from craft paper. Measure and cut out a piece of black paper in a rectangle to cover one side of the paper bag.
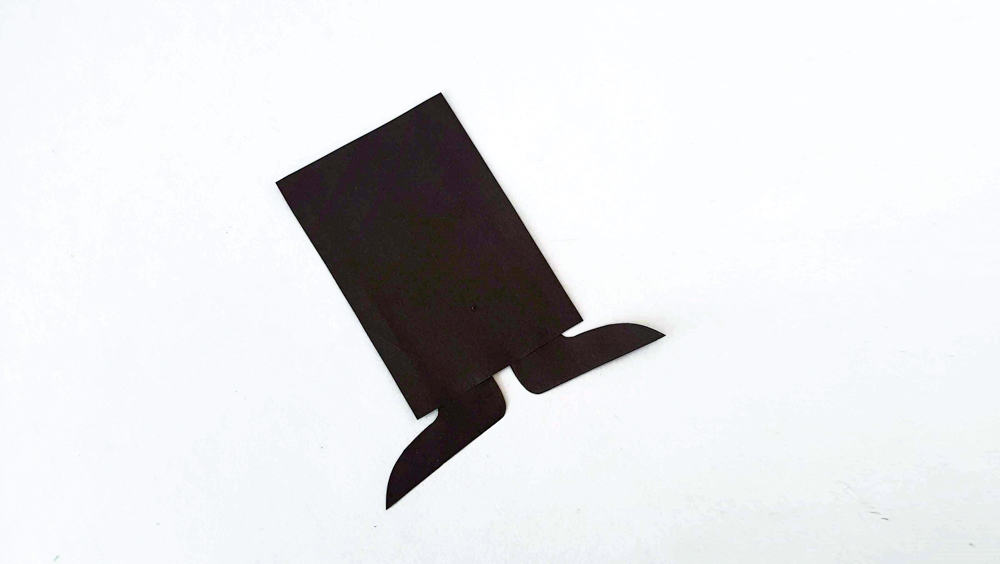
Attach with glue the feet cutouts on the bottom side of the black rectangle.
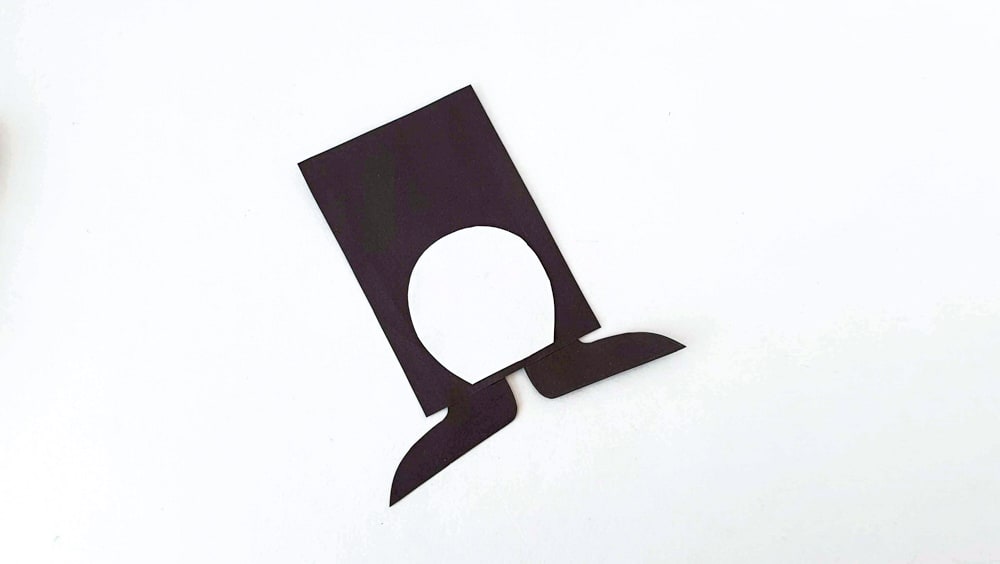
The next step is to glue the white belly to the bottom of the body.
Assemble Cat Puppet
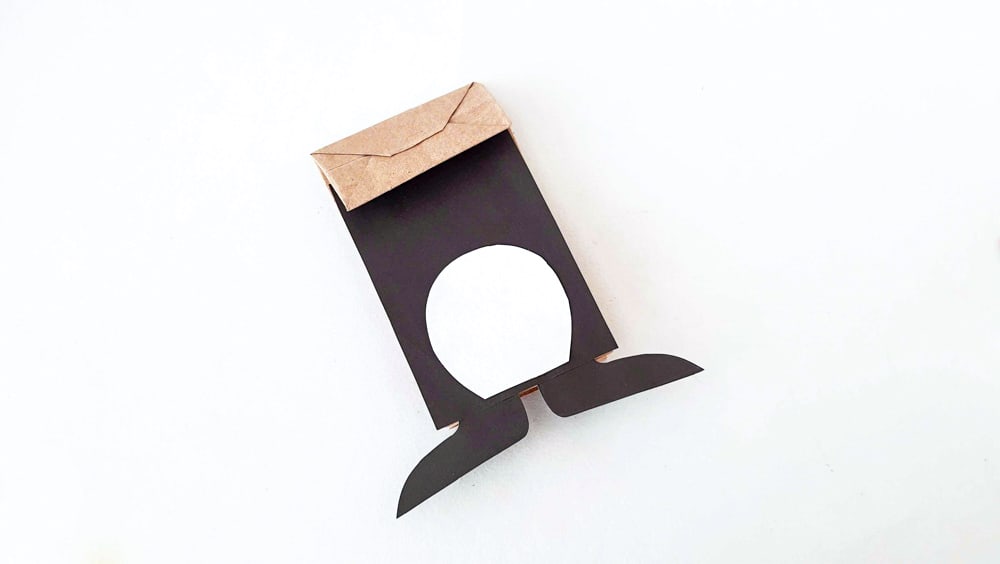
Glue the body pattern on either side of the paper bag. Flatten the bottom part of the bag over the body section.
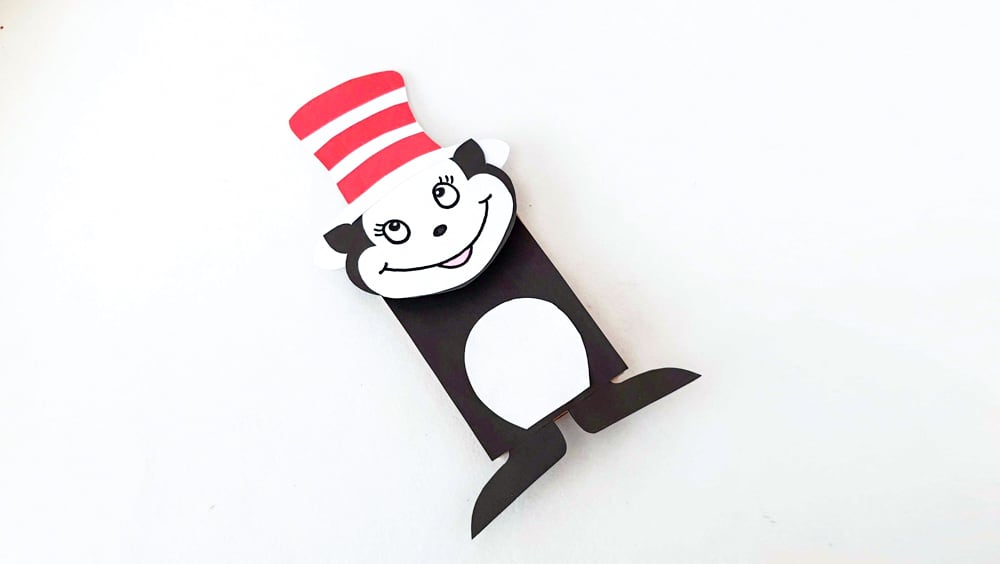
Attach the head pattern to the flattened bottom section of the paper bag.
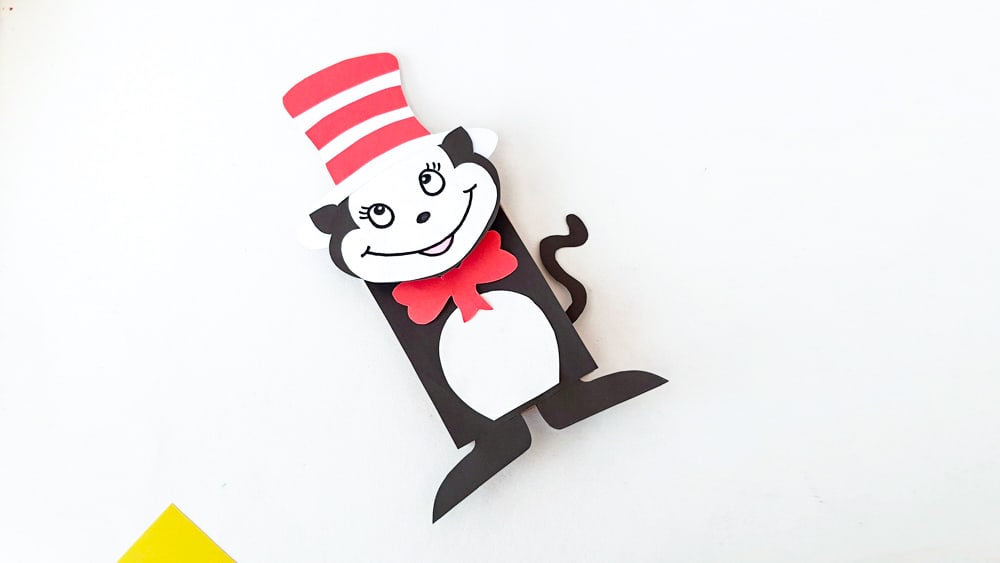
The last step is to glue the bow tie at the top of the body, then glue the tail cutout on the back side of the puppet. It can either go off the right or left side of the paper bag.
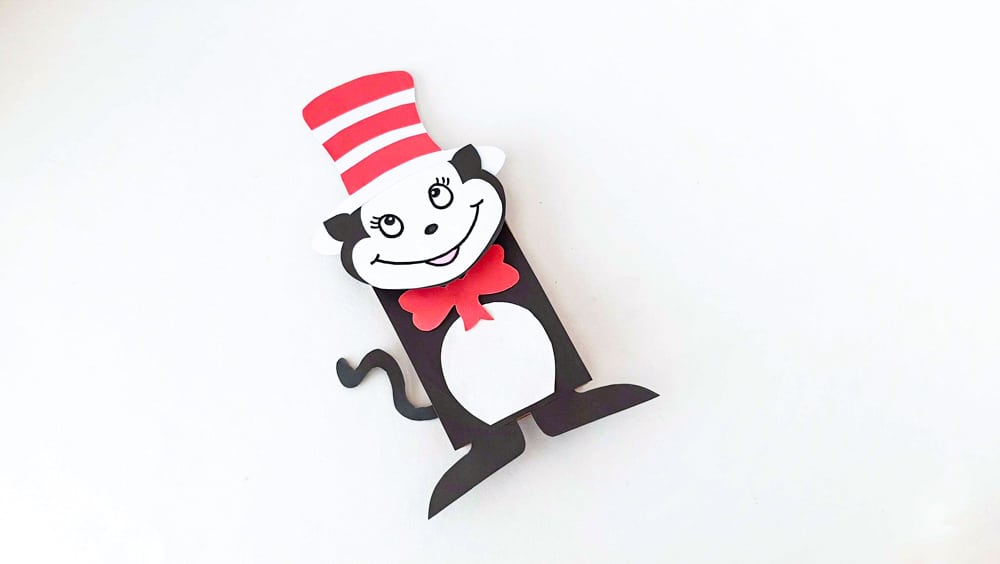
End result is your kids own cat in the hat fun craft puppet. Let your child's imagination run wild having fun!
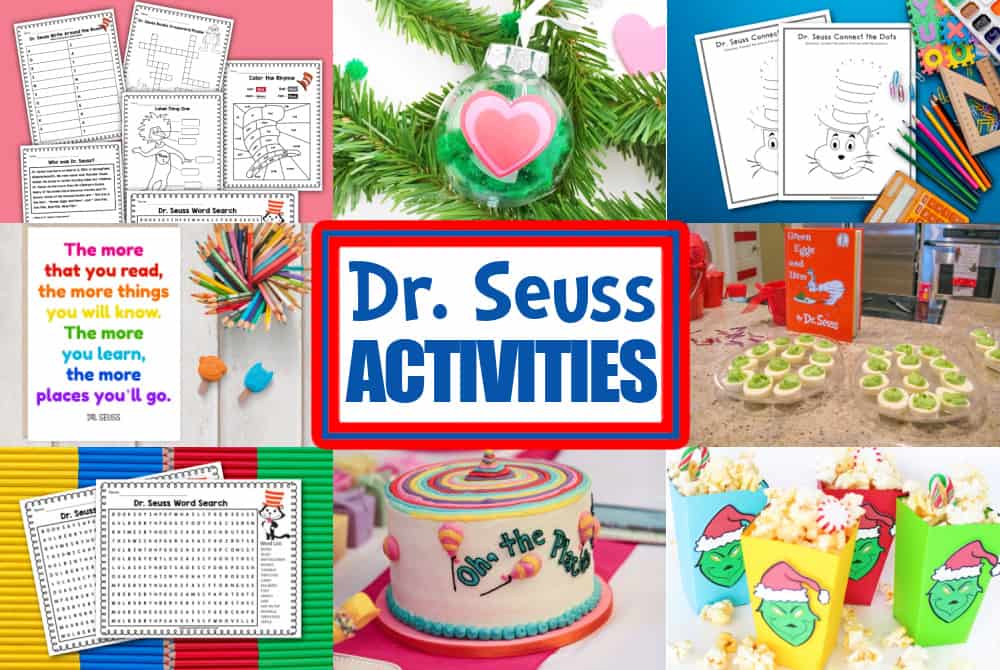
Other Fun Ways to Celebrate Dr. Seuss Day
- Grinch Rice Krispie Treats
- Oh, the places you'll go Baby Shower
- Grinch Face Treat Boxes
- Grinch Punch Recipe
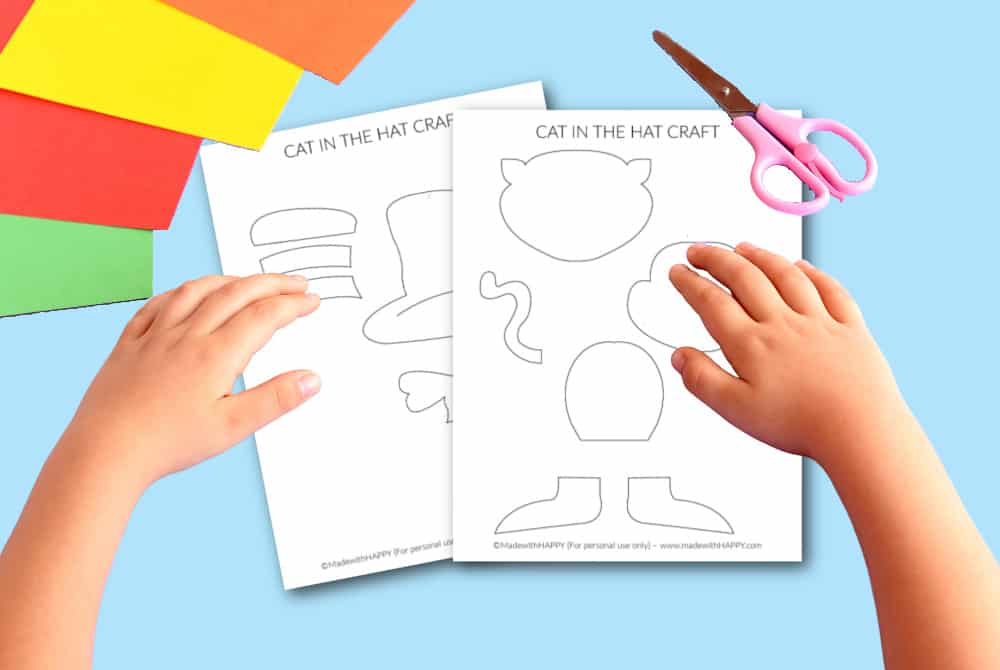
Dr. Seuss Cat in the Hat Craft Free Template
To celebrate Dr. Seuss's birthday and for the love of “The Cat in the Hat,” I have created free printable templates. The template includes the hat, head, face, and red stripes for the hat, feet, tail, bow tie, and belly. Grab the Free Cat in the Hat Template at the bottom of this post.
Enter your email in the form below to take you directly to the fun cat in the hat template pdf file.
*For personal use only
Cat in the Hat Craft
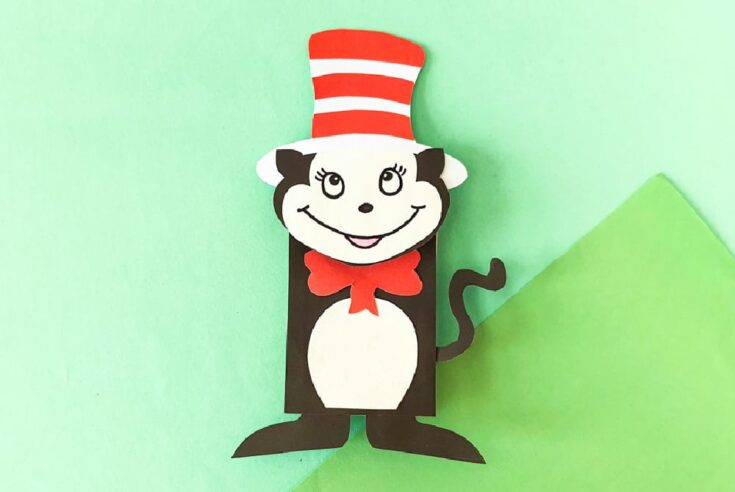
Lots of Dr. Seuss fun with this Cat in The Hat Craft Paper Bag Puppet with a free printable template is fun for kids of all ages!
Materials
Tools
- Scissors
- Pencil for Tracing
Instructions
Start by downloading the templates for the cat in the hat craft. Print on white craft paper, white card stock or white construction paper. Cut out each of the shapes in the template.
Using a pencil, trace each of the different shapes on the different color craft paper and cut them out. Head, feet and tail with black paper. hat Strips and bowtie with red paper. and the remainder pieces with white paper.
Glue the white face onto the black cat head.
Using a black marker, draw on the face of the cat. A simple cat's face with two eyes, a small oval nose, and line for a smile.
Next we're making the cat's hat. Attach the red strips with glue on the hat, horizontally. Cut a slit below the bottom red strip of the hat only the width of the top of the hat.
You can either glue the ends of the red strips around the back of the hat, or cut them off right at the outline of the hat. Insert the top end of the head through the hat slit, from below. Use glue to join the head with the hat.
Select a paper bag or make a paper bag from craft paper. Measure and cut out a piece of black paper in a rectangle to cover one side of the paper bag.
Attach with glue the feet cutouts on the bottom side of the black rectangle.
The next step is to glue the white belly to the bottom of the body.
Glue the body pattern on either side of the paper bag. Flatten the bottom part of the bag over the body section.
Attach the head pattern on the flattened bottom section of the paper bag.
The last step is to glue on the bow tie at the top of the body, then glue the tail cutout on the back side of the puppet. It can either go off the right or left side of the paper bag.
End result is your kids own cat in the hat fun craft puppet. Let your child's imagination run wild having fun!
CONNECT WITH MADE WITH HAPPY!
Be sure to follow me on social media, so you never miss a post!
Facebook | Twitter | YouTube | Pinterest | Instagram
Find and shop my favorite products in my Amazon storefront here!
CAT IN THE HAT CRAFT
PIN IT TO YOUR DIY BOARD ON PINTEREST!
FOLLOW MADE WITH HAPPY ON PINTEREST FOR ALL THINGS HAPPY!
