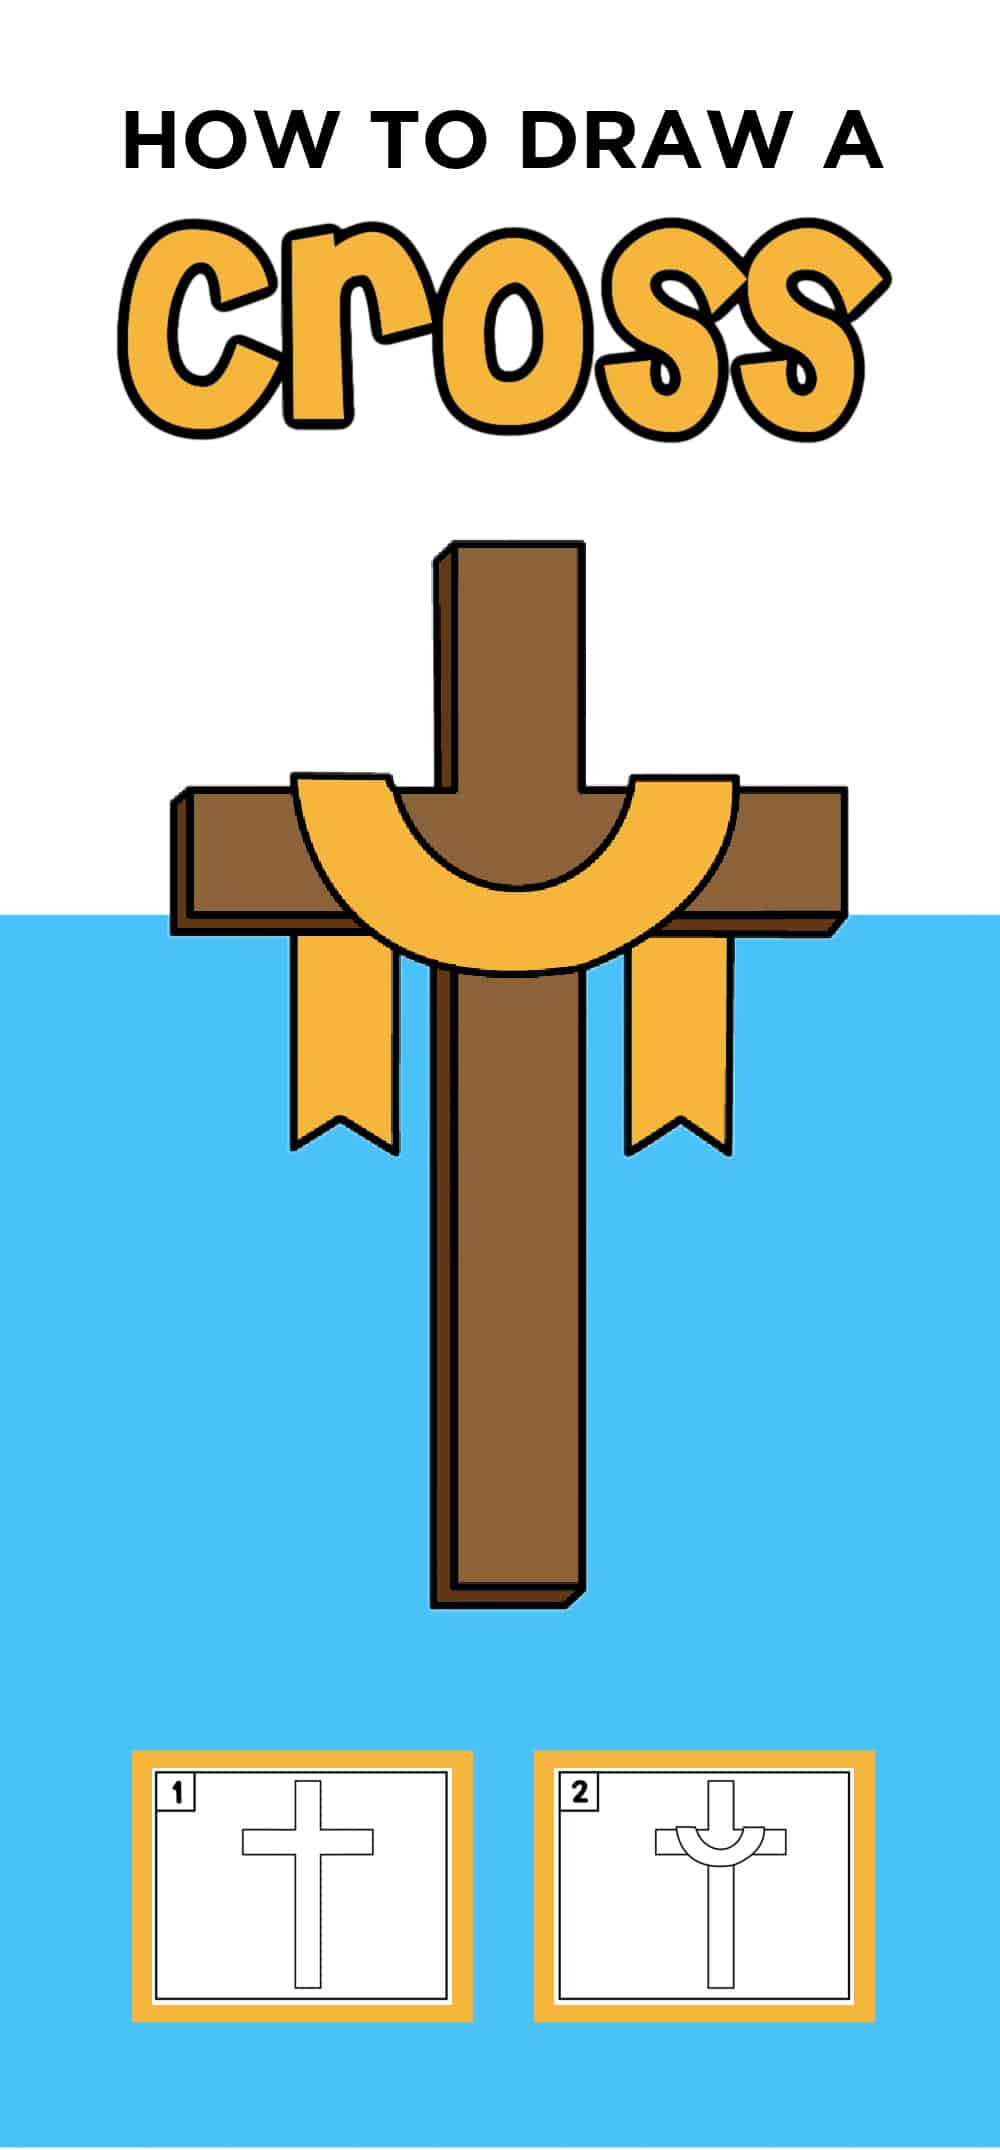
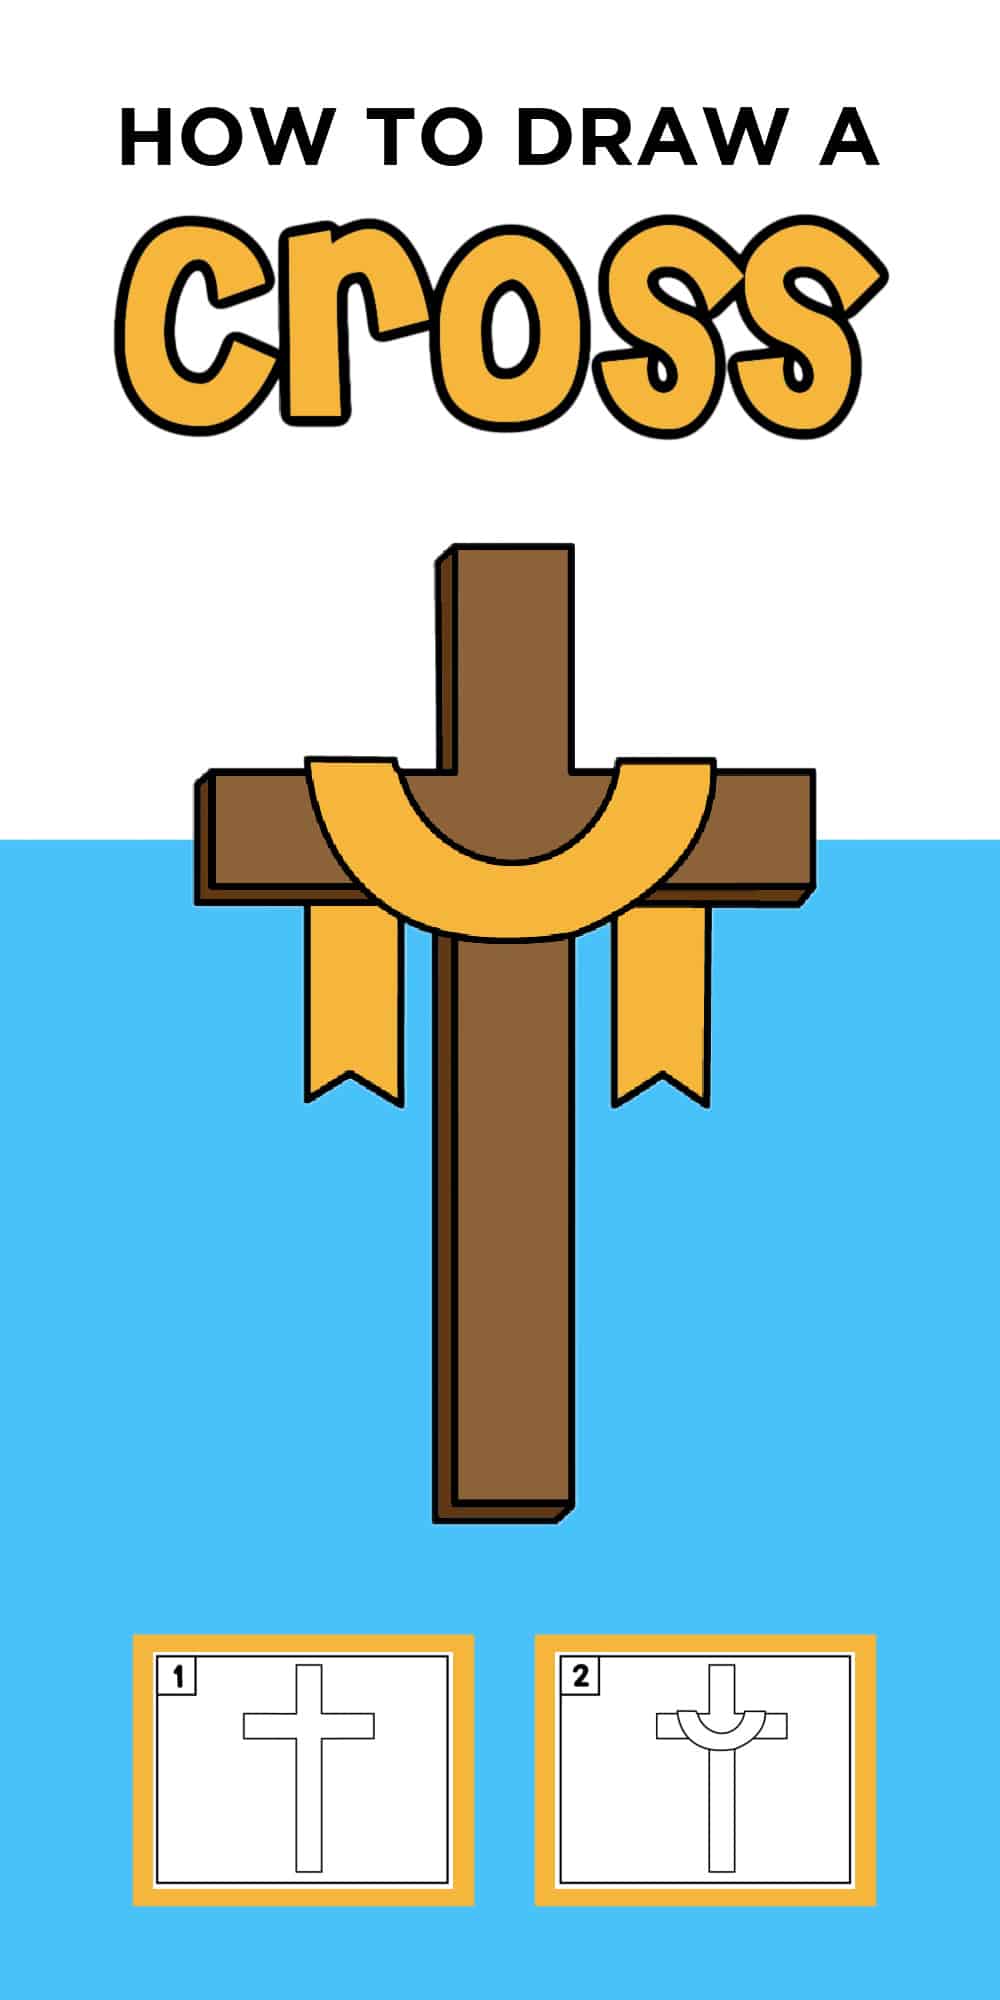
Learn how to draw a cross, a symbol of significance in the Christian religion, in this easy step-by-step tutorial. Perfect for beginners!
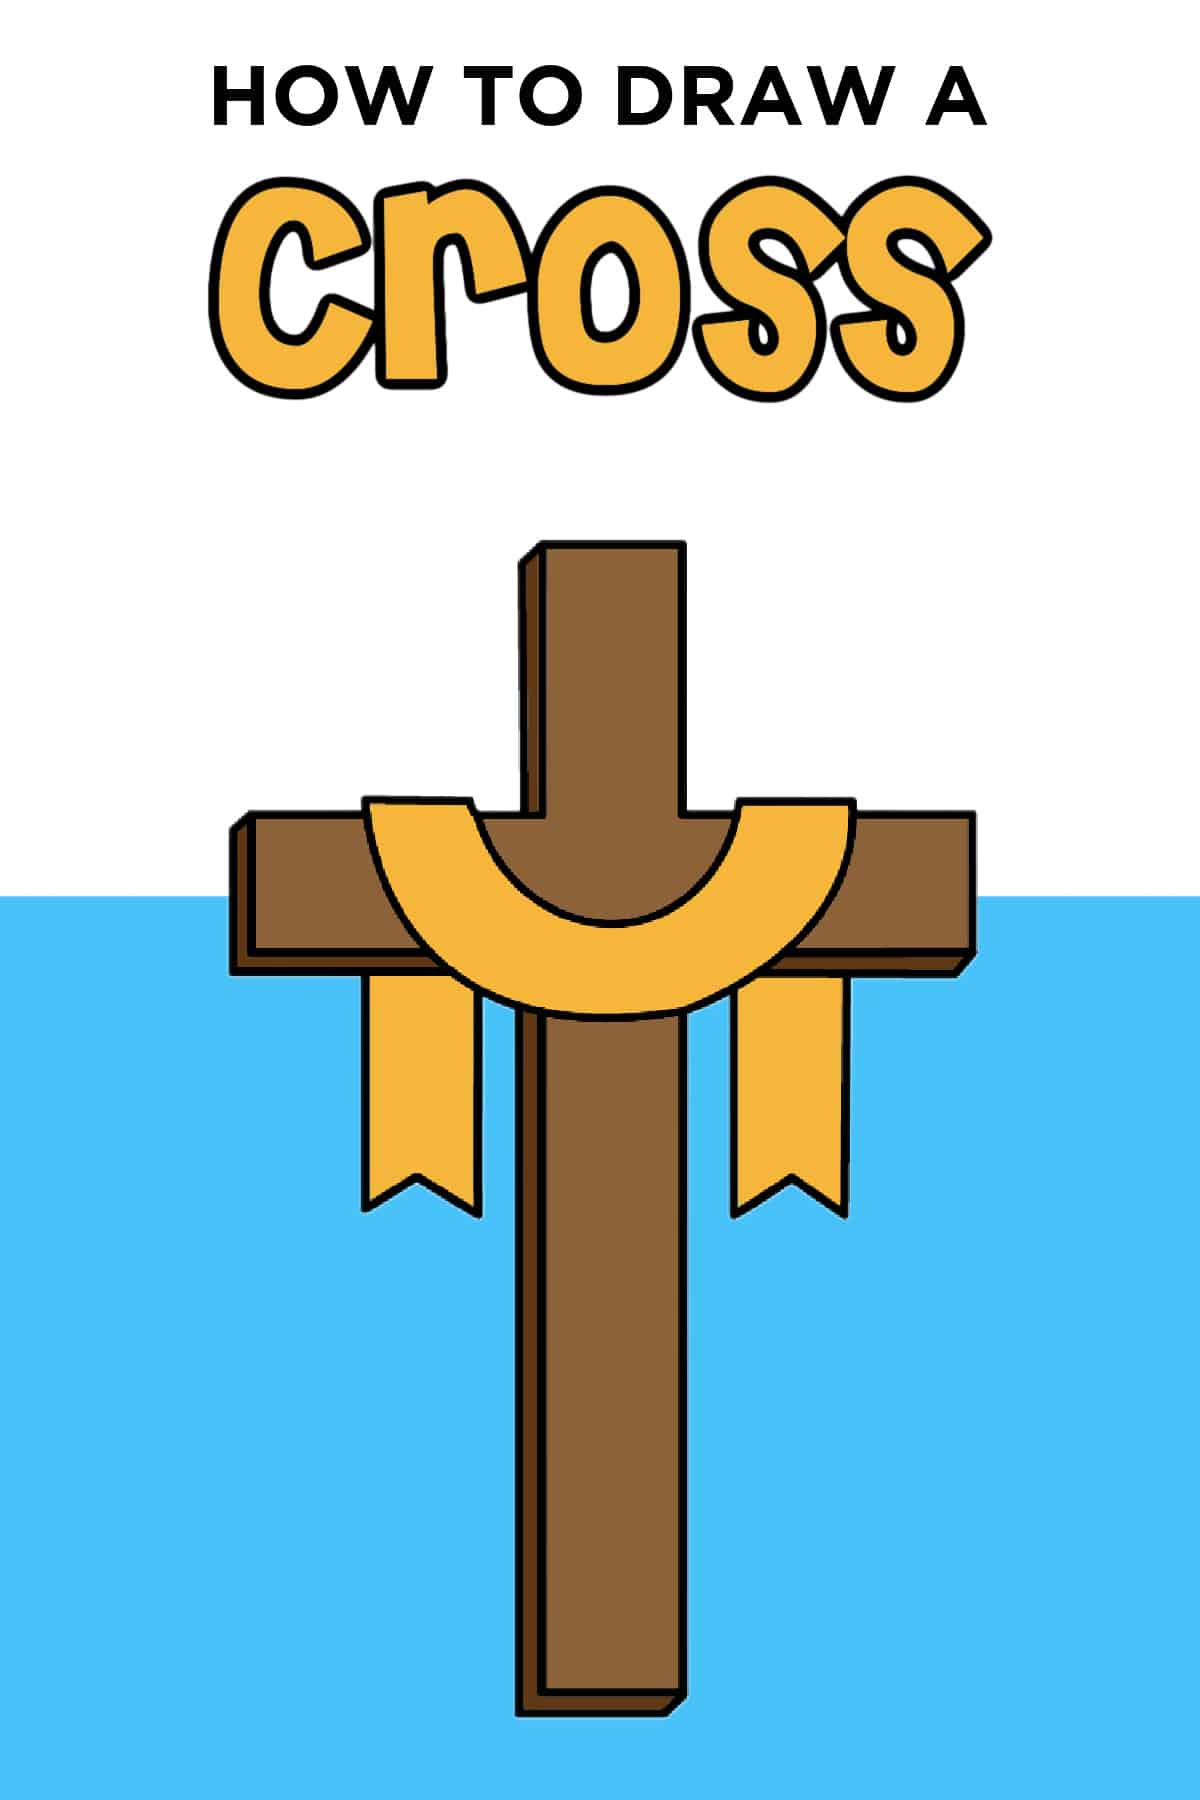
This How to Draw a Cross easy drawing tutorial is so fun for younger artists to learn the simple steps to a cross drawing. It is a great addition to Easter Drawing or anytime throughout the year.
Welcome to the fun world of drawing! Today, we're going to learn how to draw a cross, a special symbol in the Christian religion. Drawing a simple cross is a great way to express your creativity and learn about its importance, especially during Easter time. It's super easy, and all you need is some paper and a pencil to get started!
In this step-by-step guide, we'll show you how to draw a cross in a simple way that anyone can follow. Whether you're new to drawing or have been doing it for a while, this tutorial is perfect for you. So let's grab our drawing supplies and have some fun drawing a cross together!
Want to save this project?
Enter your email below, and then we'll send it straight to your inbox. Plus get awesome new projects from us each week.
Easter and The Cross
Easter is a super special time when we celebrate the story of Jesus, who did lots of amazing things and showed us how to be kind to others. One important symbol we often see during Easter is the cross. The cross reminds us of Jesus's love for everyone and the sacrifices he made to help others. Drawing a cross is not just about making cool art; it's about remembering the death of Jesus as well as how he rose from the dead all for us.
When we draw a cross, it's like making a little reminder of the love and hope that Easter brings. Even if we're not celebrating Easter, the cross is a symbol that teaches us to be kind and caring to others, just like Jesus. When you draw a cross, remember the big message it carries: love, kindness, and hope for everyone, no matter who they are.
Be sure to check out our other Easter Easy Drawings including Bunny Drawing, Flower Drawing, and Tulip Drawing.
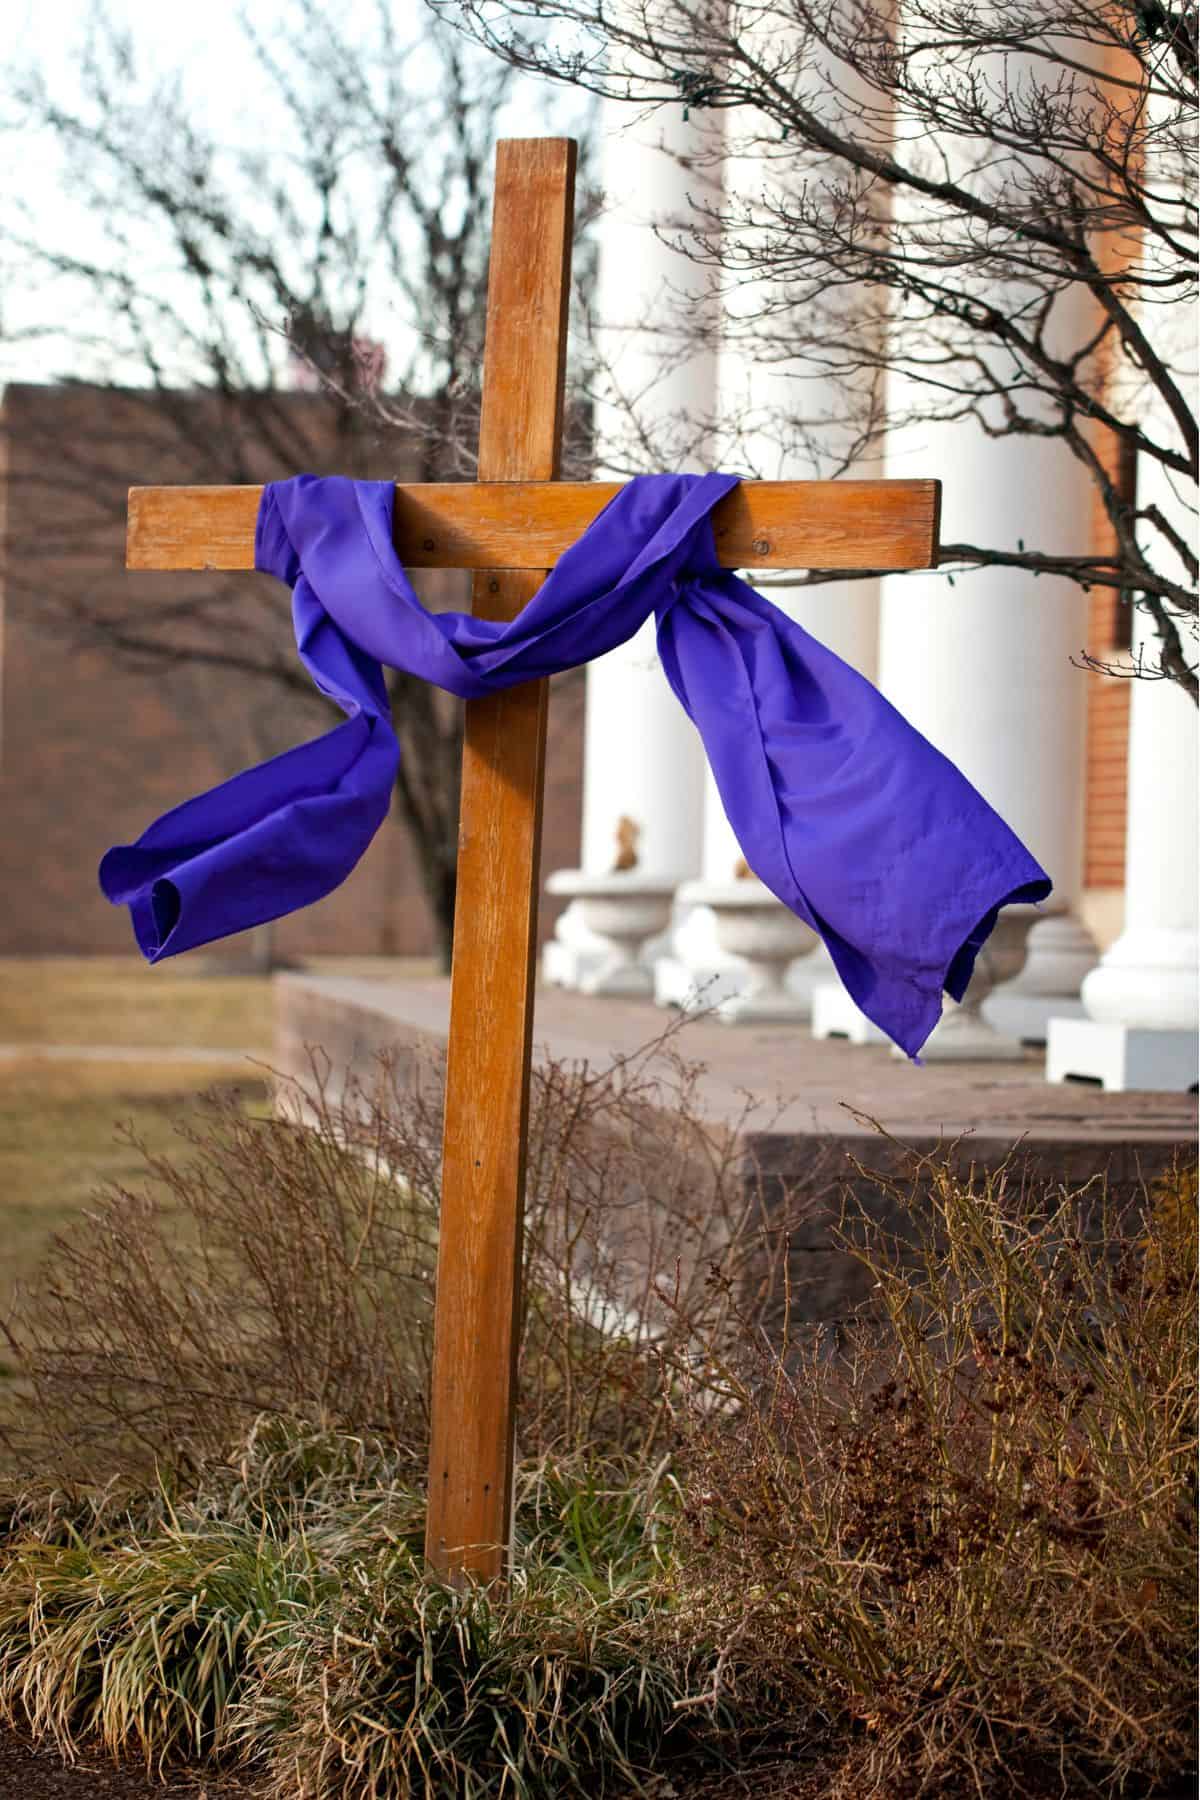
Cross Draped in Cloth
Some of you might be asking why the cross has a cloth draped across it. Actually, that is only the case during the Easter season.
The Easter season begins on Ash Wednesday which is 40 days prior to Easter and that 40-day period is called Lent. On Ash Wednesday, a purple cloth is draped over the cross. For some churches, this might happen on Palm Sunday, but in any case, this is representative of Jesus' entering Jeruselum as a king. Purple represents royalty. On Good Friday, the draped cloth is the color black. This is representative of the day Jesus died. Last, on Easter the cloth is changed to white representing the day Jesus rose from the dead.
For this cross drawing, we are including the draped cloth but feel free to include it in yours or not.
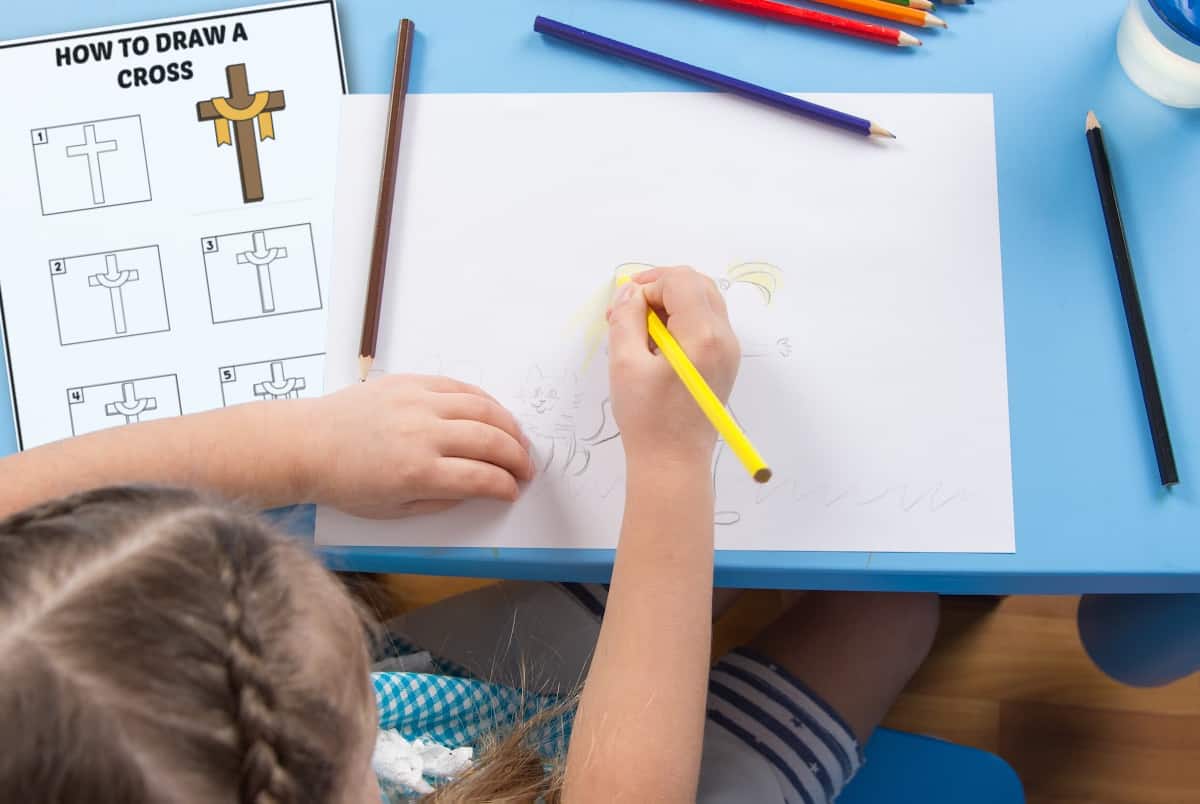
Drawing a Cross
Learning to draw is an incredible thing at any age. We love breaking down drawings into step-by-step tutorials. These simple steps allow the artist to start with basic shapes and turn them into fun creative masterpieces. Those small shapes and lines also really strengthen their drawing skills and in turn their confidence.
If you love drawing tutorials as much as we do, then you will not want to miss some of our other easy drawings all with printable easy drawing guides.
Before you start drawing, we also want to make sure you have the right tools. Here are the drawing paper, and drawing pencils that we like to use.
Now onto our cross sketch!!
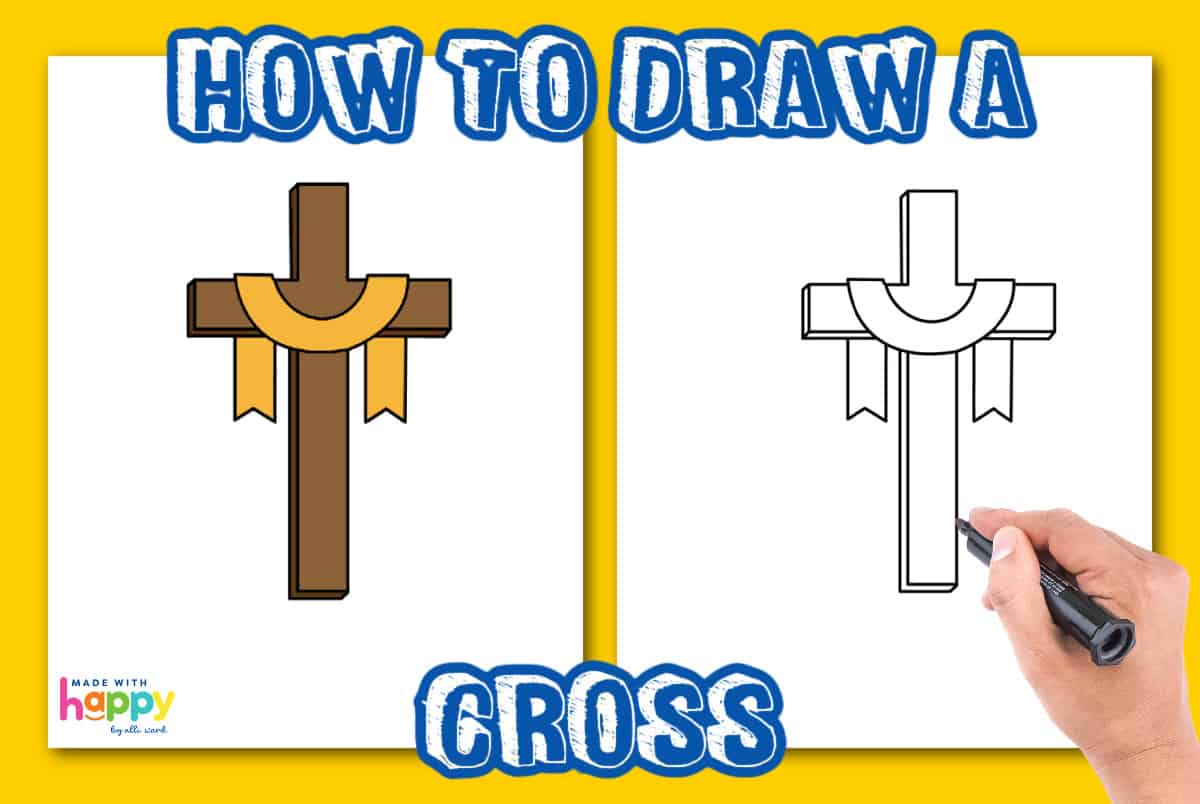
How To Draw a Cross
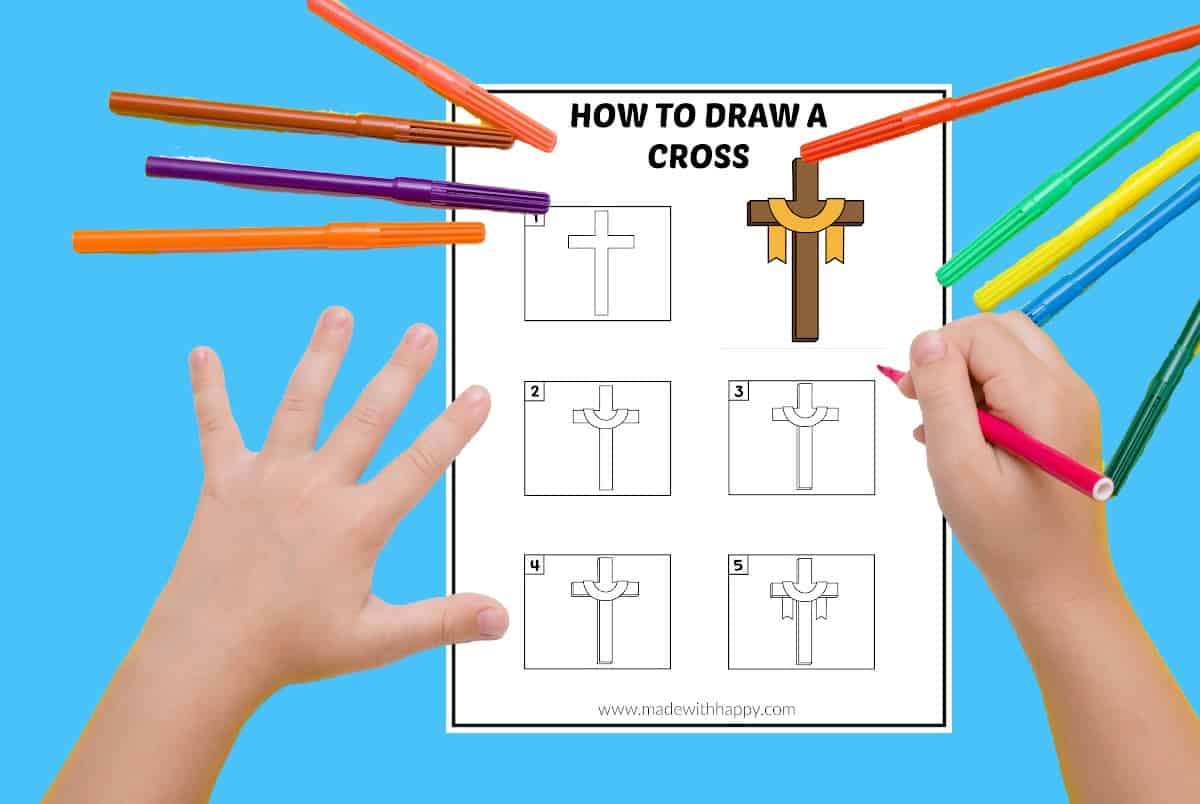
Before we start, make sure to grab the cross step-by-step drawing instructions at the bottom of the post.
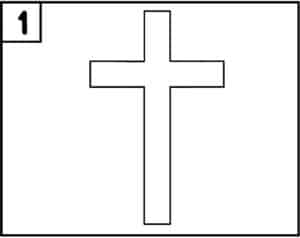
If you are a beginner, the first step might be to draw a long vertical line (up and down), and one horizontal line (side to side) on a paper. The horizontal line is shorter and about ⅓rd down from the top of the vertical line.
Next would be to draw a thin rectangle around each of those lines to give the cross a thicker look. Erase the center lines on the inside of the cross.
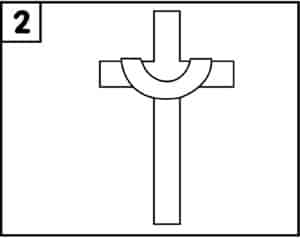
The next step is to draw a U shape for the cloth draped over the arms of the cross. Draw one smaller U and then the longer U towards the outside of the arms of the cross.
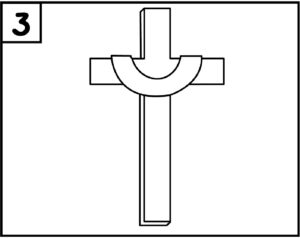
The next step is to create a 3D effect. Starting at the top of the cross, draw a small straight line off the top left corner, diagonally down and to the left. From there draw straight lines along the left side of the cross to the bottom. Draw a line along the bottom of the cross the same distance from the cross as on the side.
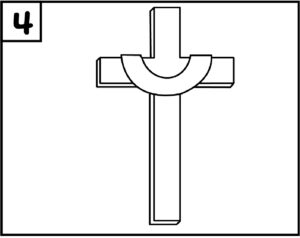
Next, draw the same 3D effect along the arm of the cross off to the left.
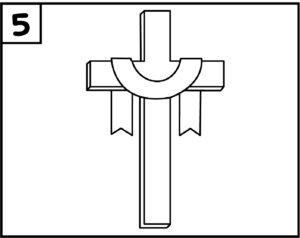
Draw the ends of the draped cloth out the bottom of the arms of the cross. Draw the ends with an upside v finishing of the cloth.
Viola, you have a beautiful cross drawing!
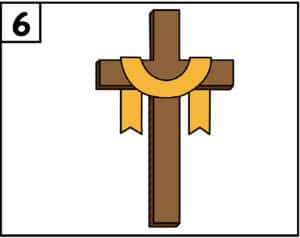
The last step is to color in your cross. Using crayons, pencils, or markers, color in your cross whatever color you want.
Happy Drawing and Happy Easter!
We highlighted this Spring Drawing and Easter Craft along with some other fun kid's crafts in our March Crafts as well as April Crafts along with our Easy Kid's Crafts.
You also do not want to miss our hundreds of Coloring Pages For Kids and hundreds of Printables For Kids full of Crafts and Coloring Pages.
Easter Printables
Don't miss some of our other popular Easter Printables that are sure to brighten your Easter Season.
CONNECT WITH MADE WITH HAPPY!
Be sure to follow me on social media, so you never miss a post!
Facebook | Twitter | Youtube | Pinterest | Instagram
Find and shop my favorite products on my Amazon storefront here!
How To Draw a Cross
PIN IT TO YOUR DIY BOARD ON PINTEREST!
FOLLOW MADE WITH HAPPY ON PINTEREST FOR ALL THINGS HAPPY!
