Looking for a fun summer activity for kids? Try making ice cream in a bag! Easy, quick, and delicious. Learn how to make it now.
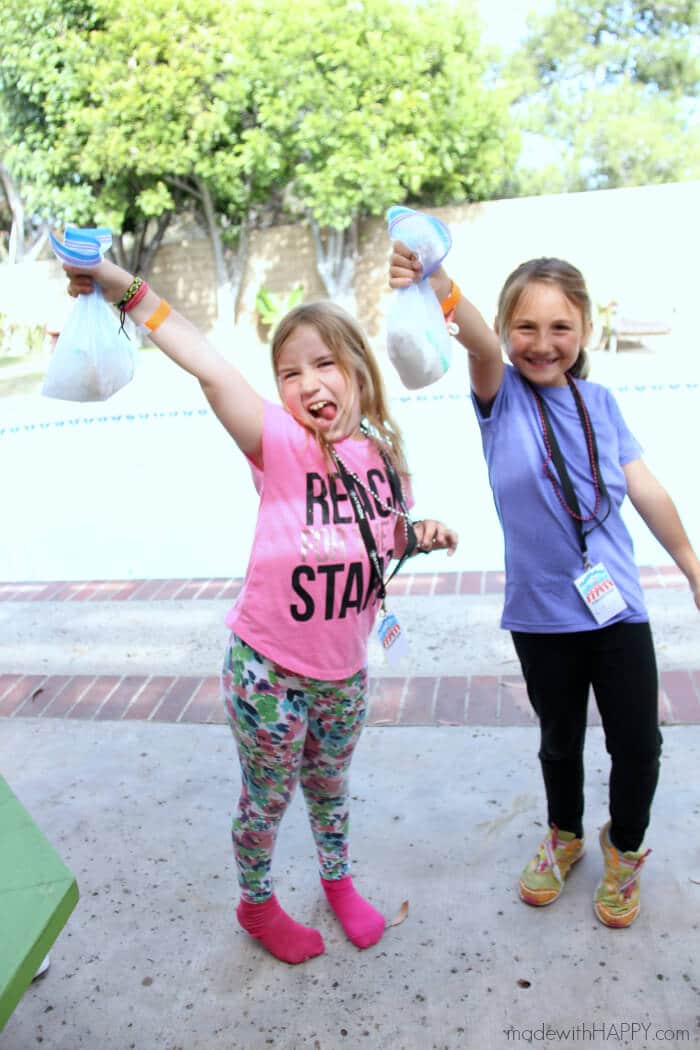
This simple Ice Cream in a Bag is one of our favorite Summer Activities with kids. With just a few ingredients, you'll all have tons of fun!
Ice Cream in a bag is great for warm weather days and is so easy to do it doesn't require any special equipment. Think of it as fun science experiments where the best part is that it ends with an ice cream treat.
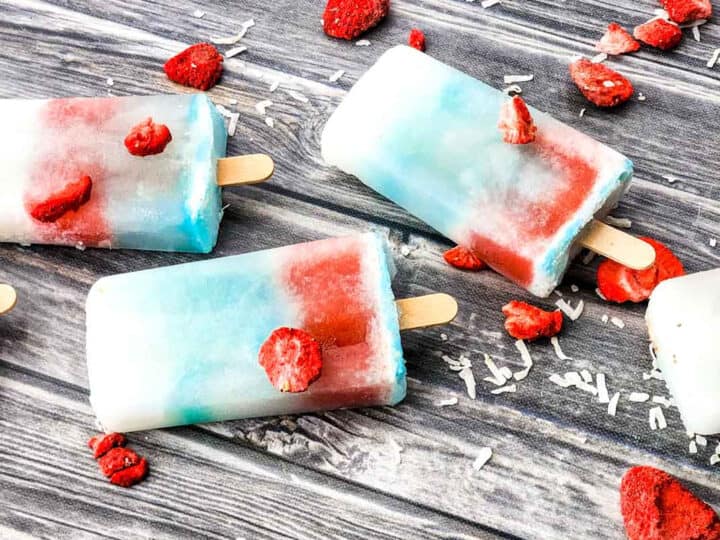
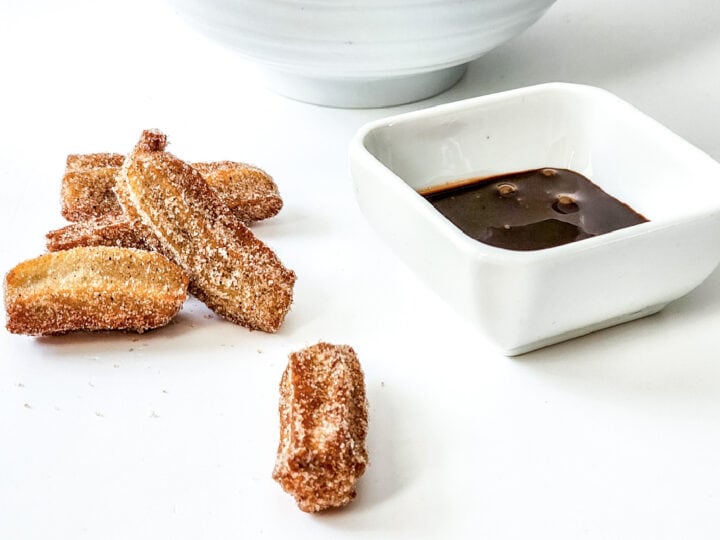
If you are looking for Summer activities like this one, then you will not want to miss some of our other popular Summer posts including Summer Snacks, Churro Bites, DIY Summer Sandals, Paper Plate Wind Socks, and Water Gun Painting.
Want to save this project?
Enter your email below, and then we'll send it straight to your inbox. Plus get awesome new projects from us each week.
Easy Homemade Ice Cream In a Bag
Summer is here, and what better way to beat the heat than with a delicious and refreshing treat? Ice cream is a classic summer staple, making it a fun activity that kids of all ages can enjoy.
In this post, we'll show you how to make ice cream in a bag with just a few simple ingredients. It's easy, quick, and the perfect way to cool off on a hot summer day.
Ice cream in a bag is a great activity for kids because it's both fun and educational. They'll love getting their hands dirty and seeing how the ingredients come together to make something delicious. Plus, they'll learn about the science lesson behind the process.
Making ice cream in a bag involves a chemical reaction between the salt and ice, which lowers the temperature and freezes the ingredients. It's a great opportunity to teach kids about science in a fun and interactive way.
Not only is making ice cream in a bag a great activity for kids, but it's also a tasty and healthy alternative to store-bought ice cream. So let's get started and make some delicious ice cream in a bag!
Summer Activities For Kids
Are your kids anything like mine, and busting at the seams waiting for Summer? Especially this past week, when the weather was absolutely perfect and warm and getting us even more giddy. The reality is that their Mom is probably more ready for Summer than they are.
In any case, with the weather as it is, we busted out some of our favorite summer kid's activities this past week including one of our favorites, making our own homemade ice cream in a bag.
It's so easy, that I couldn't believe I hadn't shown you all before how to make delicious homemade ice cream. This is also a fan favorite for the kids to make while camping as they don't require any bowls and can be eaten right out of the bag!
Do not miss our Crafts and Activities For Bored Kids for other fun crafts like this one!
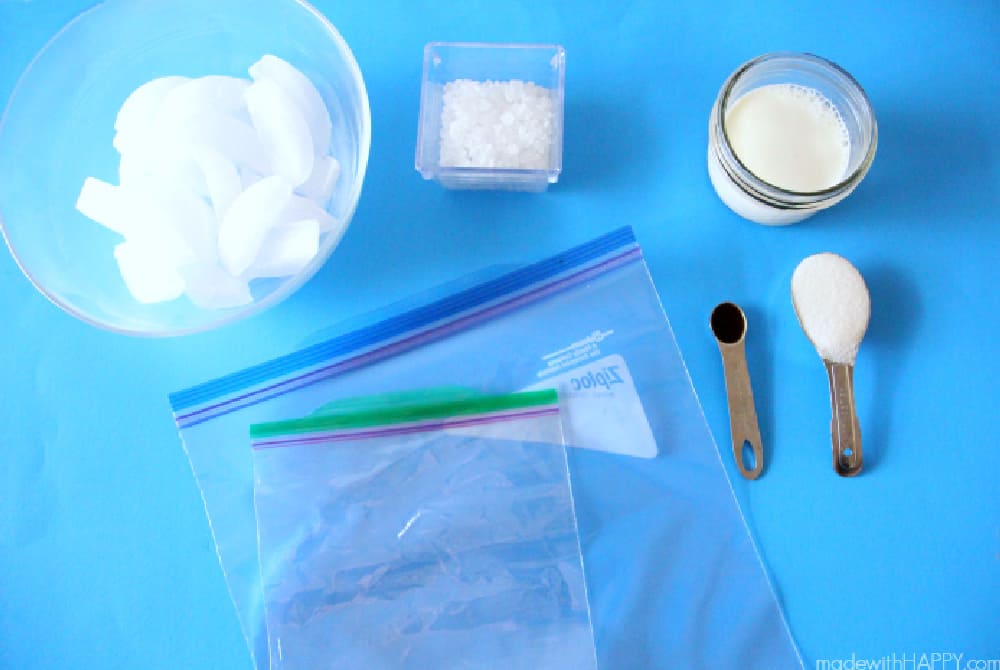
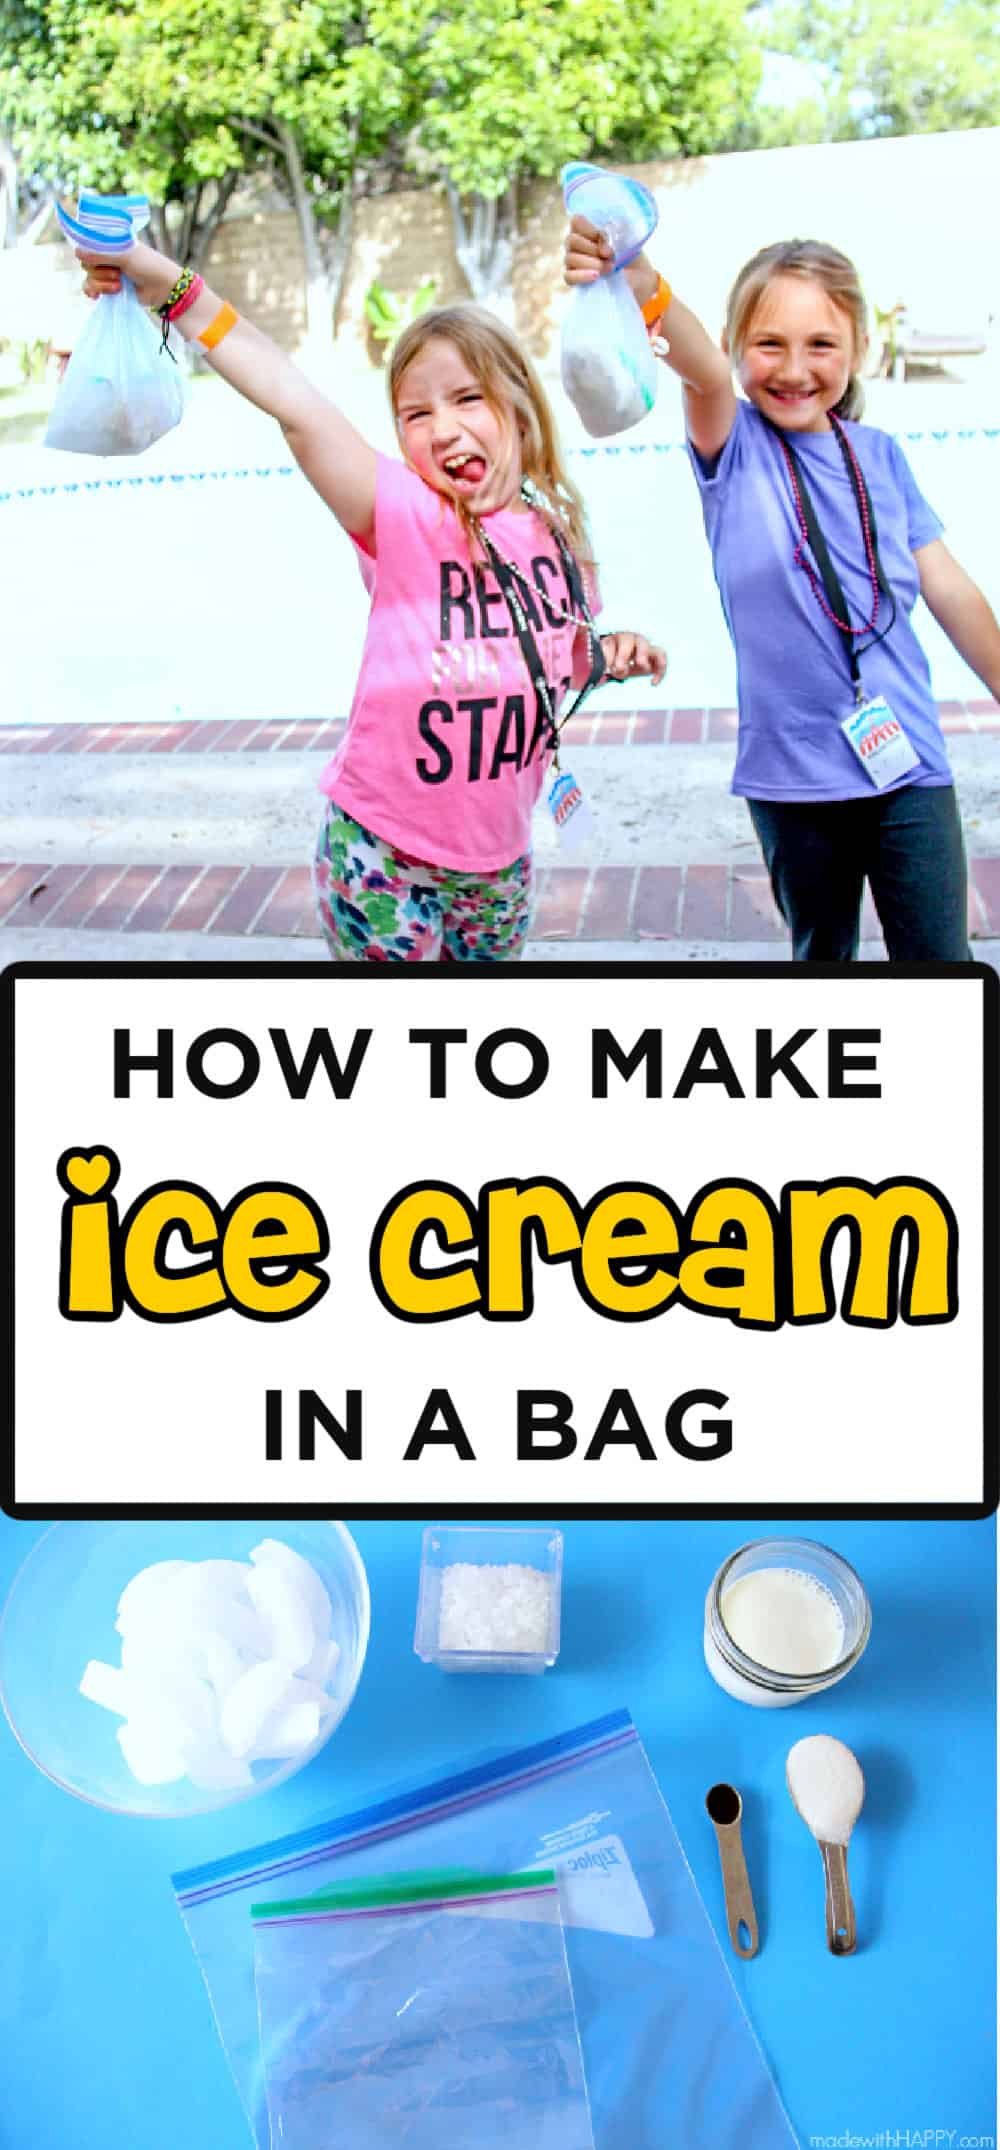
Ice Cream in a Bag Supplies
- 1 gallon bag
- 1 quart size bag (sandwich bag)
- 3 cups of ice cubes
- ⅓ cup rock salt
Ice Cream Ingredients
- ½ cup half-n-half, heavy cream, or whole milk
- 1 tablespoon sugar
- ¼ teaspoon vanilla extract

How to Make Homemade Ice Cream In a Bag Recipe
In the large bag add the ice and salt. Set to the side.
In the smaller bag add the ice cream mixture (milk, sugar, and vanilla). Remove the air from the small bag and seal the bag.
Place that sandwich-size bag inside the outer bag (larger bag) and then close it.
Shake the bag for 10-15 minutes. Have your very own dance party!
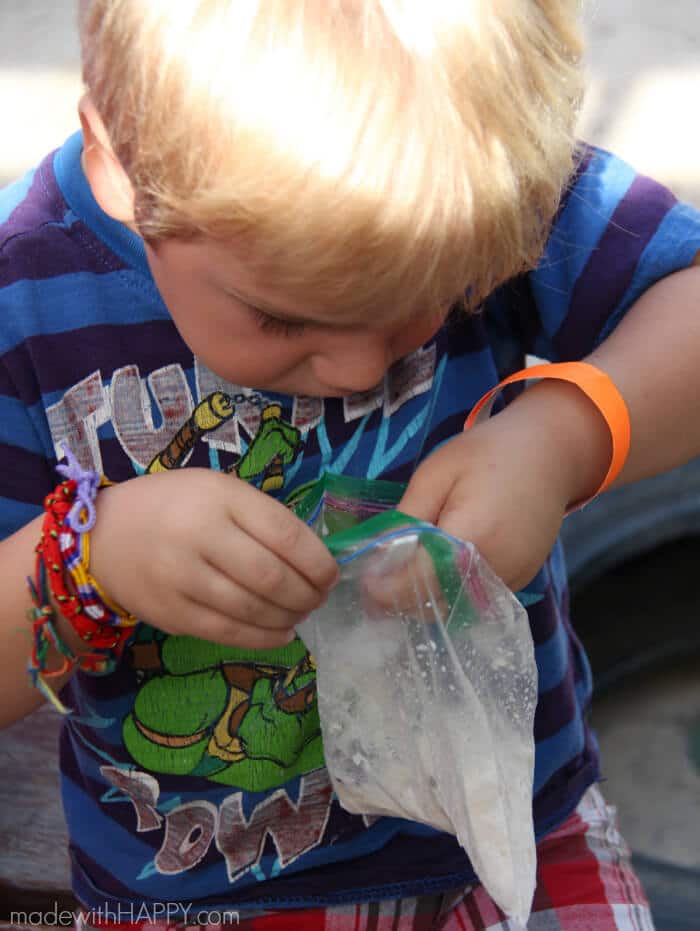
Viola, the end result is plain vanilla ice cream bag! Your kids can eat it straight from the zip-top bag or transfer it into a small bowl.
For added fun and to make it your own ice cream sundae, you can add a little chocolate syrup, chocolate chips, or sprinkles. So much fun for the kids and so so easy to make!
Hope this makes it to your Summer Bucket list this year!

Ice Cream in a Bag Frequently Asked Questions
Can I use a different type of milk for making ice cream in a bag?
Yes, you can use different types of milk for making ice cream in a bag. You can use whole milk, low-fat milk, or even non-dairy milk like almond milk or soy milk. However, keep in mind that the fat content in the milk affects the texture and creaminess of the ice cream. So, using milk with a higher fat content will result in a creamier ice cream.
How do I store the ice cream after making it in a bag?
After making the ice cream, transfer it from the bag to a freezer-safe airtight container with a lid. Then, place the container in the freezer and let it freeze for at least 2-3 hours before serving. If the ice cream is too hard to scoop, let it sit at room temperature for a few minutes before serving. You can store the ice cream in the freezer for up to a week.
Can I make ice cream in a bag without using ice?
No, you cannot make ice cream in a bag without using ice. The ice is essential in the process because it helps to lower the temperature of the mixture, which causes it to freeze and turn into ice cream. The ice works in conjunction with salt to create a chemical reaction that lowers the temperature of the mixture. So, without ice, the mixture will not freeze properly, and you won't get ice cream.
We highlighted this Summer DIY along with some other fun kids' crafts in our Summer Crafts for Kids along with our 101+ Easy Craft Ideas for kids.
You also do not want to miss our 101+ Free Kids Printables full of Crafts & Coloring Pages.

Other Summer Fun Activities You'll Love
- DIY ROUND BEACH BLANKET
- BEACH PLEASE HAT
- SUMMER BUCKET LIST FOR KIDS
- ROAD TRIP ACTIVITIES
- FREE PRINTABLE SUMMER COLORING PAGES
Ice Cream in a Bag
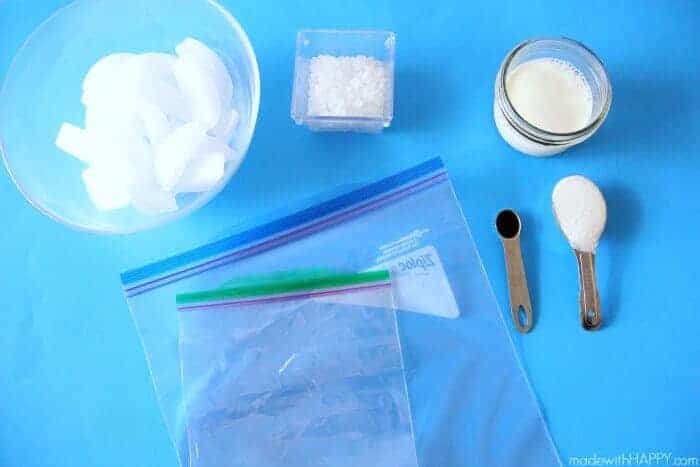
Materials
- 3 cups of ice
- ⅓ cup rock salt
- ½ cup half-n-half
- 1 tablespoon sugar
- ¼ teaspoon vanilla
Tools
- 1 gallon ziplock bag
- 1 quart size ziplock bag
Instructions
In the smaller bag add the milk, sugar and vanilla. Remove the air from the small bag and seal the bag. Place that sandwich size bag inside the larger bag and then close it.
 Shake the bag for 10-15 minutes.
CONNECT WITH MADE WITH HAPPY!
Be sure to follow me on social media, so you never miss a post!
Facebook | Twitter | Youtube | Pinterest | Instagram
Find and shop my favorite products in my Amazon storefront here!
ICE CREAM IN A BAG FOR KIDS
PIN IT TO YOUR DIY BOARD ON PINTEREST!
FOLLOW MADE WITH HAPPY ON PINTEREST FOR ALL THINGS HAPPY!
