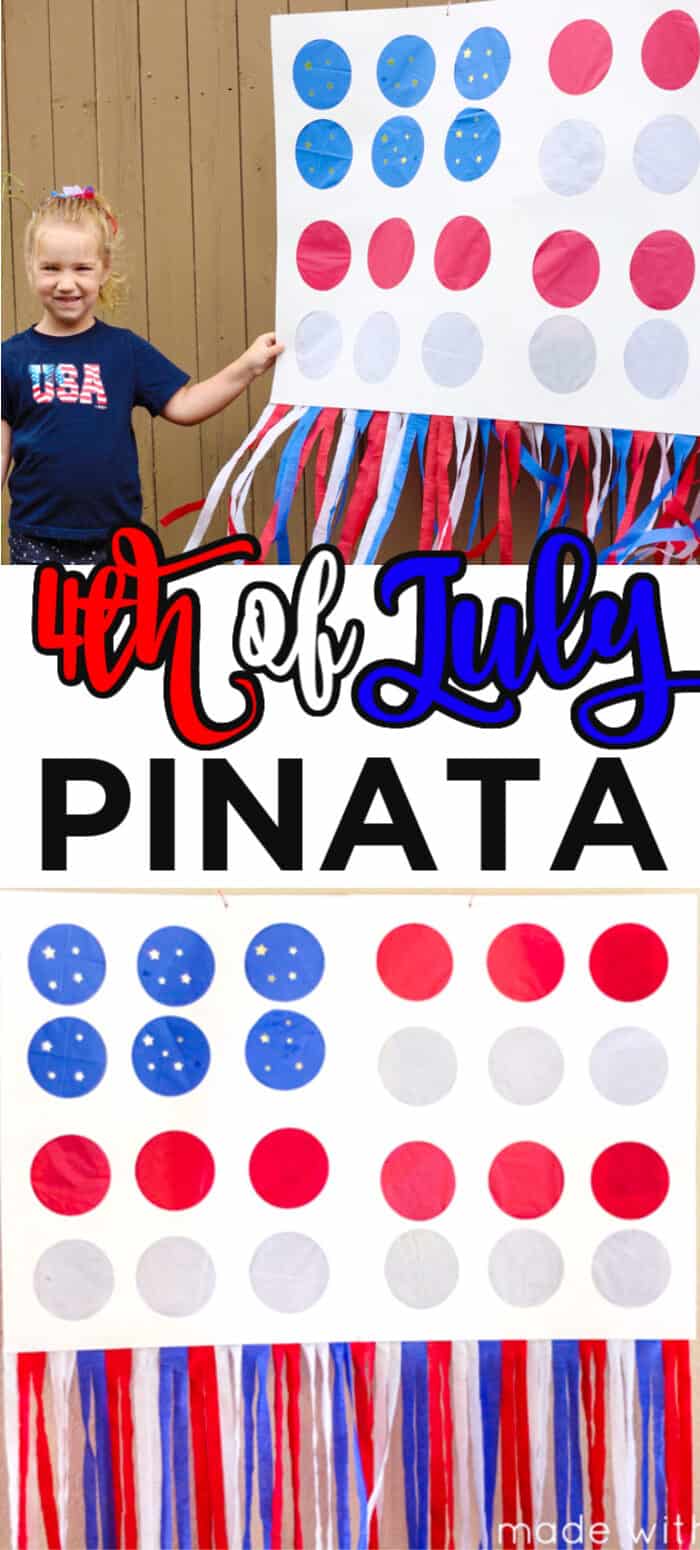
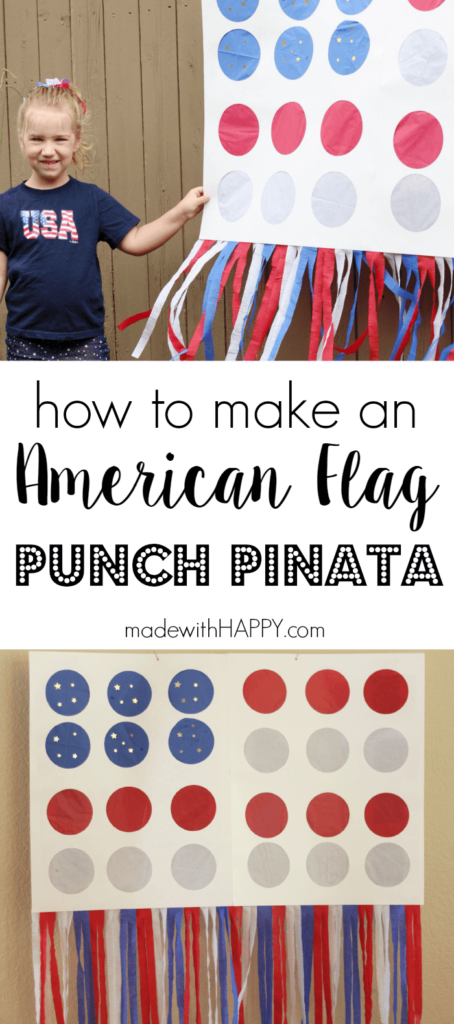
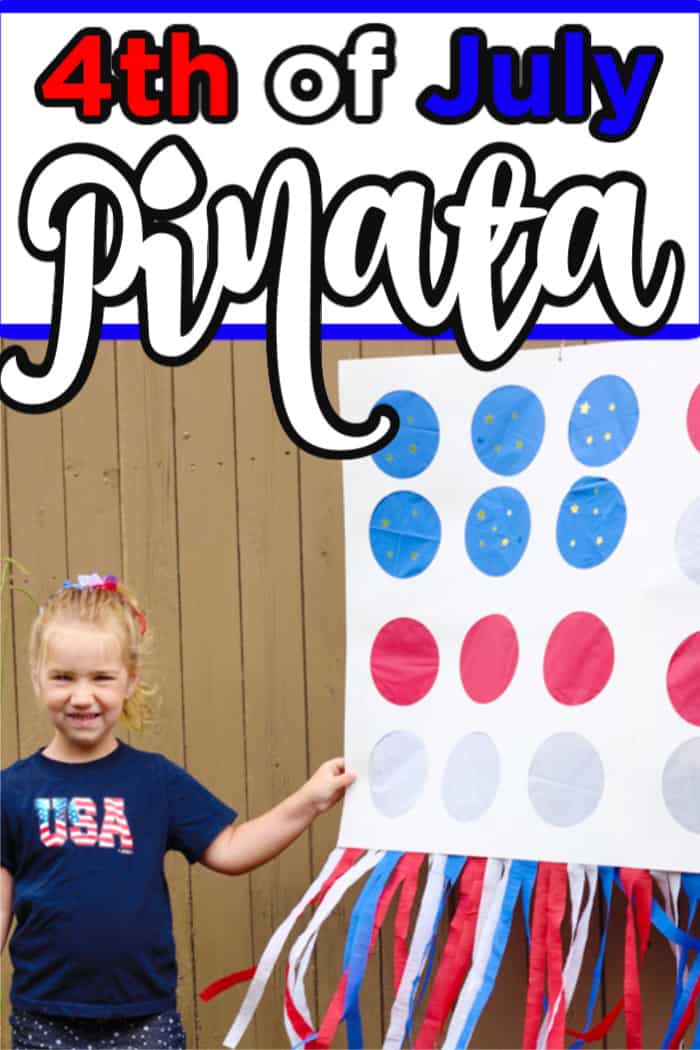
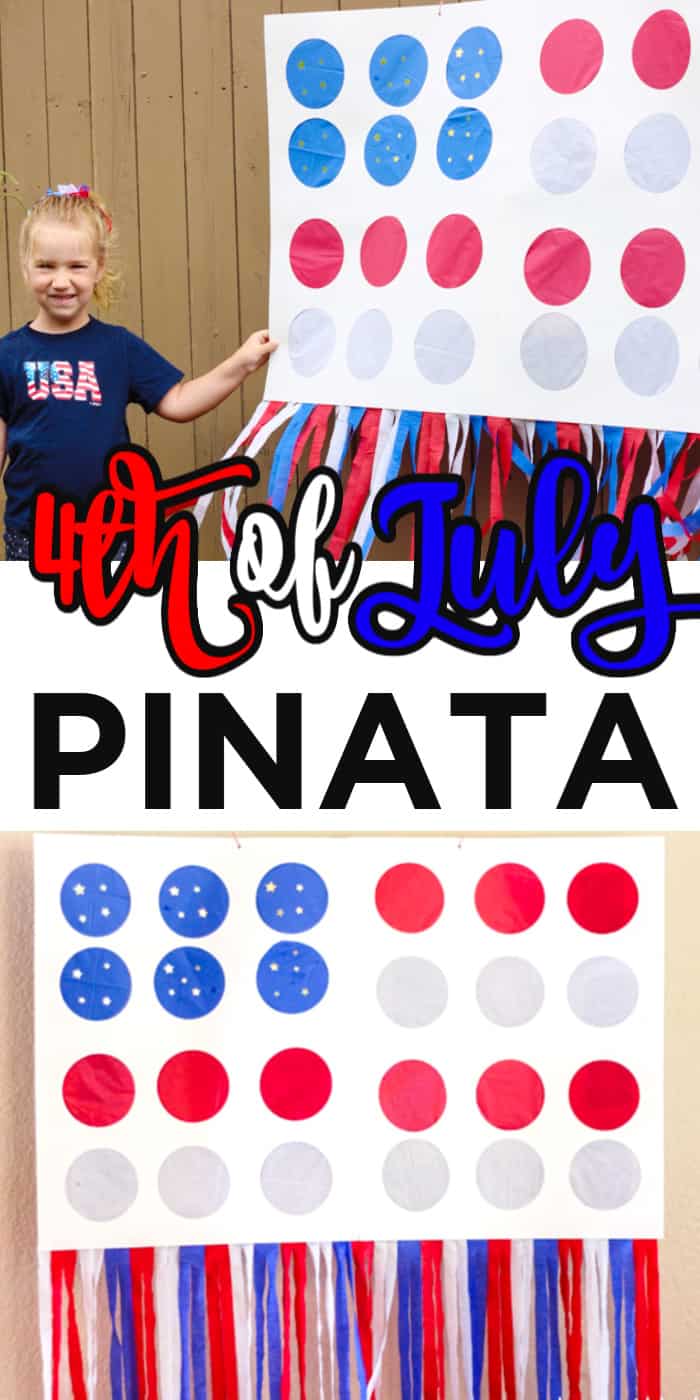
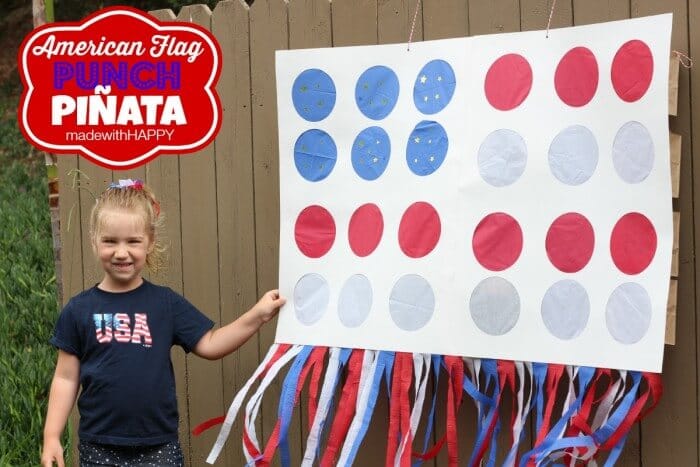
Celebrate Independence day with this super fun 4th of July Pinata. Fill with patriotic party favors, this American flag pinata is fun for the whole family.
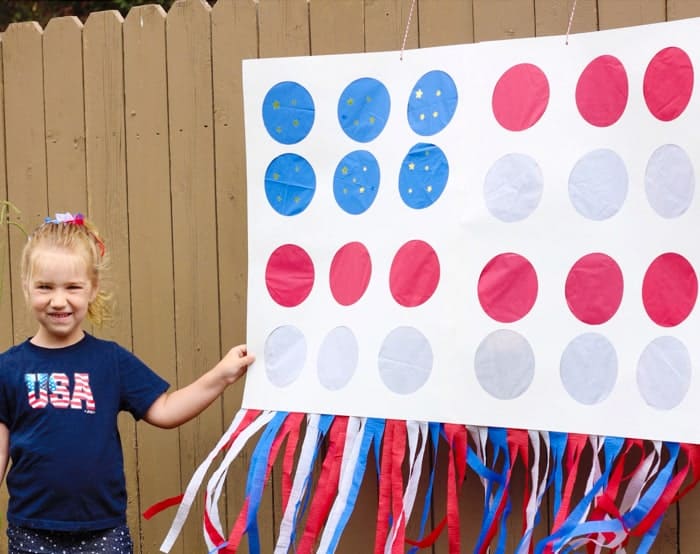
This 4th of July Pinata is all kinds of fun for kids of all ages!
Since MadewithHAPPY Girl's Rainbow Birthday Party last year, and all the buzz around her famous Rainbow Punch Pinata, I've been thinking about a good time to make another one.
Then about a month ago I thought, "Oh my gosh, how rad would it be if I could make the punch pinata look like an American flag? YES! Have you figured out yet, that the 4th of July is one of my favorite holidays yet? Helps that it is a week before my birthday too 🙂
We highlighted this 4th of July Craft along with some other fun kid's crafts in our Easy Summer Crafts for Kids along with our 101+ Easy Craft Ideas for kids.
Want to save this project?
Enter your email below, and then we'll send it straight to your inbox. Plus get awesome new projects from us each week.
In any case, I was on a mission and am super pumped about how it came out. Here's how you can make it yourself.
What you need for your 4th of July Piñata
- 2 poster boards
- red, white, and blue tissue paper (only 1-2 pieces of each color)
- 24 lunch bags
- tape
- hole punch
- circle cutter
- small toys (24)
- red, white, and blue crepe paper streamers
- twine or rope - 3 yards
How To Make a Punch Pinata
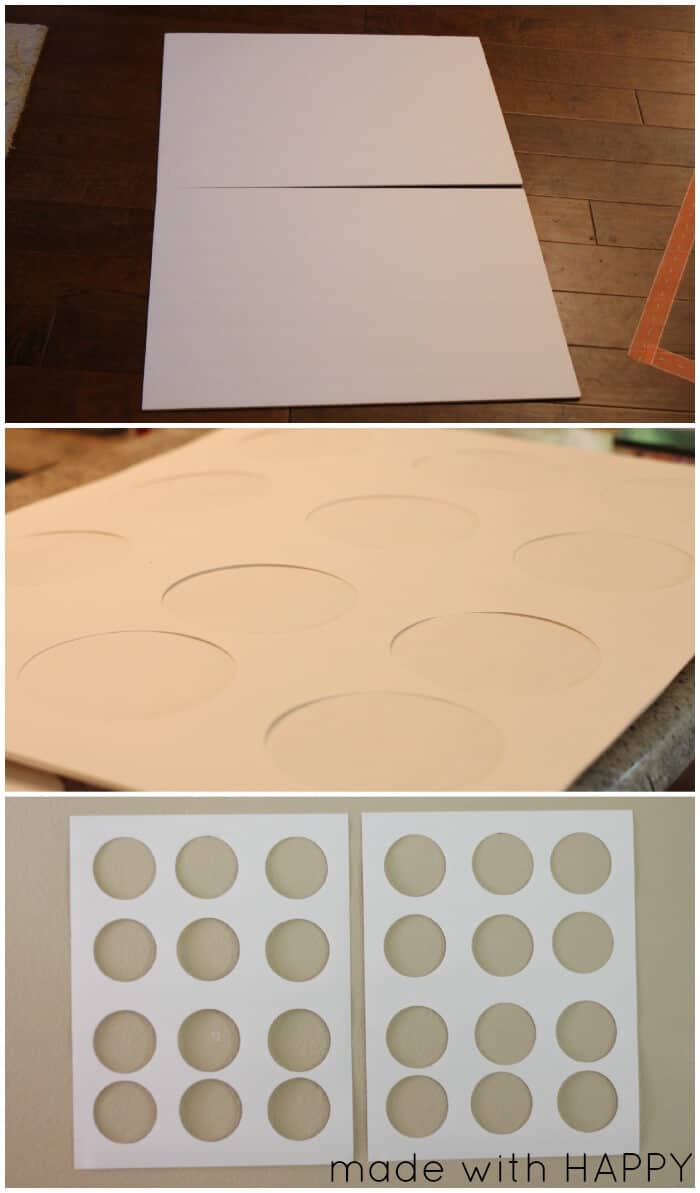
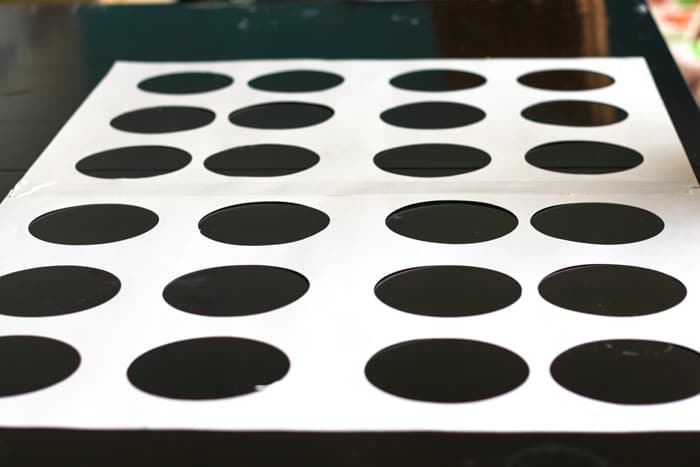
Measure out the size of the circles on the poster board. I went with 5 inch circles and spaced them as evenly as I could across both pieces of poster board.
Using duct tape or masking tape, attached the two boards together against the long side so that together you have 6 holes across and 4 holes down = 24 holes
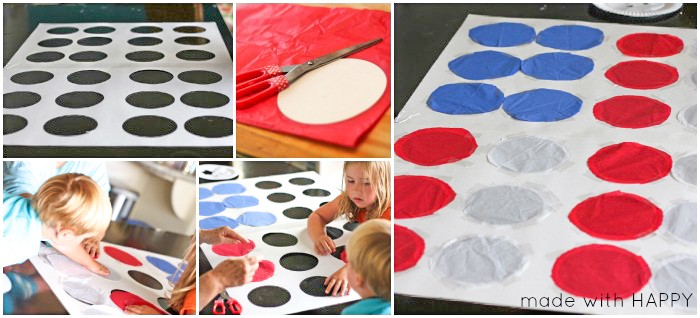
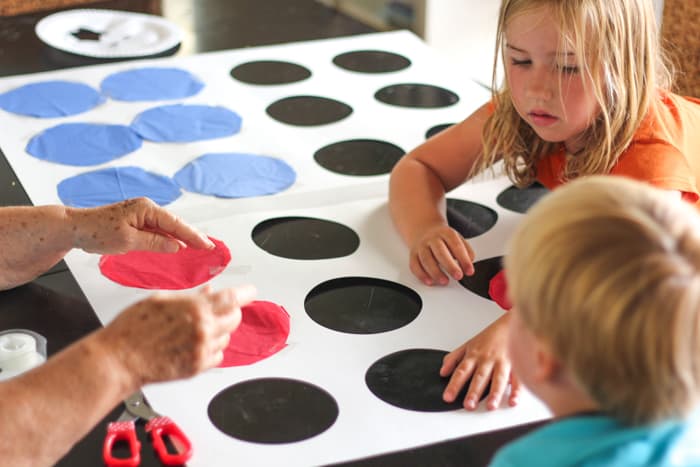
Using the circles you cut out of the poster board, cut circles in the tissue paper approximately 2 centimeters bigger so you're able to attached to the holes
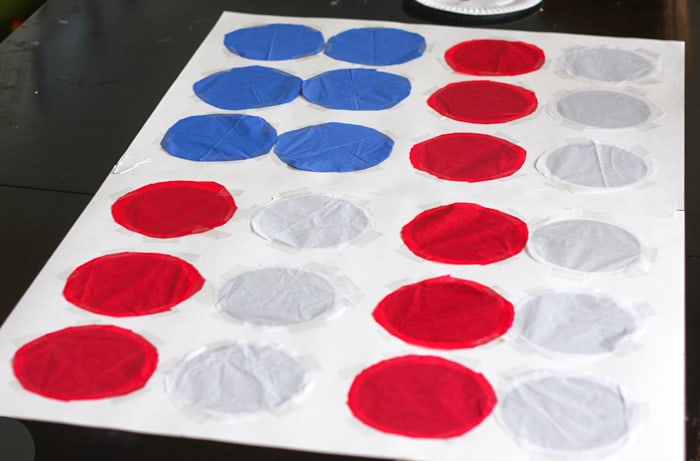
Attach to the back of the circles.
Note: I searched high and low and I'm not kidding you, about 15 different stores looking for blue tissue paper with stars with no luck. I think it would look awesome with that tissue paper, but our blue tissue paper with gold star stickers had to do!
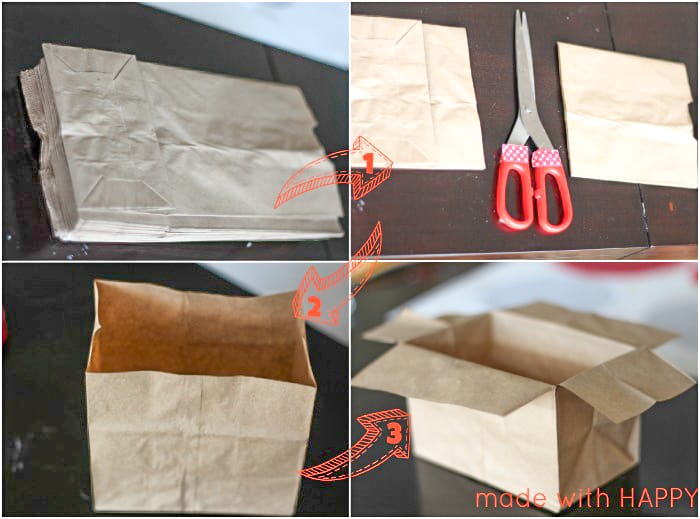
Next, it's time to cut the brown bags. I cut the bags at about an inch from the top of the bottom flap when it's folded up.
Once you've cut the tops off, you cut the four corners down an inch to the folded line. Then fold the edges down as you see in the bottom right picture.
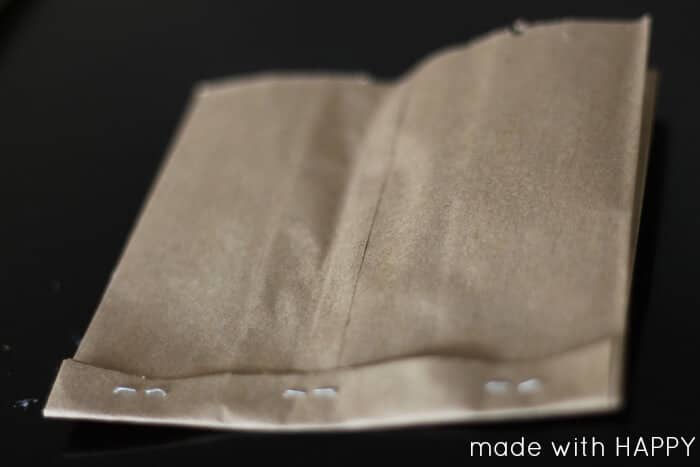
Note: If you feel like you're wasting the tops of the bags, you can fold the cut bottom up a tiny bit staple the bottoms, and use them for snack bags. That is what I did and they are great!
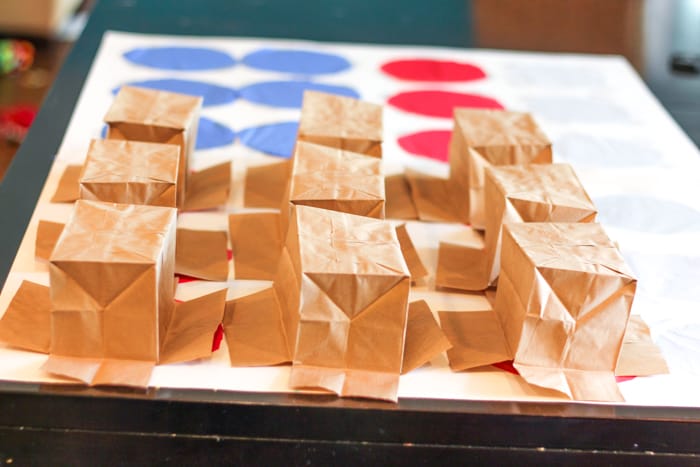
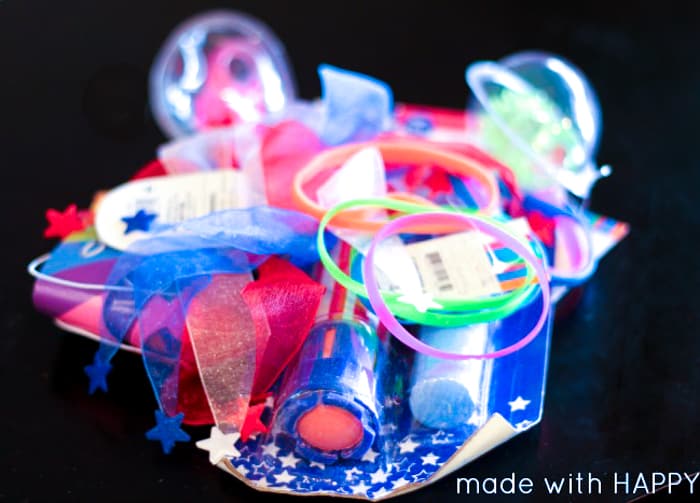
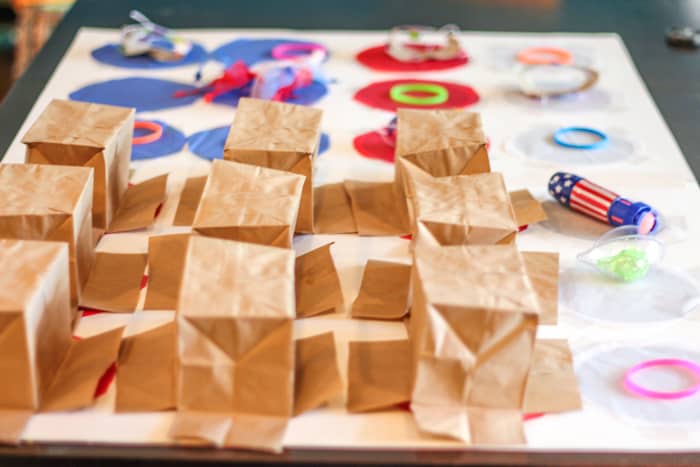
Next, you place one toy on each of the circles and cover it with a bag.
Using tape, secure the bags to the poster board.
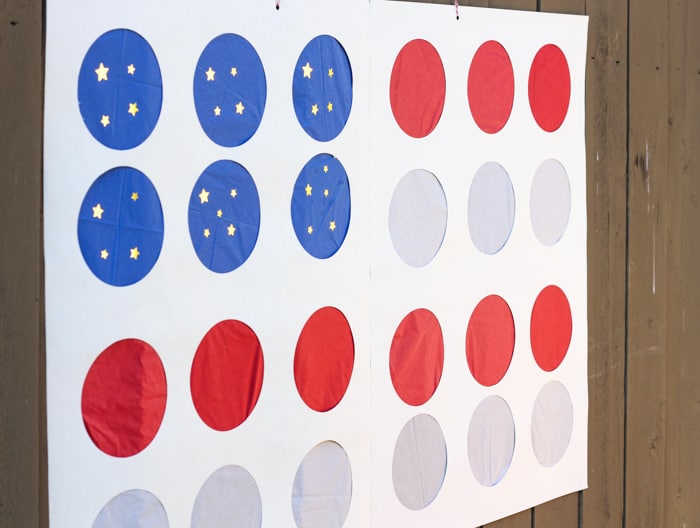
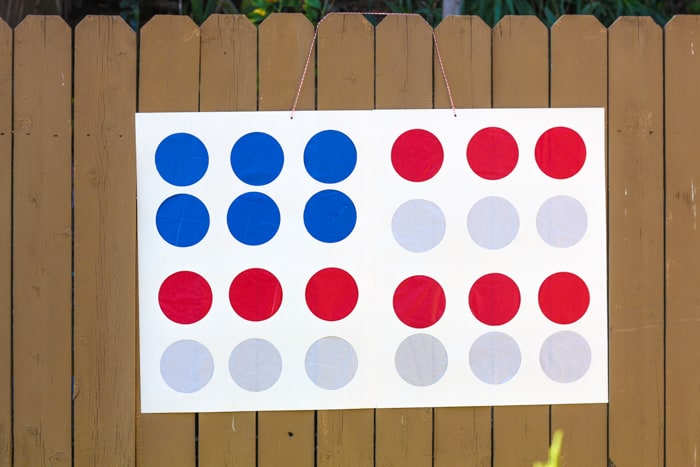
Tape a piece of crepe paper streamers to the bottom of the poster board to give it a little more jazz!
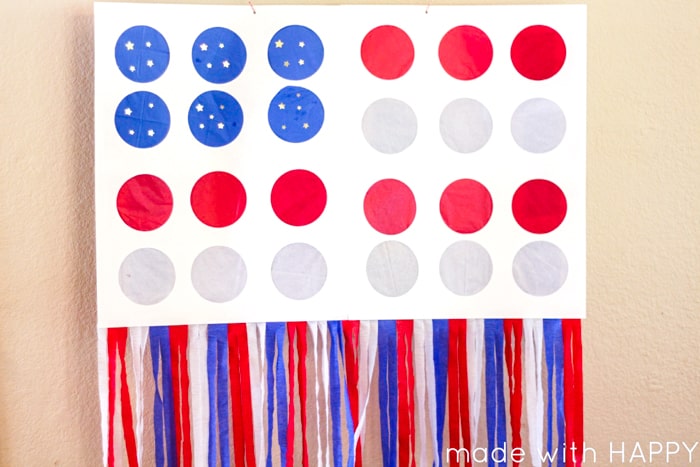
Viola, you have yourself an
4th of July Punch Piñata
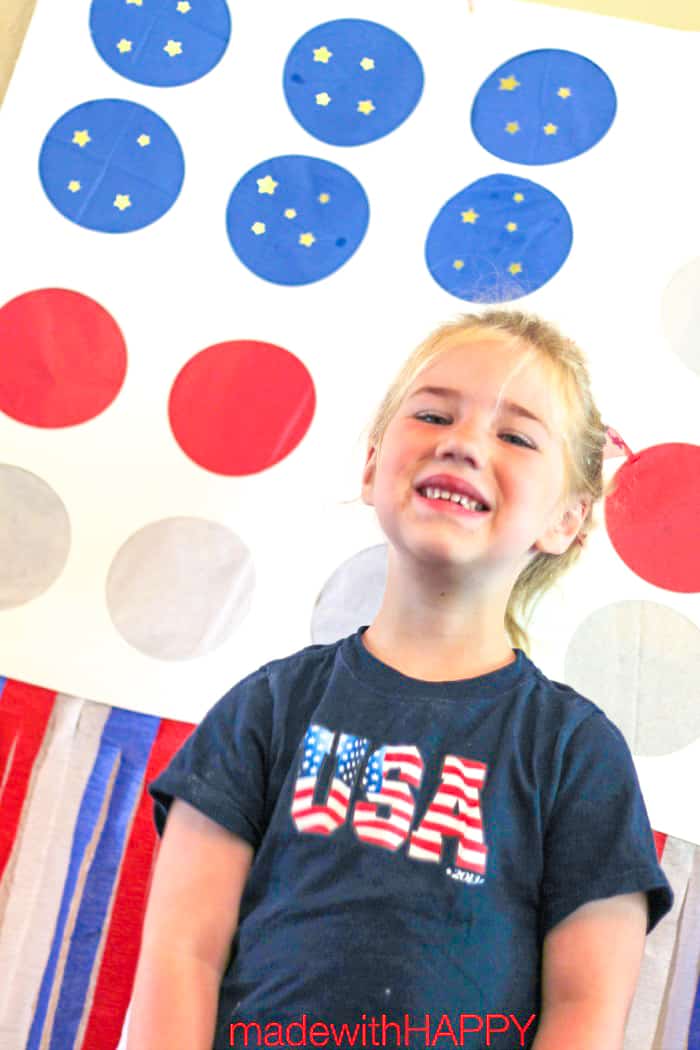
Guaranteed to add excitement to your 4th of July bash (minus the swinging bats)
Hope you and yours have the HAPPIEST of 4ths.
4th of July Pinata

Materials
- 2 poster boards
- red, white, blue tissue paper (only 1-2 pieces of each color)
- 24 lunch bags
- tape
- hole punch
- circle cutter
- small toys (24)
- red, white and blue crepe paper streamers
- twine or rope - 3 yards
Instructions
Measure out the size of the circles on the poster board. I went with 5 inch circles and spaced them as evenly as I could across both pieces of poster board.
Using duct tape or masking tape, attached the two boards together against the long side so that together you have 6 holes across and 4 holes down = 24 holes
Using the circles you cut out of the poster board, cut circles in the tissue paper approximately 2 centimeters bigger so you're able to attach to the holes
Attach to the back of the circles. Note: I searched high and low and I'm not kidding you, about 15 different stores looking for blue tissue paper with stars with no luck. I think it would look awesome with that tissue paper, but our blue tissue paper with gold star stickers had to do!
Next its time to cut the brown bags. I cut the bags at about an inch from the top of the bottom flap when its folded up. Once you've cut the tops off, you cut the four corners down an inch to the folded line. Then fold the edges down as you see in the bottom right picture
Note: If you feel like you're wasting the tops of the bags, you can fold the cut bottom up a tiny bit and staple the bottoms and use them for snack bags. That is what I did and they are great!
Next you place one toy on each of the circles and cover it with a bag.
Using tape, secure the bags to the poster board.
Tape piece of crepe paper streamers to the bottom of the poster board to give it a little more jazz!
Other DIY Pinatas You Might Enjoy
- RAINBOW PUNCH PINATA
- EASY MINI RAINBOW PINATA
- INDIVIDUAL HEART PINATA
- DIY PIÑATA PLANTERS
- DIY PUNCH PIÑATA ADVENT CALENDAR
CONNECT WITH MADE WITH HAPPY!
Be sure to follow me on social media, so you never miss a post!
Facebook | Twitter | Youtube | Pinterest | Instagram
Find and shop my favorite products on my Amazon storefront here!
4th of July Pinata
PIN IT TO YOUR FAVORITE BOARD ON PINTEREST!
FOLLOW MADEWITHHAPPY ON PINTEREST FOR ALL THINGS HAPPY!
