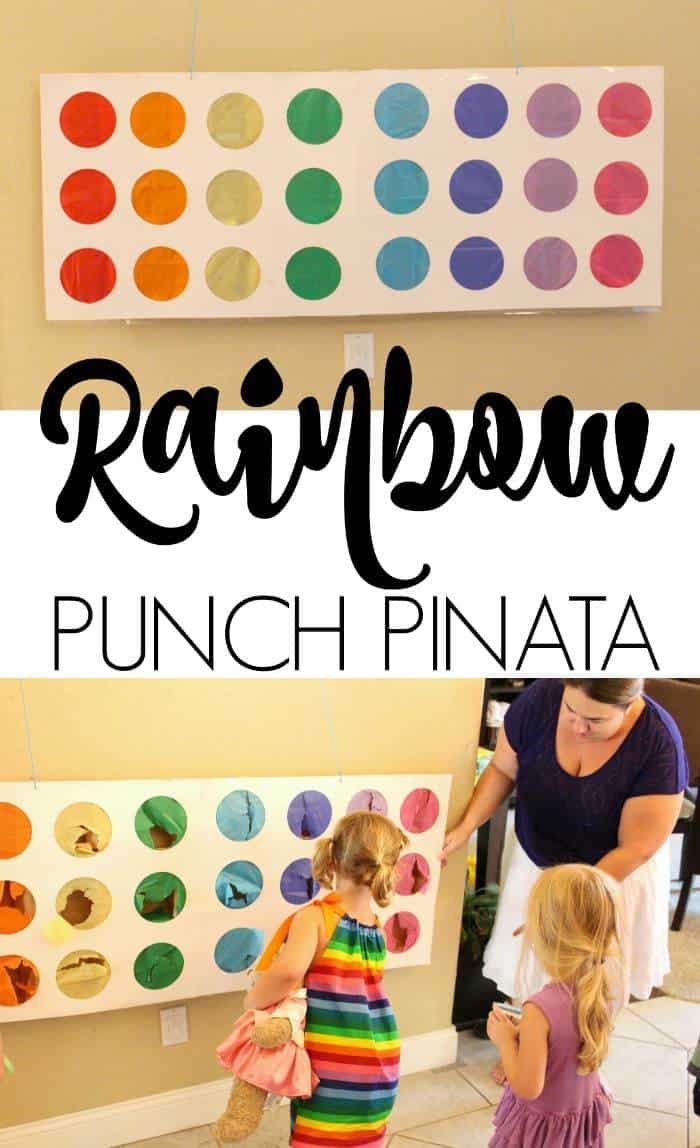
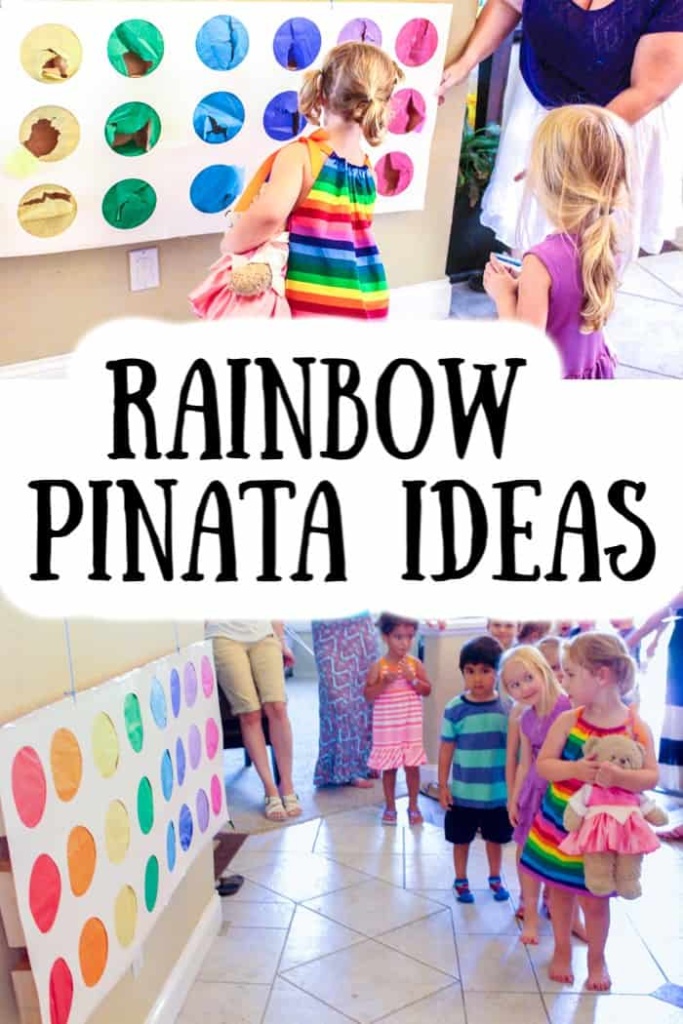
If you are looking for rainbow pinata ideas, then look no further than this Rainbow Punch Pinata.
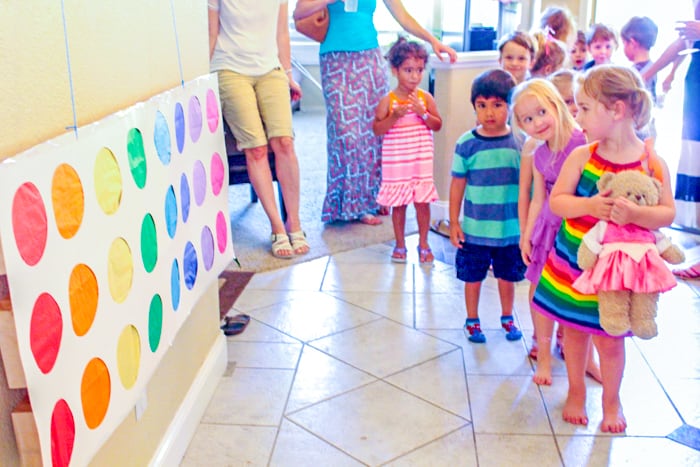
This Rainbow Punch Pinata was the biggest hit of Made with Happy Girl's Half Rainbow Birthday Party!
We are huge piñata fans. There is something so fun and special about them and so we will take piñatas in whatever form. Here are some of the other piñata ideas we've created.
- Easy Mini Rainbow Piñata Kid Craft– This is a great party favor or fun to give as a gift.
- American Flag Punch Piñata– This is a great fourth of July party idea
- DIY Punch Piñata Advent Calendar– This is really fun for the kids at Christmas.
- Individual Heart Piñata– These are fun for Valentine's Day.
- DIY Piñata Planters– These are great for your next Mexican fiesta.
Don't Miss Our Facts About Rainbows.
Rainbow Piñata
Piñatas are the best! Any chance we get to create a rainbow-themed pinata, the better.
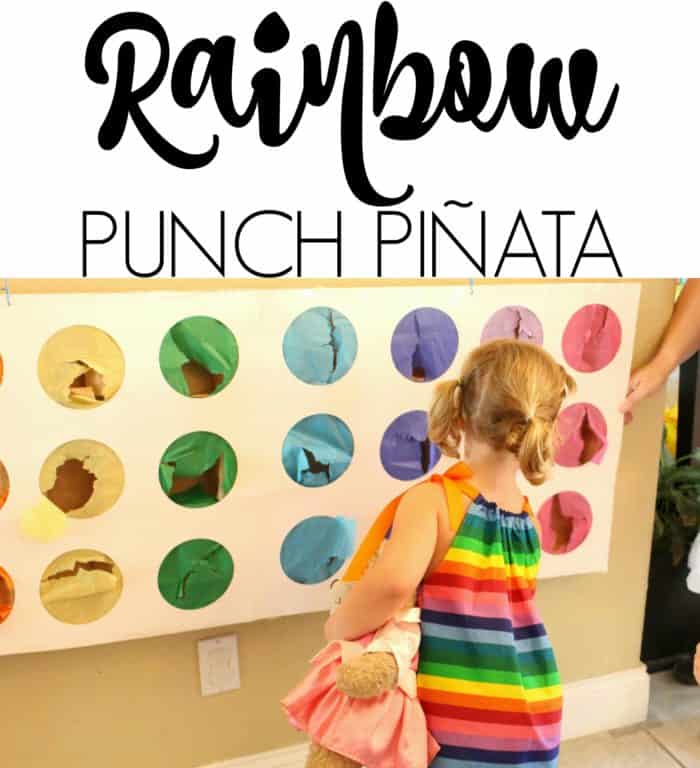
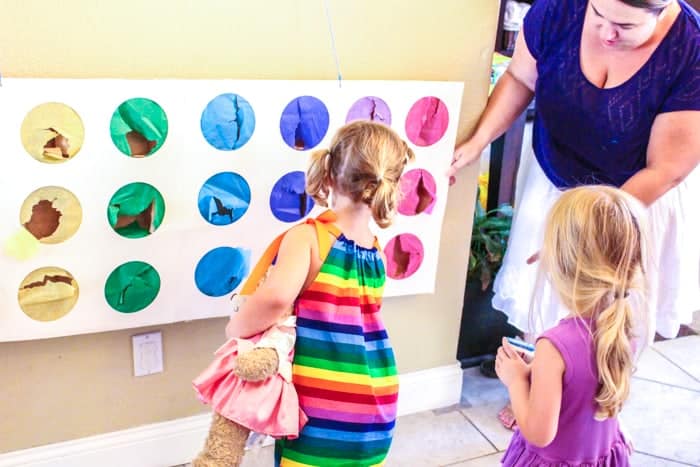
The kids had so much fun punching out the brightly colored circle and being surprised each time with a prize. I'm loving this pinata alternative.
We love the pinata alternative because of a number of reasons. There are no kids swinging bats aimlessly and no one big hit. It gives each child a turn without breaking the whole thing open. Overall, it is A TON cheaper. It cost me about $8 to make the entire thing.
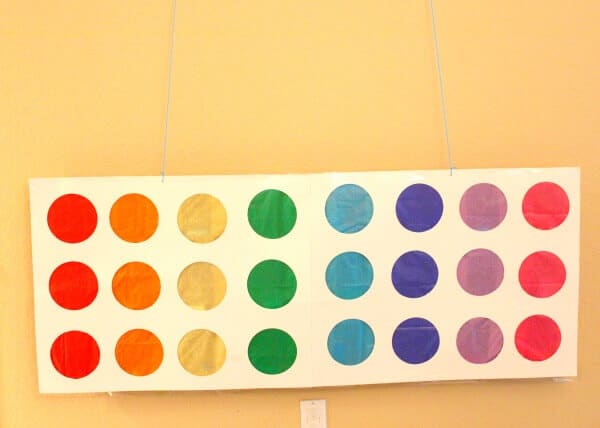
We found the idea from Celebrating Big and Small and knew it would be perfect for her birthday. She has step-by-step instructions on how to make it here.
I made a few adjustments, but here is the basic supply list I went with:
Supplies Needed for Punch Pinata
This is how we made the rainbow pinata, but feel free to adjust the colors based on your party decorations and the themed party you are throwing.
- Two poster boards
- Tissue paper - Rainbow colors
- Package of brown paper lunch bags - I used 24
- Piñata filler - some filler ideas are party favors and of course, filling with candy is an option too. We have a full list for you below.
- Rope or string
- Tape
- Scissors
How to make this Super Cute Rainbow Punch Piñata
Want to save this project?
Enter your email below, and then we'll send it straight to your inbox. Plus get awesome new projects from us each week.
Cutting the Circles
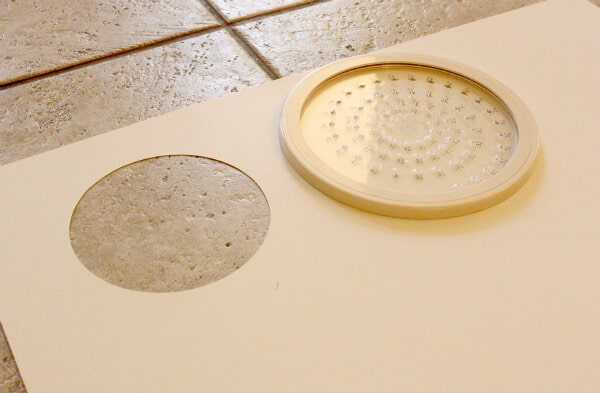
- Use a Circle cutter - or you could even use a bowl to trace out the circles if you don't have a handy circle cutter. I cut the holes 5 inches in diameter.
- If you are using scissors, then the easiest way to cut the circles out is to start by poking a hole in the middle of the circle and then use that to cut out the circle.
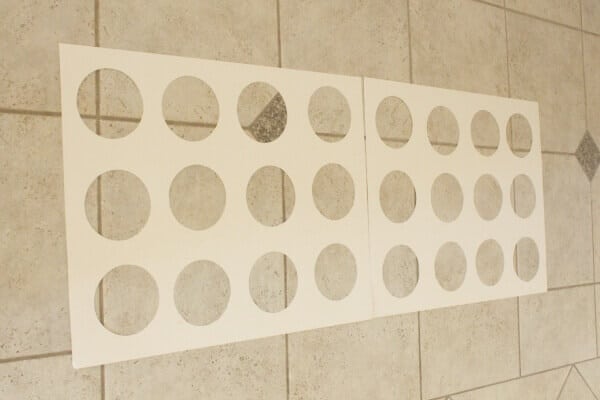
- With five-inch circles, you can fit three circles on the width of the poster board.
Assembling the Punch Pinata
I cut out 24 holes, but feel free to add as many or as few as you would like. I was happy to have 24 so that all 11 kids got to go twice and a few a third time.
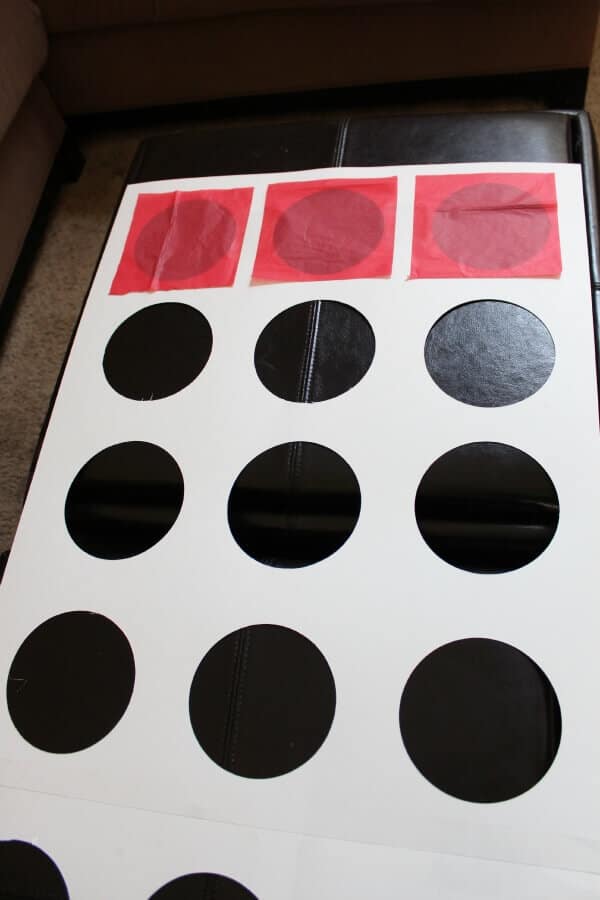
Once the circles have been cut, its time to cut the tissue paper. Because I was doing a rainbow, grab a rainbow variety of color paper while you are buying your party supplies.
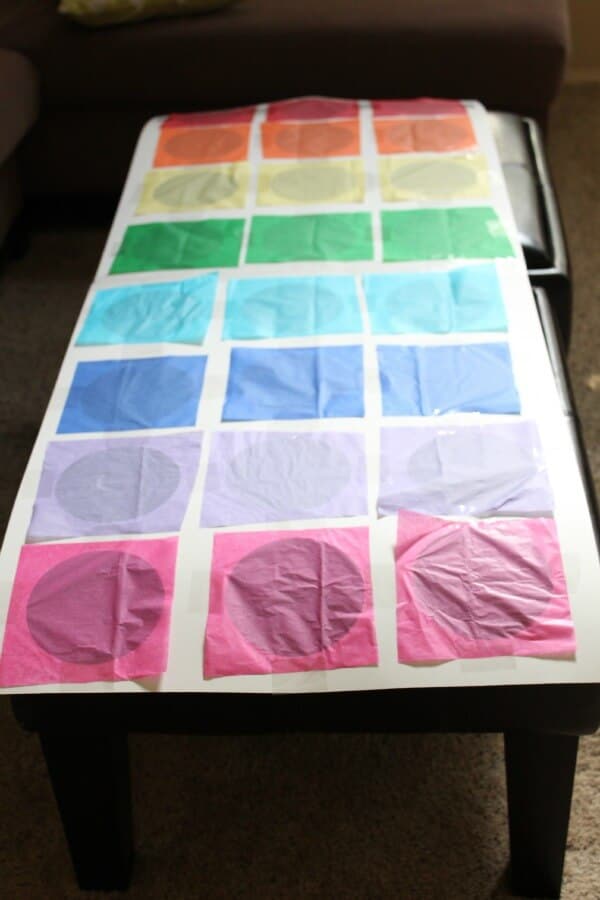
Each Tissue square was approximately 6 inches.
Piñata Filler Ideas
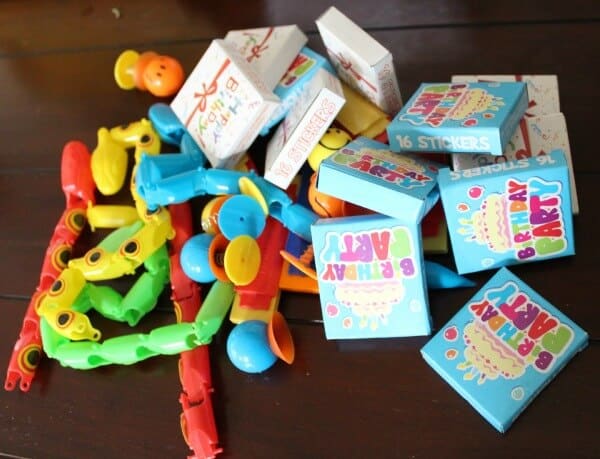
Next, you grab your prizes and hers is how to fill a piñata.
When picking out the pinata fillers is that you need small items that do not have a lot of weight to them. They will be held up in a paper bag and so heavy items are not great for this pinata idea.
Some great piñata filler ideas include:
- Rainbow party favors - are always a fun idea. The kids love them and you can get a bunch and not spend a ton.
- Glow in the dark bouncy balls
- Rainbow Stickers
- Light up bracelets
- Happy Stamps
- LED Flower Crowns
- Candy Prizes
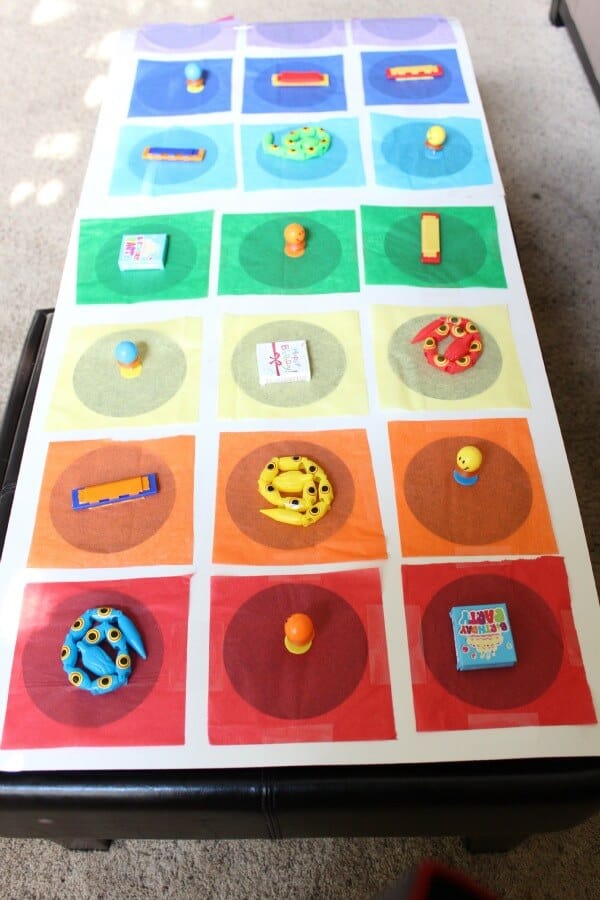
Place one or two prizes in each circle.
How to hold the piñata prizes
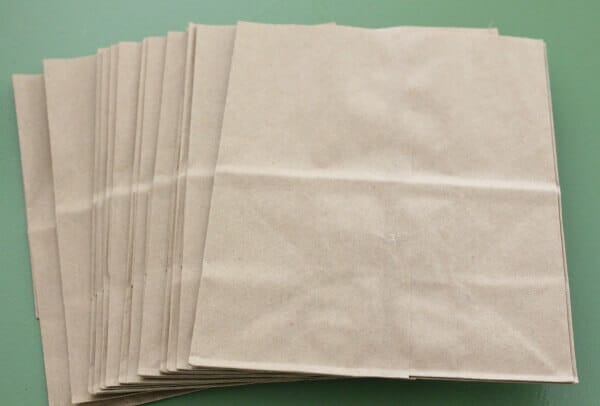
The next step is to grab your brown bags. I cut the bags down to approximately 3 inches high. The top portion of the bag can be reused as a snack baggie. Simply staple the bottoms or tape one end together.
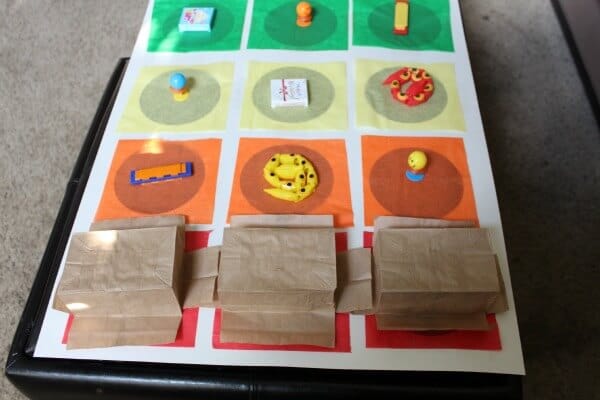
The trick to attaching the bags to the poster board is to cut each corner of the bag down approximately an inch on each side. Then fold each end of the bag back.
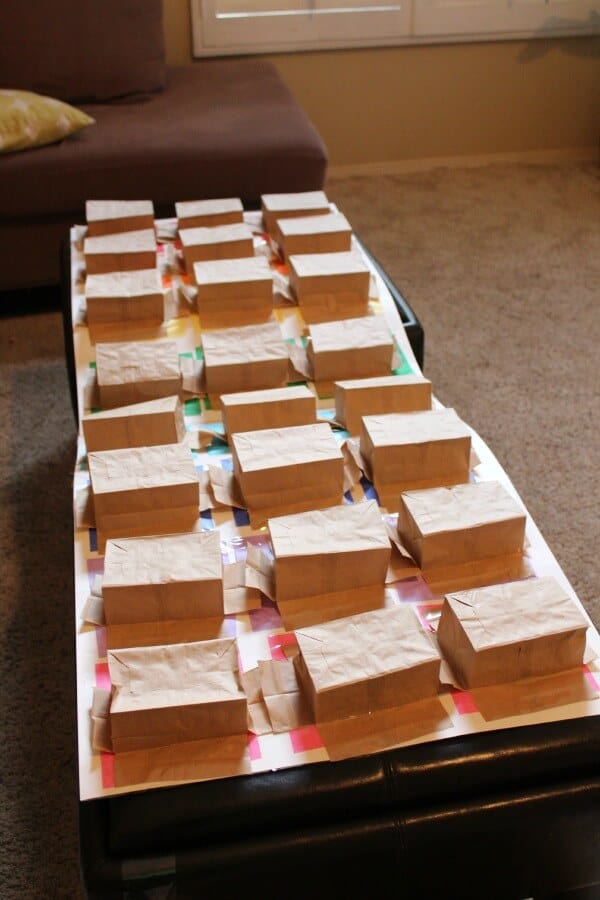
Tape each of these flaps to the back of the poster board that is covering the prizes.
Grab your rope and cut it to approximately three to four feet. Punch a hole with your scissors or with a hole punch at the top of the piñata between the second and third holes on both sides. Tie knots at each end of the rope to those holes. This will be what holds your piñata up on the wall.
I simply took down a picture that was hanging on our wall and hung it on that. You could always use a heavy-duty command strip or something on the wall to support the weight of the pinata.
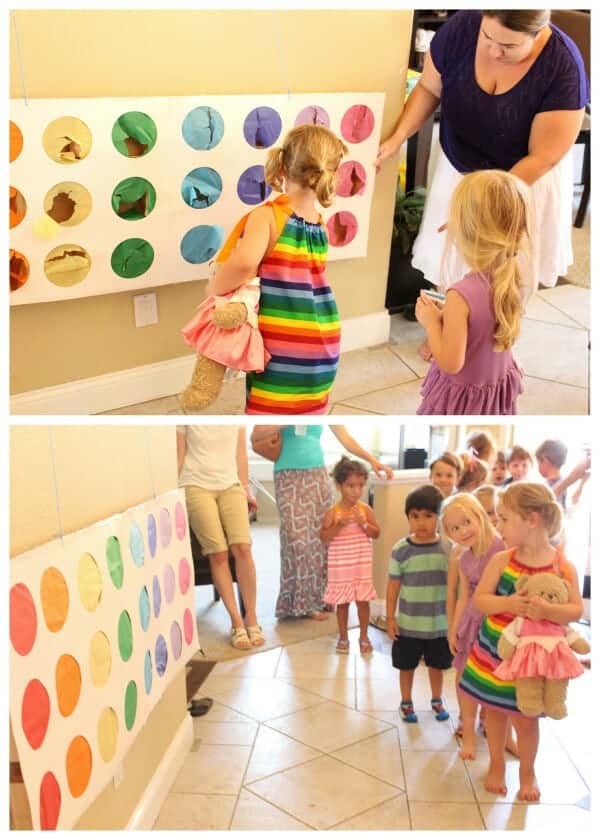
I recommend hanging it on a wall for added support.
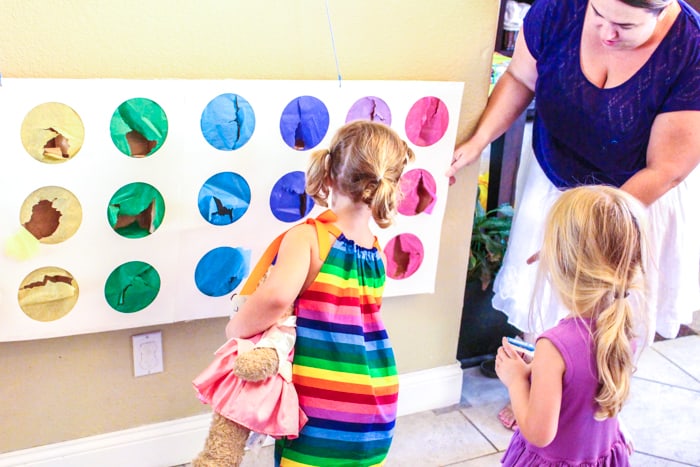
Line the kids up and let them hit the pinata.
We love this pinata and have made a bunch of iterations over the years.
We highlighted this Rainbow Craft along with some other fun kid's crafts in our March Crafts along with our 101+ Craft Ideas for kids.
You won't want to miss our Paper Bag Crafts For Kids with a list of crafts like this punch pinata.
Piñata Alternative - Pinata Ideas
Here are a few questions you might be thinking about this pinata alternative.
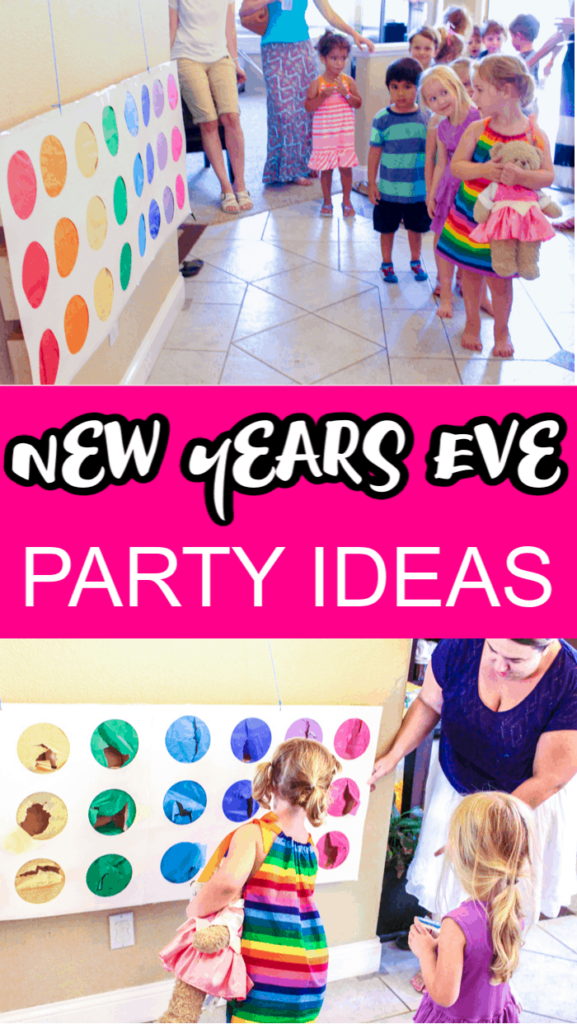
That is what I love about this punch pinata. It lends itself to any theme. If its a New Years Eve party, then fill the pinata punches with glow sticks and star glasses. If its an super hero party, fill it with mini action heroes and slap bracelets.
There are so many alternatives to candy for a pinata. I like to start with a theme and then figure out party favors based on the them.
Now this is where it is gets fun. If this is for an adult party, you can put everything from mini alcohol bottles, to mini hot sauces, to lottery tickets.
Other Rainbow Party DIYs You'll Love
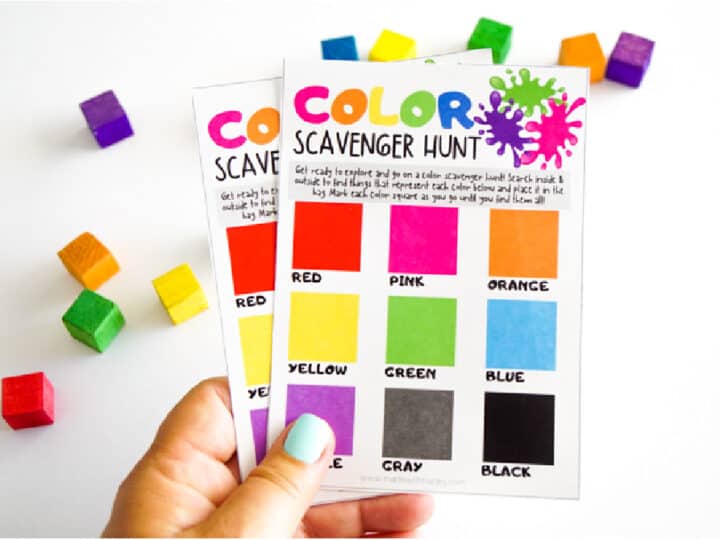
- COLOR SCAVENGER HUNT FOR KIDS
- RAINBOW DIY TASSEL GARLAND TUTORIAL
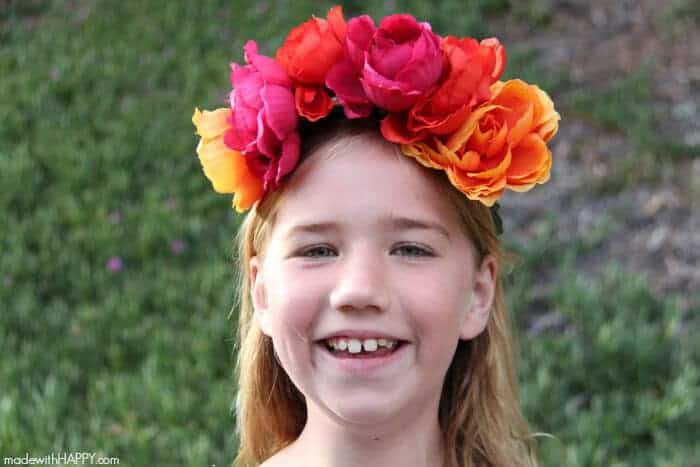
- DIY FLOWER CROWN
- RAINBOW EDIBLE CRAYONS RECIPE
- HOW TO MAKE A PAPER CROWN
- RAINBOW POPCORN
Rainbow Punch Pinata
Materials
Tools
Instructions
Using a Circle cutter - or you could even use a bowl to trace out the circles if you don't have a handy circle cutter. I cut the holes 5 inches diameter. If you are using scissors, then the easiest way to cut the circles out is to start by poking a hole in the middle of the circle and then use that to cut out to the circle.
With five inch circles, you can fit three circles on the width of the poster board. I cut out 24 holes, but feel free to add as many or as few as you would like. I was happy to have 24, so that all 11 kids got to go twice and a few a third time.
Once the circles have been cut, its time to cut the tissue paper. Because I was doing a rainbow, grab a rainbow variety of color paper while you are buying your party supplies.Each Tissue square was approximately 6 inches.
Next, you grab your prizes. When picking out the pinata fillers is that you need small items that do not have a lot of weight to them. They will be held up in a paper bag and so heavy items are not great for this pinata.
Place one or two prizes in each circle.
The next step is to grab your brown bags. I cut the bags down to approximately 3 inches high. The top portion of the bag can be reused as a snack baggie. Simply staple the bottoms or tape one end together.
The trick to attaching the bags to the poster board is to cut each corner of the bag down approximately an inch on each side. Then fold each end of the bag back.
Tape each of these flaps to the back of the poster board that are covering the prizes.
Grab your rope and cut it to approximately three to four feet. Punch a hole with your scissors or with a hole punch at the top of the pinata between the second and third hole on both sides. Tie knots in each end of the rope to those holes. This will be what holds your pinata up on the wall.
CONNECT WITH MADE WITH HAPPY!
Be sure to follow me on social media, so you never miss a post!
Facebook | Twitter | Youtube | Pinterest | Instagram
Find and shop my favorite products in my Amazon storefront here!
RAINBOW PUNCH PINATA IDEAS
PIN IT TO YOUR DIY BOARD ON PINTEREST!
FOLLOW MADE WITH HAPPY ON PINTEREST FOR ALL THINGS HAPPY!
