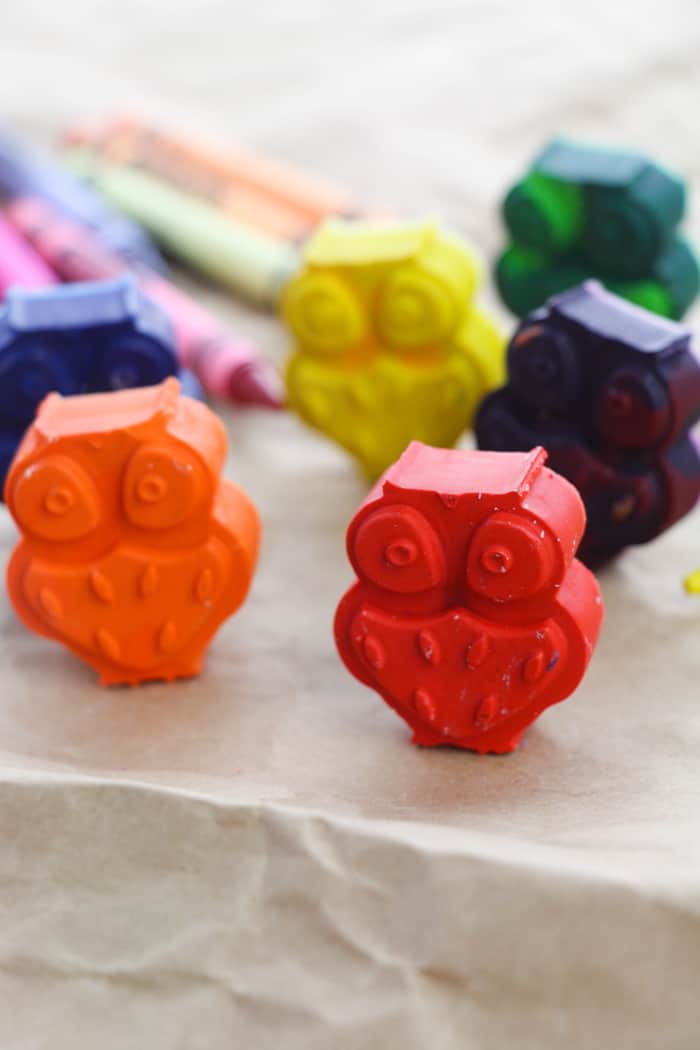
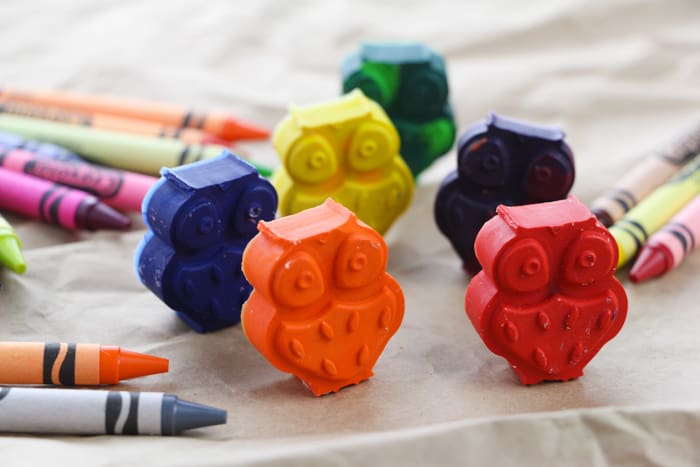
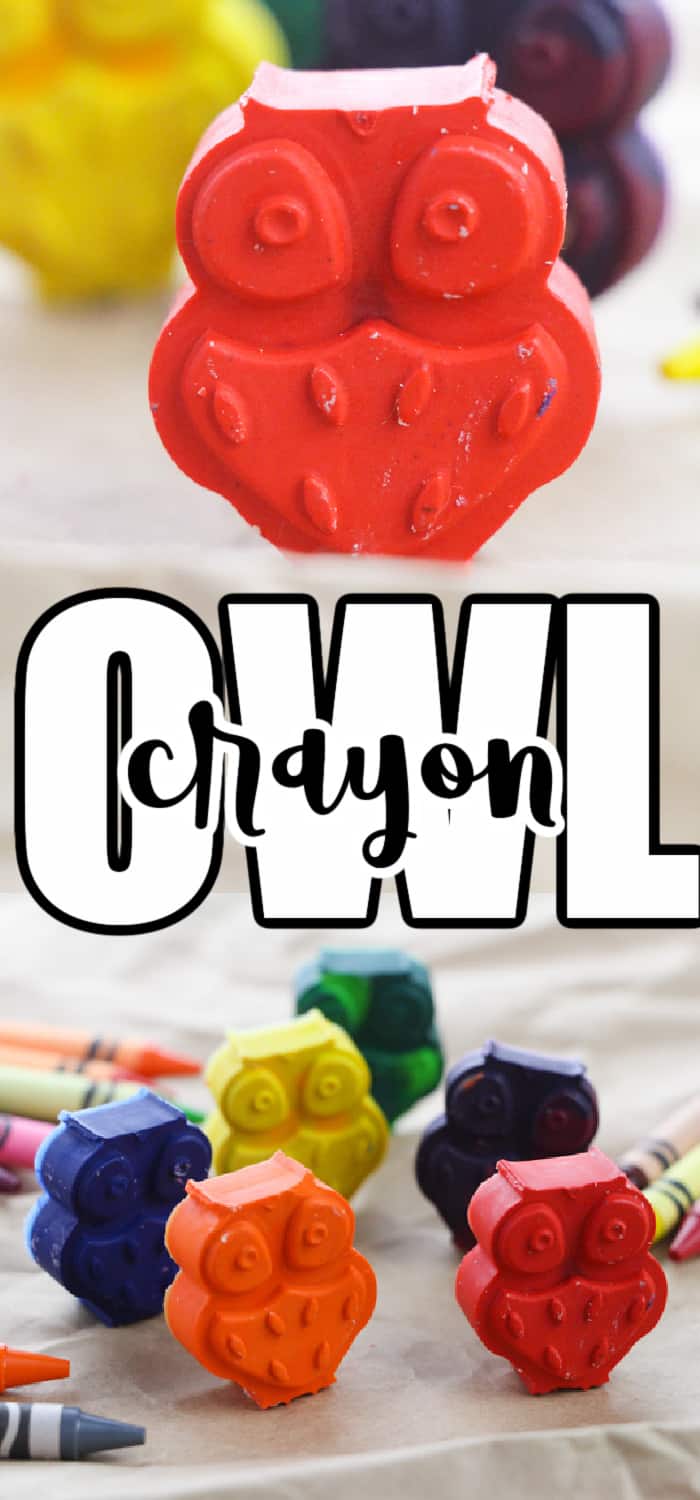
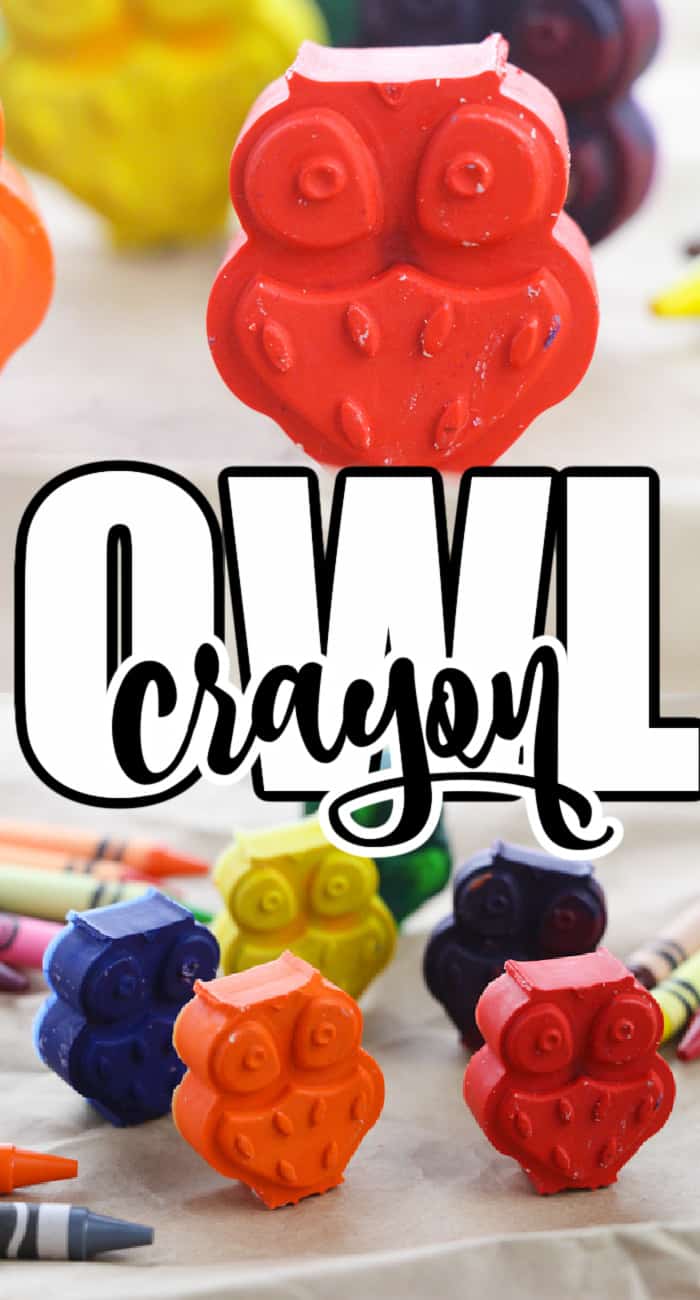
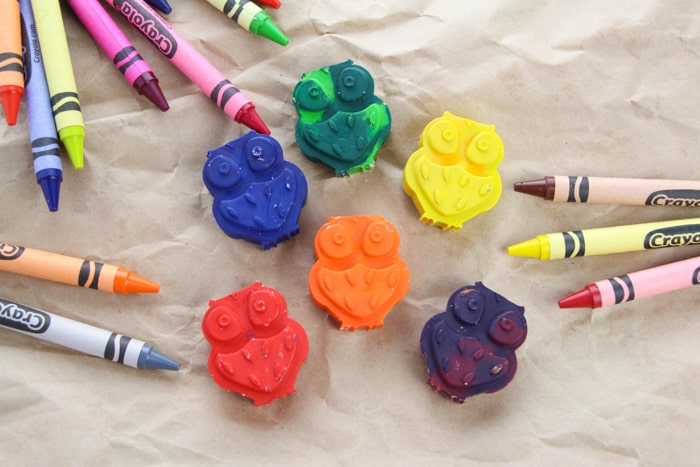
Turn that bucket of broken crayon pieces into these sweet owls crayons. We are showing you how melted crayon in oven turn into coloring fun.
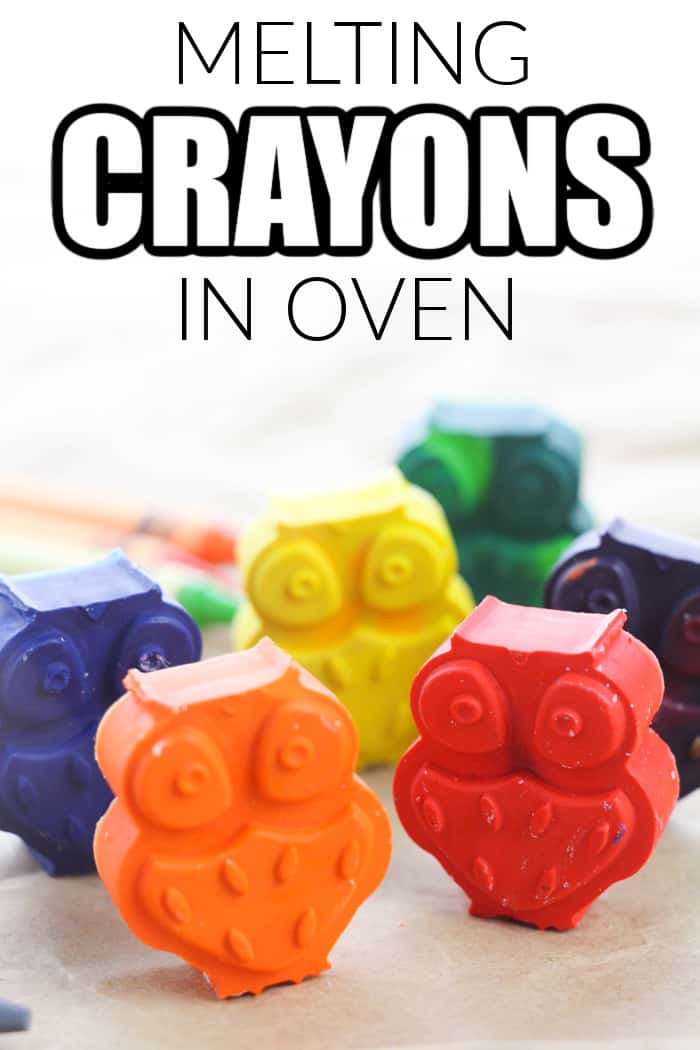
These melted crayons in the oven are the perfect way to bring those old crayons back to life... owl life!
Crayons and Coloring are some of our favorite things to do. If you like this craft, then you will not want to miss our most popular coloring post including Unicorn Color By Numbers, Toy Story 4 Coloring Pages, Sonic the Hedgehog Coloring Pages, and Summer Printable Coloring Pages.
Broken Crayons
Raise your hand if you have a bin, bucket, or drawer full of broken crayons or if you have kiddos who refuse to color with certain crayons for any of these reasons: the paper has come off or is ripped, the paper has not come off, the tip isn’t pointy enough, the tip is too pointy, they’re not dark enough/light enough/crayon-y enough.
Crayons are like Cheerios – they just seem to appear. It’s time to grab all the random, broken, or old crayons you have and put them to good use! We’re super excited to share our adorable owl crayons.
Melted Crayons In Oven
Want to save this project?
Enter your email below, and then we'll send it straight to your inbox. Plus get awesome new projects from us each week.
Melting crayons may sound complicated but it couldn’t be easier. Start by pealing the paper wrappers off the crayons. Sometimes this happens quickly and easily other times…not so much. If you are having difficulty, try soaking the crayon in hot water or warm water for a minute or two. This should loosen up the paper so you can peel the paper more easily.
Pull out the silicon molds you plan to use. We happen to love these owls, but you could choose from a number of fun shapes. You can find oven safe silicone molds at any store with crafting supplies. You could also a muffin tin or mini muffin tin or even a candy mold.
Break the crayons into small pieces so they will fit into your molds or tins. You can sort the broken crayons by color or combine colors to make totally new colors.
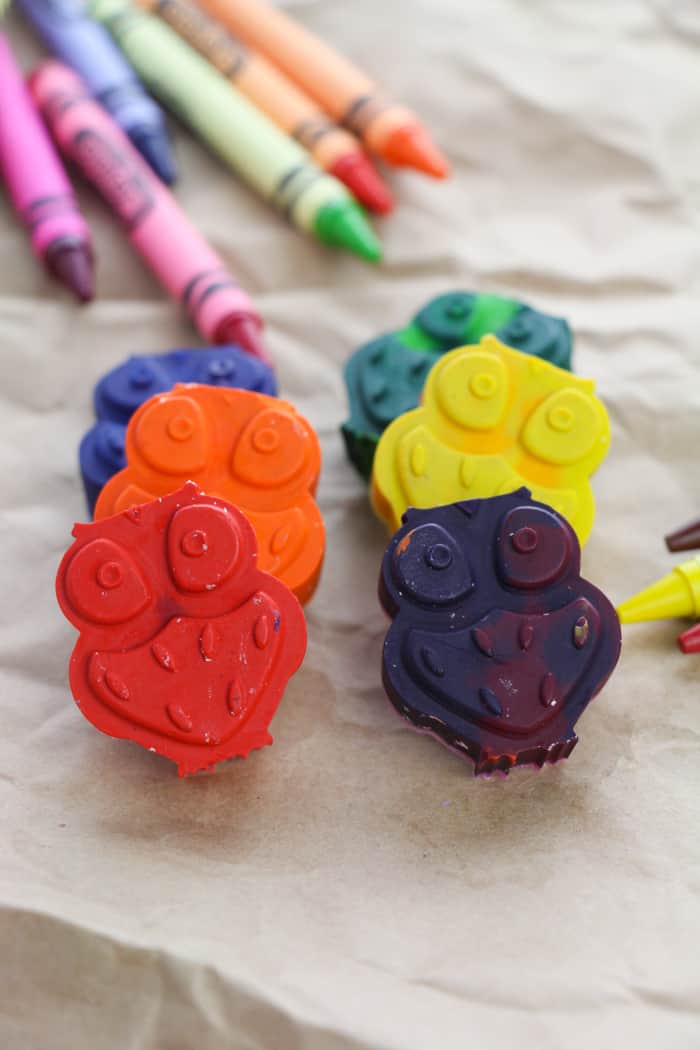
For these owl crayons, fill your owl molds with broken crayons of the same color, put the oven on low and leave the crayons in until they’re completely melted about 10-15 minutes (but check frequently). Used an oven mitt to remove the melted crayons. Once they are completely cooled (check by touching the bottom of the molds), release the crayons from the mold and enjoy!
You could also melt the crayons first and then pour them into molds. This takes a bit more skill but does allow you to make rainbow crayons!
Check out our 101+ Animal Crafts
Check Out These Other Owl Crafts!
Rainbow Crayons
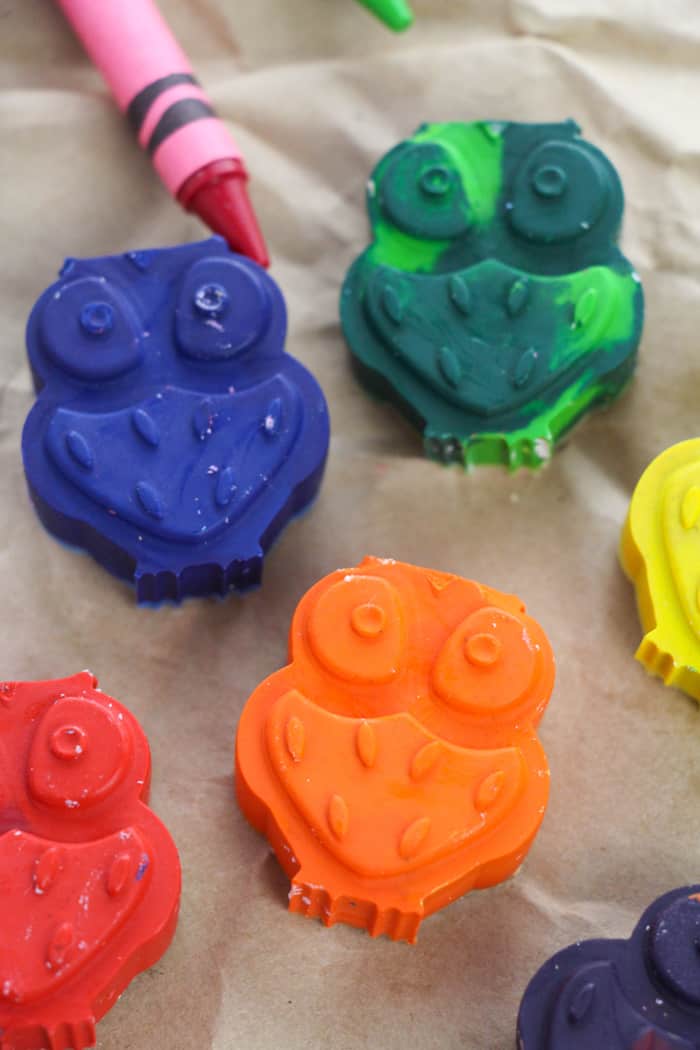
To do this, melt the crayons in the oven or in the microwave, then carefully pour one color of melted crayon into whatever mold you plan to use, filling a fraction of the mold. How much you fill depends on how many colors you plan to use. Cool completely then follow the same steps with the next color. Layer as many colors as you like to make your rainbow crayon.
Besides using the oven or microwave, you could also melt crayons on the stove, almost like you would melt chocolate. Use aluminum cans (like soda or coffee cans) instead of a cooking pot to melt the crayons. Use enough cans for the number of colors you want to make. Cut the tops of the cans, place the crayon pieces in a saucepan filled with enough water to cover the bottoms of the cans. Then bowl the water and place the aluminum cans in the water. Stir the crayon pieces so they heat and melt evenly.
Melting crayons and cooling them into cool shapes is a great way to give life to old crayon pieces. Kids love watching them transform into unique designs and coloring with their new crayons. In fact, they’re so cute, they might not want to ruin them by coloring with them. They make perfect get well or travel gifts for friends. Use them as one of a kind, useful and fun party favors to spread your HAPPY!
Supplies Needed for Owl Crayon
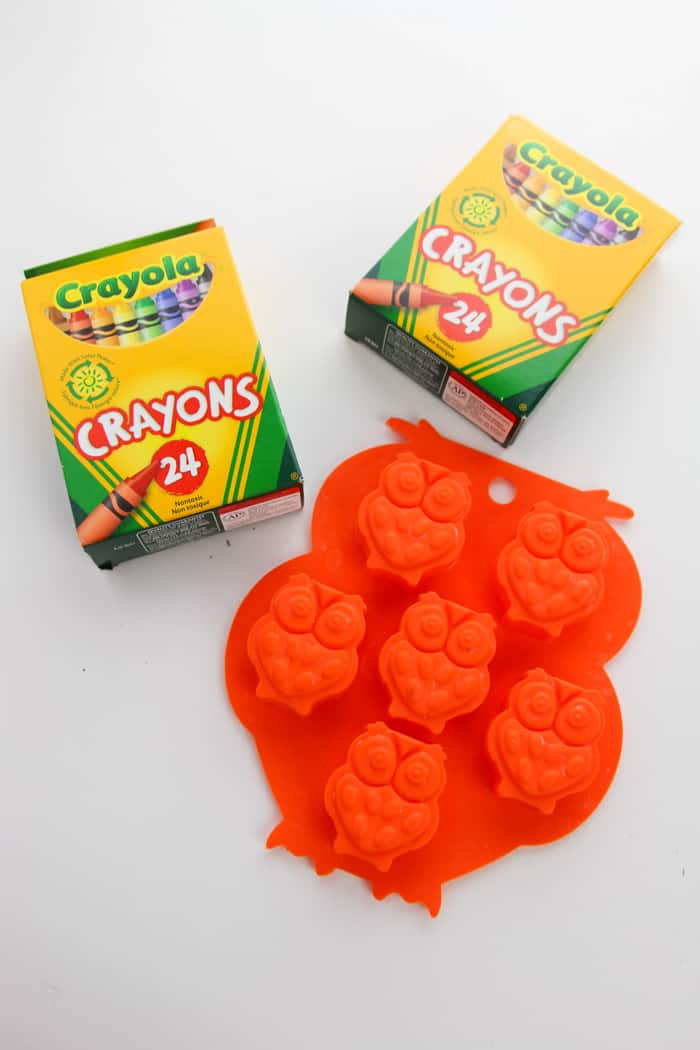
- 24 pack of crayons - or bucket of old crayons
- Owl Silicone Mold
- Sturdy Cookie Sheet
How to Make Crayons
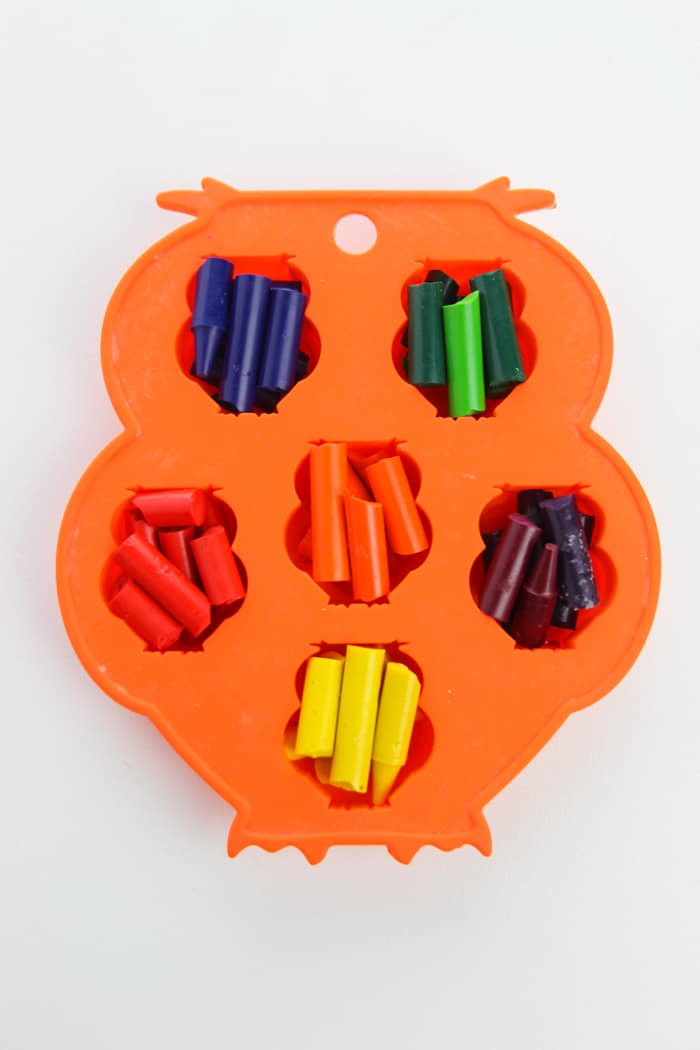
Preheat your oven to 325F. Peel the wrappers off all of the crayons.
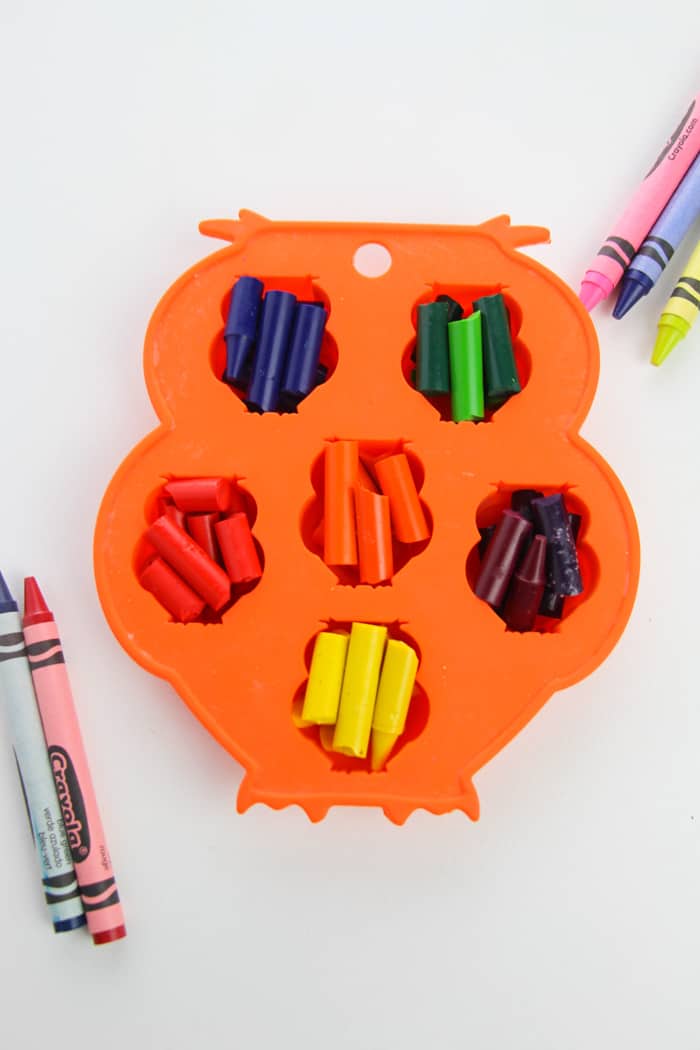
Sort the crayons by color. Break the crayons into small pieces that will fit inside your mold. Place broken crayon pieces inside each cavity of your mold.
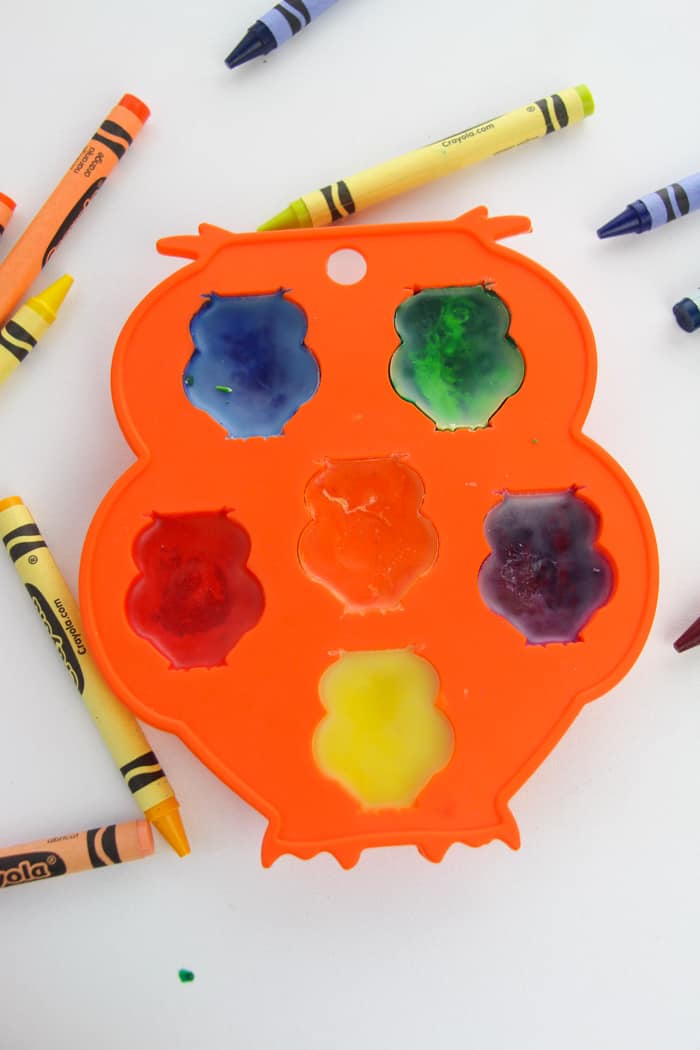
Place the silicone mold on a sturdy cookie sheet. Melt the crayons in the preheated oven for 10-12 minutes until completely melted. You can use a toothpick to ensure there are no lumps remaining in the crayons.
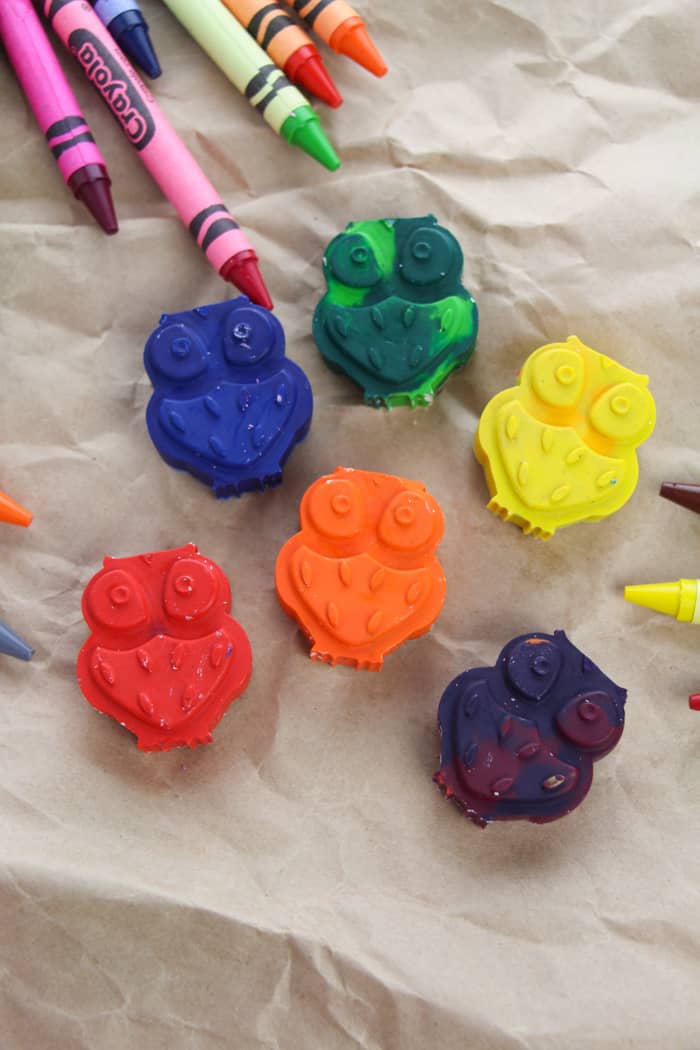
Allow the crayons to cool completely before attempting to remove them from the mold.
We highlighted this Crayon Craft along with some other fun kid's crafts in our March Crafts for Kids along with our 101+ Easy Craft Ideas for kids.
You also do not want to miss our 101+ Free Kids Printables full of Crafts & Coloring Pages.
Other Crayon Fun You'll Love
- TEACHER APPRECIATION GIFT – CRAYON CRAFT
- RAINBOW EDIBLE CRAYONS RECIPE
- BUILD YOUR OWN CRAYON BOX… WHAT?
- SCRATCH OFF EASTER EGG PAPER CRAFT
- 15+ RAINBOW CRAFTS FOR KIDS
Melting Crayons In Oven - Owl Crayon
Materials
- 24 pack of crayons
- Owl Silicone Mold
Tools
- Sturdy Cookie Sheet
Instructions
Preheat your oven to 325F. Peel the wrappers off all of the crayons.
Sort the crayons by color. Break the crayons into small pieces that will fit inside your mold. Place broken crayon pieces inside each cavity of your mold.
Place the silicone mold on a sturdy cookie sheet. Melt the crayons in the preheated oven for 10-12 minutes until completely melted. You can use a toothpick to ensure there are no lumps remaining in the crayons.
Allow the crayons to cool completely before attempting to remove from the mold.
CONNECT WITH MADE WITH HAPPY!
Be sure to follow me on social media, so you never miss a post!
Facebook | Twitter | Youtube | Pinterest | Instagram
Find and shop my favorite products in my Amazon storefront here!
Melted Crayons In Oven
PIN IT TO YOUR DIY BOARD ON PINTEREST!
FOLLOW MADE WITH HAPPY ON PINTEREST FOR ALL THINGS HAPPY!


 Allow the crayons to cool completely before attempting to remove from the mold.