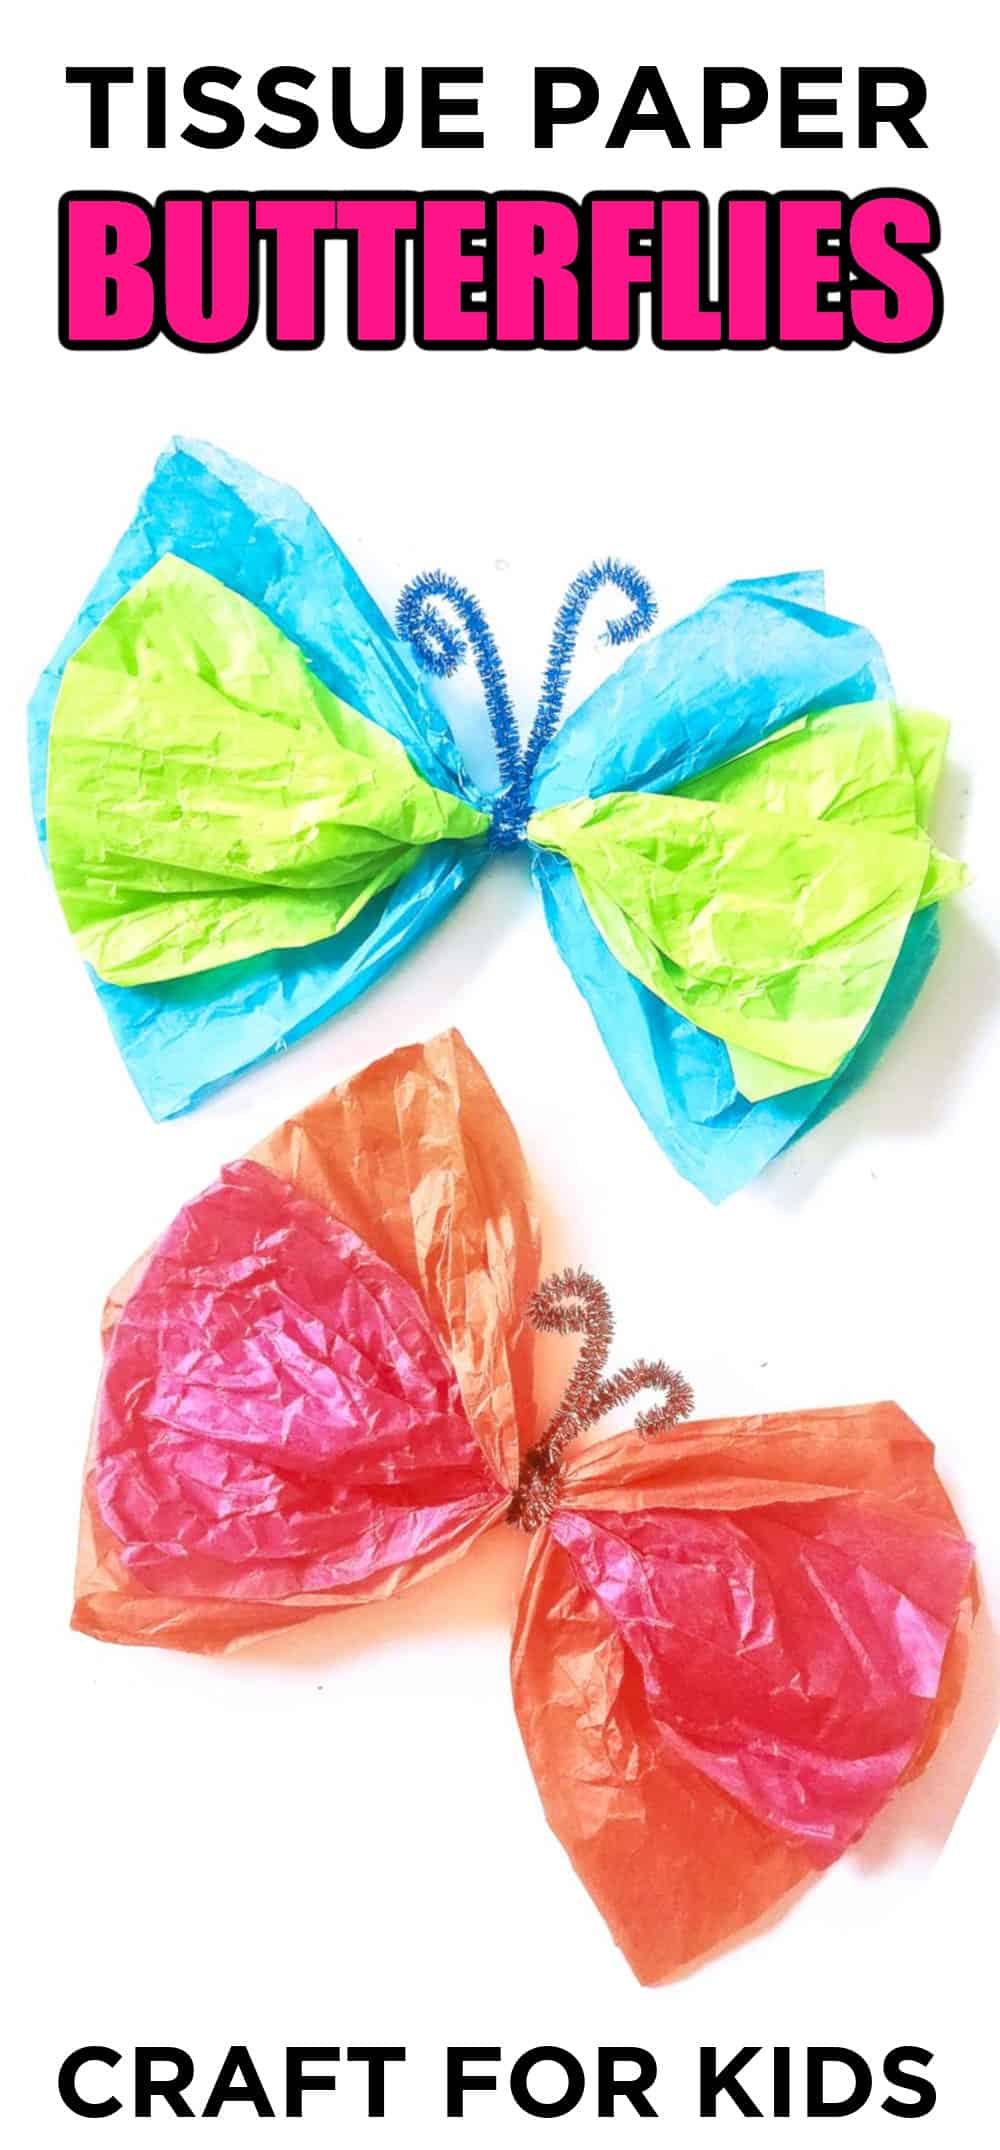
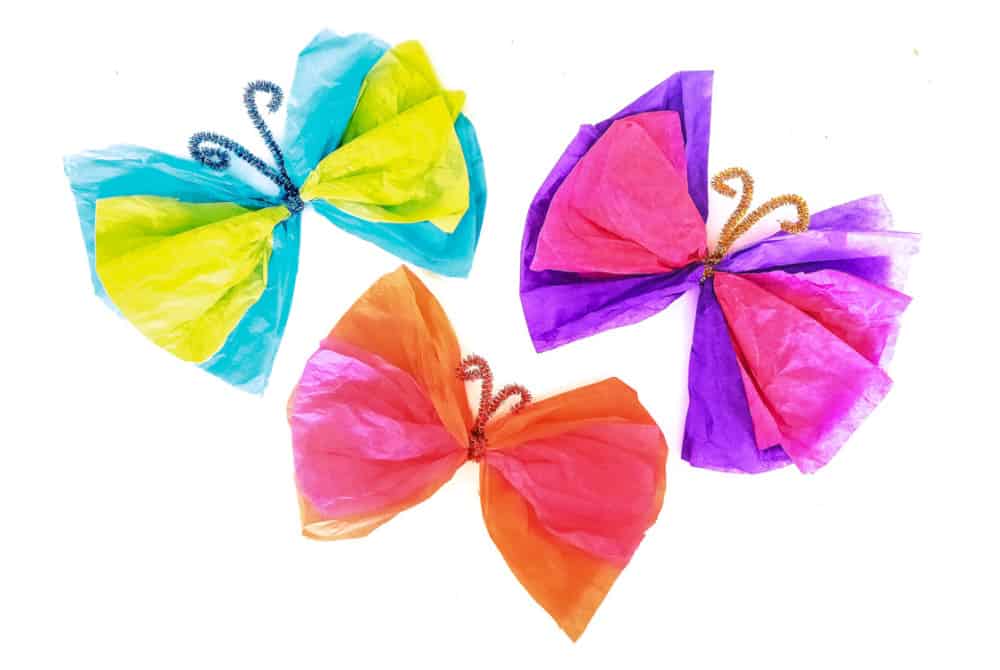
Looking for a fun and easy craft activity for kids? Check out our tutorial on making tissue paper butterflies! With just a few simple materials, your little ones can create colorful and vibrant butterflies that they'll love to display.
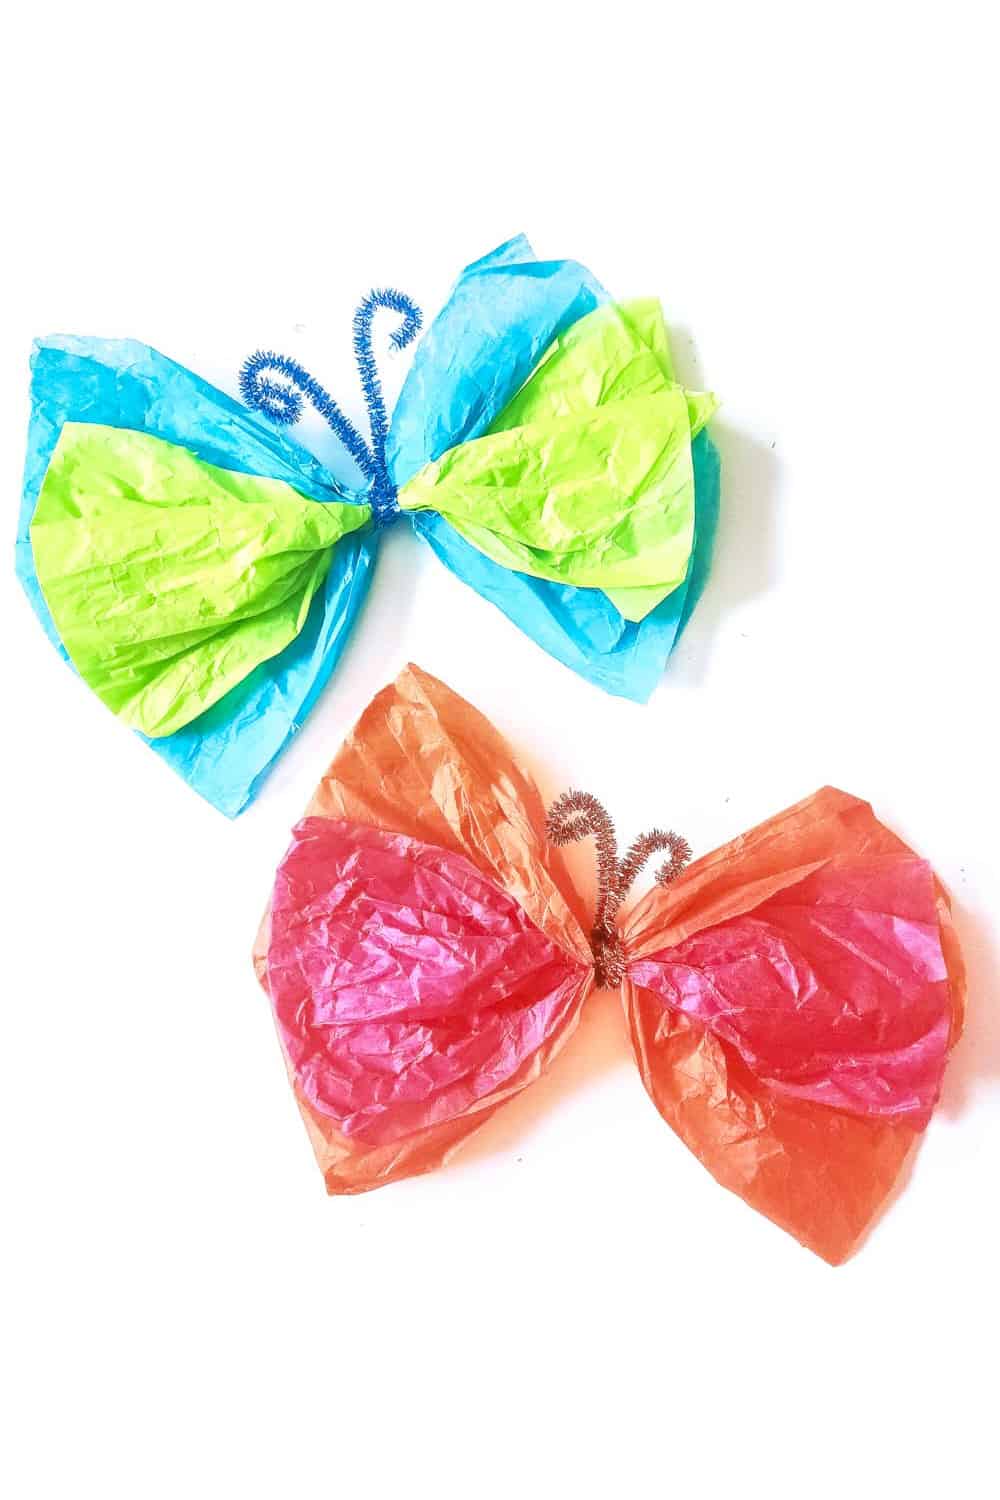
These easy tissue paper butterflies are great for kids of all ages and perfect for a rainy day or as a party activity. This craft is sure to bring a smile to their faces. Follow our step-by-step guide now and get ready to spread your wings!
Bring the magic of tissue paper butterflies to your home with this easy, fun, and creative craft project. Get the kids involved in making these beautiful butterflies – it's simpler than you think! Try it now and get creative with tissue paper butterflies.
Want to save this project?
Enter your email below, and then we'll send it straight to your inbox. Plus get awesome new projects from us each week.
Butterfly Craft With Tissue Paper
One of the most common household items is tissue paper. We stock up on them every month, and if you have kids, it’s used more than a dozen times a day! Therefore, why not make a craft out of them while we have them lying around the house? Here’s a tissue paper butterfly craft for you!
I am crafty by nature; therefore, if I spot an item lying around, I think of ways to utilize it in some artsy way before discarding it. Straws, pipe cleaners, bottle caps, empty boxes, you name it, and I’ll have a craft thought out!
While deep cleaning the kitchen a few days back, I came across a forgotten tissue paper roll! It was a bit dusty, and we had tons of new boxes stocked up; therefore, I put it to use. After much thought and a few Googles, I decided to make my very own tissue paper butterflies.
I set to work, and a couple of tissue paper butterflies later, my kids joined in too. And soon, we had a room full of beautiful butterflies! What did we do with so many adorable butterflies? We used them to make gorgeous wall arrangements in the kids' room.
In short, this fun craft is so simple and easy that even younger kids can make it! They make a great Summer craft.
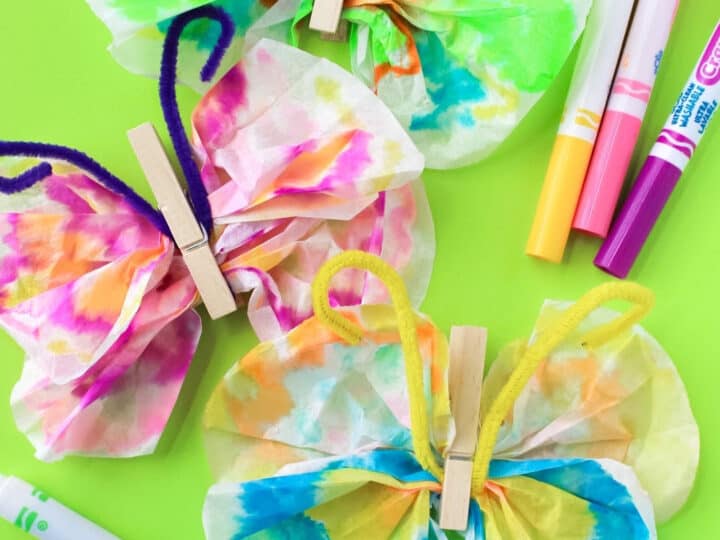
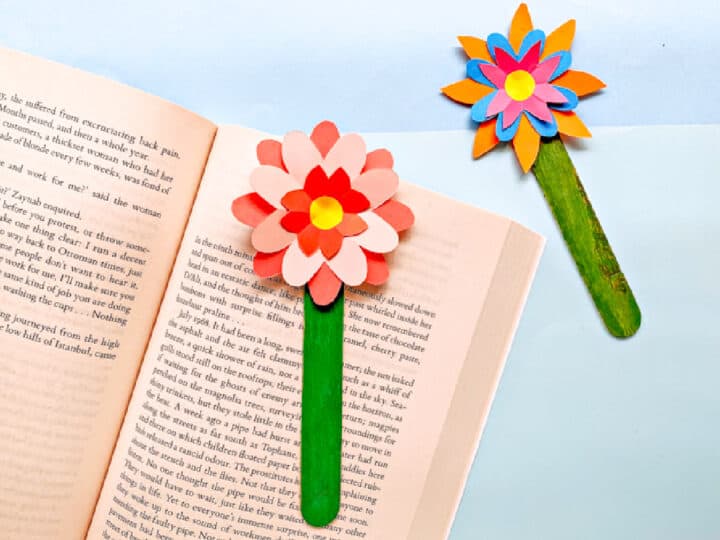
Check Out These Other Butterfly Crafts!
Why Make Tissue Paper Butterflies?
Arts and crafts activities are very healthy for the mental growth and development of kids of all ages. Whether you’re working with coloring sheets, making something out of playdough, or creating art using construction paper, clothes pins, popsicle sticks, paper plates, squares of tissue paper, or other simple materials, it is highly beneficial for little kids.
These simple spring crafts are a great way to help kids learn about the arrival of spring. Because spring indicates the end of the long winter months and new beginnings. Therefore, what’s a better way to welcome the season of happiness than with colorful butterflies and paper flowers in different shapes and various colors?
Besides, simple craft activities help develop fine motor skills in kids. They use their little fingers to hold scissors, cut paper, and glue things together, strengthening their muscles and improving their grip. This helps with tasks like writing and sketching later on.
Don't miss our Caterpillar Craft and Animal Crafts too!
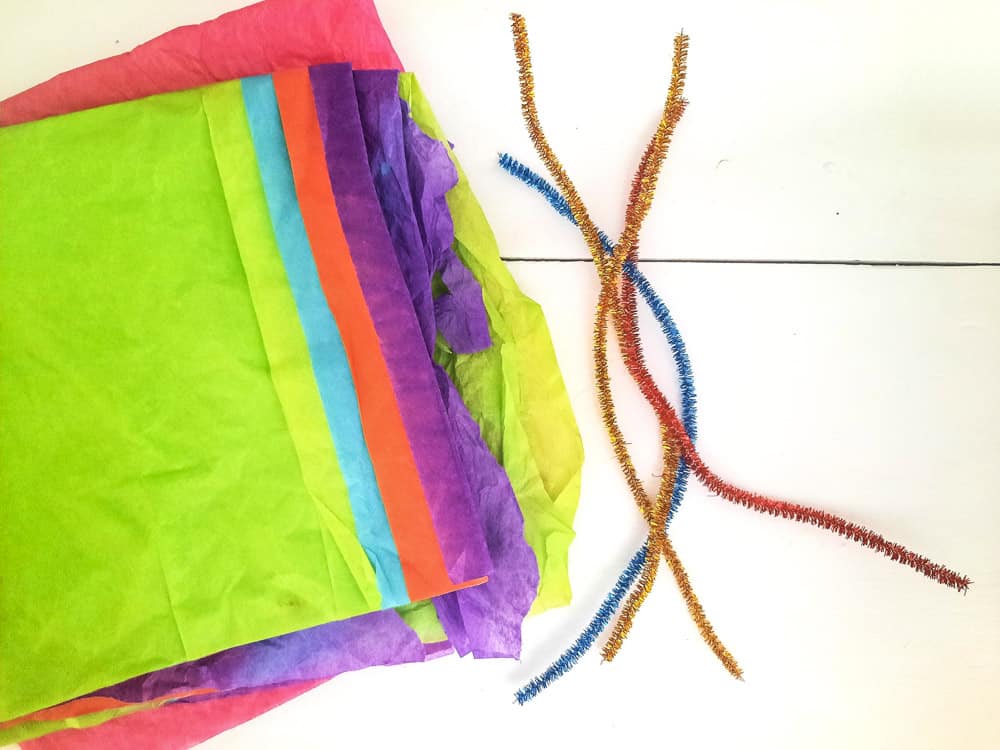
Supplies For Tissue Paper Butterflies Craft
I have created a tissue paper butterfly craft for younger and older kids to help them be creative. It’s a pretty easy craft and only needs the following supplies.
- Tissue Paper - assorted colors
- Shiny Pipe Cleaners - various colors
- Scissors
involving tissue paper and tying it from the middle using a pipe cleaner, tassel garland, or a piece of string. However, use high-quality tissue paper, preferably multiple plies, in different colors, so it doesn’t tear.
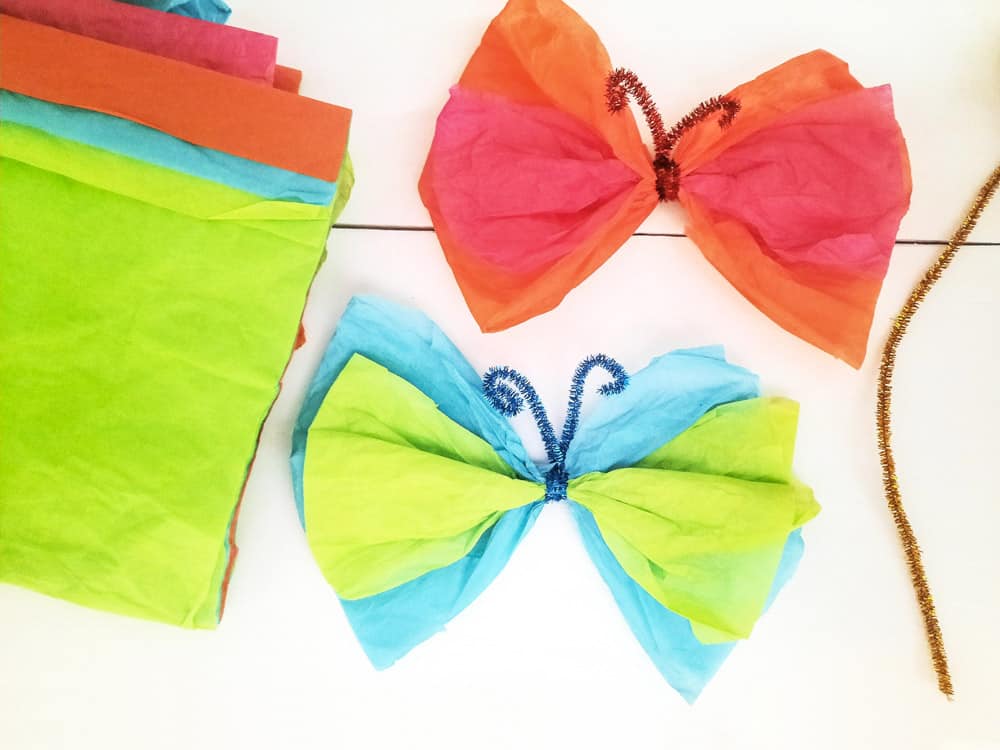
How to Make Butterfly with Tissue Paper
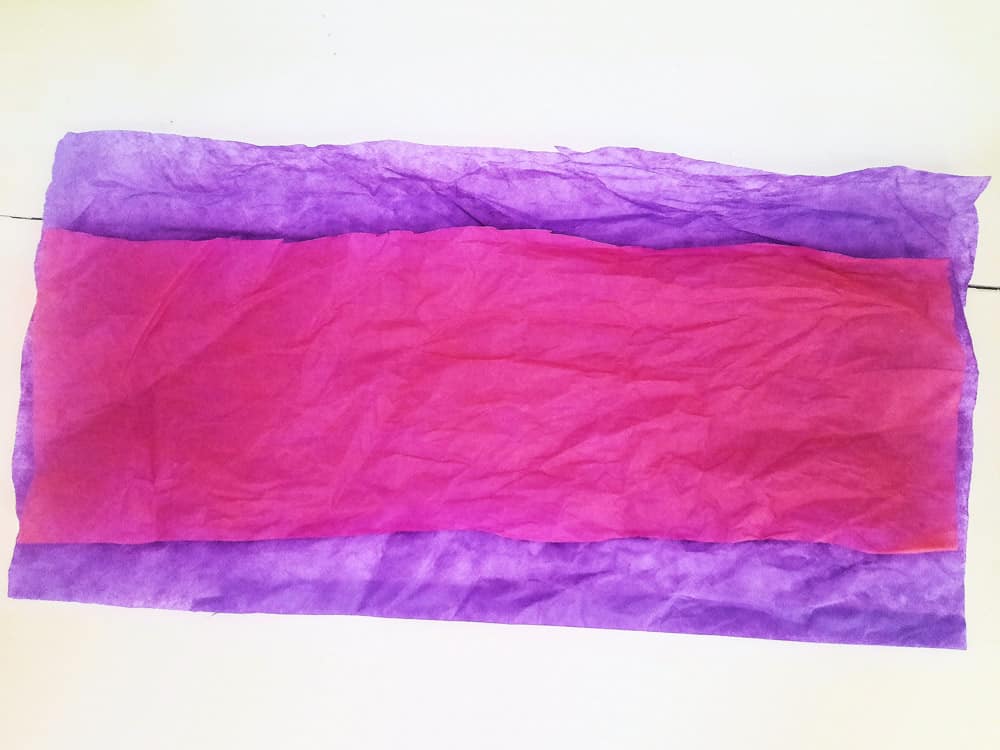
First, gather your tissue paper. You will need 2 different colors for each butterfly.
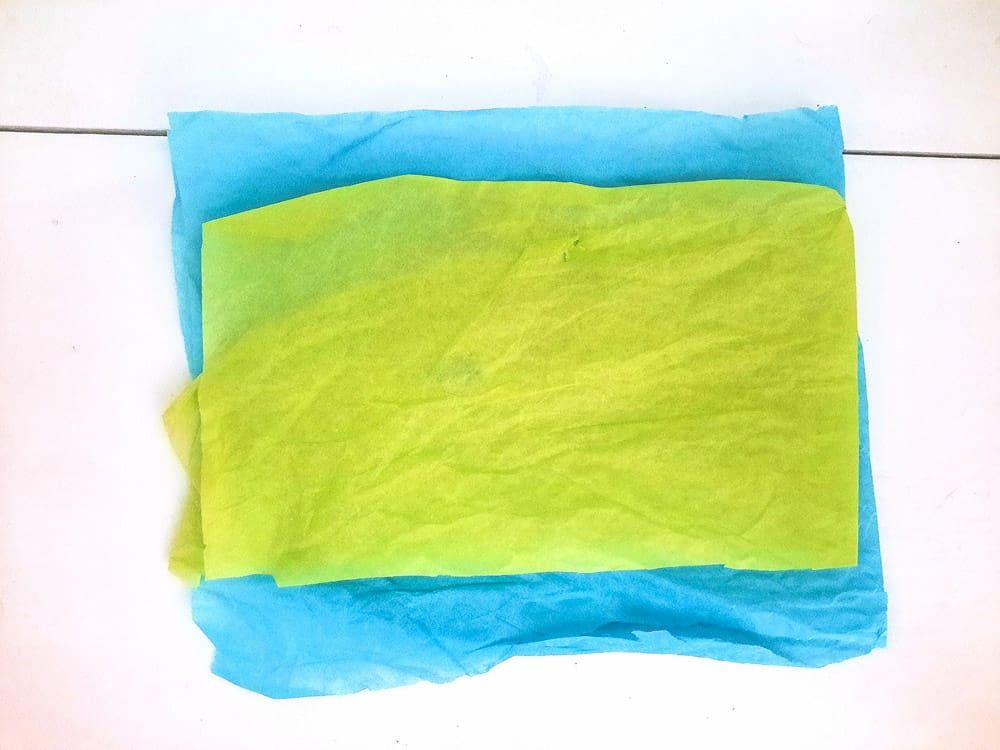
Cut your tissue paper into rectangles. One color should be larger than the other.
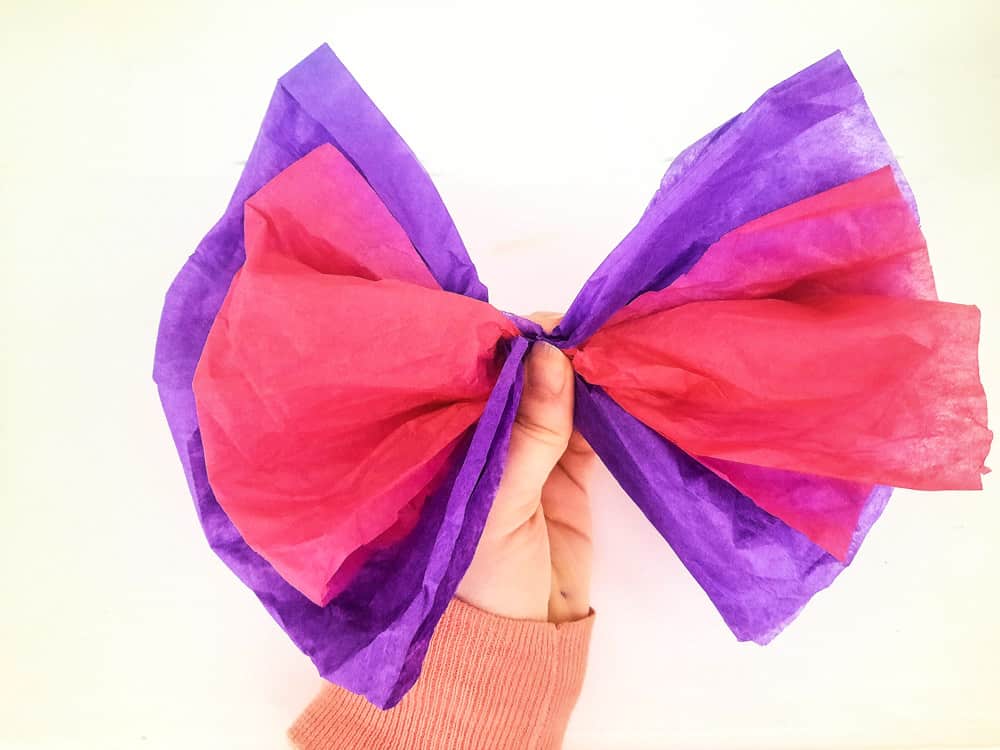
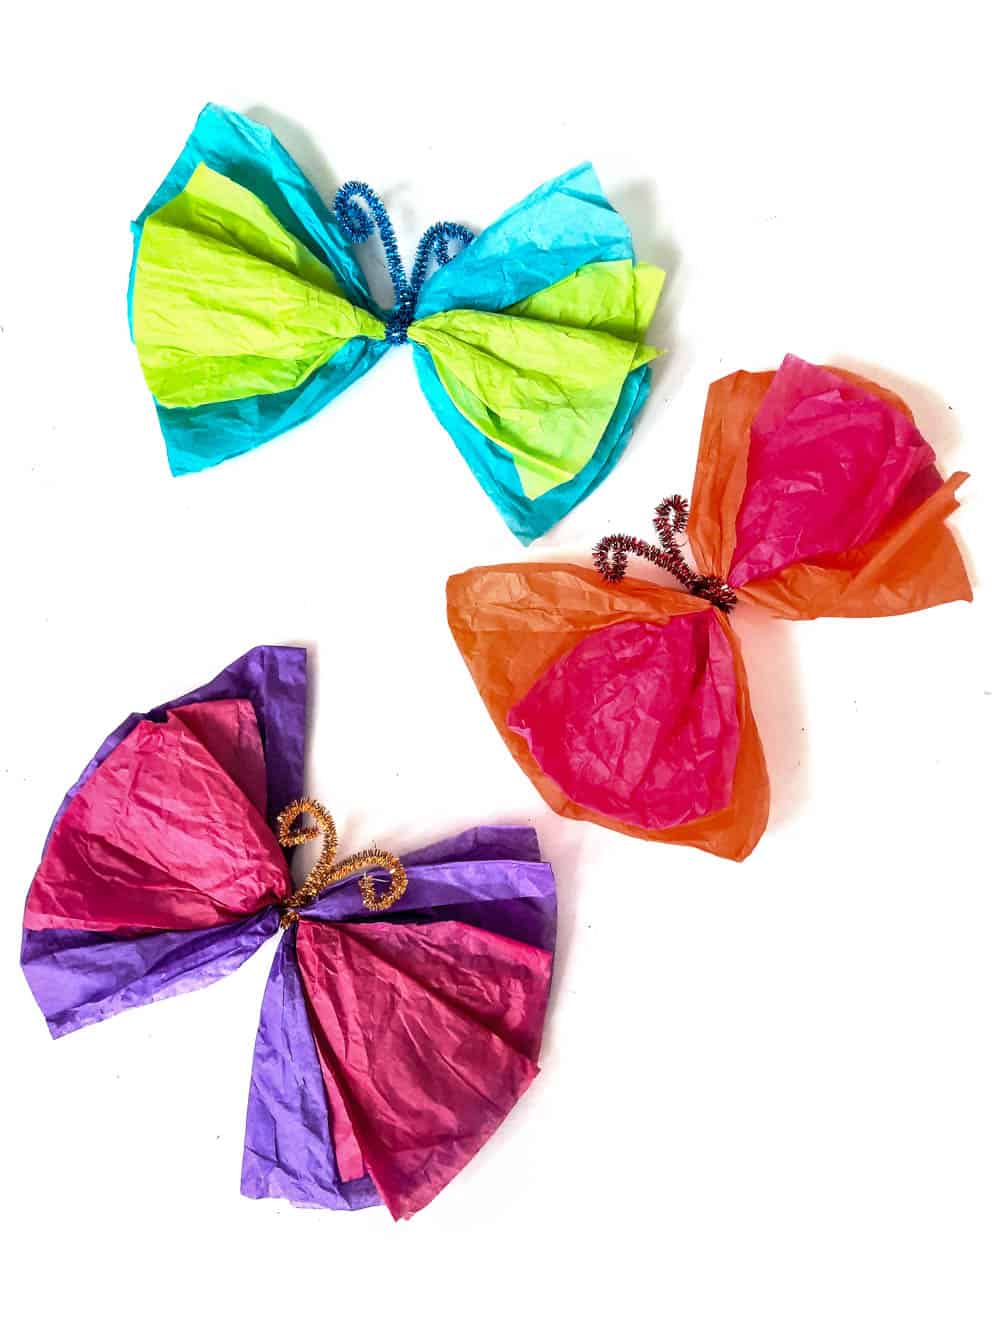
Fold each color of tissue paper in half. Then fold it in half again. Then, layer the smaller piece of tissue paper on top of the larger piece. Now, bring the tissue paper together in a fold like an accordion style in the center to give it a butterfly shape and each side looks like butterfly wings.
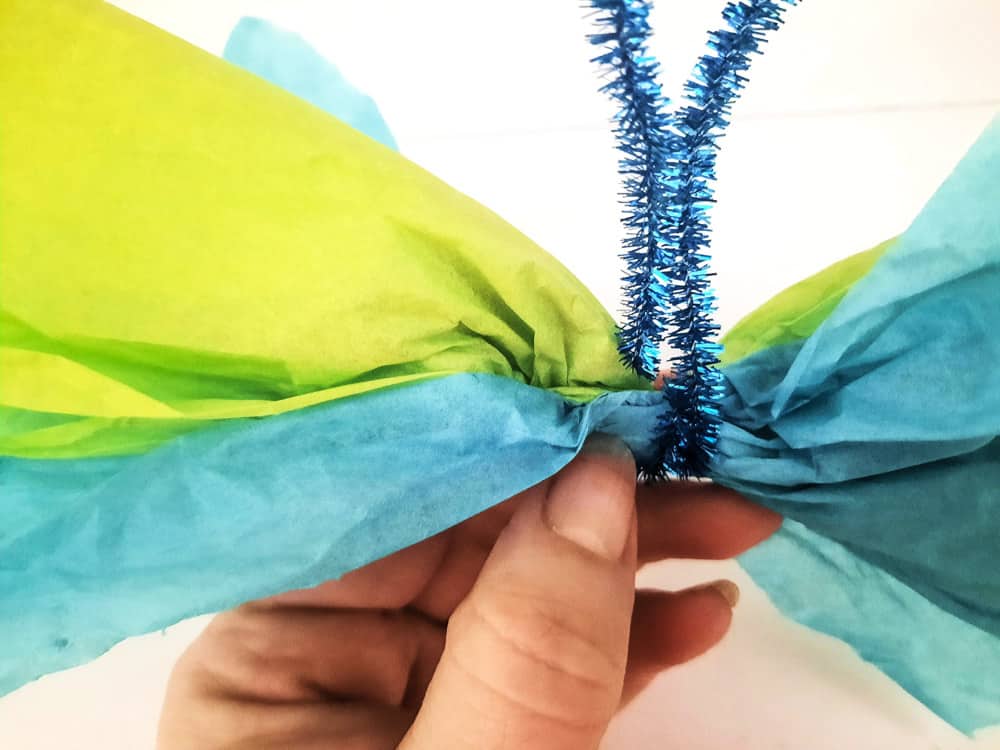
Next step, take a pipe cleaner and, starting about a ¼ of the way down the pipe cleaner, begin wrapping around the center of the tissue paper to form antennae. Leave the beginning end of the pipe cleaner unwrapped.
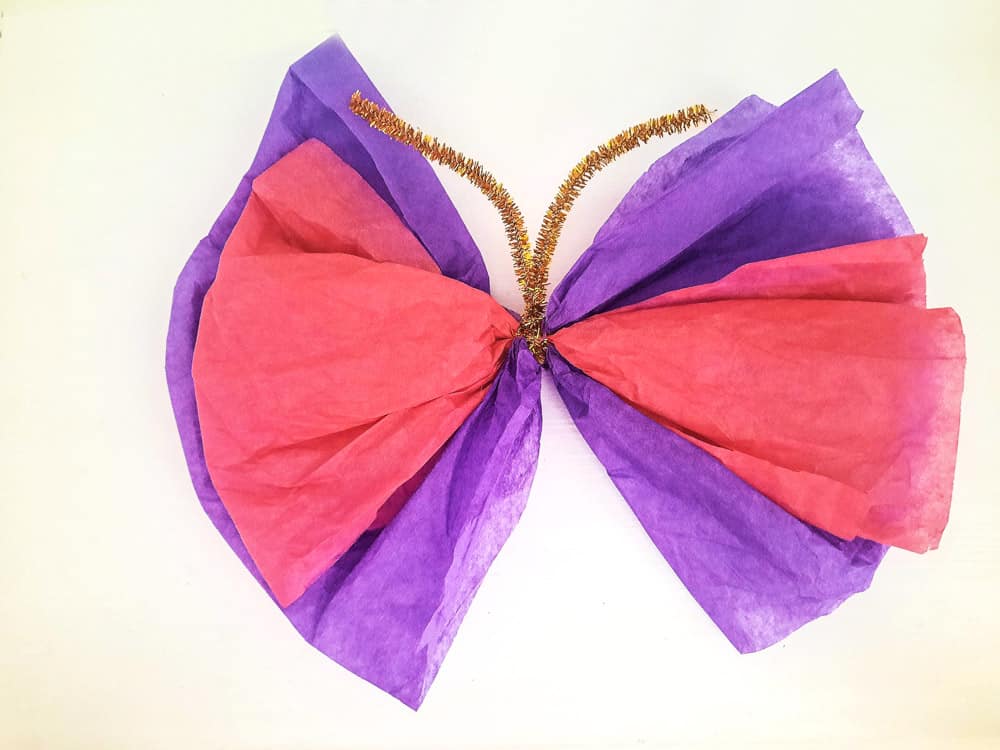
Once you get to the last ¼ of pipe cleaner, wrap the two ends around other a few times to secure.
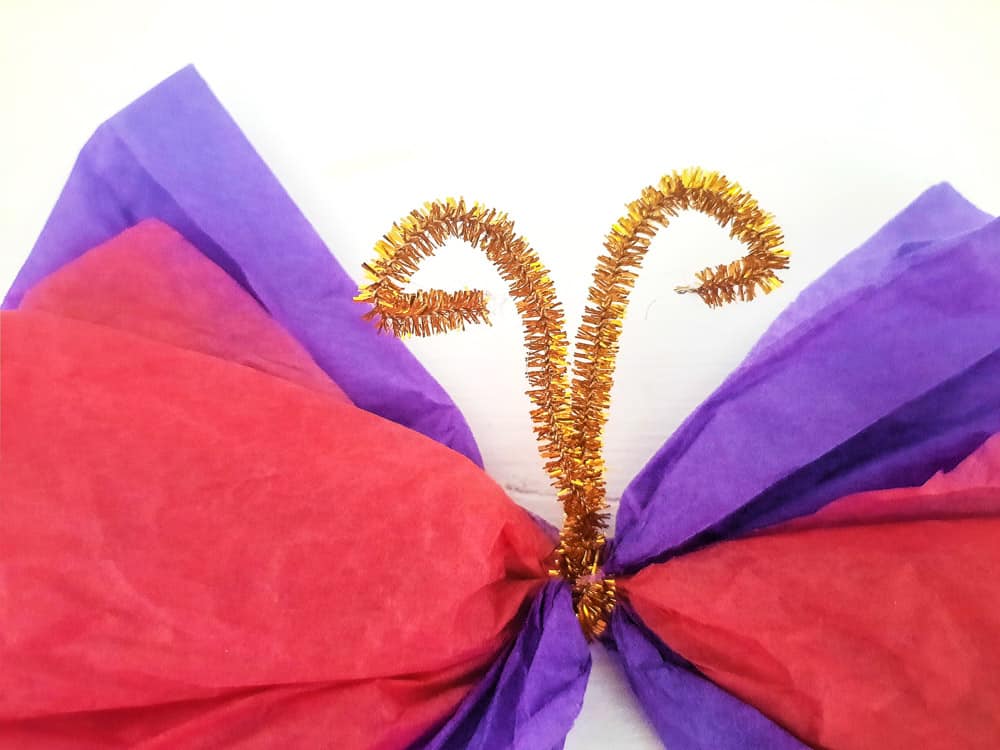
Curl the ends of the pipe cleaner antennae.
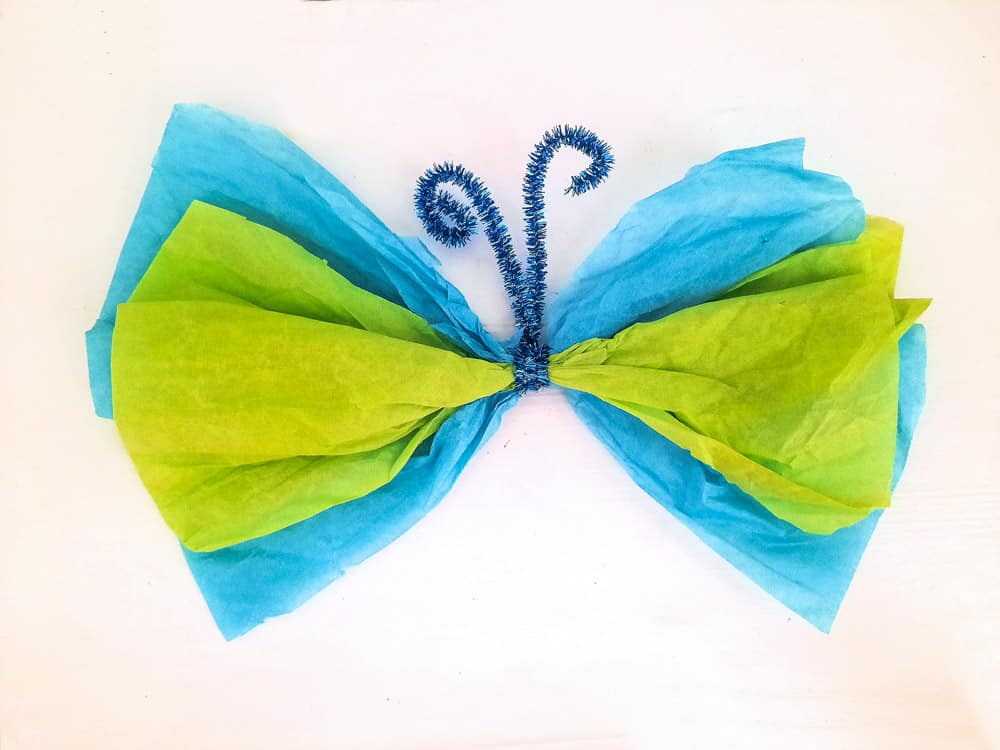
Viola! A cute tissue paper butterfly! Such a sweet craft with very minimal supplies! So easy to make that you could make a bunch more to display around the house or in a room for a colorful spring design.
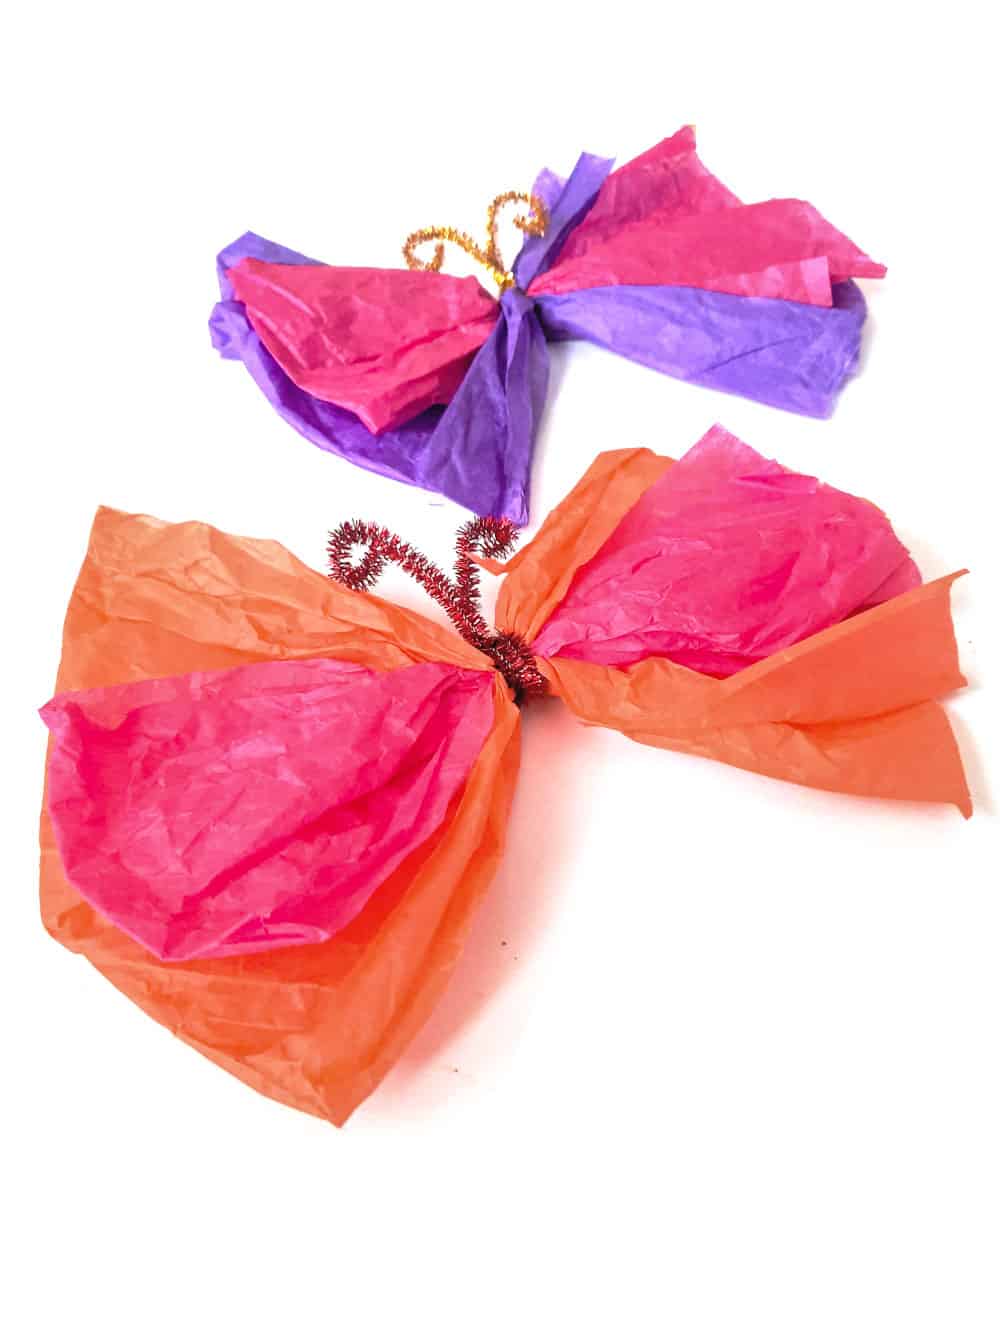
We highlighted this Spring Crafts and Easter Crafts along with some other fun kid's crafts in our May Crafts For Kids along with our 101+ Easy Kids Crafts.
You also do not want to miss our 101+ Printable Coloring Pages For Kids and 101+ Printables For Kids full of Crafts and Coloring Pages.
Other Tissue Paper Crafts You'll Love
- Craft Tissue Paper Popsicle
- Tassel Garland
- Tissue Paper Cross
- Tissue Paper Earth Craft
- Cat Themed Luminary
Tissue Paper Butterflies
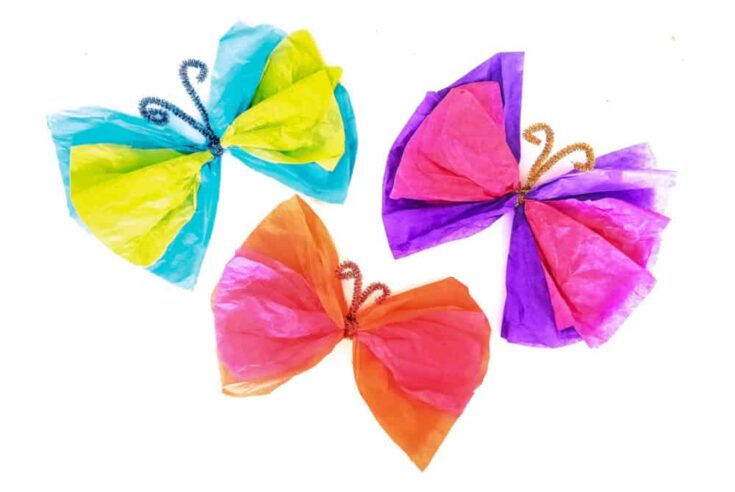
Looking for a fun and easy craft activity for kids? Check out our tutorial on making tissue paper butterflies! With just a few simple materials, your little ones can create colorful and vibrant butterflies that they'll love to display.
Materials
- Tissue Paper
- Pipe Cleaners
Tools
Instructions
First, gather your tissue paper. You will need 2 different colors for each butterfly.
Cut your tissue paper into rectangles. One color should be larger than the other.
Fold each color of tissue paper in half. Then fold it in half again. Then, layer the smaller piece of tissue paper on top of the larger piece. Now, bring the tissue paper together in the center.
Next, take a pipe cleaner and, starting about a ¼ of the way down the pipe cleaner, begin wrapping around the center of the tissue paper to form antennae. Leave the beginning end of the pipe cleaner unwrapped.
Once you get to the last ¼ of pipe cleaner, wrap the two ends around other a few times to secure.
Curl the ends of the pipe cleaner antennae.
Viola! A cute tissue paper butterfly!
CONNECT WITH MADE WITH HAPPY!
Be sure to follow me on social media, so you never miss a post!
Facebook | Twitter | Youtube | Pinterest | Instagram
Find and shop my favorite products in my Amazon storefront here!
Tissue Paper Butterflies
PIN IT TO YOUR DIY BOARD ON PINTEREST!
FOLLOW MADE WITH HAPPY ON PINTEREST FOR ALL THINGS HAPPY!
