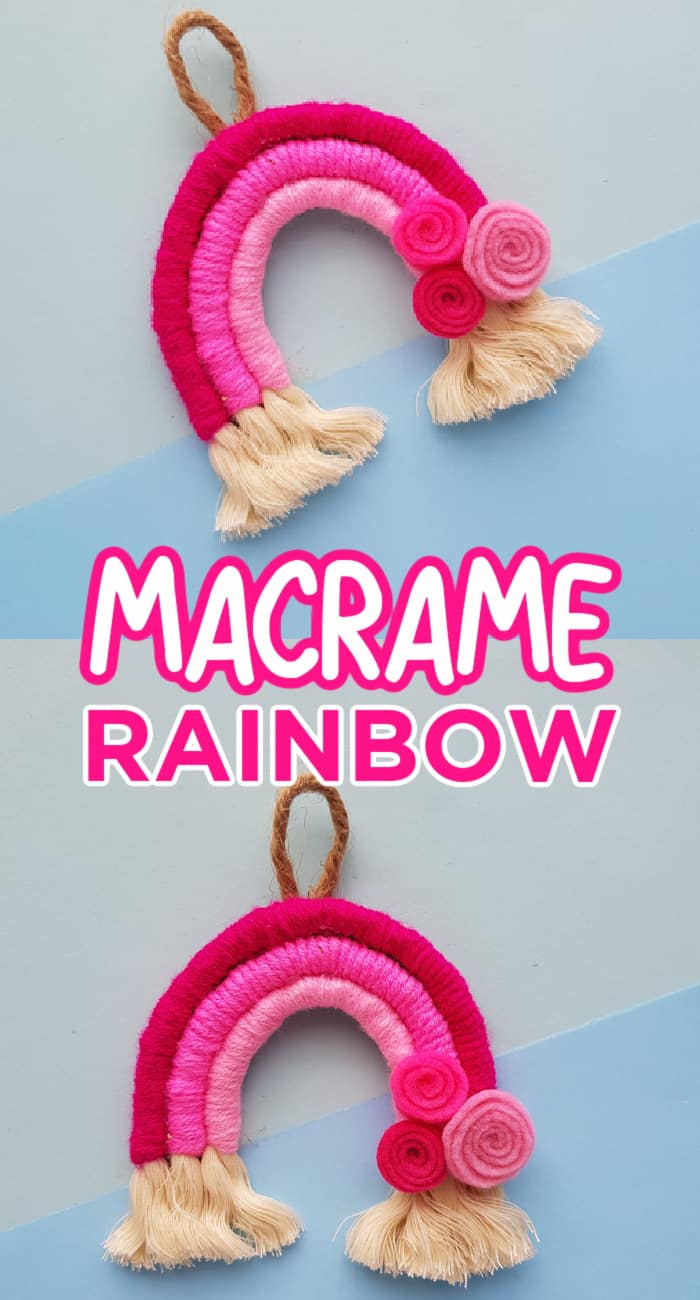
Create a fun and easy macramé rainbow with your kids all year long. With only a few supplies you can make this beautiful rainbow in no time.
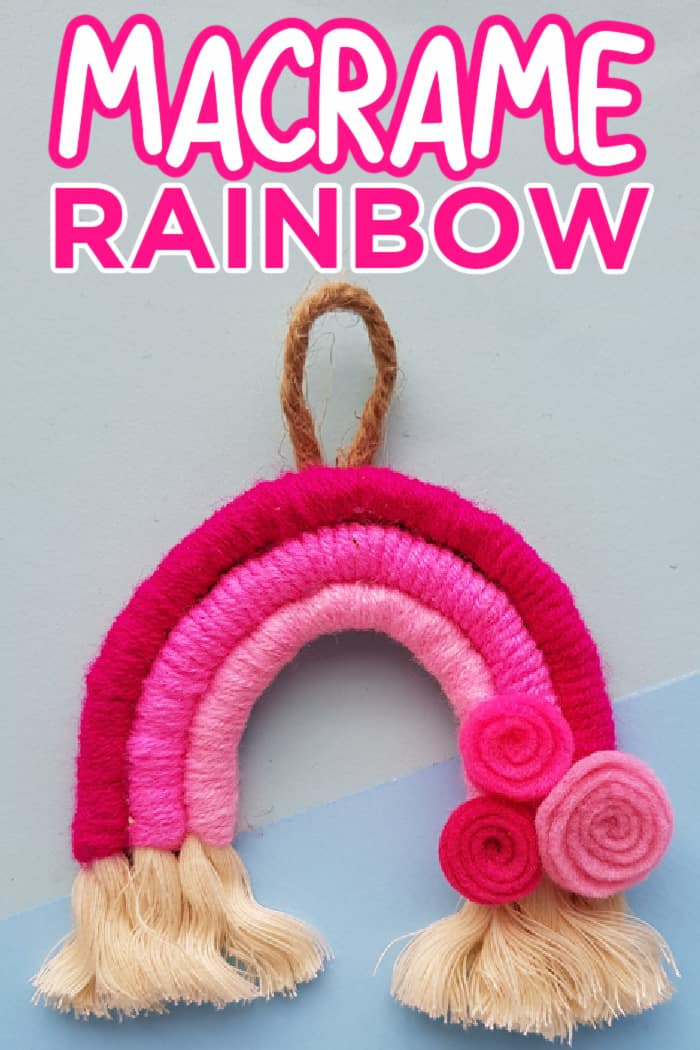
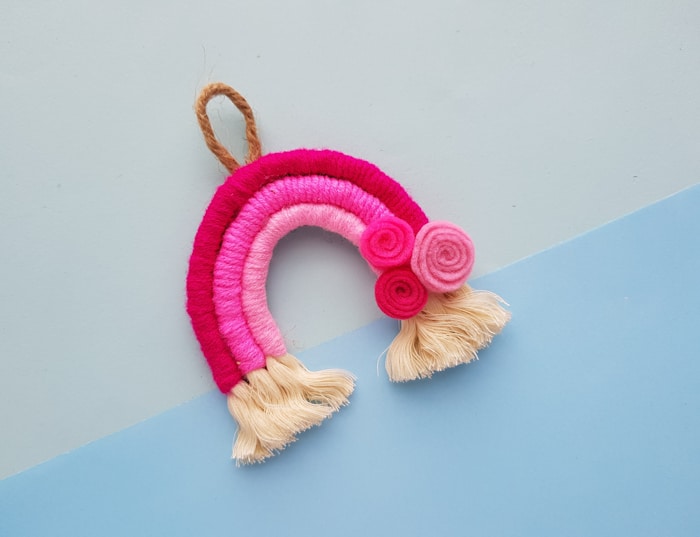
The kids are going to love this DIY rainbow macrame craft!
It's such a fun way to have a rope rainbow hanging up in the house! This is perfect for springtime or just an easy way to add a fun pop of color to your home decor. The best part about this macrame rainbow wall hanging? It's a fun project for kids and adults!
If you have spent any amount of time around here, then you will know that rainbows are our favorite. If you love rainbows like us, then you will not want to miss our most popular rainbow fun crafts including Rainbow Painted Rock, Rainbow Punch Piñata, Rainbow Popsicle Stick Bird Feeder, Paint Sample Rainbow Craft, Rainbow Scavenger Hunt, and our Best Rainbow Rice Crispy Treats.
What is Macrame?
If you're new to the concept, get ready to be addicted! It's a fun and easy way to use cotton rope, or other types of rope, to create a fun and beautiful wall hanging. There is some tying of knots and wrapping yarn around the rope.
There will be some parental supervision needed as there will be hot glue involved in the process.
Tips for Creating a Macrame Rainbow
Want to save this project?
Enter your email below, and then we'll send it straight to your inbox. Plus get awesome new projects from us each week.
The concept of this craft isn't hard but there are a few tips to keep in mind. You're going to want to draw the rope on a flat surface so that the kids can stretch it out into the shape that they want. Since they're going to be creating a rainbow, they're going to want to try and create a half-moon design with the rest of the rope.
I always buy extra yarn for this craft as well. Because by the time I wrap the yarn, it never fails that I don't ever have enough! (I tend to underestimate every single time)
But I promise that once you get done with these yarn-wrapped ropes, you're going to have a beautiful rainbow that you and the kids have created!
There's nothing like hanging up your own work of art for all the world to see!
Fun Ways to Showcase this Macrame Rainbow
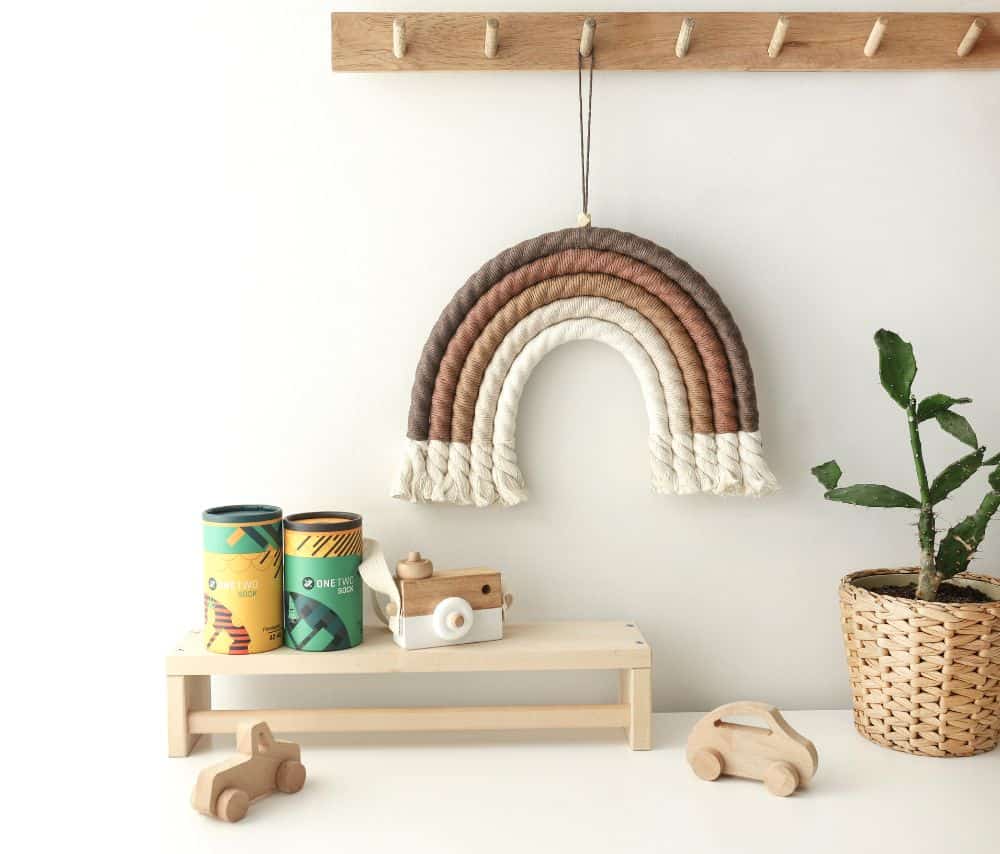
There's really no wrong way to show off these mini rainbows. It's so much fun to hang up on the wall or just have sitting on the shelf.
We always tend to do this craft around St. Patrick's Day and Spring every year, but you can easily do them anytime that you want. This is also a great activity for listening skills and also working on fine motor skills as well.
Putting the wrapped ropes on the felt backing can also be a great way to have a fun background color, too!
Don't forget that a rainbow is a perfect way to bring a smile to someone's face so sharing this with someone that you love as a gift is perfect!
Have fun creating this rainbow craft with the kids. They're going to love the creativity that they're able to bring and love showing off their work!
What you need for your rainbow macrame wall hanging
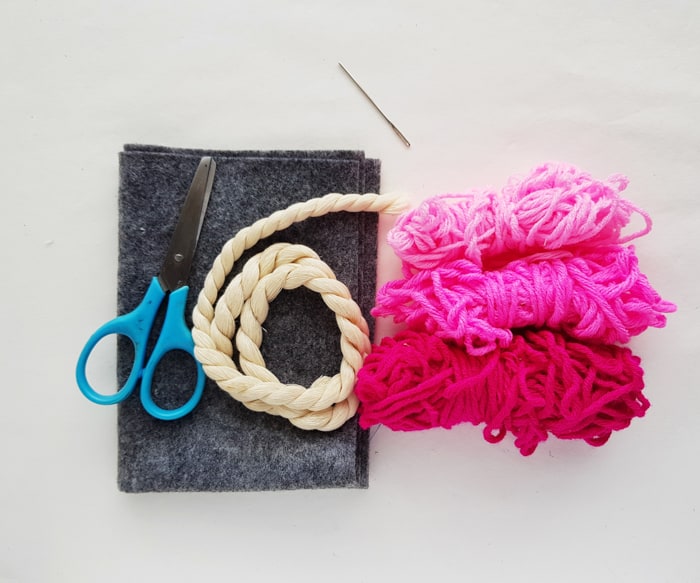
- Naturally twisted rope - twisted cotton rope (affiliate links)
- Hot glue
- Felt
- Colorful yarns – 3 to 4 different colors - or Macramé Cord
- Tapestry needle
- Scissors
- Items to decorate (flowers or pompoms) - Optional
How to Make a Macrame Rainbow
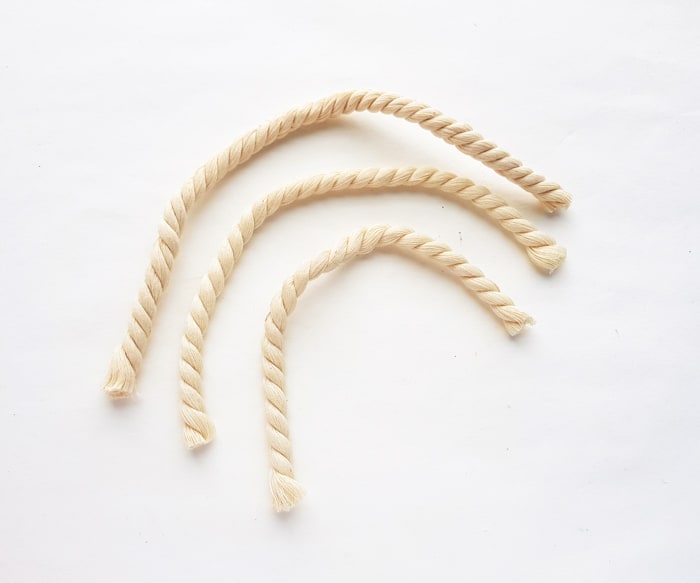
Decide the number of layers and the size of the rainbow macramé. Cut out a piece of rope for the macramé rainbow layers. I’m crafting a 3 layered macramé rainbow, so I cut out three pieces of rope (three different sizes).
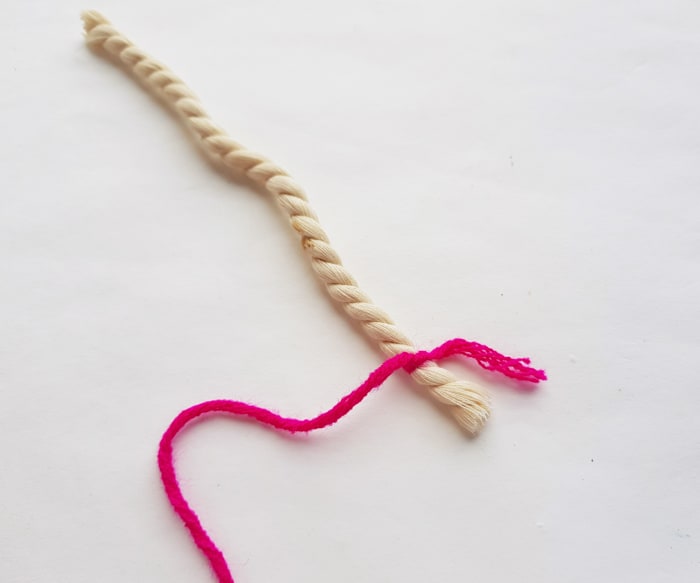
Select yarn (or macrame cords) and grab a rope to get started. Leave an inch of the rope intact and then tie the yarn strand around the rope and tie a tight knot.
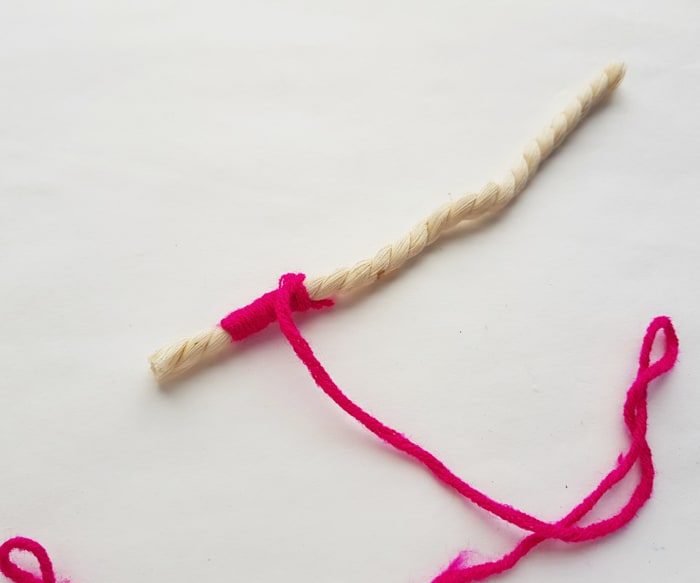
Align the short end of the tied yarn with the rope and wrap the yarn around the rope neatly.
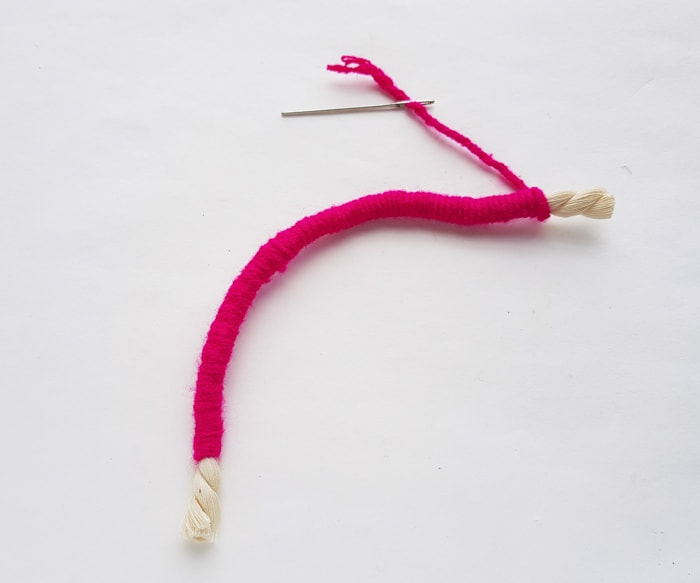
Continue to wrap the yarn around the rope until reaching the other end, keep in mind to leave 1 inch intact on that end as well. Keep 2 inches of yarn on the end and cut off yarn from the bundle. Attach the tapestry needle through the open end of the yarn strand.
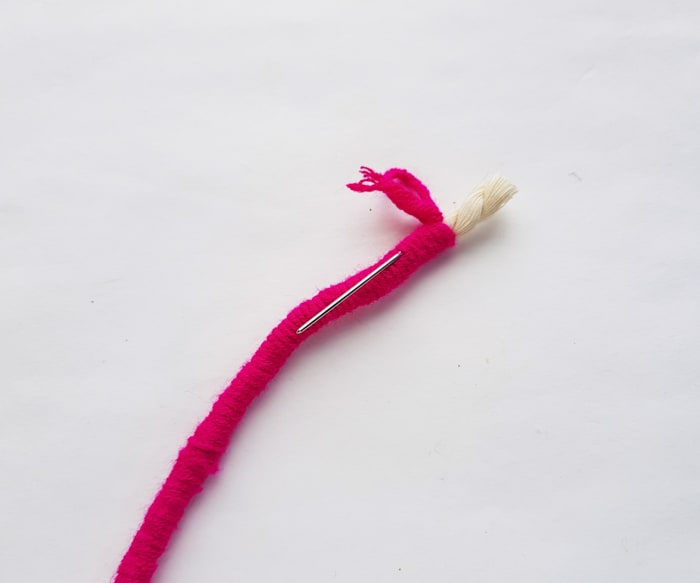
Draw the needle under the wrapped yarn and draw it out randomly by crossing 5 or 6 wraps.
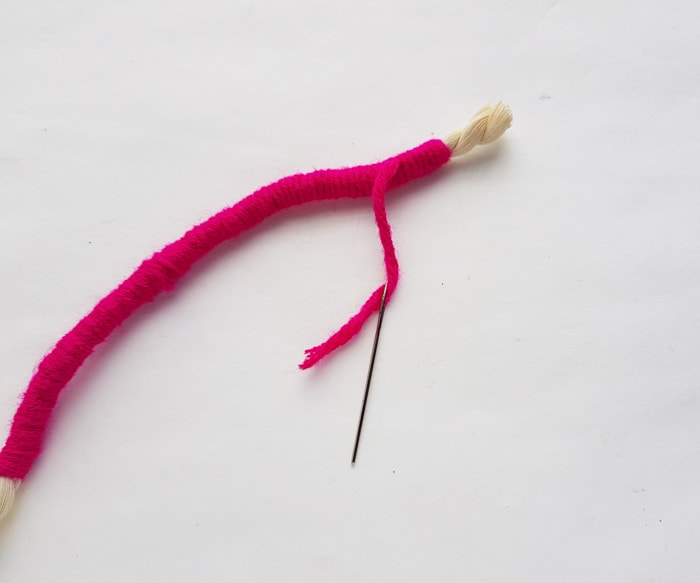
Draw the needle out by pulling the full length of the strand. Cut off extra yarn if required. The yarn wrapping is now secured.
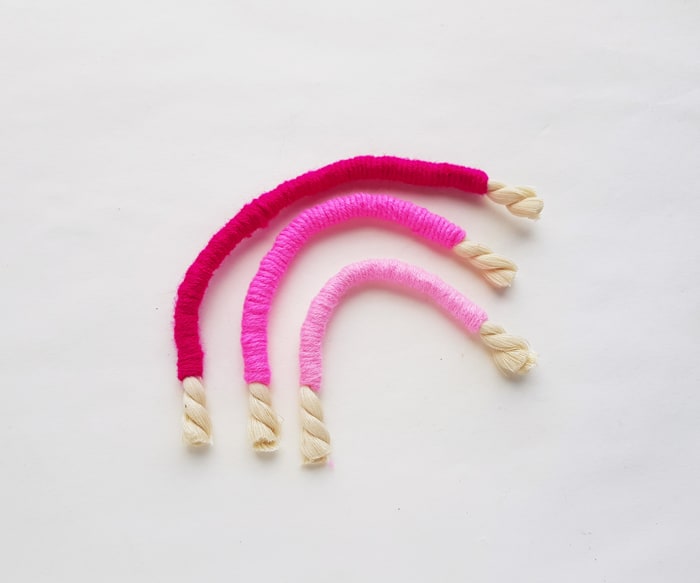
Similarly, wrap the other rope cut-outs with different colored yarns.
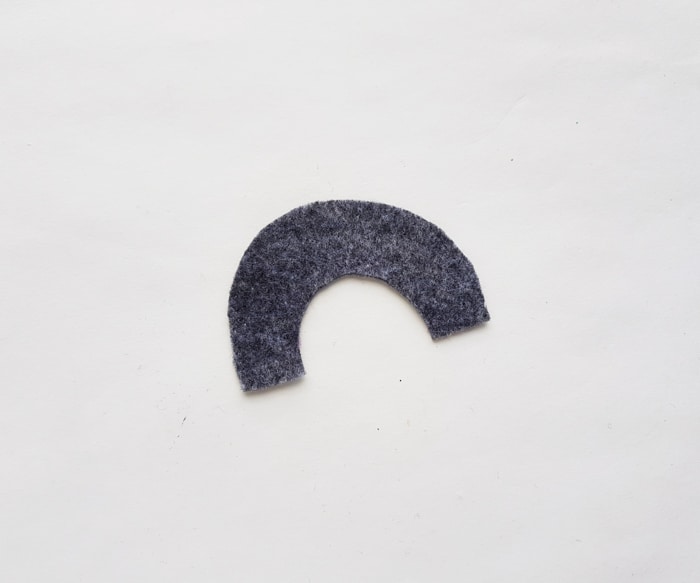
Cut out the rainbow base from felt fabric. The size of the base should be slightly smaller than the required macramé rainbow size.
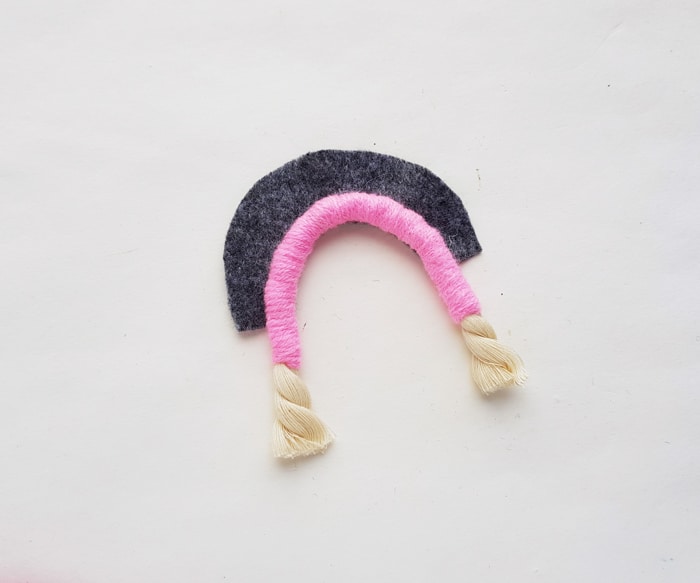
Use hot glue gun to attach either the shortest rope for the bottom of the rainbow strand (rope) into the rainbow shape.
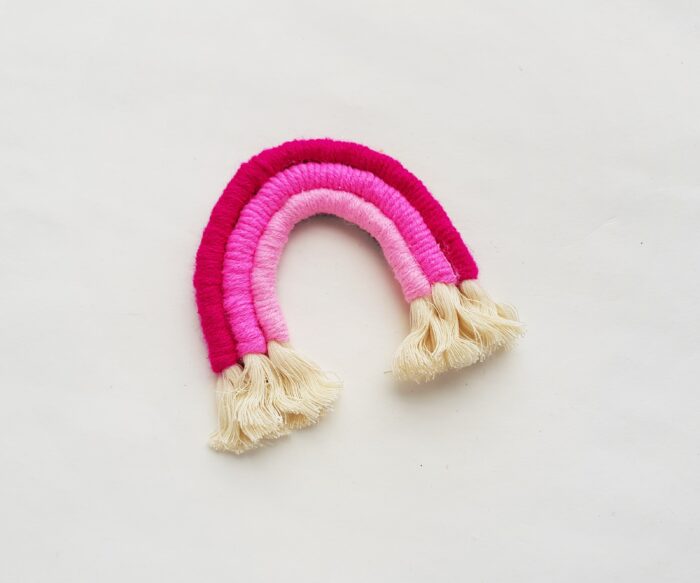
One by one attach all 3 yarn-wrapped ropes on the felt rainbow base.
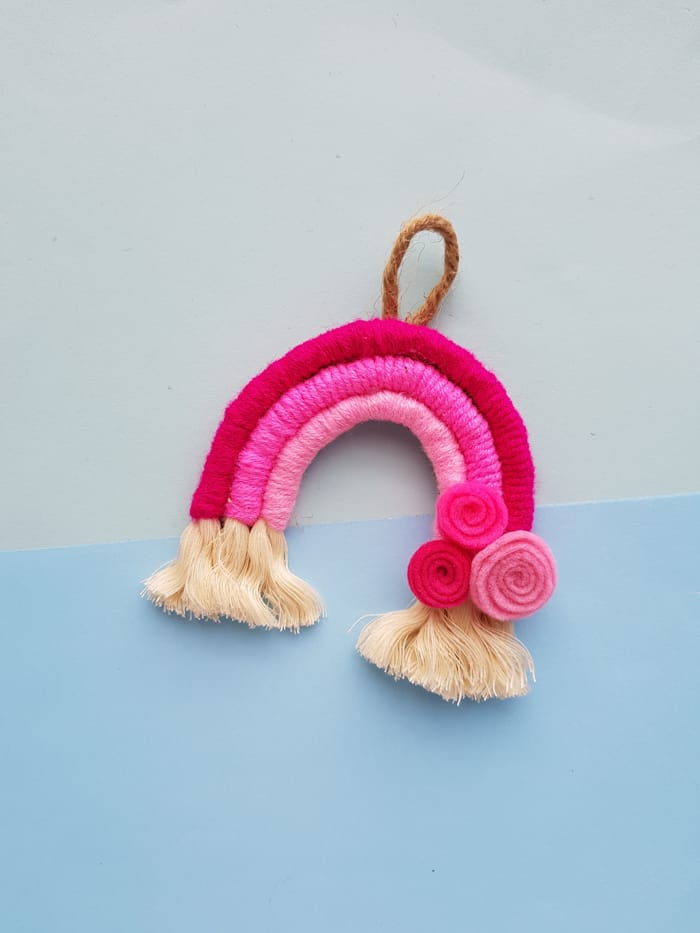
You can keep the macramé rainbow simple or add some embellishments such as felt flowers or pompoms. Also, attach a hanging mechanism on the backside of the rainbow. Cut out a small rope and form a loop with it. Attach the open ends of the rope on the top backside of the macramé rainbow to complete the hanging mechanism. Making the most ideal gift!
Viola, you have yourself a cute macrame rainbow.
This would be a great St. Patrick's Day activity.
Macrame Rainbow FAQs
What do I need to make a macramé rainbow?
The only supplies that are necessary for a macrame rainbow are rope, yarn, and an embroidery needle. To make it easier we added the felt and hot glue.
How do you make a rainbow yarn keychain?
Simply add a keyring to the loop of the macramé rainbow.
We highlighted this Rainbow Craft along with some other fun kid's Spring craft in our March Crafts for Kids along with our 101+ Easy Craft Ideas for kids.
You also do not want to miss our 101+ Free Kids Printables full of Crafts and coloring Pages.
Other Yarn Crafts You'll Love
- YARN EARTH KIDS ACTIVITY
- EASY DIY YARN WALL HANG
- YARN CHRISTMAS TREE CRAFT
- CANDY CORN YARN TREES
- YARN CHRISTMAS TREES {DIY}
Macrame Rainbow

Create a fun and easy macrame rainbow with your kids all year long. With only a few supplies you can make this beautiful rainbow in no time.
Materials
- Naturally twisted rope
- Felt
- Colorful yarns – 3 to 4 different colors
- Items to decorate (flowers or pompoms) - Optional
Instructions
Decide the number of layers and the size for the macramé rainbow. Cut out ropes for the macramé rainbow layers. I’m crafting a 3 layered macramé rainbow.
Select a yarn and grab a rope to get started. Leave an inch of the rope intact and then tie the yarn strand around the rope and tie a tight knot.
Align the short end of the tied yarn with the rope and the wrap the yarn around the rope neatly.
Continue to wrap the yarn around the rope until reaching the other end, keep in mind to leave 1 inch intact on that end as well. Keep 2 inches yarn on the end and cut off yarn from the bundle. Attach the tapestry needle through the open end of the yarn strand.
Draw the needle under the wrapped yarn and draw it out randomly by crossing 5 or 6 wraps.
Draw the needle out by pulling the full length of the strand. Cut off extra yarn if required. The yarn wrapping is now secured.
Similarly, wrap the other rope cut-outs with different colored yarns.
Cut out the rainbow base from felt fabric. The size of the base should be slightly smaller than the required macramé rainbow size.
Use hot glue gun to attach either the bottom or the top rainbow strand (rope).
One by one attach all 3 yarn wrapped ropes on the felt rainbow base.
You can keep the macramé rainbow simple or add some embellishments such as felt flowers or pompoms. Also attach a hanging mechanism on the backside of the rainbow. Cut out a small rope and form a loop with it. Attach the open ends of the rope on the top-backside of the macramé rainbow to complete the hanging mechanism.
CONNECT WITH MADE WITH HAPPY!
Be sure to follow me on social media, so you never miss a post!
Facebook | Twitter | Youtube | Pinterest | Instagram
Find and shop my favorite products in my Amazon storefront here!
RAINBOW MACRAME
PIN IT TO YOUR FAVORITE BOARD ON PINTEREST!
FOLLOW MADE WITH HAPPY ON PINTEREST FOR ALL THINGS HAPPY!
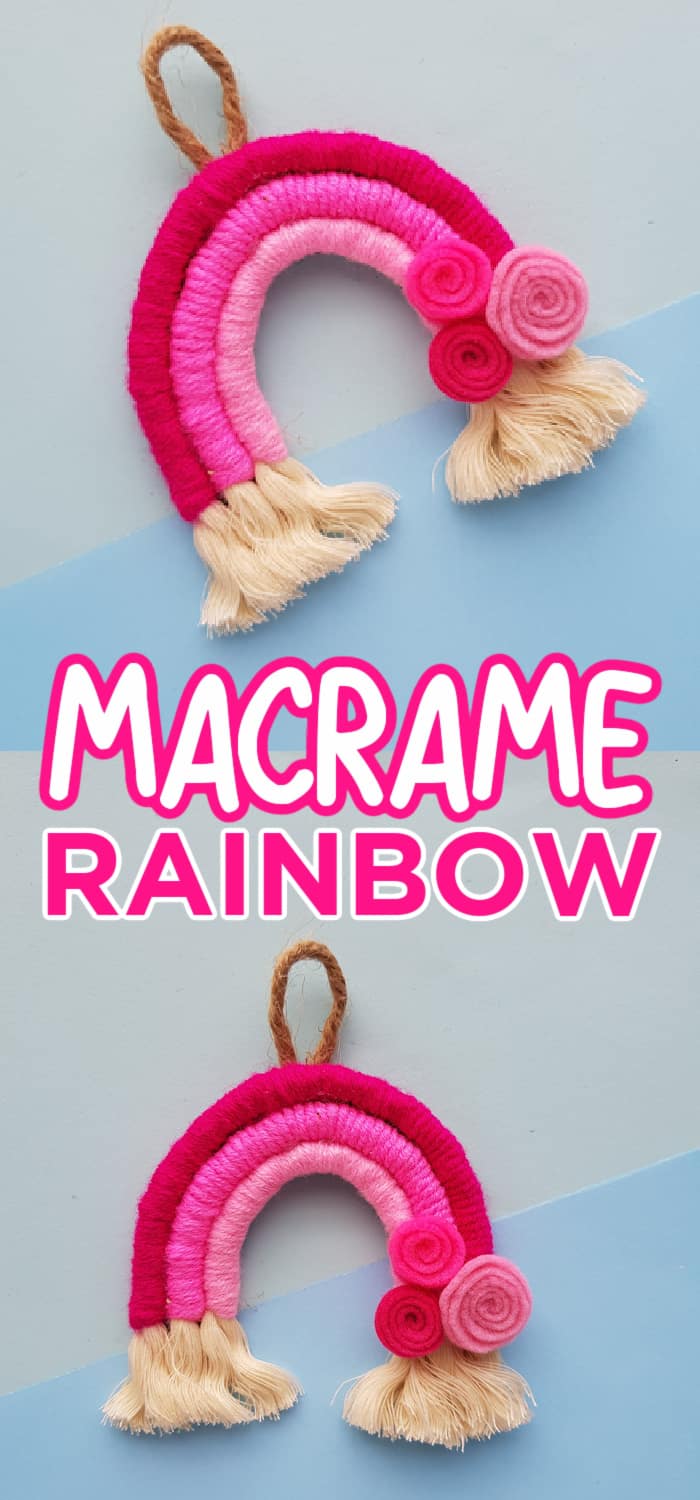


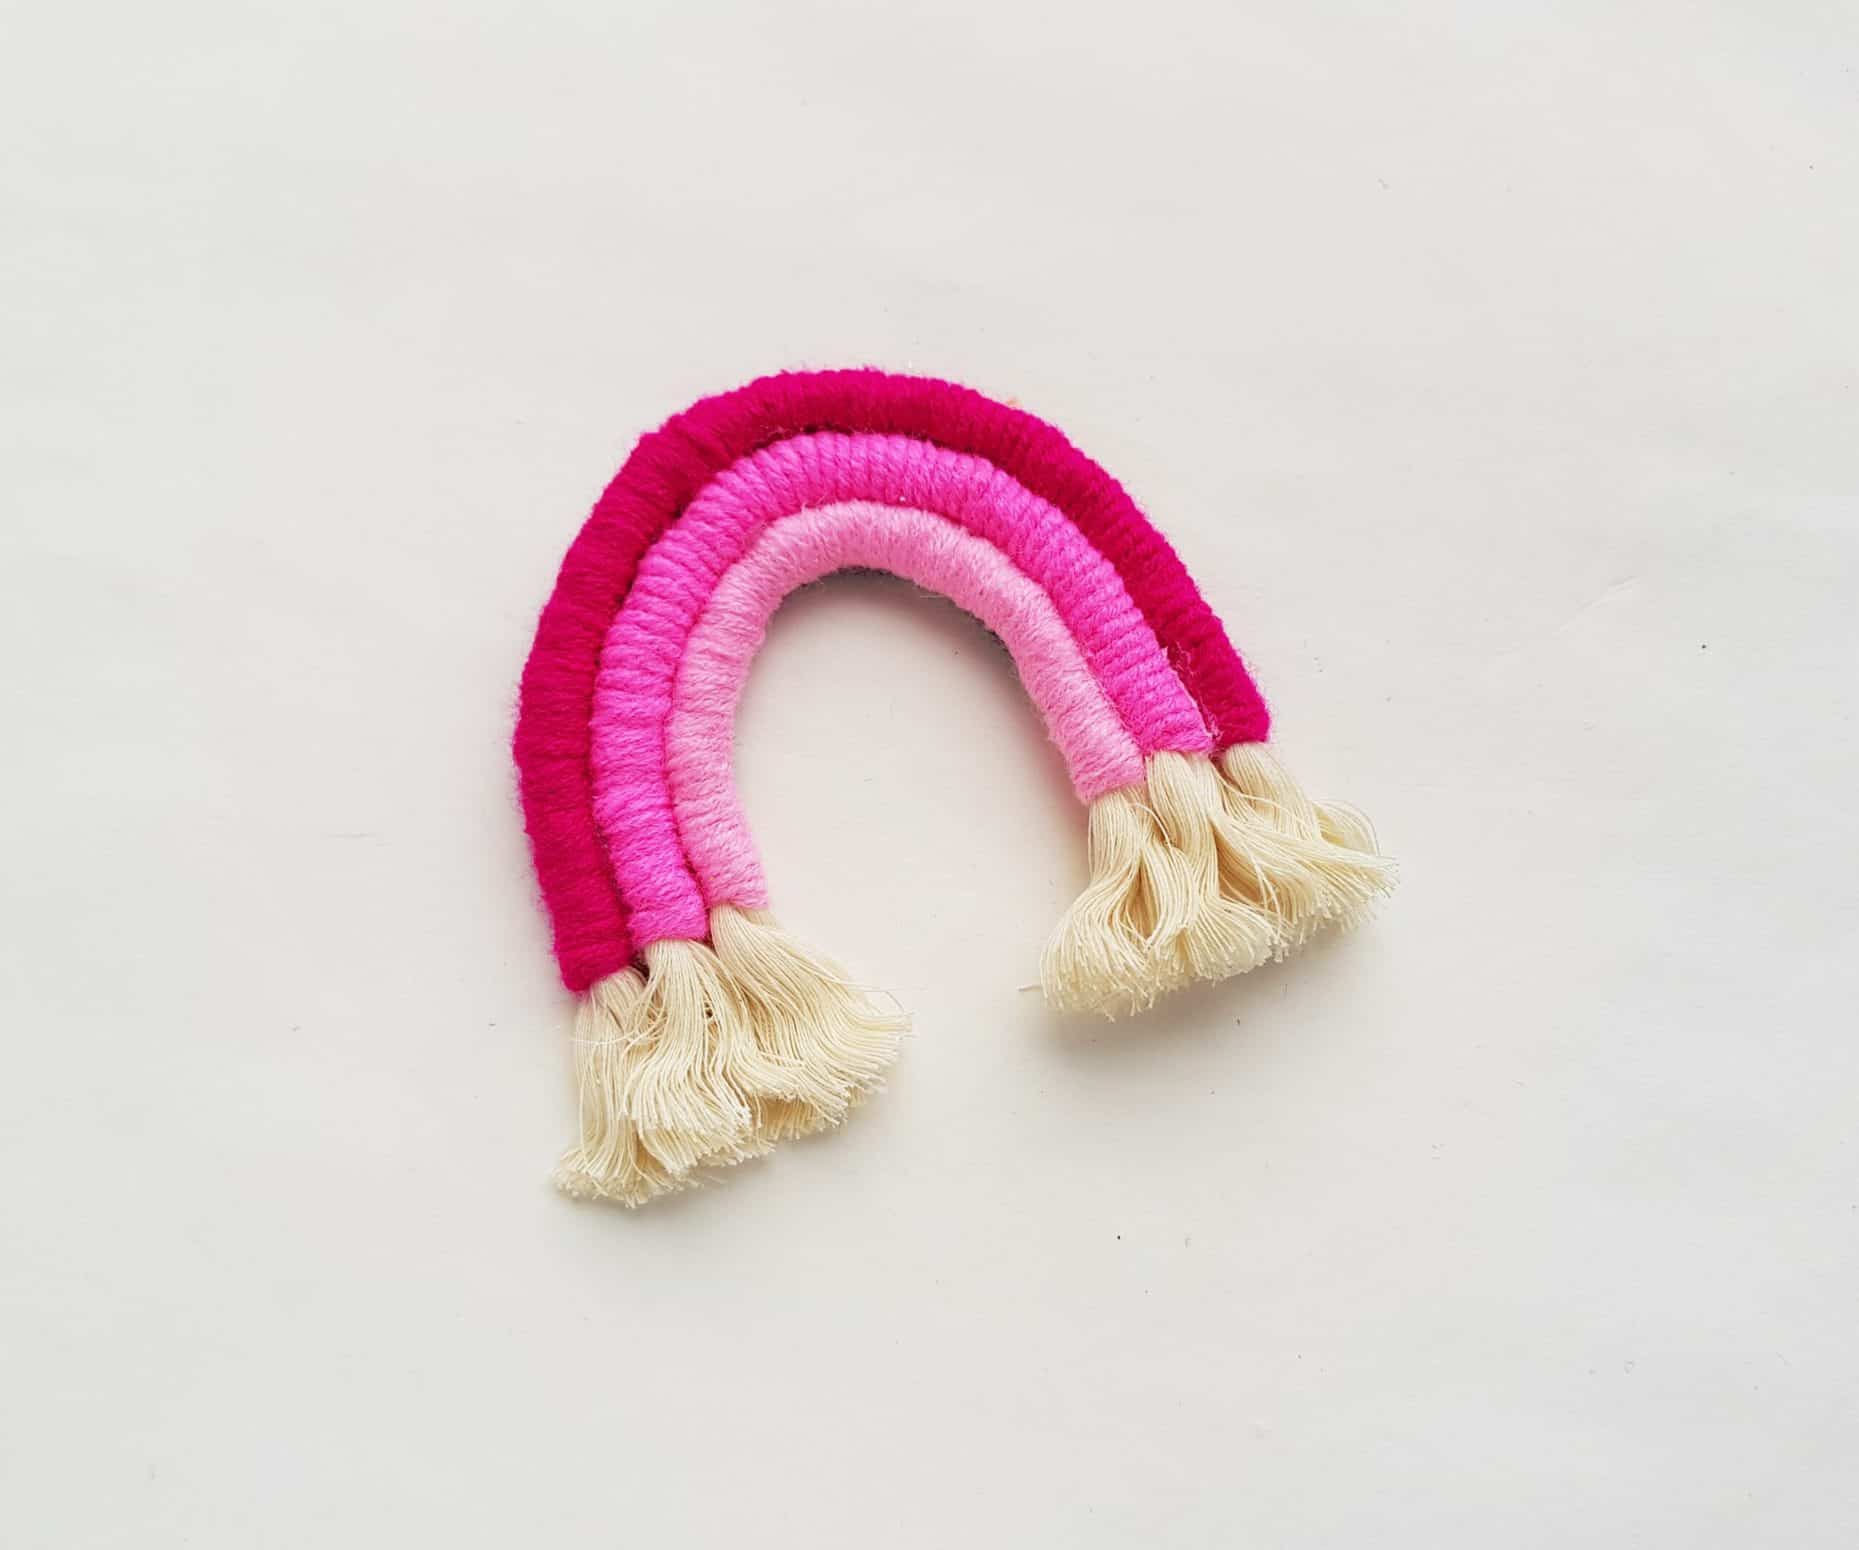 One by one attach all 3 yarn wrapped ropes on the felt rainbow base.
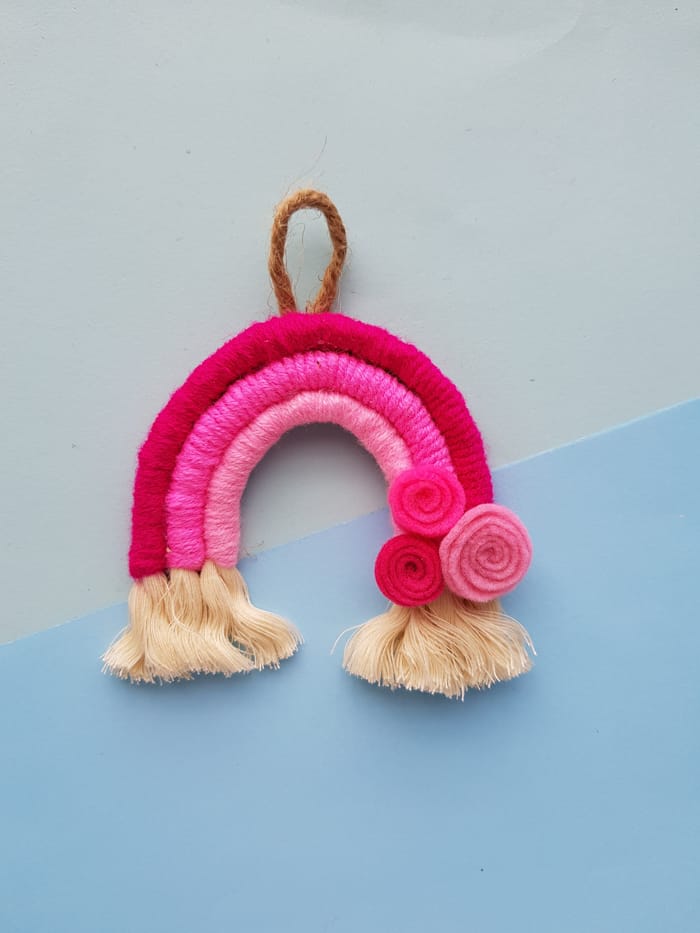 You can keep the macramé rainbow simple or add some embellishments such as felt flowers or pompoms. Also attach a hanging mechanism on the backside of the rainbow. Cut out a small rope and form a loop with it. Attach the open ends of the rope on the top-backside of the macramé rainbow to complete the hanging mechanism.