Learn How to Draw a Library step-by-step with our easy guide. Perfect for kids and beginners to create their own book-filled masterpiece!
Want to save this project?
Enter your email below, and then we'll send it straight to your inbox. Plus get awesome new projects from us each week.
This easy How to Draw a Library easy step-by-step tutorial is so fun for kids of all ages to learn the easy step-by-step lesson on how to make their own library drawings.
Drawing a library is a fantastic way to combine creativity with a love for books! In this guide, we'll take you through simple steps to sketch your very own library
Whether you're a budding artist or just love libraries, this fun activity will help you create a book-filled masterpiece.

Library Drawing Tutorial
Drawing a library is an awesome and fun activity for kids especially if they are headed back-to-school! It's super cool because you get to use your imagination to create your dream library. Think about all the piles of books you'd include, the cozy reading corners, and even the colorful posters on the walls.
It's like designing your perfect reading paradise! This activity isn't just about drawing, it's about bringing your ideas to life on paper. Plus, it's a great way to relax and have some quiet time while still being creative.
But wait, there's more! Drawing a library has tons of benefits too. It helps improve your fine motor skills as you practice drawing straight lines, curves, and tiny details.
Your brain gets a workout too, thinking about how to organize the space and what elements to include. This activity also boosts your confidence because you're creating something unique that you can be proud of.
Grab your pencils and let's get started on this creative journey!
Don't miss our other fun drawings School Drawing and School Bus Drawing!

Drawing a Library
Learning to draw basic shapes that ultimately turn into fun buildings and scenes is always fun for any age. We love breaking down each of the drawings into a step-by-step guide.
I also think having the printable drawing tutorial helps in making the drawing come to life. Don't forget to print out the drawing at the bottom of the post to help walk you through each step.
If you love drawing tutorials as much as we do, then you will not want to miss some of our other easy drawings for kids.
Before you start drawing, we also want to make sure you have the right tools. Here are the drawing paper, and drawing pencils that we like to use.

How To Draw a Library
Start by printing out the free Library Step-by-Step Drawing Tutorial at the bottom of the blog post. Follow along the simple steps with a sheet of paper and pencil.
We recommend starting out with light pencil lines until you get the basic shapes you are looking for. You can always erase extra lines.
Grab a piece of paper, a pencil, and a ruler (optional) if you are looking for a straight edge when drawing the library. Here are the simple steps to how to draw a library.
Library Building Outline

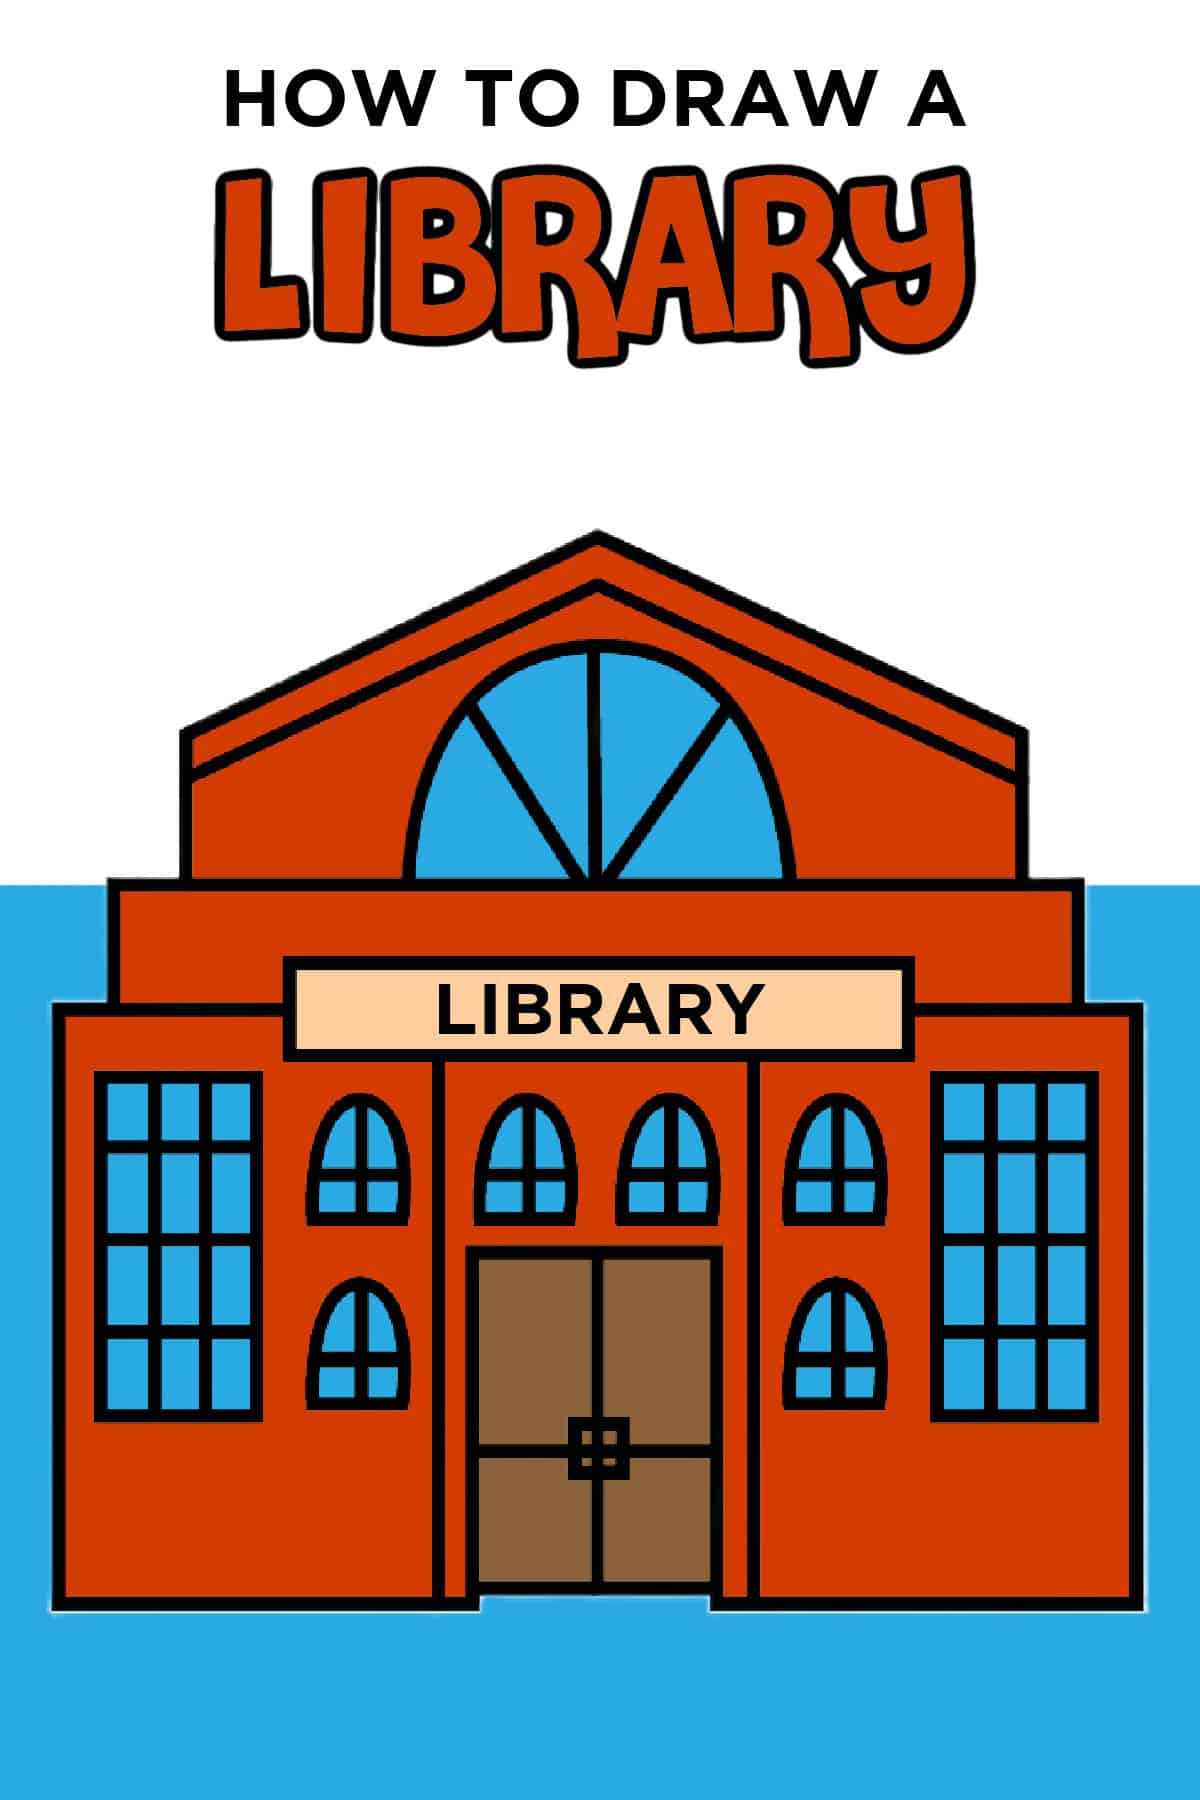
Start with the base of the building being a rectangle. Then on top, draw a thin rectangle slightly smaller from the sides. Next, draw the roof of the library with a triangle shape and the sides coming down. Add an additional upside-down v along the roof line to create the roof.

The next step is to draw some of the details to the outside of your library. Start with an arch shape in the top roof portion of the library. Next, draw two vertical lines in the bottom rectangle dividing that shape into three pieces. Add a small rectangle between the bottom rectangle and the middle rectangle for the library sign.
Library Windows

Next, we're going to start adding the window details to your library. Add three lines in a fan shape in the arch at the top of the library. Then add two rectangle windows into each side of the large bottom rectangle. Add cross lines to the window to create window panes.

The next step is to add some arch windows with crosses inside each of them around where you believe the library door will be. We drew two next to each of the rectangle windows and then two at the top of the middle section of the bottom rectangle.
Library Door and Sign

Lastly, add a large rectangle below the two arched windows in the middle section. Draw a cross inside the rectangle to create the doors. I like to erase the line in the middle section right under the door. This gives the illusion that the door is offset from the front of the library. Also, add the "LIBRARY" sign above the door.

The last step is to erase all the extra lines. Trace over the lines you have drawn in pencil with a pen or marker. Viola, you have the final library drawing.

The final step if you choose to, is to color in your library drawing. Use crayons, colored pencils, and or markers.
Now you have the cutest Library Drawing!
Happy Drawing!
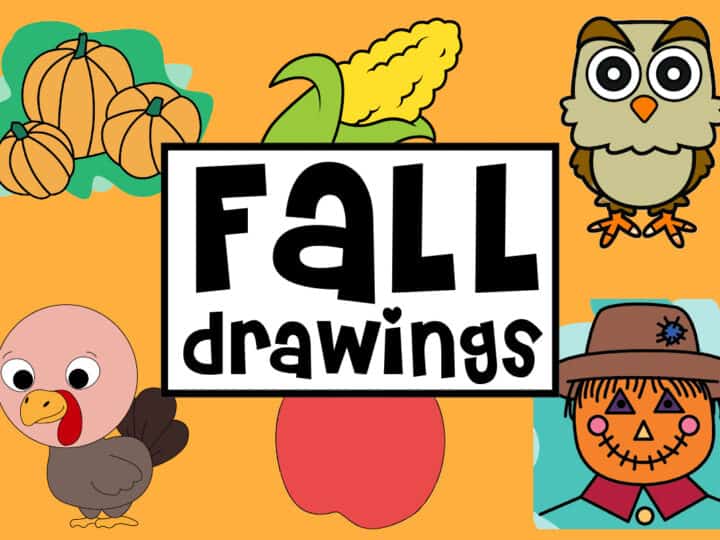
We highlighted this Fall Drawing along with some other fun kid's crafts in our Fall Crafts as well as September Crafts, October Crafts, and November Crafts along with our Easy Kids Crafts.
You also do not want to miss our hundreds of coloring pages and printables for kids full of crafts and coloring pages.
Back to School Printables
- All About Me Worksheet
- Back-To-School Bingo
- First Day of School Signs
- Lunchbox Notes
- Back-To-School Coloring Page

Download the Free Printable Library Drawing Guide
Enter your name and email address in the form below and you will be taken directly to the free printable how to draw a library tutorial PDF file.
*For personal use only
How To Draw a Library
Want to save this project?
Enter your email below, and then we'll send it straight to your inbox. Plus get awesome new projects from us each week.
Material
- Paper
- Library Drawing Tutorial
Tools
- Pencil
Instructions
- Start by printing out the free Library Step-by-Step Drawing Tutorial at the bottom of the blog post. Follow along the simple steps with a sheet of paper and pencil. We recommend starting out with light pencil lines until you get the basic shapes you are looking for. You can always erase extra lines. Grab a piece of paper, a pencil, and a ruler (optional) if you are looking for a straight edge when drawing the library. Here are the simple steps to how to draw a library.

- Start with the base of the building being a rectangle. Then on top, draw a thin rectangle slightly smaller from the sides. Next, draw the roof of the library with a triangle shape and the sides coming down. Add an additional upside-down v along the roof line to create the roof.

- The next step is to draw some of the details to the outside of your library. Start with an arch shape in the top roof portion of the library. Next, draw two vertical lines in the bottom rectangle dividing that shape into three pieces. Add a small rectangle between the bottom rectangle and the middle rectangle for the library sign.
- Next, we're going to start adding the window details to your library. Add three lines in a fan shape in the arch at the top of the library. Then add two rectangle windows into each side of the large bottom rectangle. Add cross lines to the window to create window panes.
- The next step is to add some arch windows with crosses inside each of them around where you believe the library door will be. We drew two next to each of the rectangle windows and then two at the top of the middle section of the bottom rectangle.
- Lastly, add a large rectangle below the two arched windows in the middle section. Draw a cross inside the rectangle to create the doors. I like to erase the line in the middle section right under the door. This gives the illusion that the door is offset from the front of the library. Also, add the "LIBRARY" sign above the door.
- The last step is to erase all the extra lines. Trace over the lines you have drawn in pencil with a pen or marker. Viola, you have the final library drawing.
- The final step if you choose to, is to color in your library drawing. Use crayons, colored pencils, and or markers.

CONNECT WITH MADE WITH HAPPY!
Be sure to follow me on social media, so you never miss a post!
Facebook | Twitter | Youtube | Pinterest | Instagram
Find and shop my favorite products on my Amazon storefront here!
How To Draw a Library
PIN IT TO YOUR DIY BOARD ON PINTEREST!
FOLLOW MADE WITH HAPPY ON PINTEREST FOR ALL THINGS HAPPY!