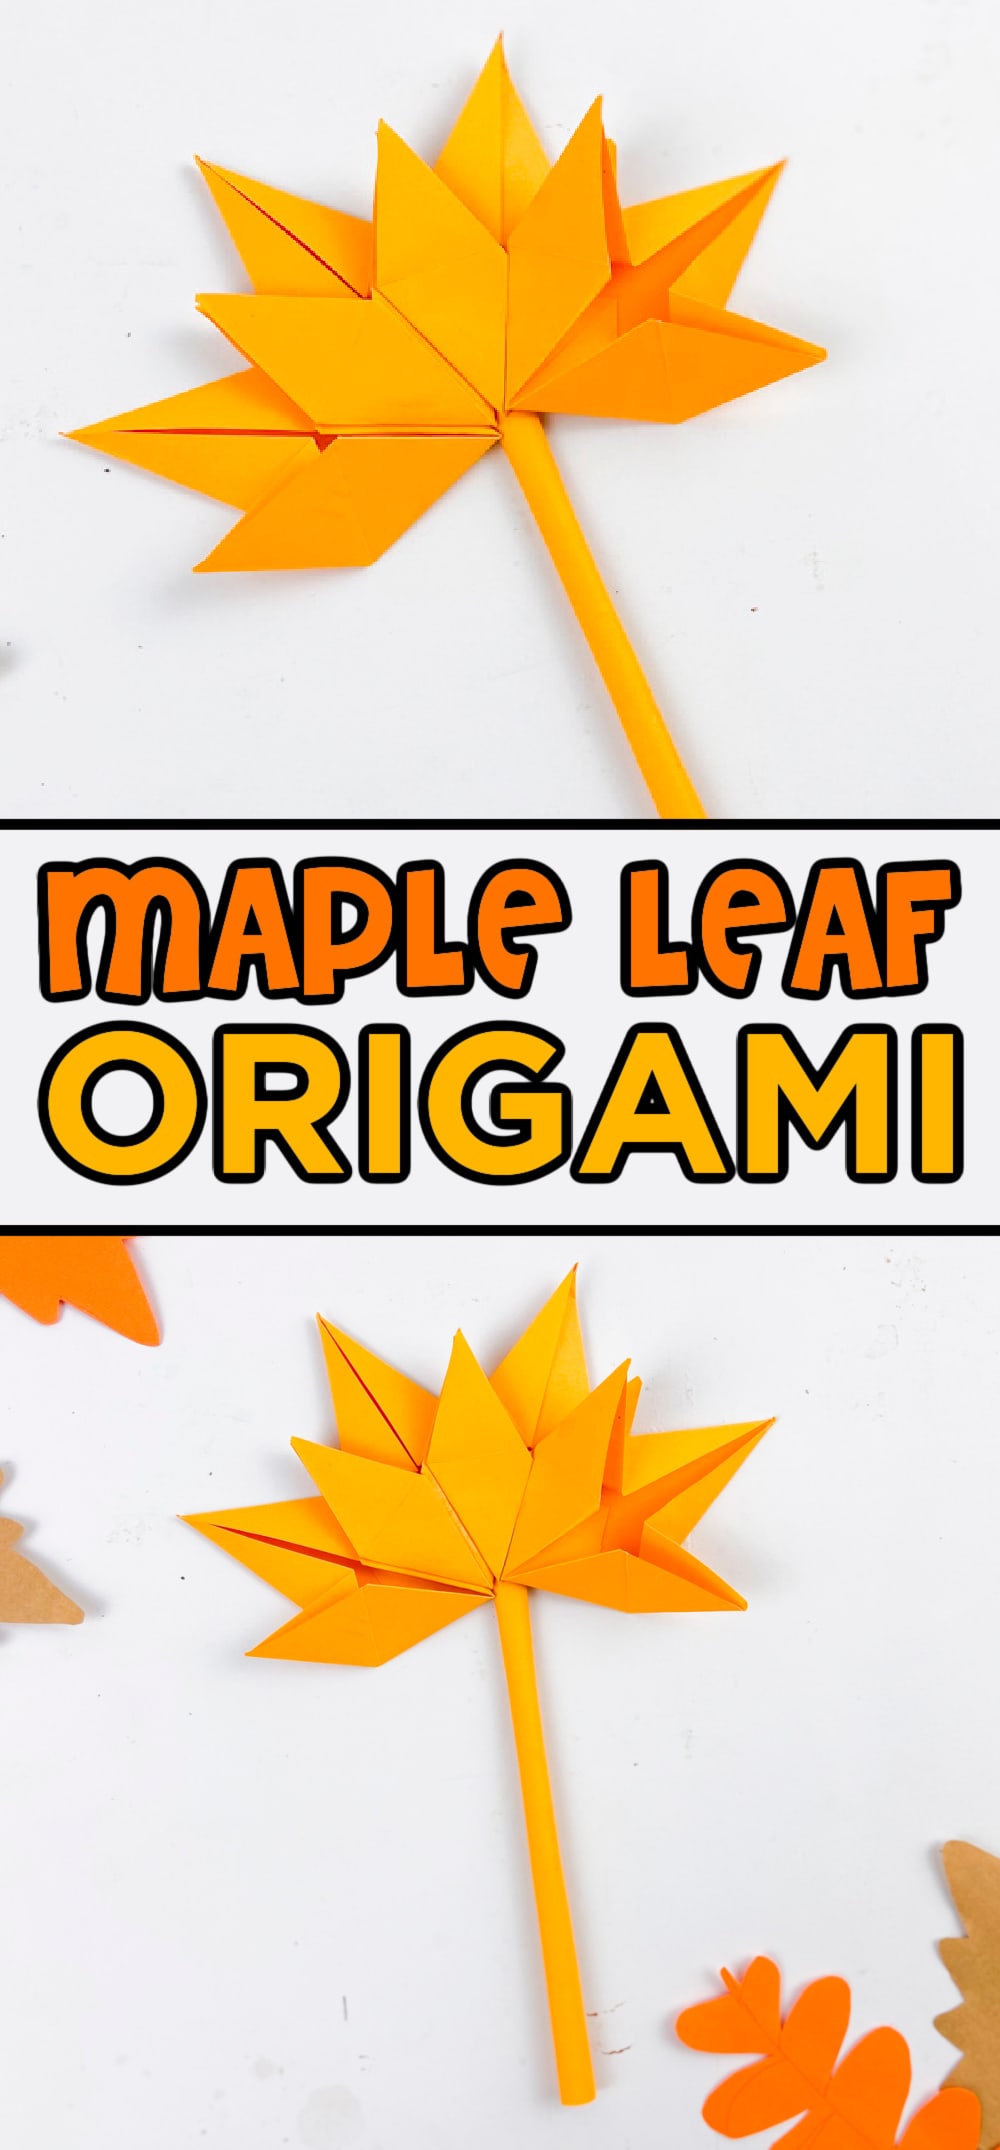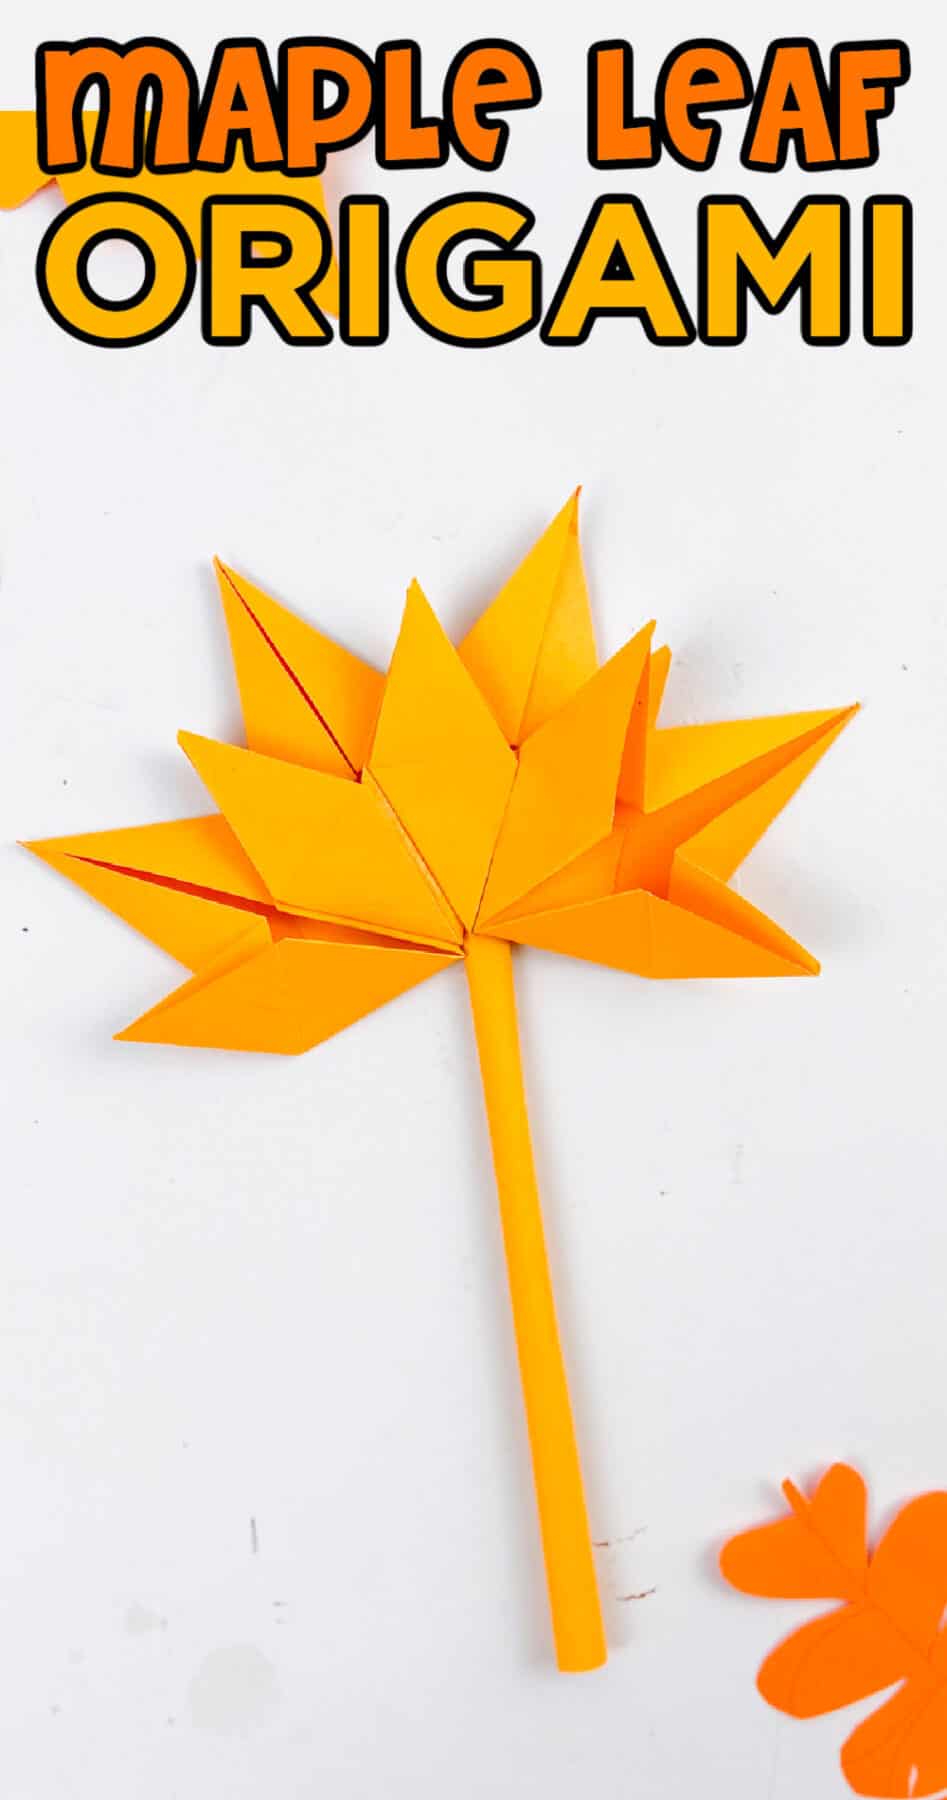
Discover the beauty of fall with Origami Maple Leaf! Create stunning paper leaves with this step-by-step origami craft.
Want to save this project?
Enter your email below, and then we'll send it straight to your inbox. Plus get awesome new projects from us each week.
Ready for a fun and easy fall craft? Let's start this season with an origami maple leaf craft. It might blitz your brains if you're new at it, but the fun eventually kicks in.
Origami crafts are for everyone. They help release stress and work as an outlet for your creativity. Plus, you're minimizing paper waste.
Did you know that an average American wastes 650 pounds of paper each year? That's about one billion trees worth of paper! Help save the planet, guys!
The best part is that you get a stunning paper leaf that's incredibly versatile to use. There's more on it below.
Ways to Use the Origami Maple Leaf
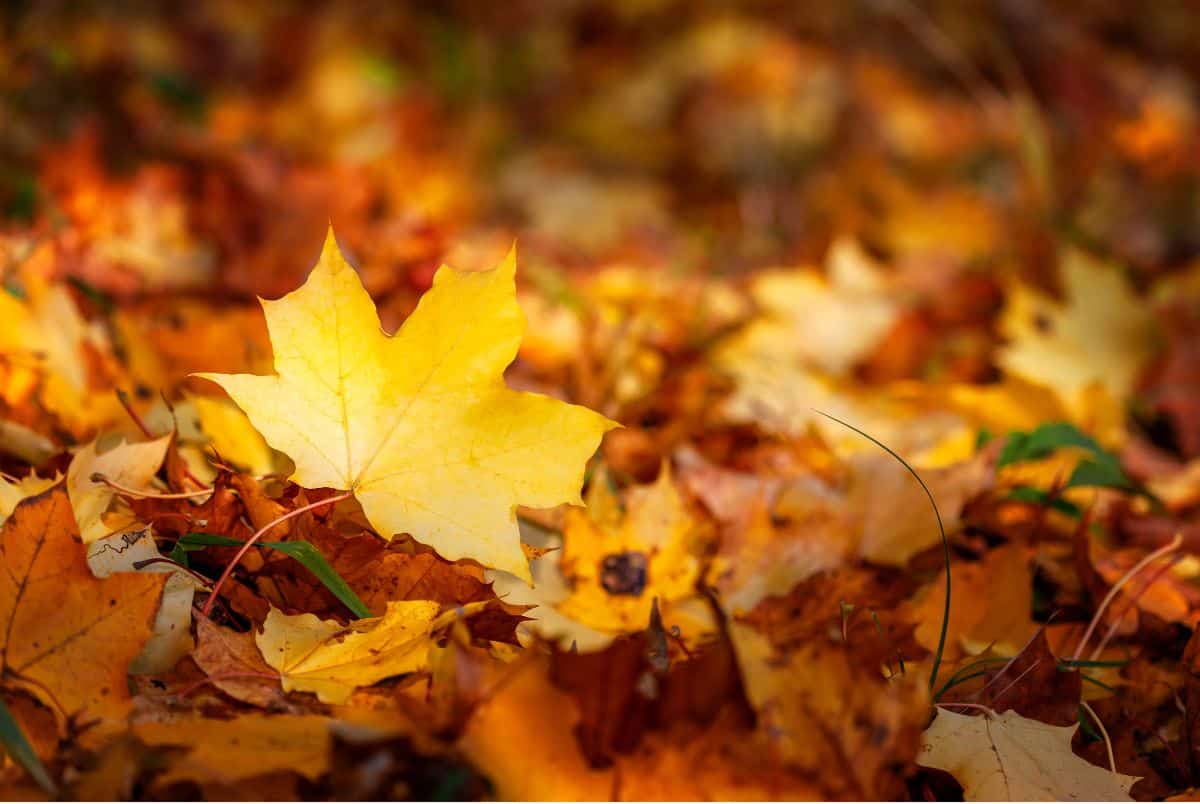
Maple leaves, the five-pointed, multi-shaded fall beauties, give us maple syrup, the yummy natural sweetener. It's used in baked goodies and iced teas. Hell, you can even eat a baby maple leaf all by itself!
Plus, maple leaves also provide hardwood for furniture and baseball bats. Pretty useful, right?
The good thing is that this origami maple leaf is just as useful. Here are some fun ways to put it to use:
- Make a wreath for your front door and add origami paper leaves to it.
- Make a garland of origami flowers and maple leaves and hang it on your balcony.
- Use them for scrapbooking.
- Write cute notes and add them to your gift packaging.
- Make adorable greeting cards with these fun origami leaves.
You can also use them for educational purposes. Teach your kid about the life cycle of a leaf or explain the concept of seasons. Interesting, right?
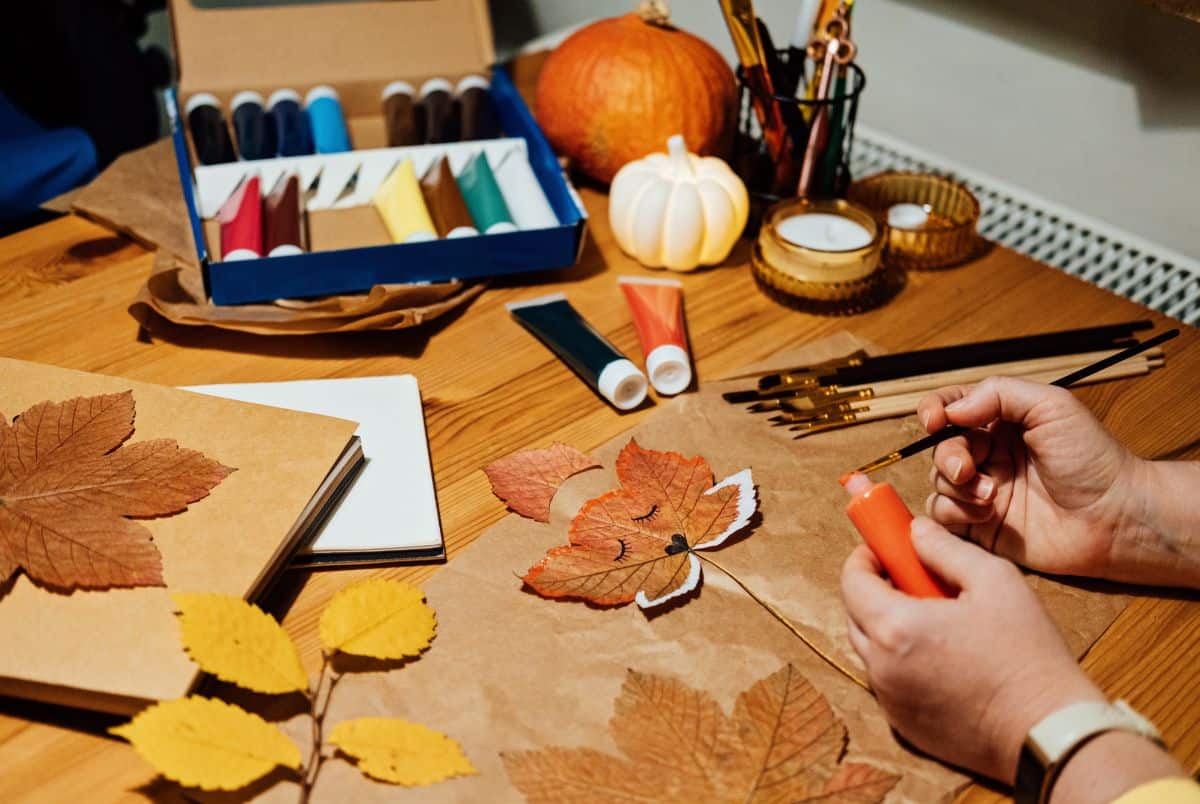
Fancying the Maple Leaves
Let's look at some ways we can decorate our plain maple leaves to make them more interesting:
- Use different colors of origami paper to make a colorful leaf.
- You can also use newspaper and stain it in different fall hues.
- Draw patterns on the leaves to add some character.
- Stick sequins or glitter to make it sparkly.
- Wrap a thread around the stem and twist it for a cool 3D look.

Tips to Make Origami Crafts Easier for Kids
If you're doing this craft with young kids, you must make it easier for them to keep them engaged. Here are some useful tips:
- Use a large-sized paper to make handling easy.
- Let them practice easy origami folding techniques, like accordion folds.
- Draw faint lines and let them follow the traced pattern to make folding easy.
- Take breaks to avoid frustration.
- Always bump their confidence by telling them how well they are doing.
- Sit and do the craft with them to provide visual aid.
- Show them origami leaf tutorials to explain the process better.
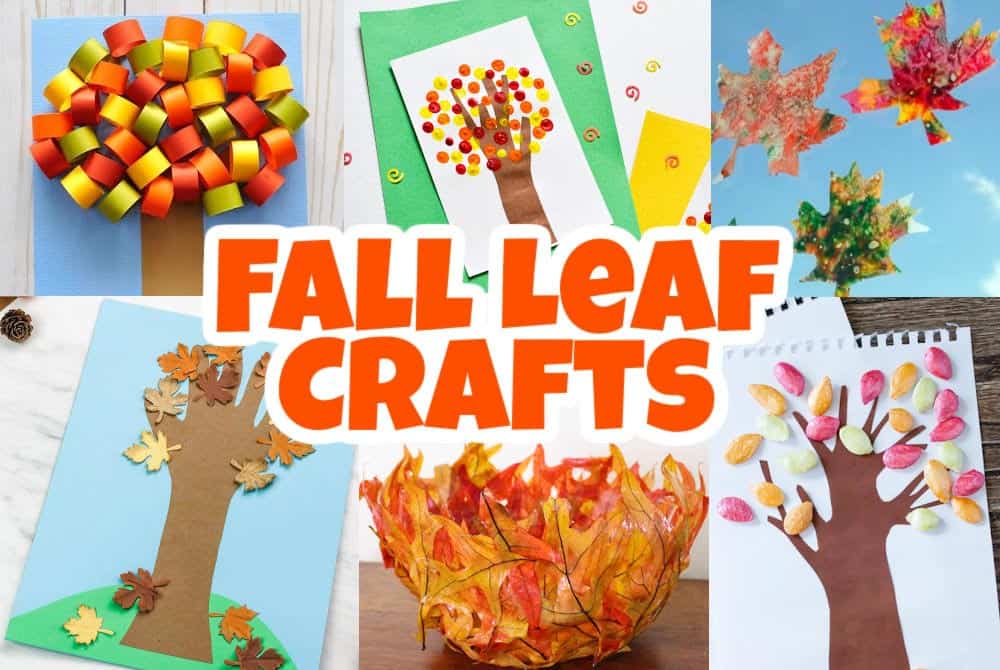
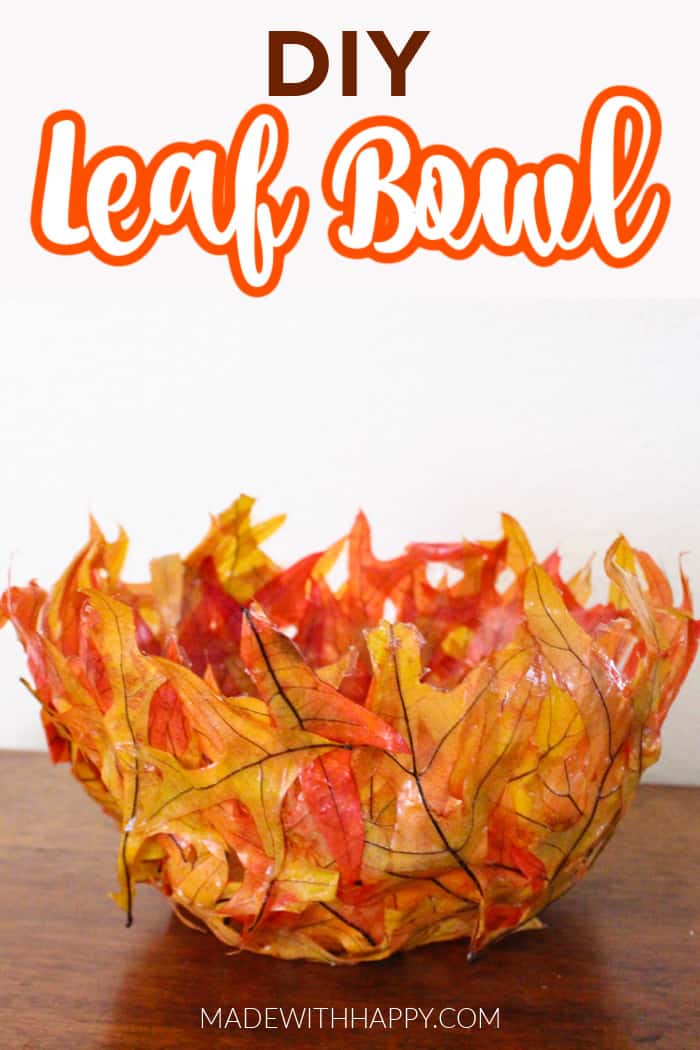
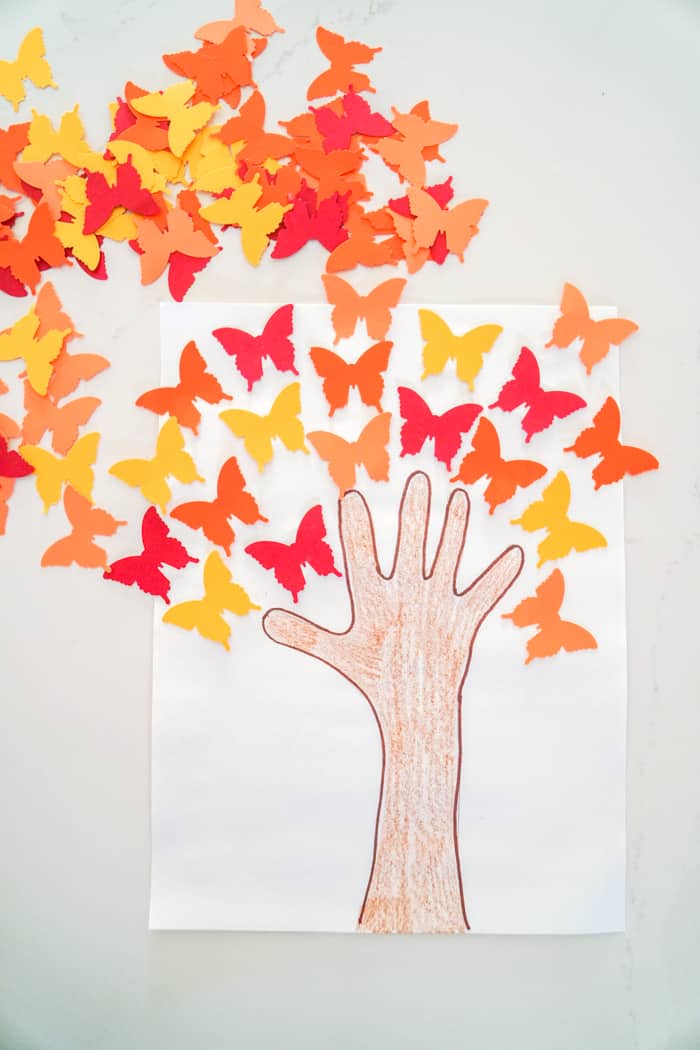
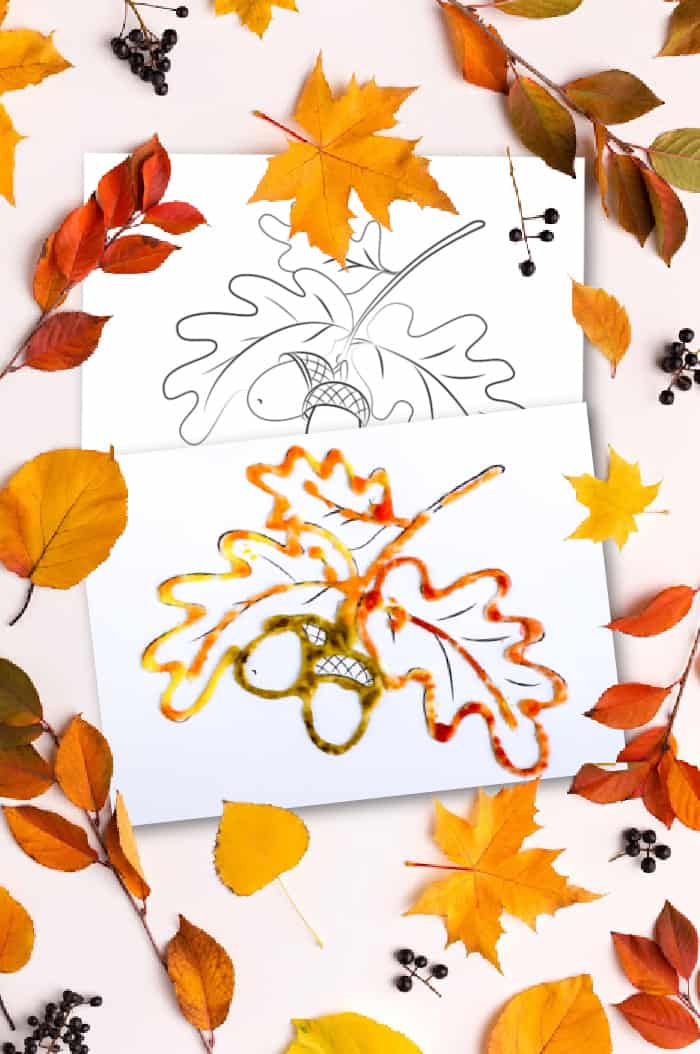
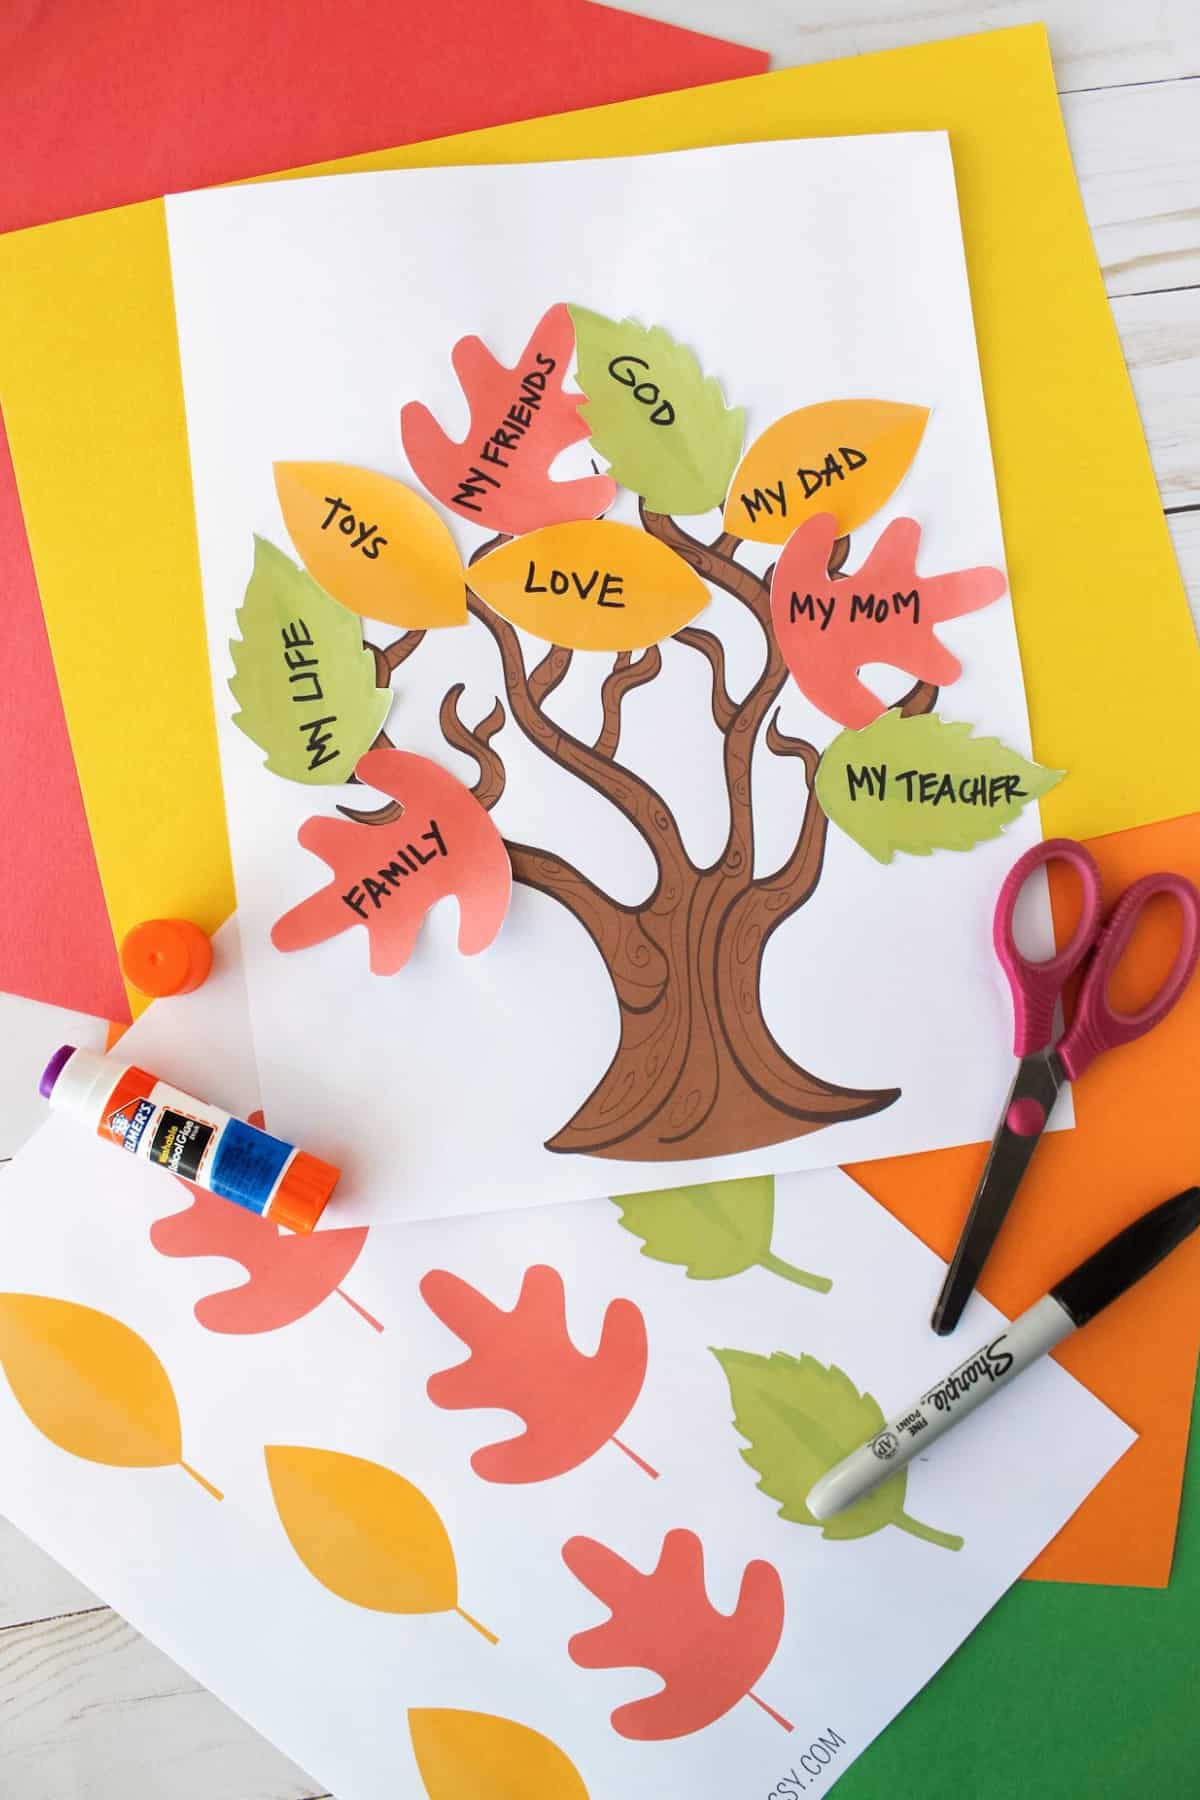
Check out these other Leaf Crafts!
Making the Origami Maple Leaf
Paper crafts are a fun and easy way to keep the little ones busy. You can try different ways of folding the paper and see which one suits your child the best.
I've included free origami instructions at the end to help you and your kiddo with this fun origami craft. I hope you guys enjoy it!
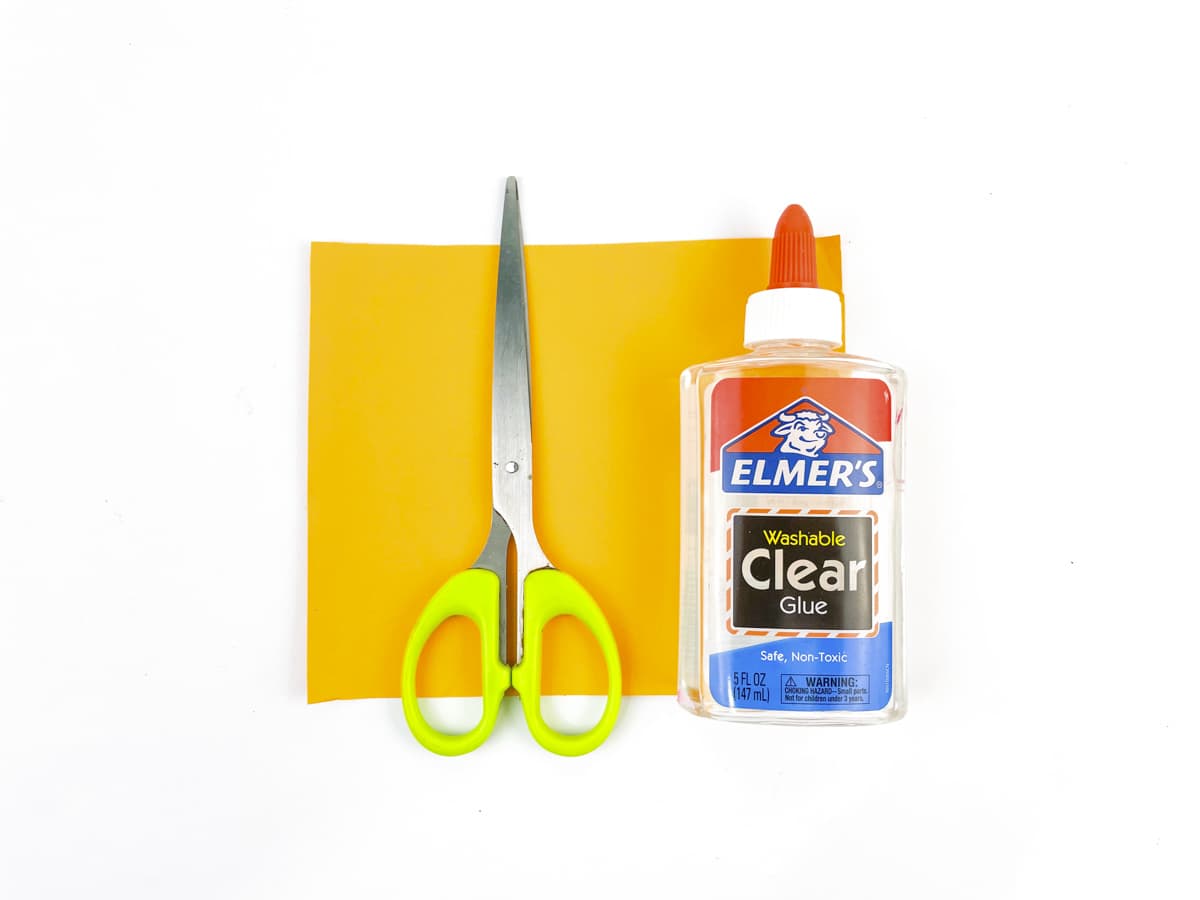
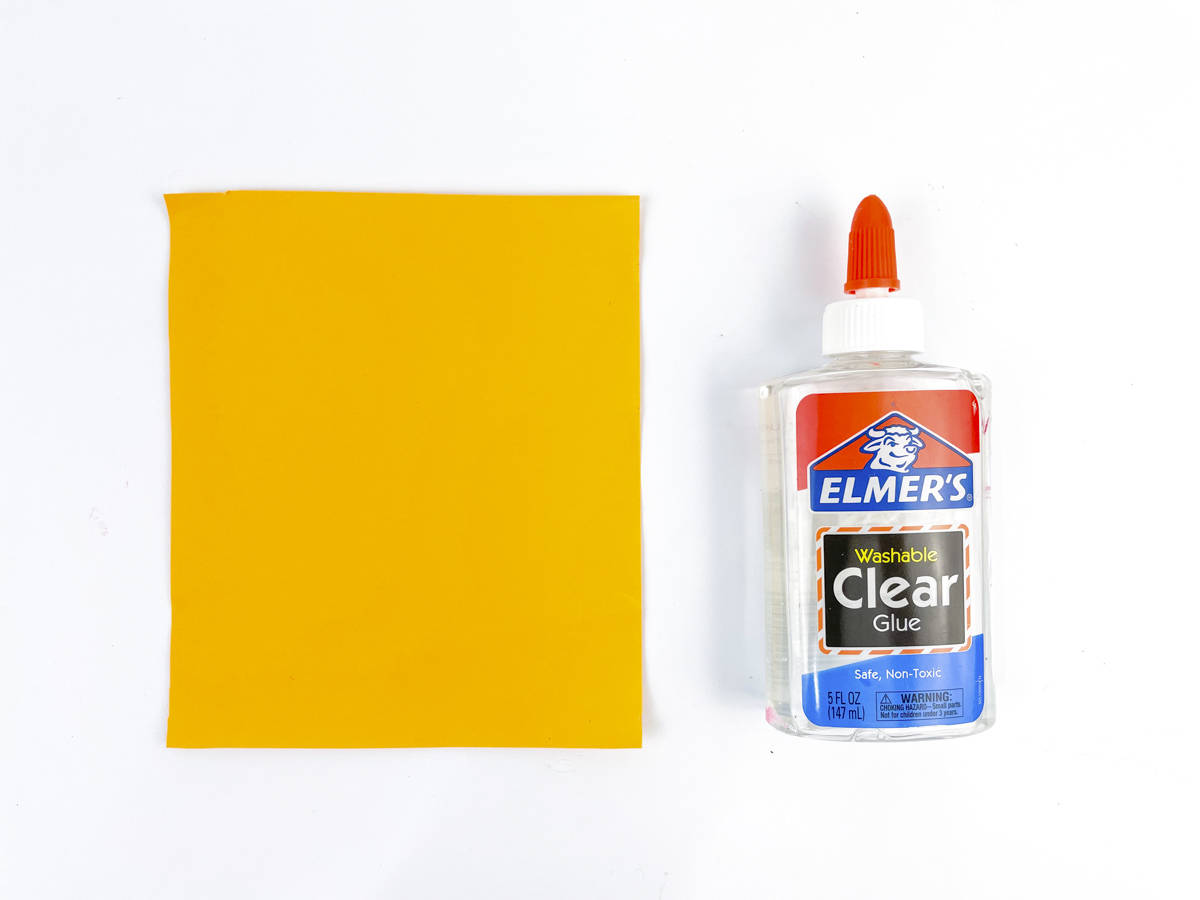
Maple Leaf Origami Craft Supplies
- Orange colored paper
- Craft Glue
- Pair of Scissors
How To Make Origami Maple Leaf
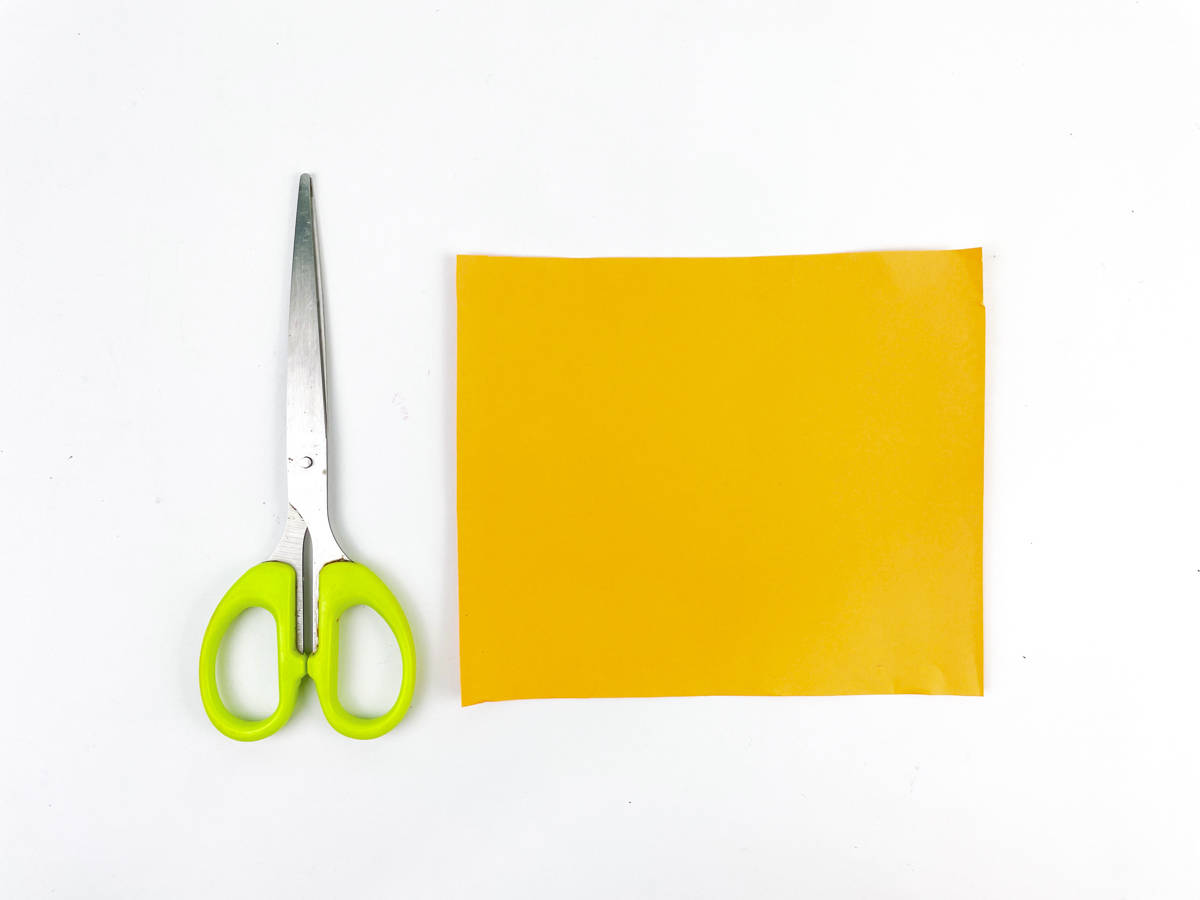
Grab your piece of paper. Its going to be an autumn leaf and so we recommend going with orange yellow color.
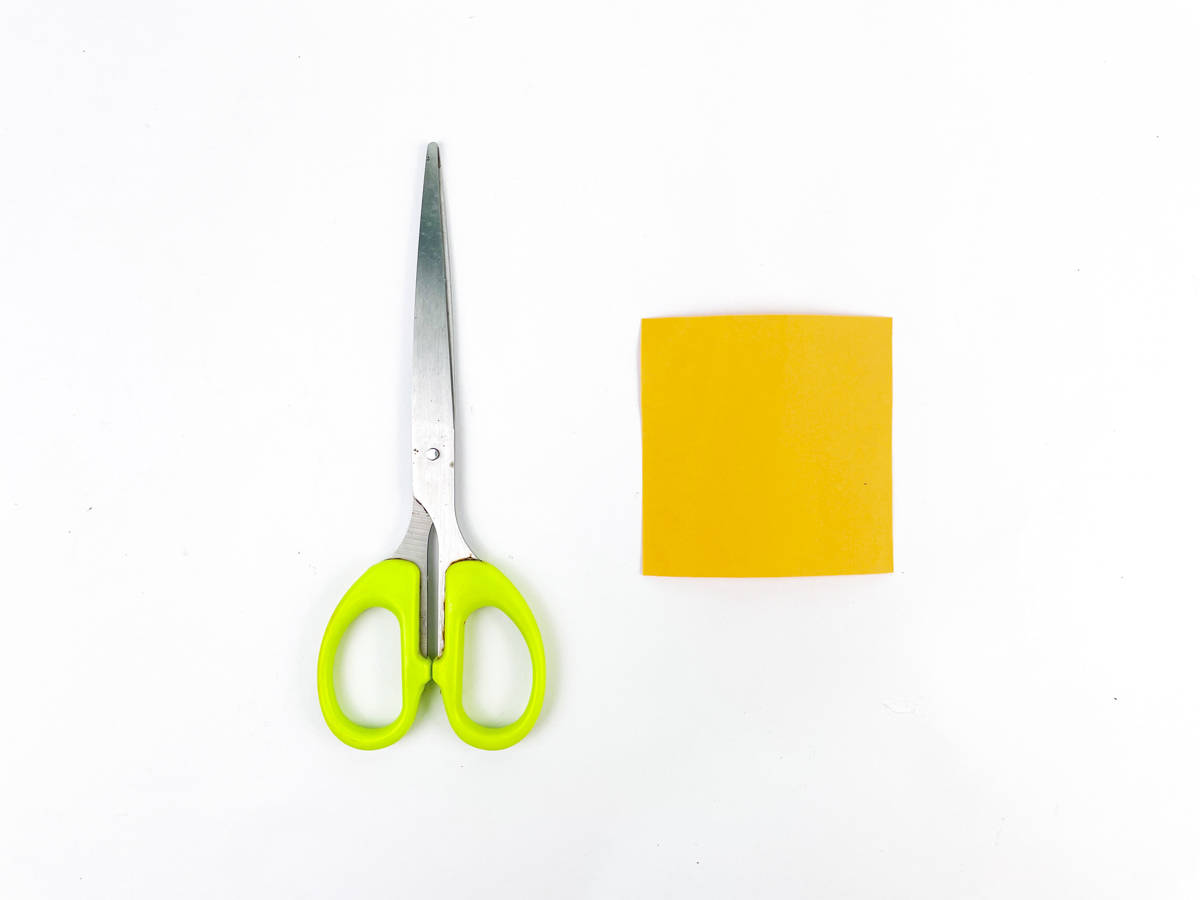
The key is to start with a square piece of paper approximately 3 inches by 3 inches or 8 cm by 8 cm.
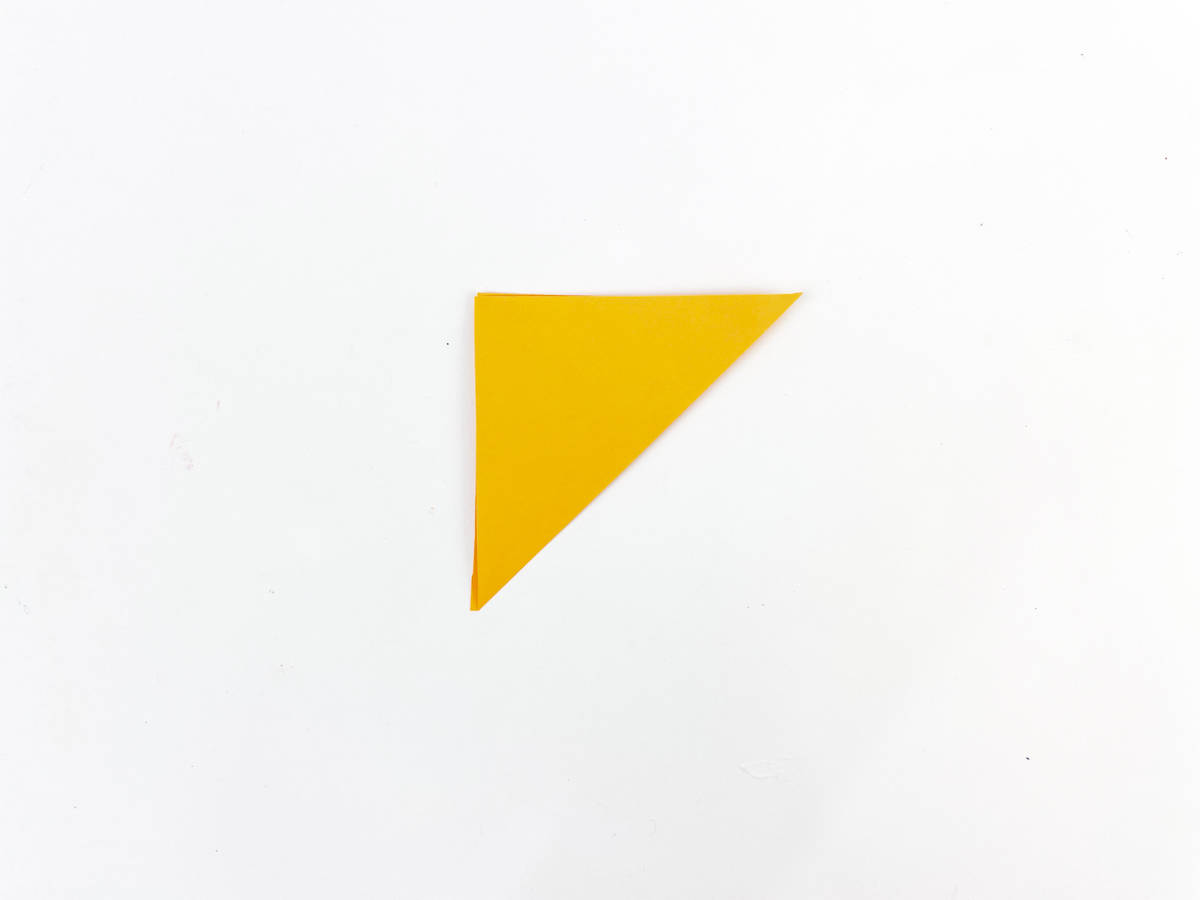
For the piece of paper in half diagonally.
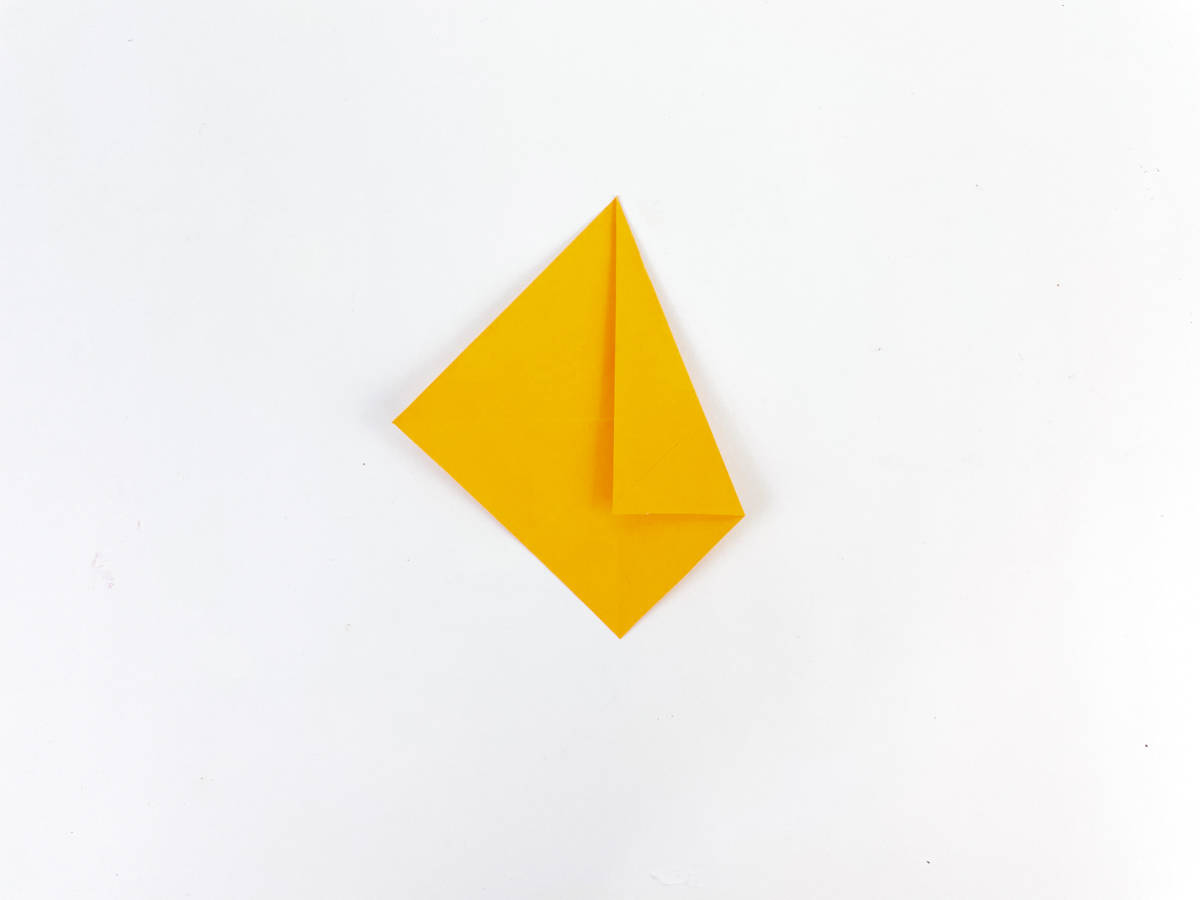
Unfold the paper with the crease being vertical (up and down) and it looks like a diamond shape. Fold the top right side of the diamond into the middle crease.
Fold in other side.
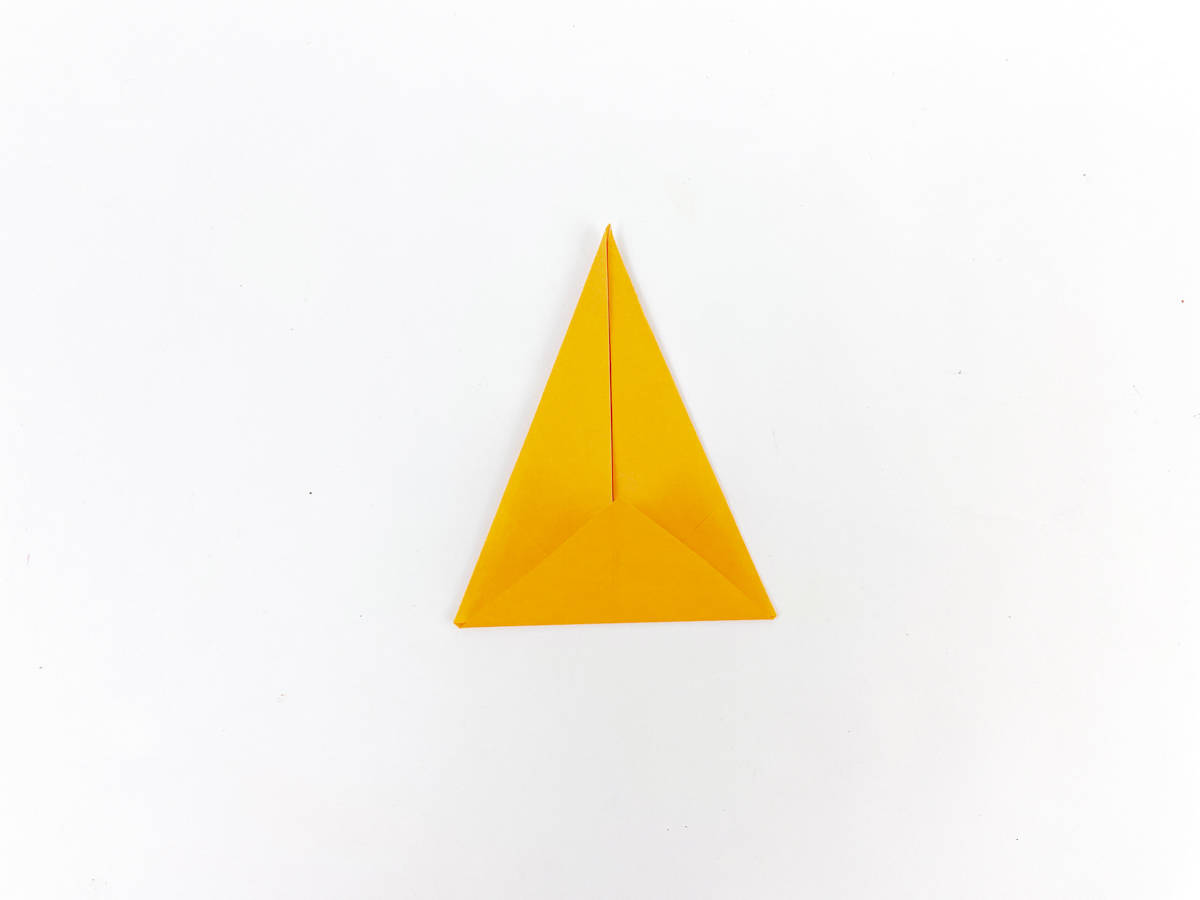
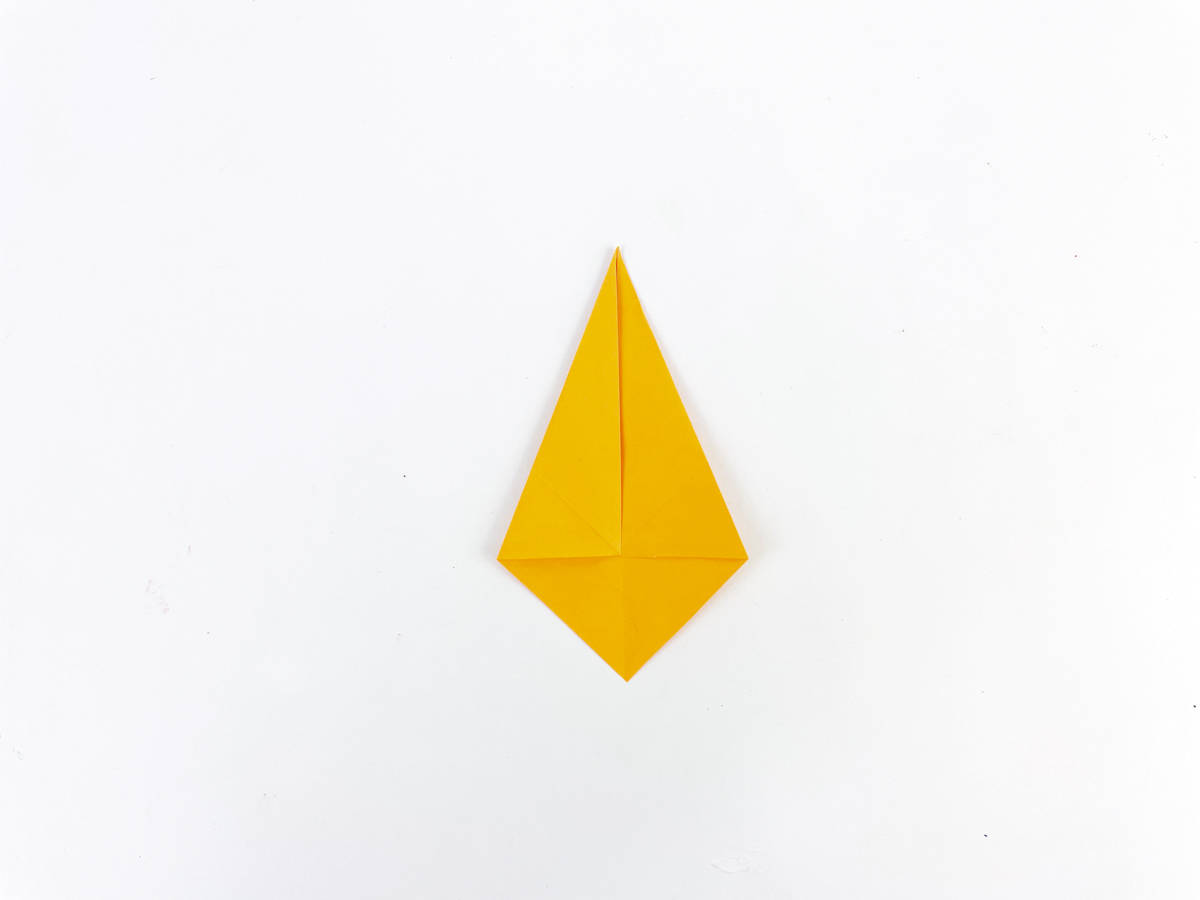
Next, fold the small triangle at the bottom up right at where the side folds end to create another triangle.
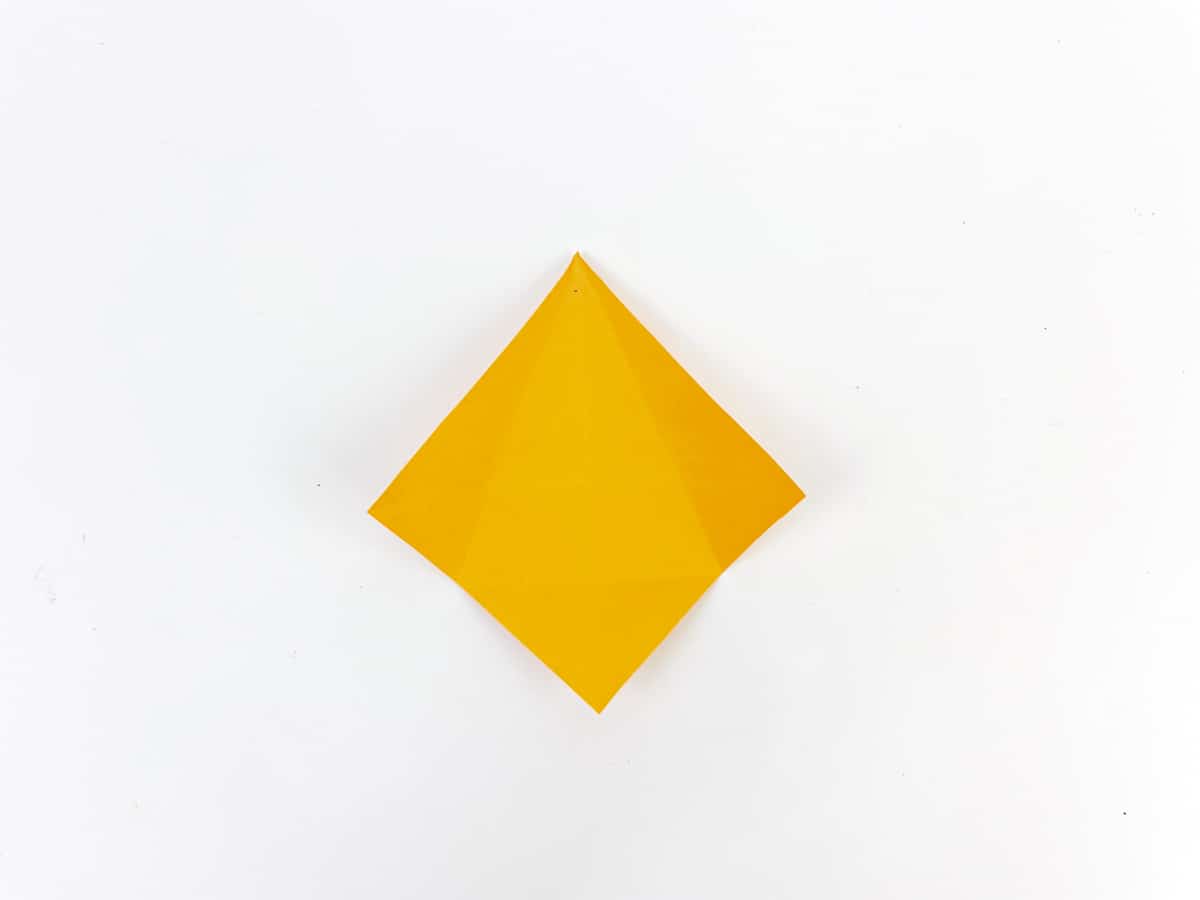
Unfold the square paper.
Fold up the bottom triangle from right before you unfolded the paper. Then fold bottom right corner up and under diagonally to the top of the the folded triangle underneath. Then bring the corner that is in the air down to the bottom middle point.
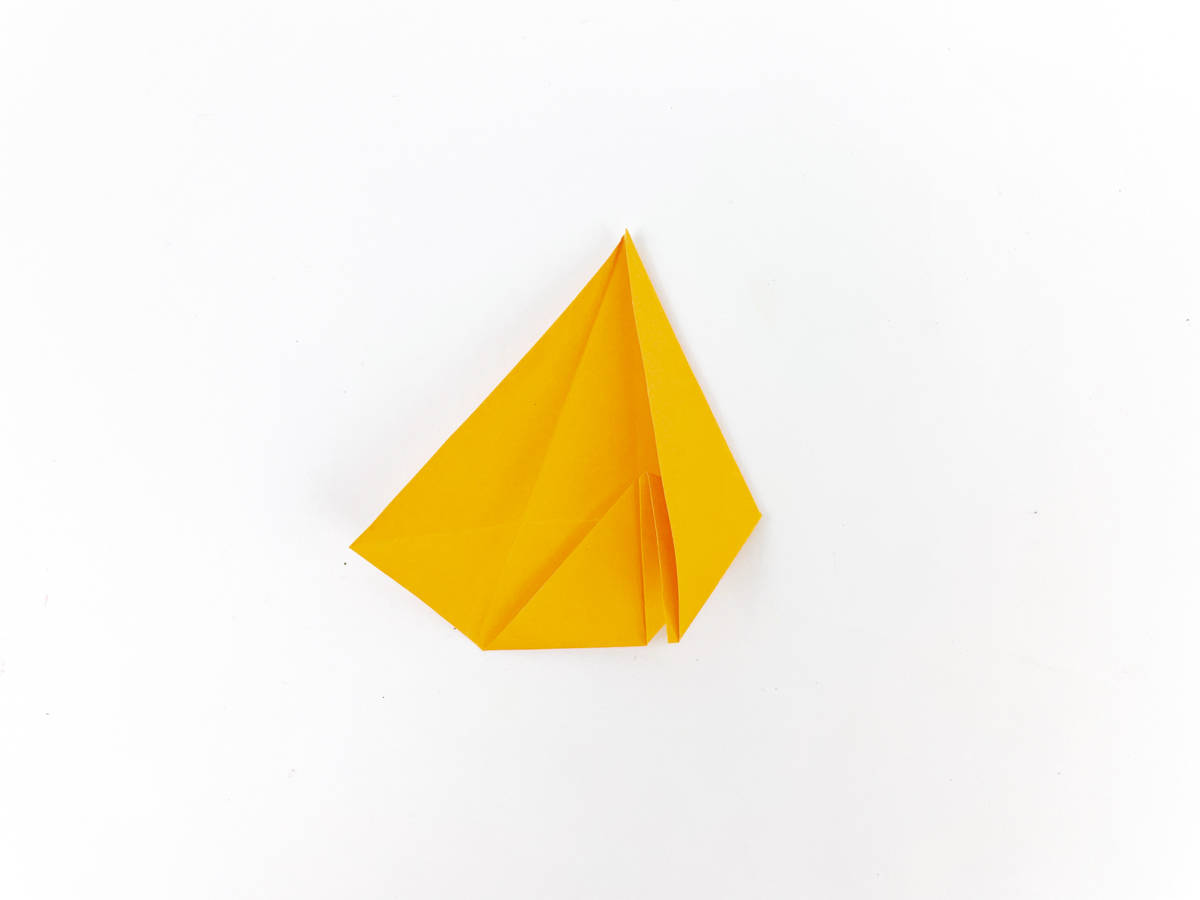
Fold the left side in the same as you did in the previous steps.

Your origami leaf should now look like a bottom heavy diamond shape. The two bottom points should be a bit in the air and not completely flat with the table.
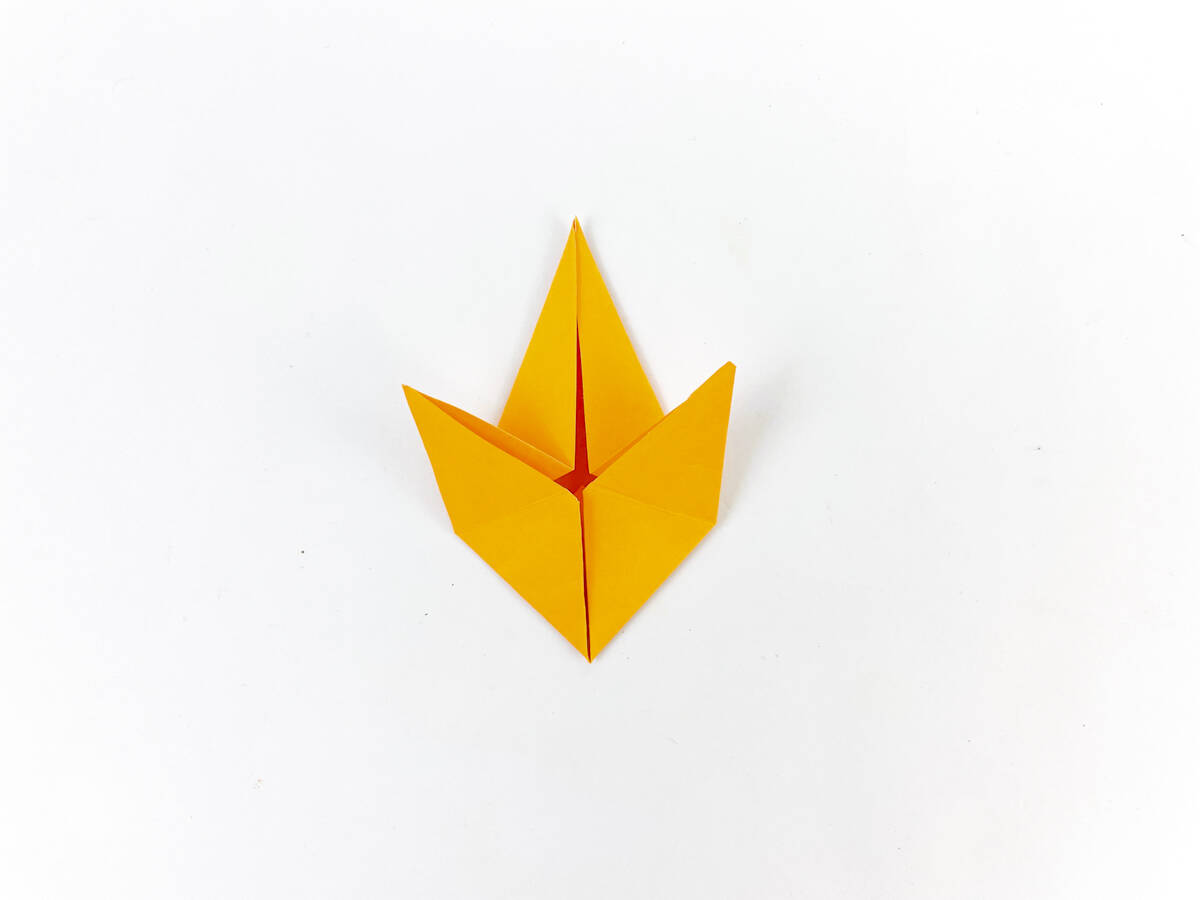
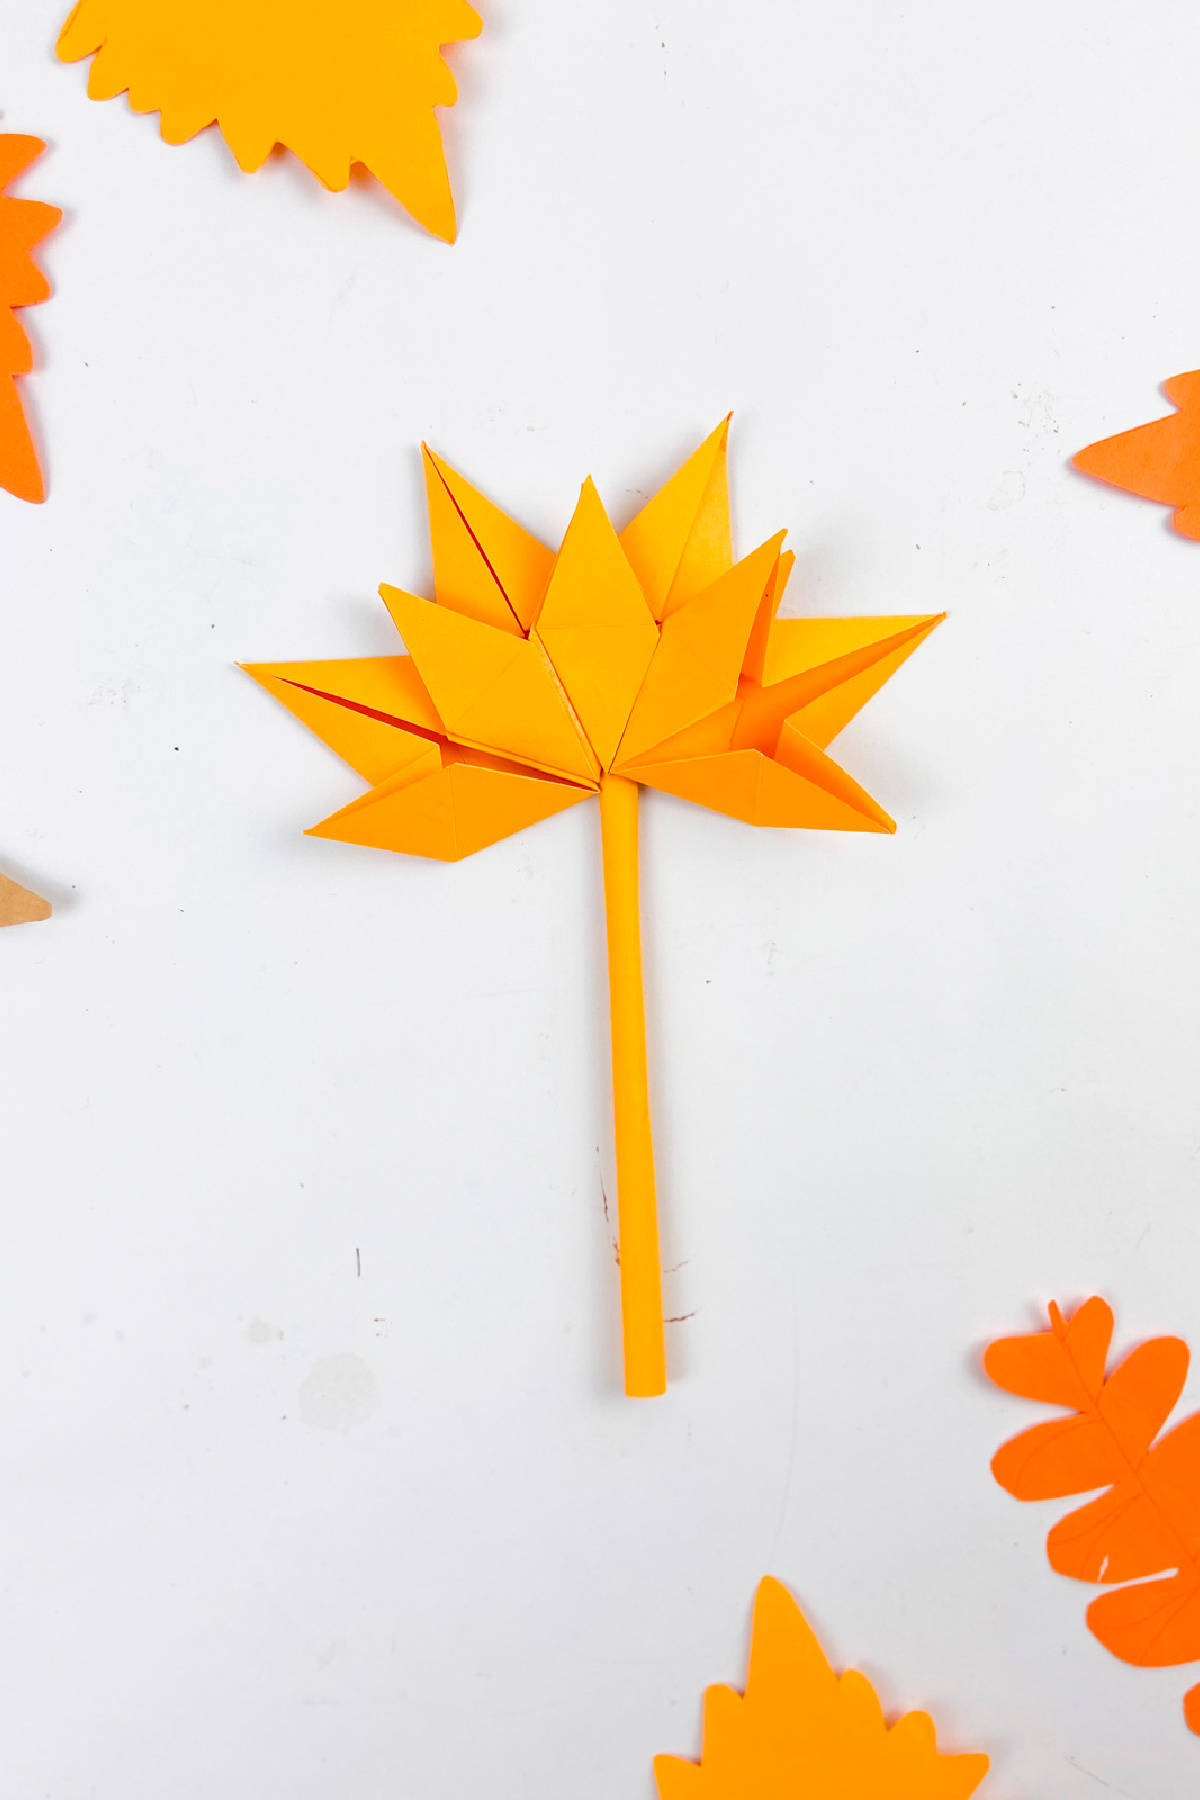
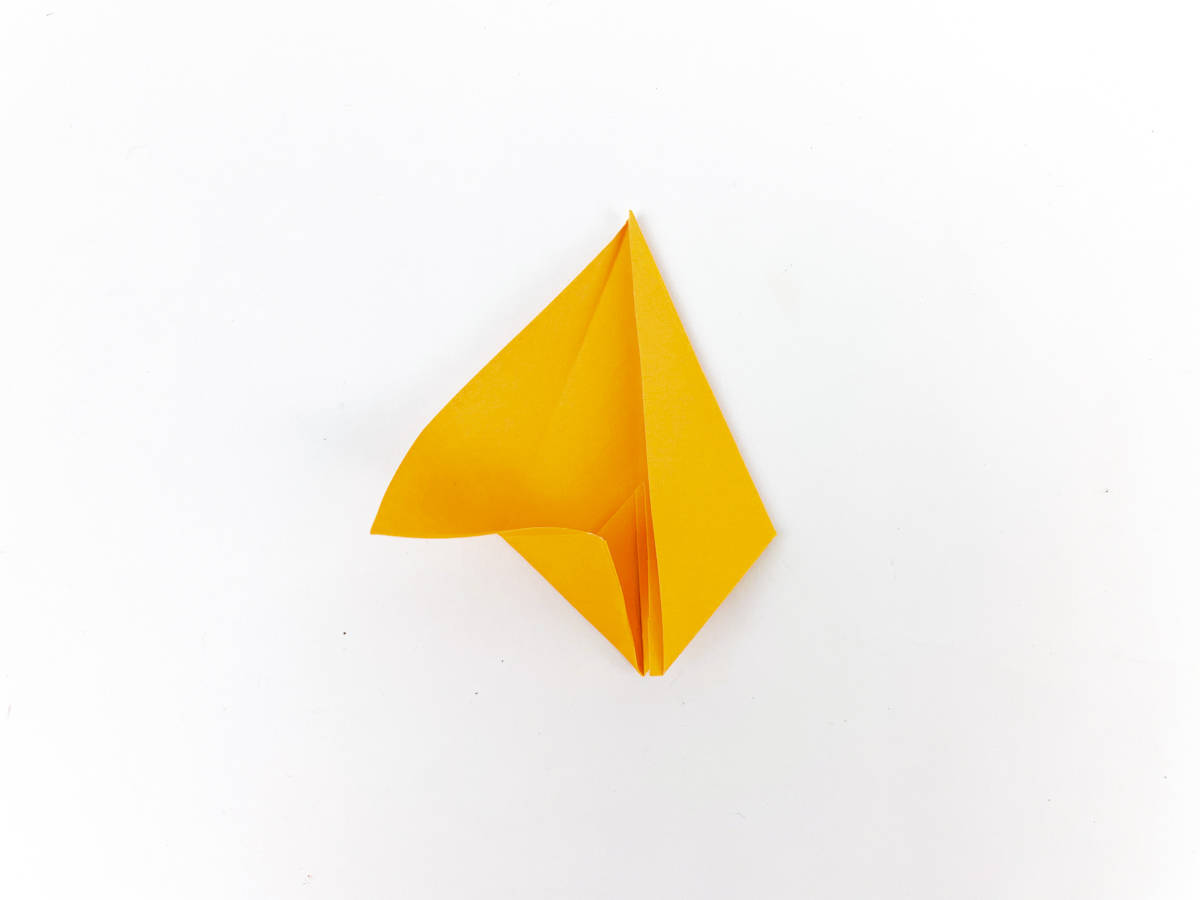
Fold each of those bottom points up back at the original fold. You now have one section of the maple leaf origami. If you would like to go back in and glue your origami into place, you certainly can, but the end result should be this shape.
Putting Maple Leaf Together
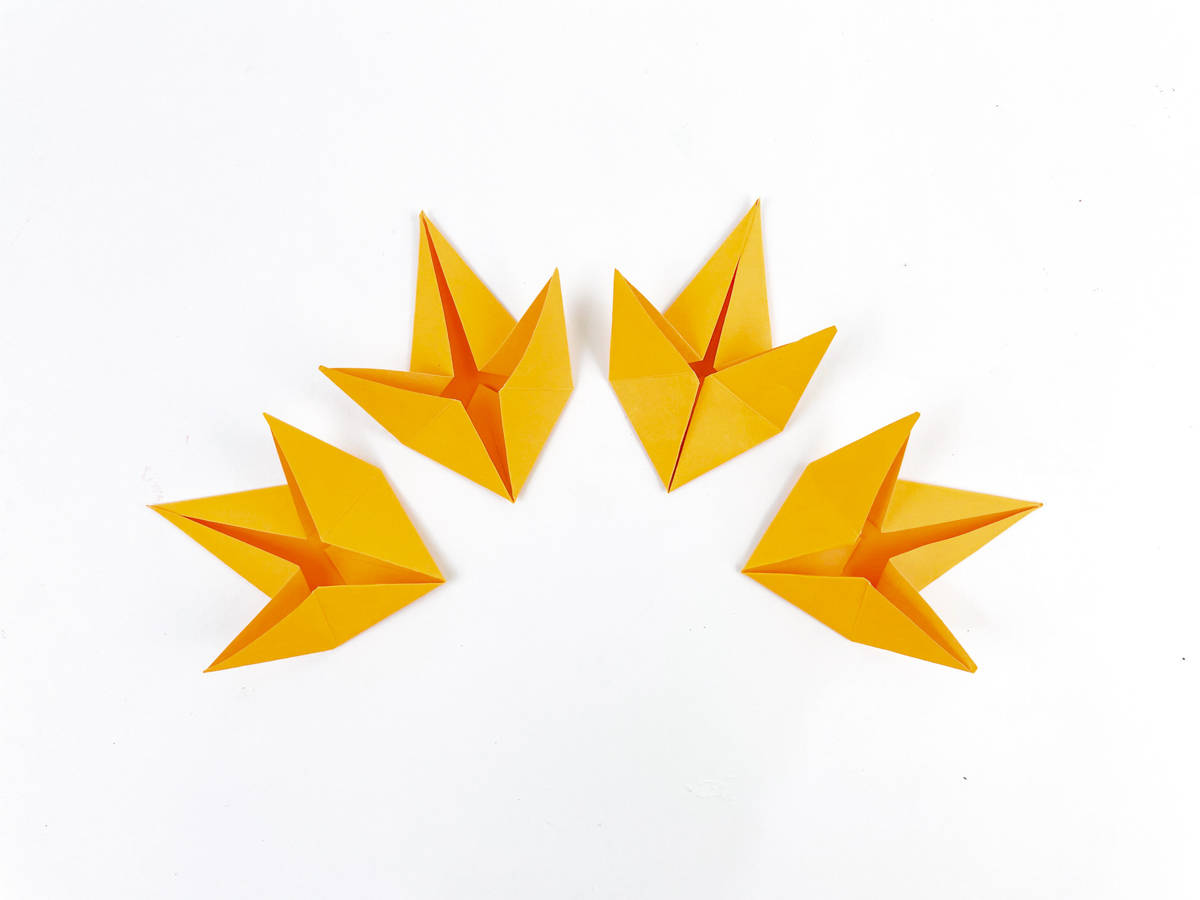
Repeat the making of the maple leaf three more times.
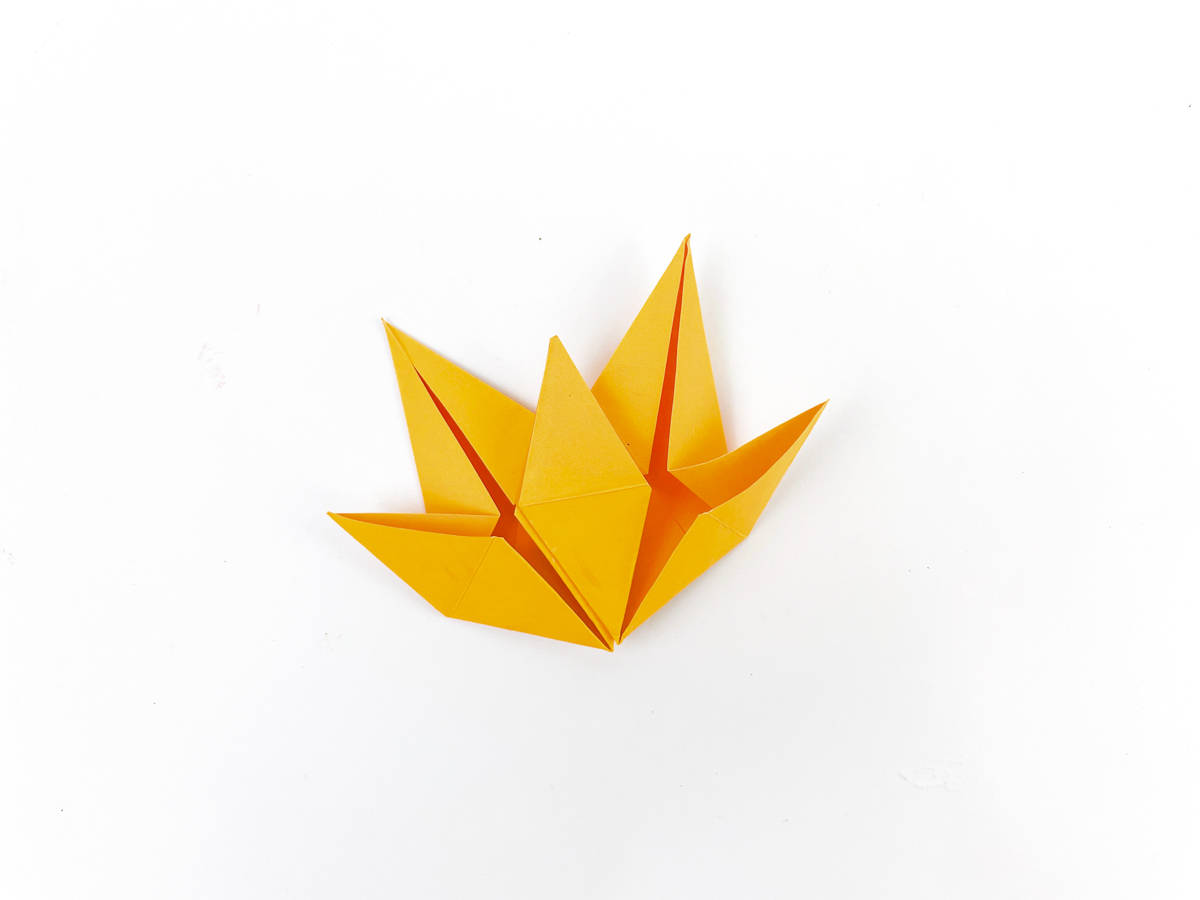
Placing glue on the top right side of leaf one, glue leaf two on top of leaf one at a slight angle so that the right point from leaf 1 lines up with the left point from leaf two.
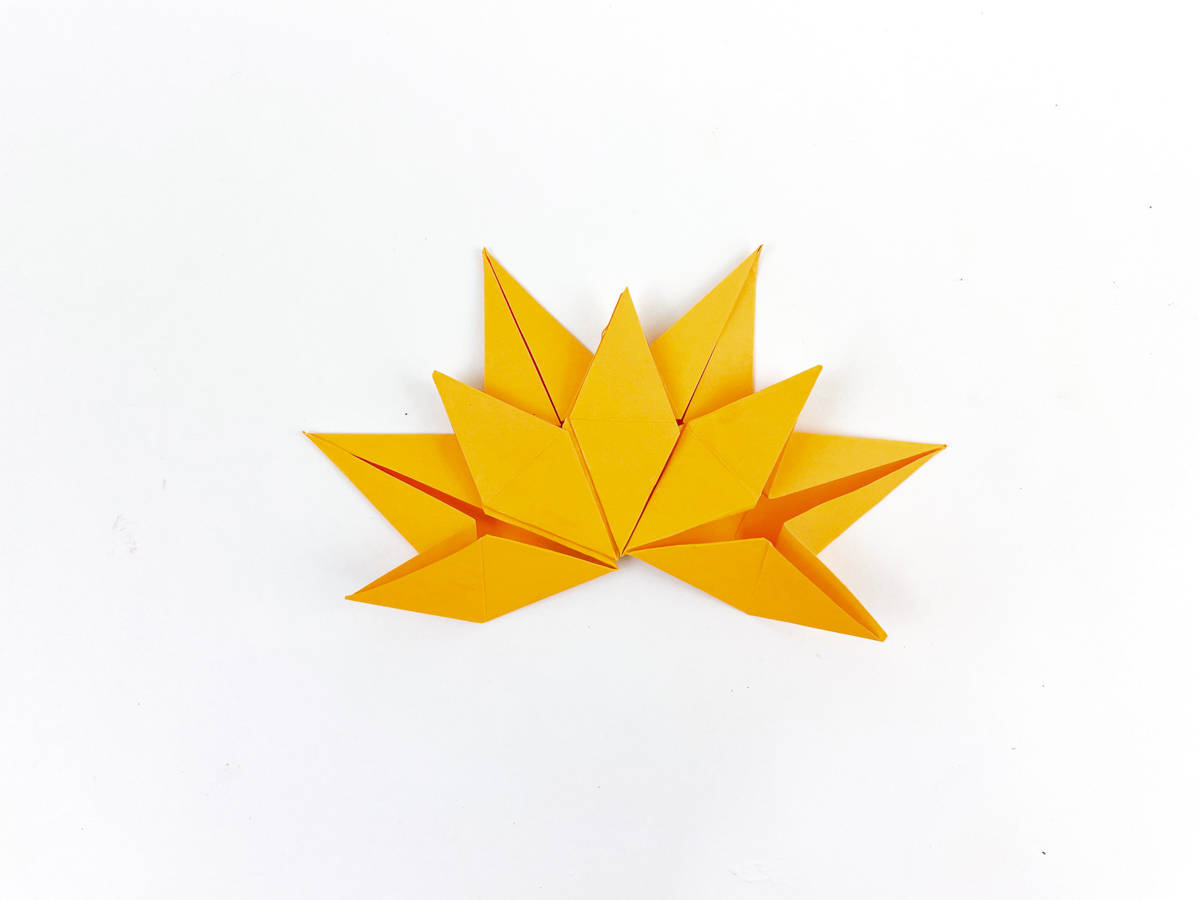
Glue the third and fourth leaves on top of the previous leaves.
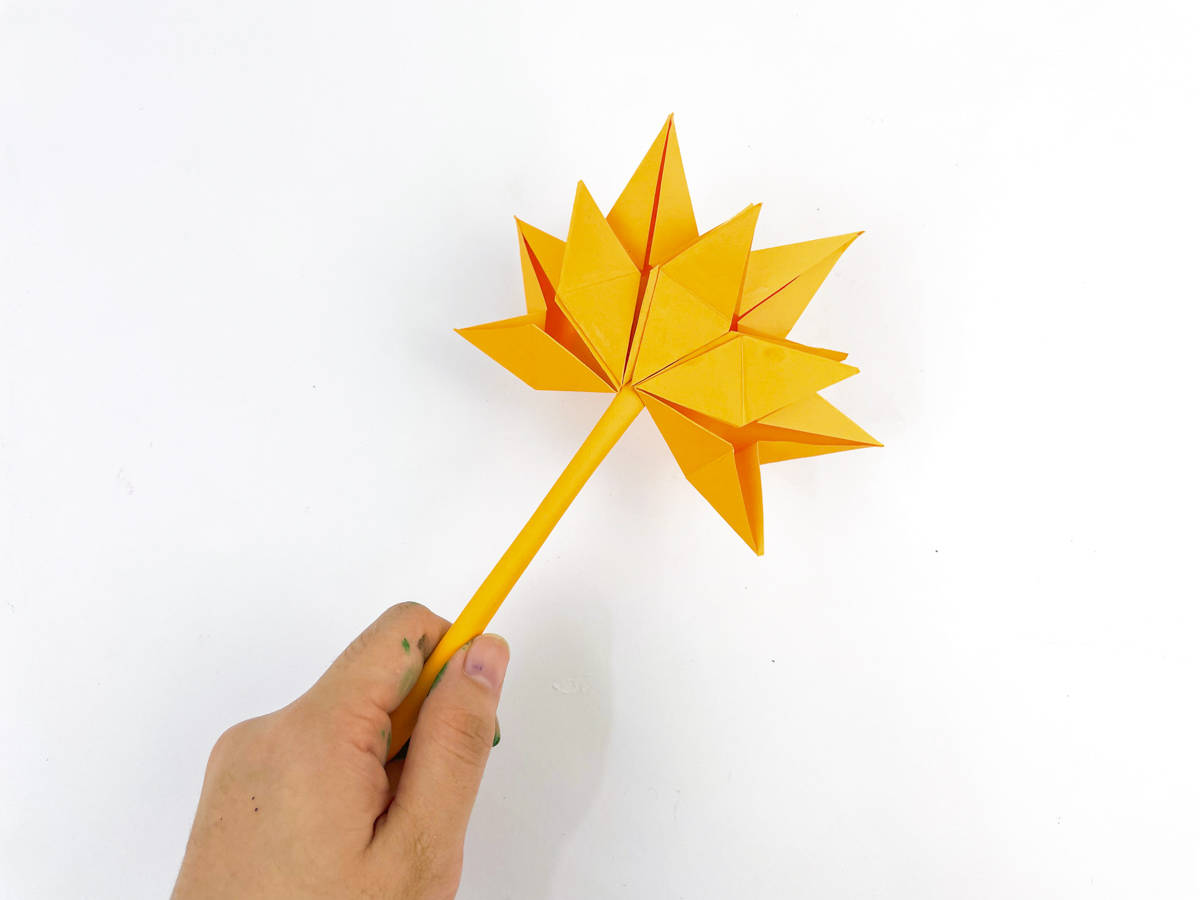
Maple Leaf Stem
Grab another square piece of paper
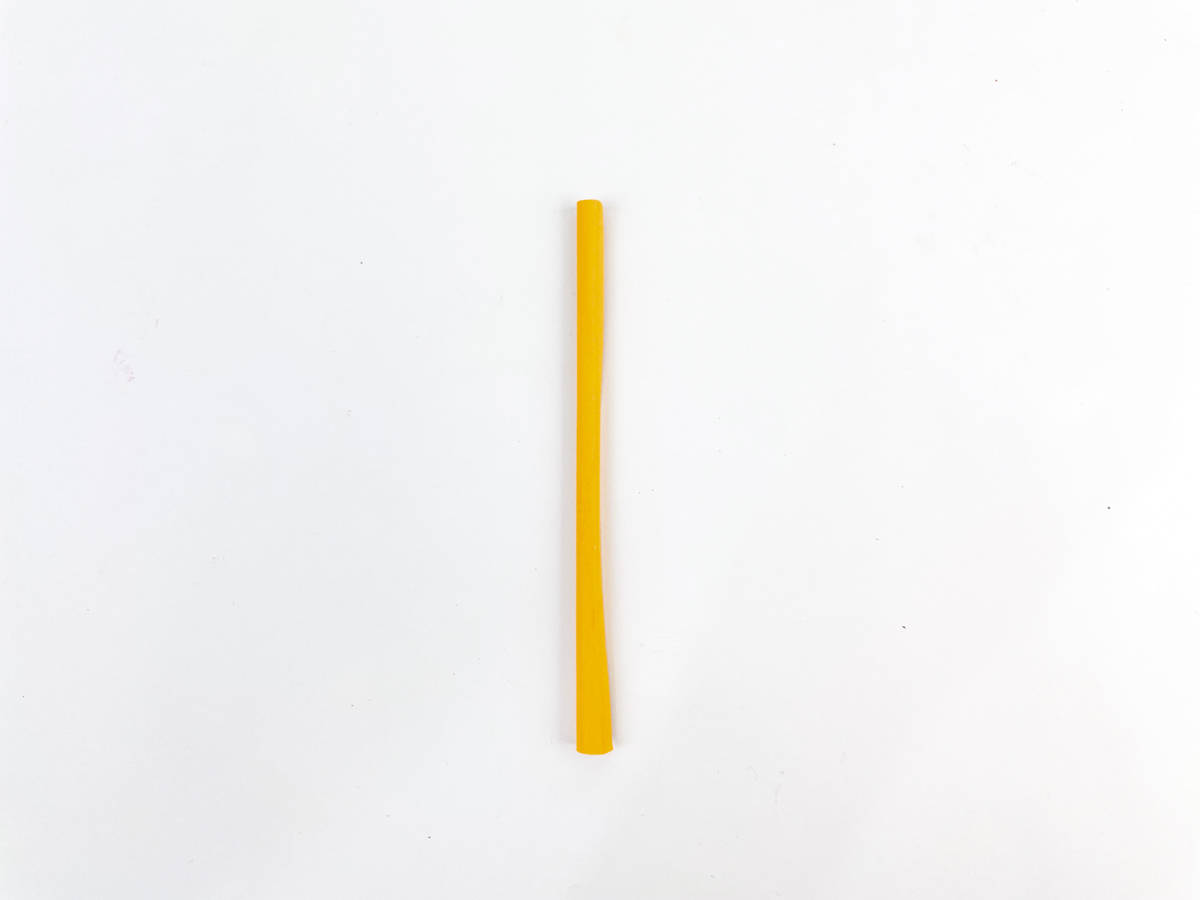
Roll it up starting on one side until it is a thin stem.
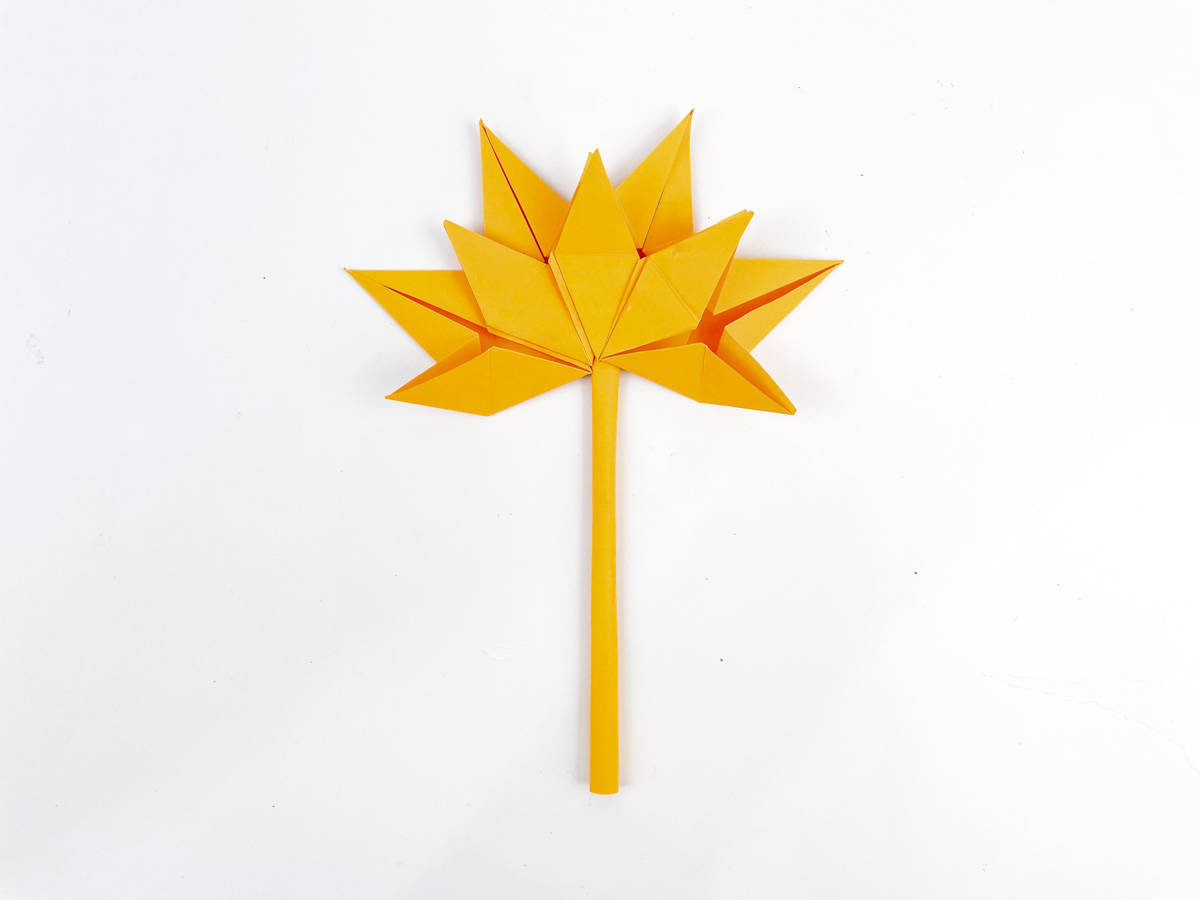
Glue the stem to the leaf portion of the maple leaf and viola, you have your own maple leaf origami!
We highlighted this Fall Craft and Leaf along with some other fun kid's crafts in our November Crafts along with our 101+ Kiddie Crafts.
Other Origami Crafts You'll Enjoy

Maple Leaf Origami
Equipment
Ingredients
Instructions
- Grab your piece of paper. Its going to be an autumn leaf and so we recommend going with orange yellow color.

- The key is to start with a square piece of paper approximately 3 inches by 3 inches or 8 cm by 8 cm.
- For the piece of paper in half diagonally.
- Unfold the paper with the crease being vertical (up and down) and it looks like a diamond shape. Fold the top right side of the diamond into the middle crease.
- Fold in other side.
- Next, fold the small triangle at the bottom up right at where the side folds end to create another triangle.
- Unfold the square paper.
- Fold up the bottom triangle from right before you unfolded the paper. Then fold bottom right corner up and under diagonally to the top of the the folded triangle underneath. Then bring the corner that is in the air down to the bottom middle point.
- Fold the left side in the same as you did in the previous steps.
- Your origami leaf should now look like a bottom heavy diamond shape. The two bottom points should be a bit in the air and not completely flat with the table.
- Fold each of those bottom points up back at the original fold. You now have one section of the maple leaf origami. If you would like to go back in and glue your origami into place, you certainly can, but the end result should be this shape.
- Repeat the making of the maple leaf three more times.
- Placing glue on the top right side of leaf one, glue leaf two on top of leaf one at a slight angle so that the right point from leaf 1 lines up with the left point from leaf two.
- Glue the third and fourth leaves on top of the previous leaves.
- Grab another square piece of paper
- Roll it up starting on one side until it is a thin stem.
- Glue the stem to the leaf portion of the maple leaf and viola, you have your own maple leaf origami!


Video
CONNECT WITH MADE WITH HAPPY!
Be sure to follow me on social media, so you never miss a post!
Facebook | Twitter | Youtube | Pinterest | Instagram
Find and shop my favorite products on my Amazon storefront here!
Maple Leaf Origami
PIN IT TO YOUR DIY BOARD ON PINTEREST!
FOLLOW MADE WITH HAPPY ON PINTEREST FOR ALL THINGS HAPPY!