Sail the art of origami with our captivating paper boat. Unfold creativity, craft wonders, and set sail on a paper adventure today!
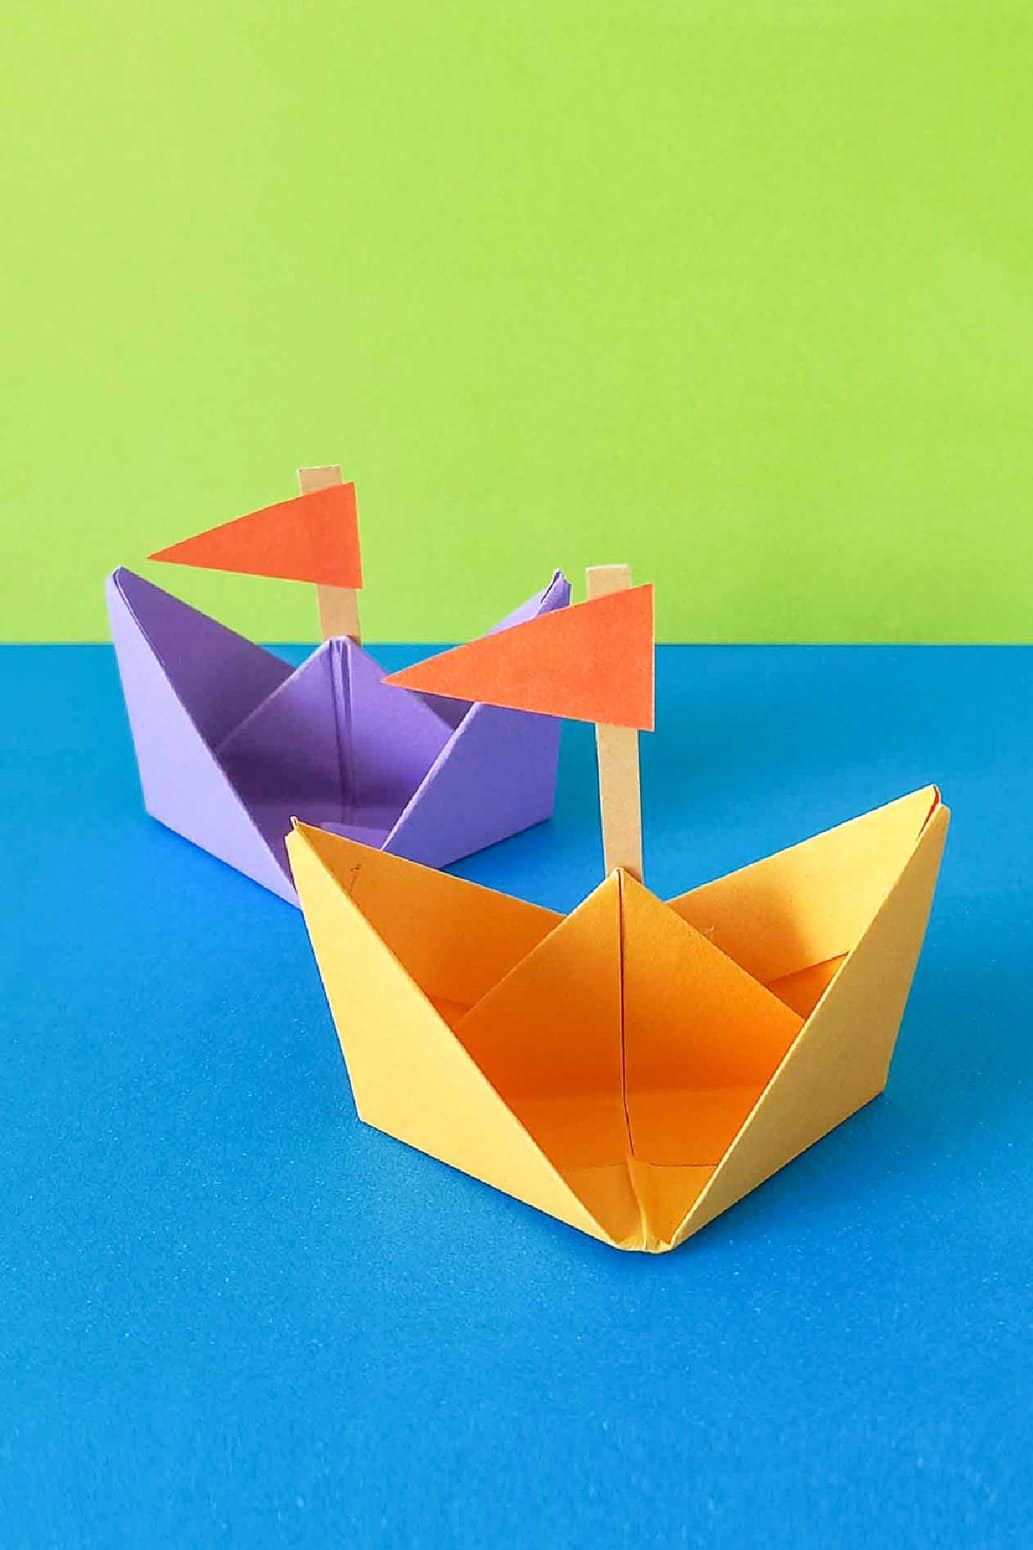
Is your favorite childhood memory sailing a boat in your backyard pool? Or is it playing with a paper boat in the bathtub? Either way, you've likely had some experience with origami boats. Good old days, right?
Luckily, the time when you can relive these memories is here! Make an origami boat with your little one and have a joyous boat ride without getting wet. You'll need some colorful origami paper and a special folding technique. It's going to be so much fun.

Want to save this project?
Enter your email below, and then we'll send it straight to your inbox. Plus get awesome new projects from us each week.
Is an Origami Craft Too Much for Young Kids?
Not at all! Having young children make origami boats is a great way to introduce them to the art of origami. With some guidance, even the smallest fingers can put together a beautiful boat that will impress everybody. Furthermore, it's a delightful experience for both children and adults alike.
Moreover, folding a rectangular piece of paper into different shapes is an excellent way to practice patience and attention to detail in preschoolers. It'll increase their concentration levels and fine motor skills.
What Is the Best Origami Paper for Making a Boat?
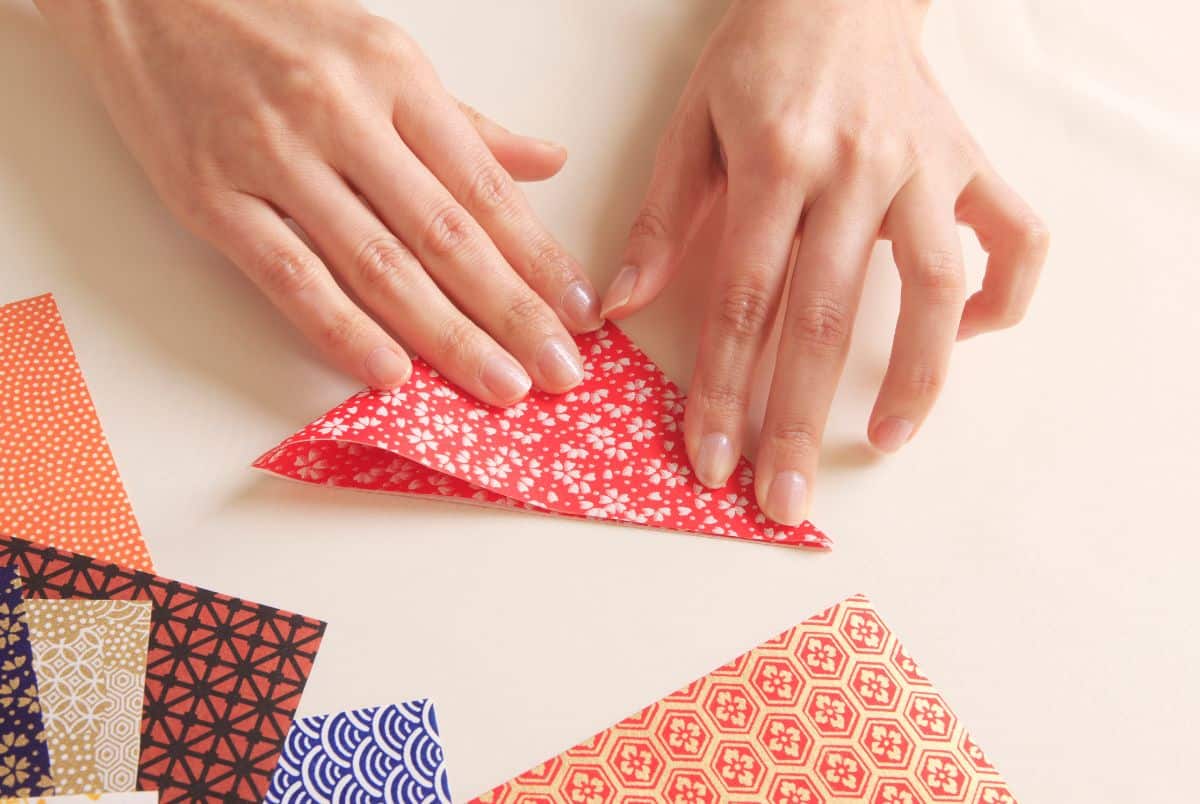
Usually, origami boats spend their lives as bath toys, so it's best to choose waterproof origami paper that won't smudge easily. A thin foil paper works best, as it gives the boat a shiny finish and adds extra durability. Moreover, it enhances the overall appearance of the boat.
Can't find it? No worries. Use construction paper. Even an ordinary plain white paper would do.
When I declutter my desk, I give my kids colorful Post-it notes and extra newspapers. It reduces paper waste and eliminates the worries about getting it wrong.
Rember if you are using it in water, air drying the boat at the side of a bath or dry place is best so there isn't growth of bacteria and there is multiple use.
Don't miss our other boat crafts including the Paper Plate Boat, Juice Box Boat, Pirate Ship Craft, and How to Draw a Sailboat.
Tips and Tricks for Making an Origami Boat
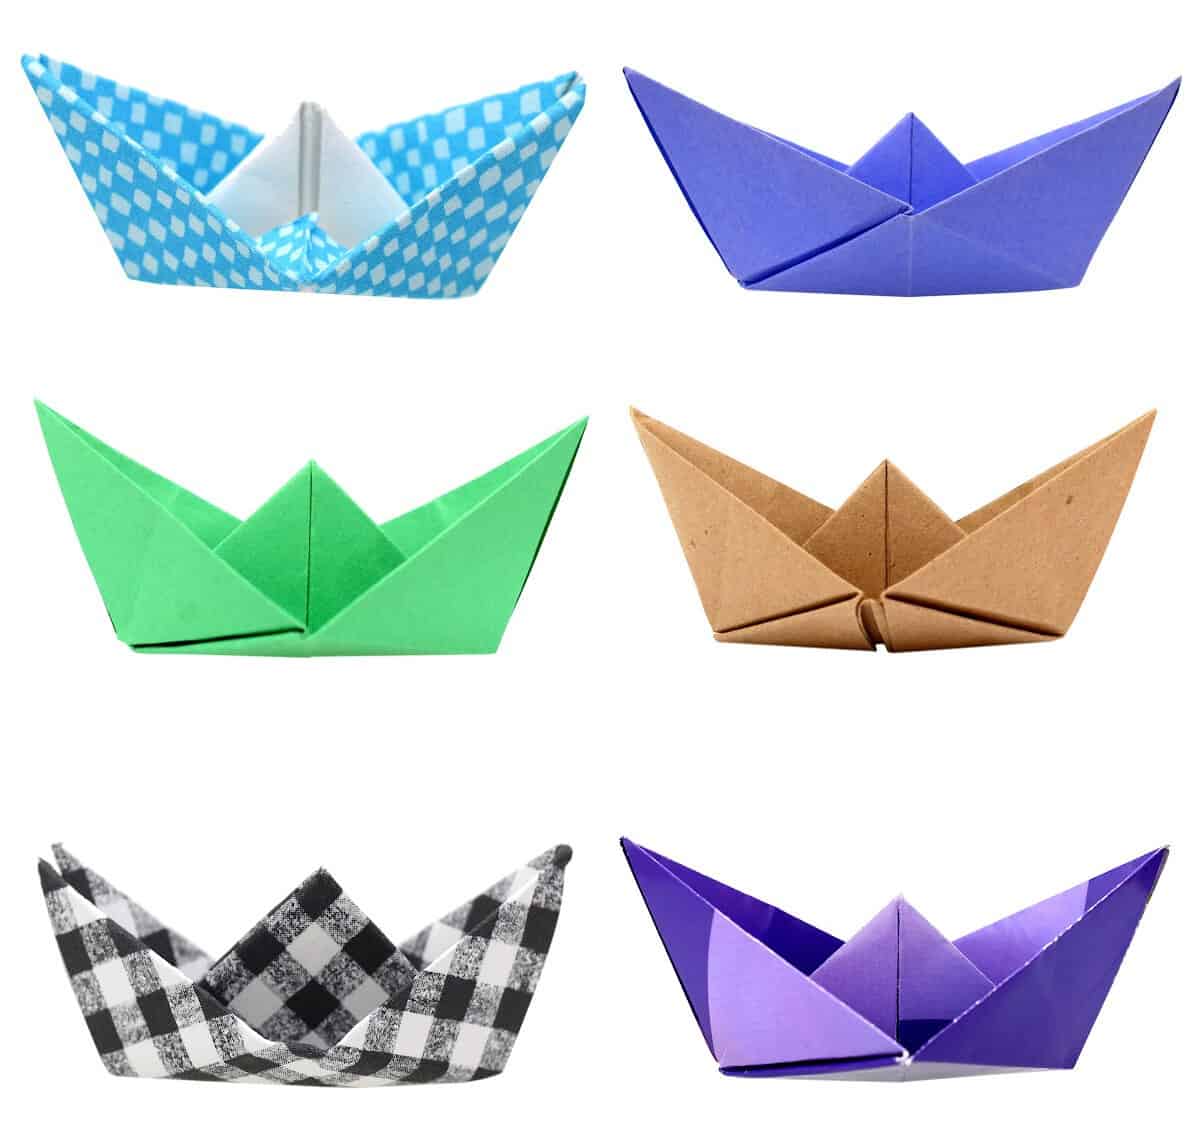
Most origami boat templates are not too complicated; in fact, they are relatively straightforward. You and your kids will soon get them right. Still, here are some helpful tips to make your project even easier:
- To begin, start with a flat square sheet of paper, as it simplifies the process of folding and makes it easier for kids to understand what they are doing.
- Use the reverse fold technique when folding the edges of the boat. It will give it a crisp and neat look.
- To make the boat sturdier, use a few dots of glue when you're done.
Ideas to Decorate the Origami Boat
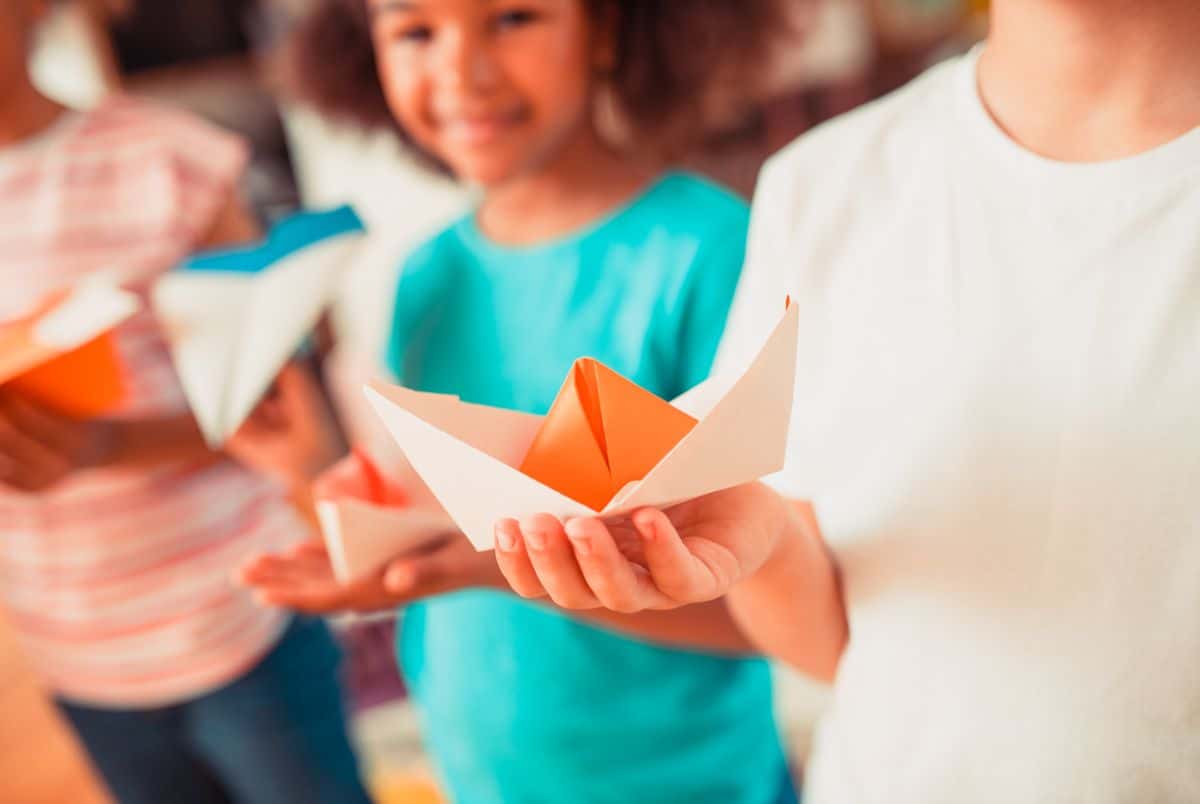
Where's the fun in a solid-colored boat when you can liven it up with bright colors? Here are some ideas for decorative objects for your boat:
- Use colorful paper and stickers for endless fun
- Create tiny flags and sails from paper or fabric to make a boat look like a real one
- Draw a beautiful scene on the boat to make it artsier
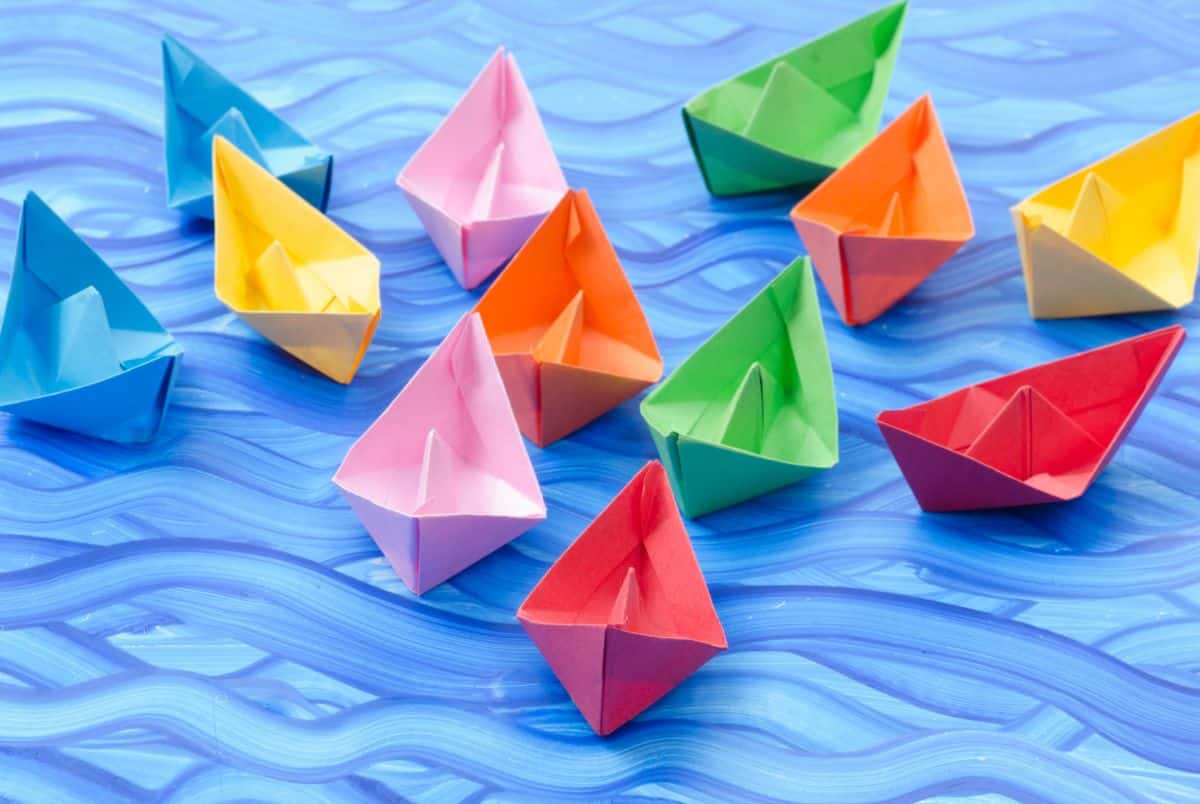
What Else Can I Do with an Origami Boat?
The first thing that comes to our minds when we think of a boat is sailing. But you can do so much more with these paper creations!
- Attach strings to hang them as a whimsical mobile
- Display a tiny origami boat in a terrarium
- Use them as gift tags for special occasions
- Make them into keychains to remember the fun you had
Check Out These Other Origami Crafts!
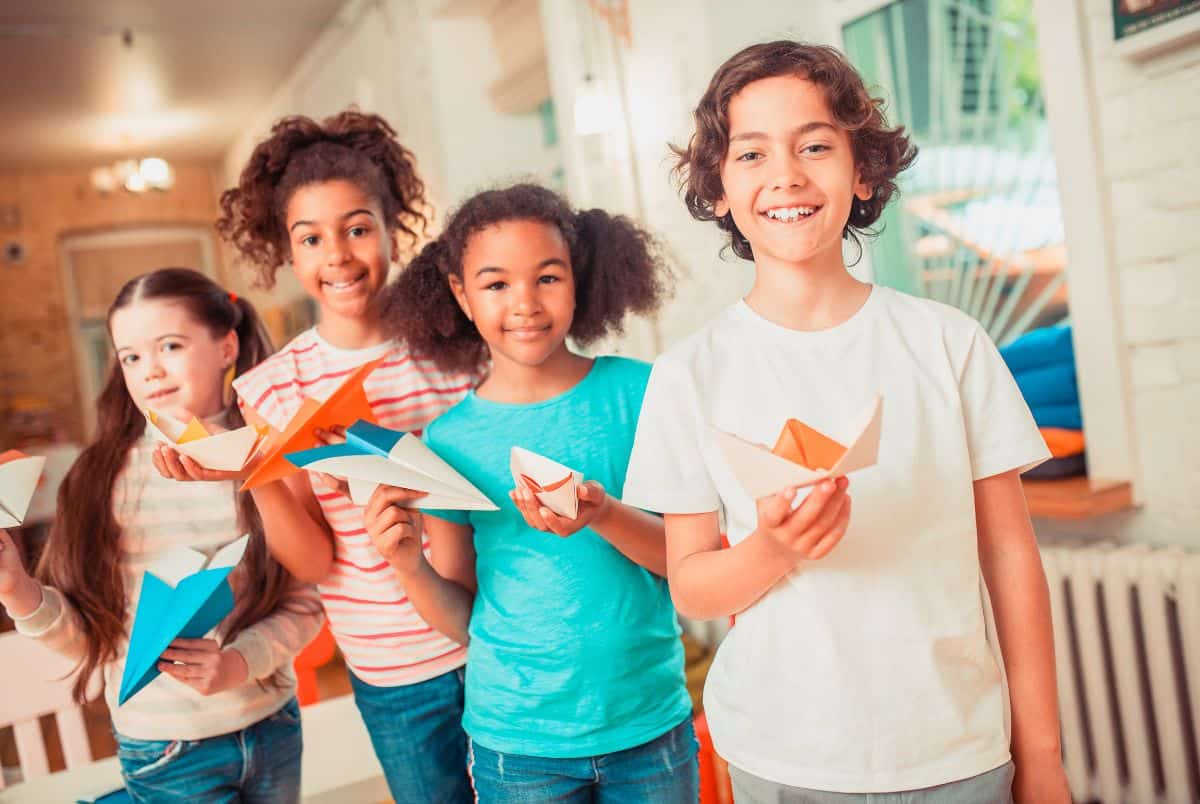
Origami Boat Craft Is an Exciting and Creative Activity for All Ages
Not only is origami art suitable for adults, but it's also perfect for children! Engaging in making an origami boat with your little ones, moreover, is a wonderful way to spend quality time together. And, rest assured, it's not hard at all! With the right techniques, you can easily master it. Additionally, I've attached the step-by-step guide for you all below. I hope it helps.
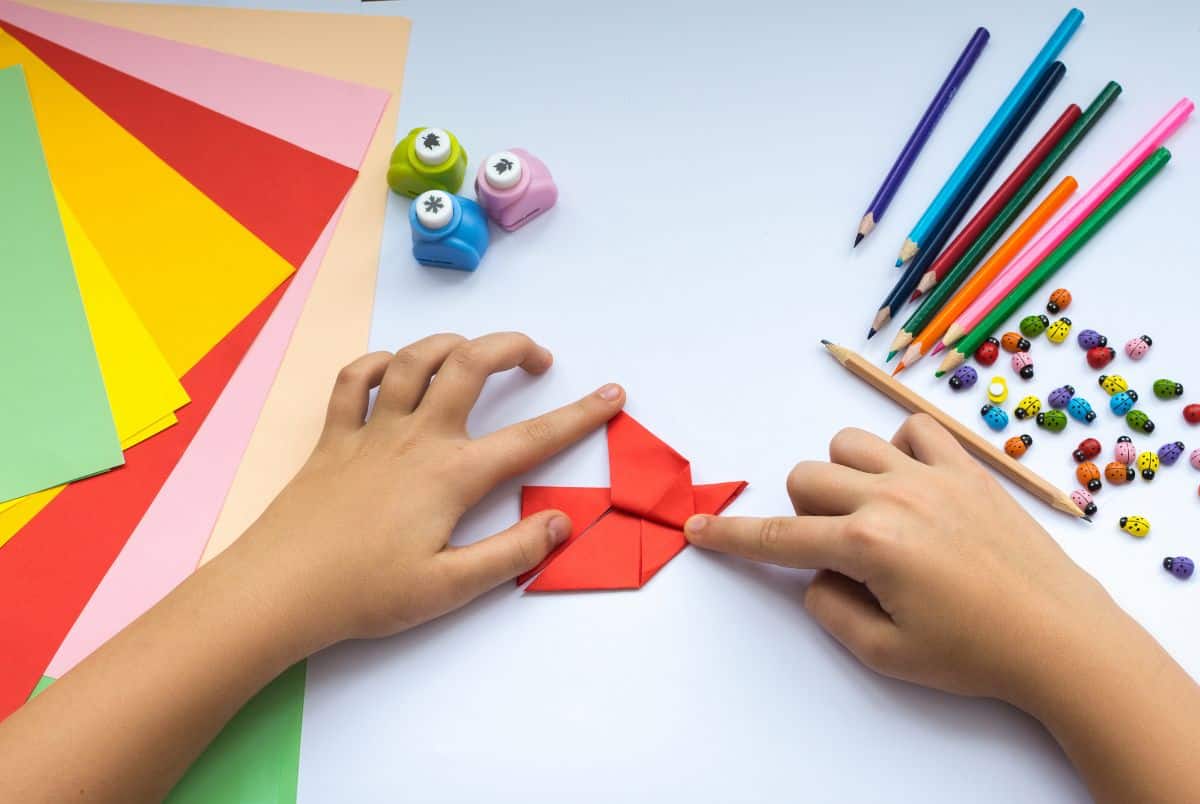
Boat Origami Supplies
- A sheet of craft paper - origami paper
- Glue (optional).
- Scissors (optional).
- Colorful craft paper and or card stock paper (for the flag).
How To Make an Origami Boat
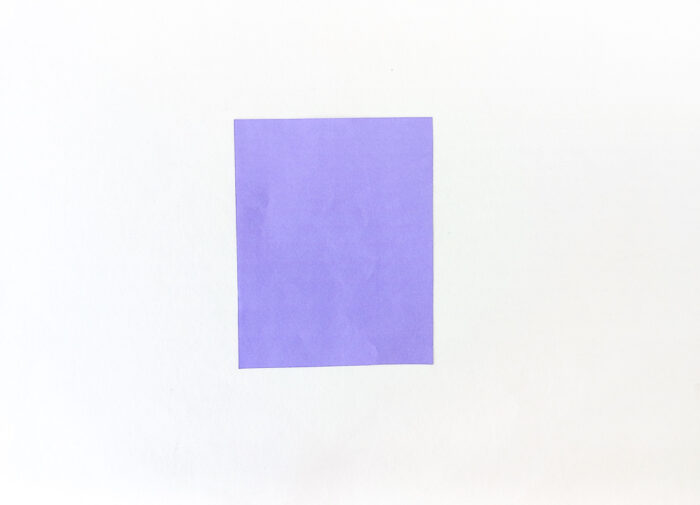
Step 1: Start with a rectangular sheet of craft paper. If the paper has a colored side, make sure it is facing down.
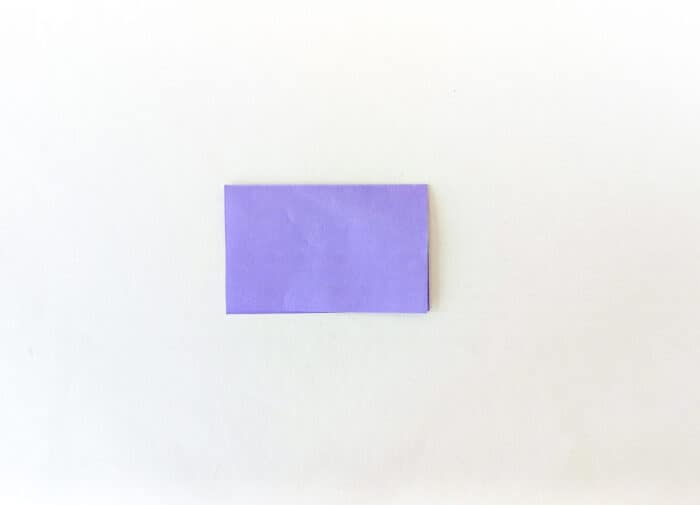
Step 2: Fold the paper in half horizontally to create a crease in the center of the paper.
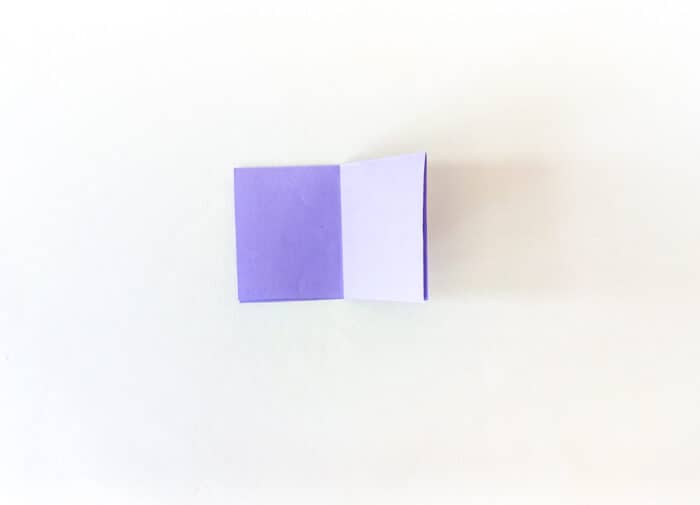
Step 3: Fold the paper in half vertically to create another crease in the center.
Origami Boat Triangle
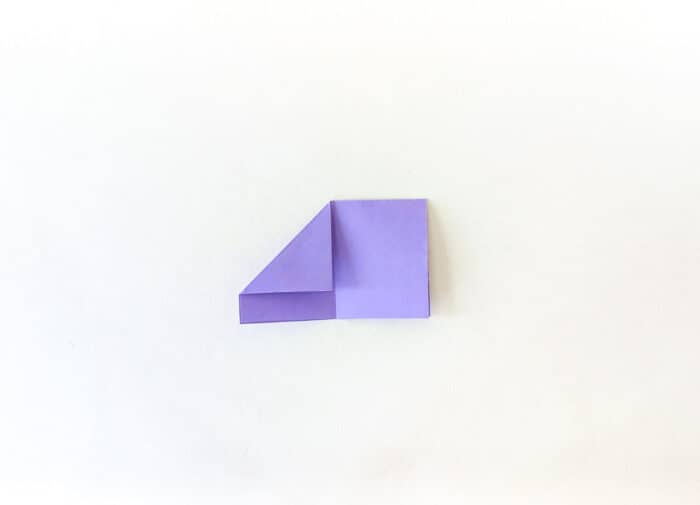
Step 4: Bring the right edge of the paper towards the center crease line, folding it diagonally to create a triangle shape. Crease the fold well.
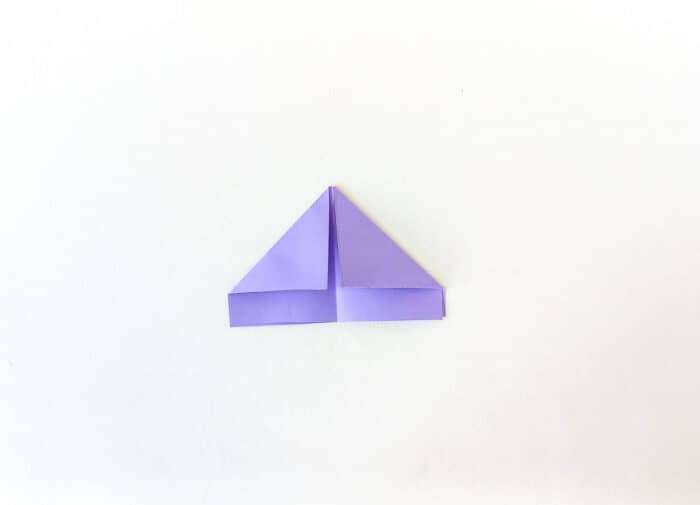
Step 5: Repeat the previous step for the other edge of the paper, folding it diagonally to create another triangle shape. Crease the fold well.
Bottom of Boat
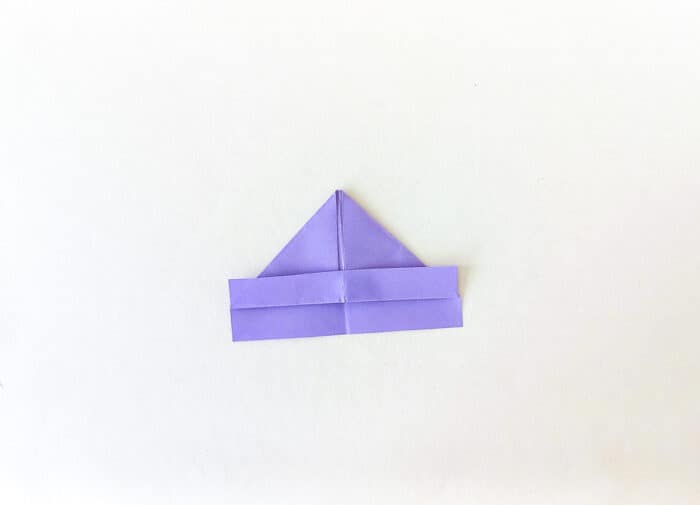
Step 6: Fold the bottom edge of the paper up. Fold up to the bottom of the diagonal creases you made in the last two steps.
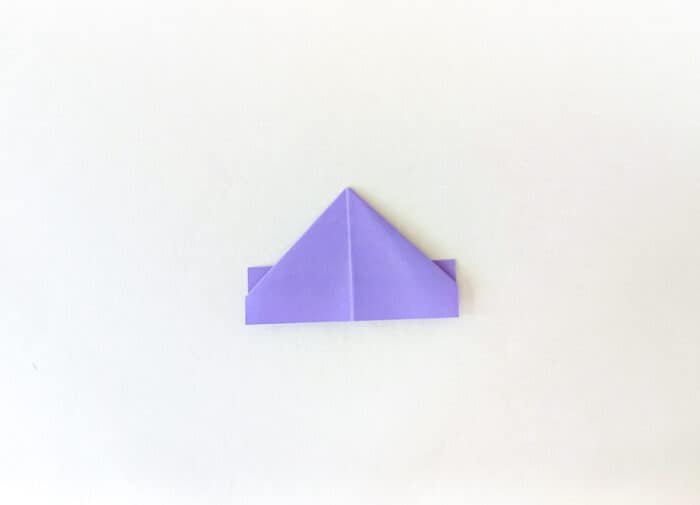
Step 7: Flip it over.
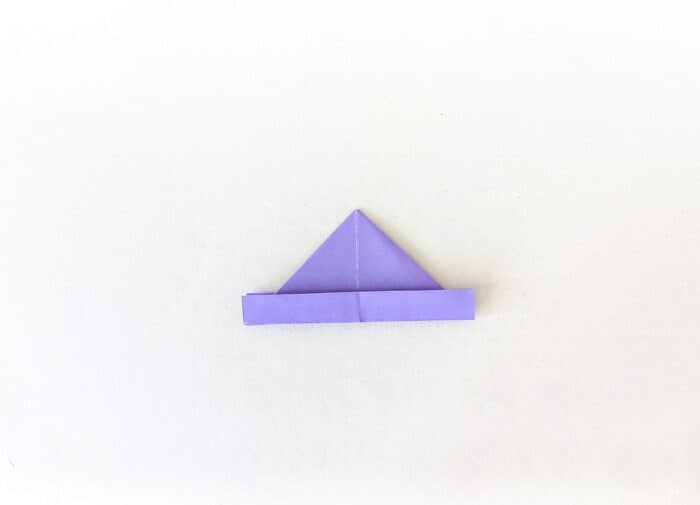
Step 8: Repeat the step. Fold the bottom edge.
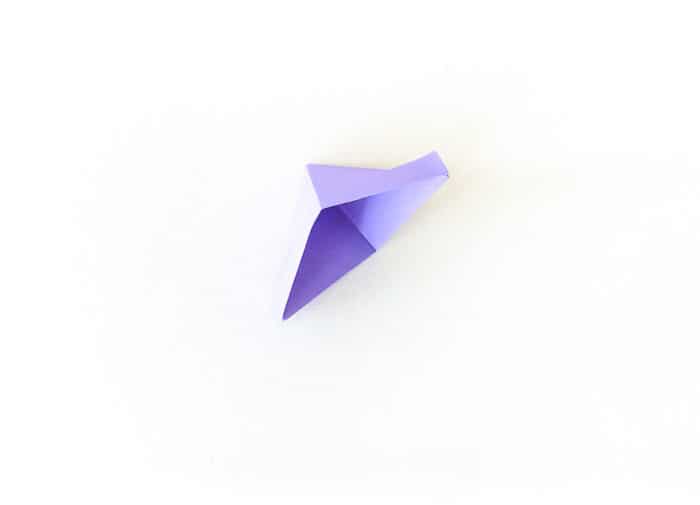
Step 9: Open the gap of the folded triangular-shaped origami pieces.
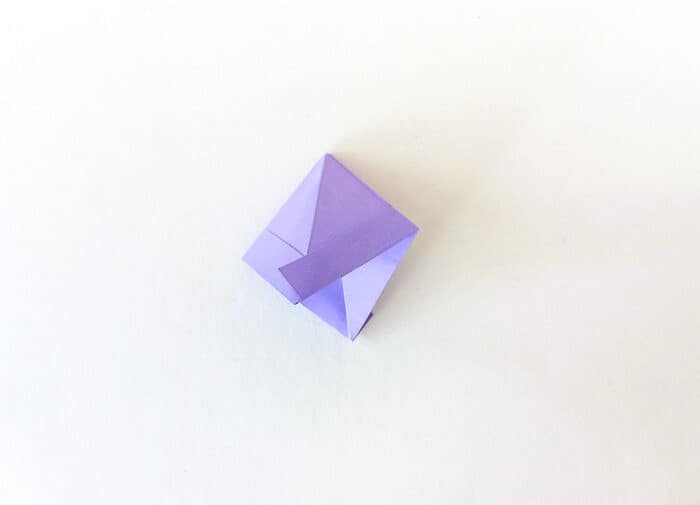
Step 10: Bring the top corners of the paper down.
Bring it toward the center of the paper.
Fold them along the diagonal creases on two sides.
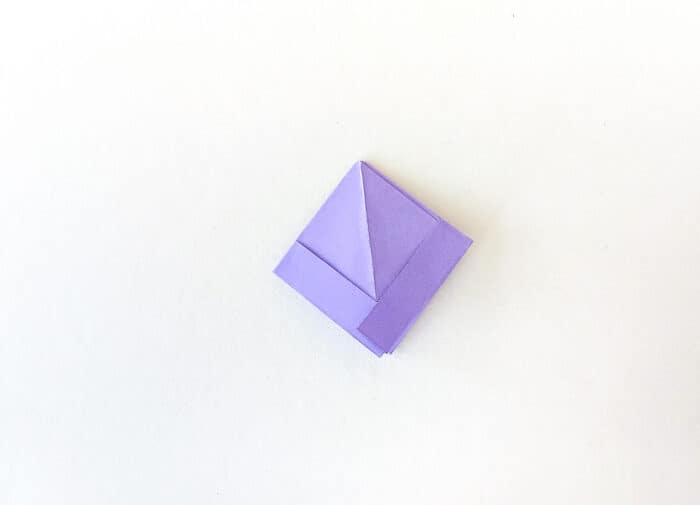
Step 11: This will create a diamond shape.
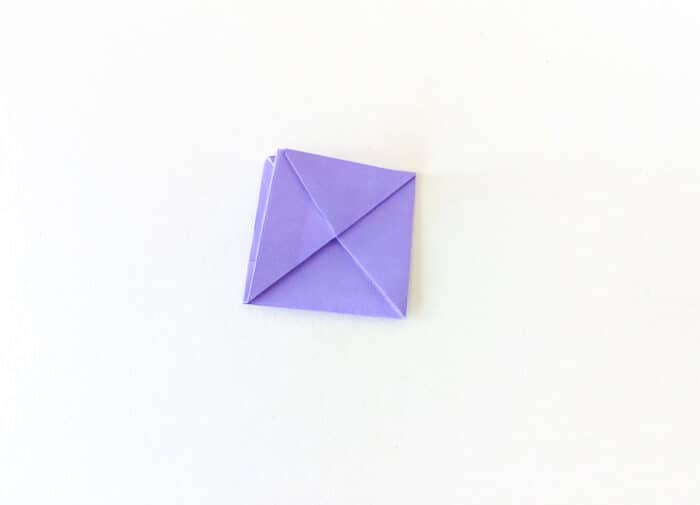
Step 12: Fold the top layer of the bottom point of the paper up. This should be folded along the top edge of the paper to create a triangle shape.
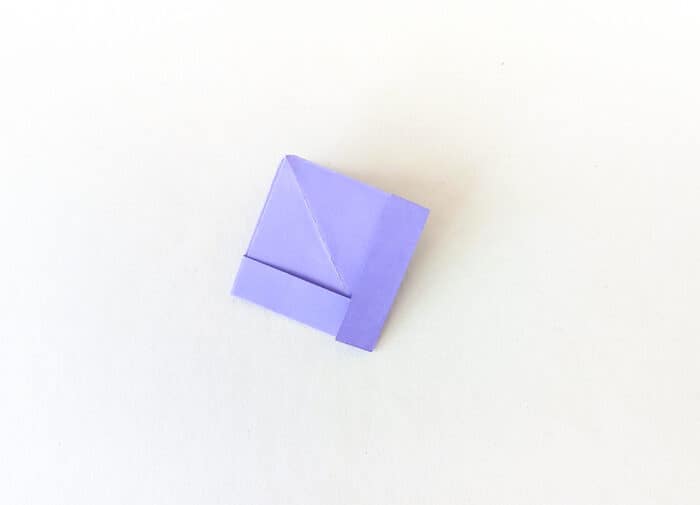
Step 13: Flip it over.
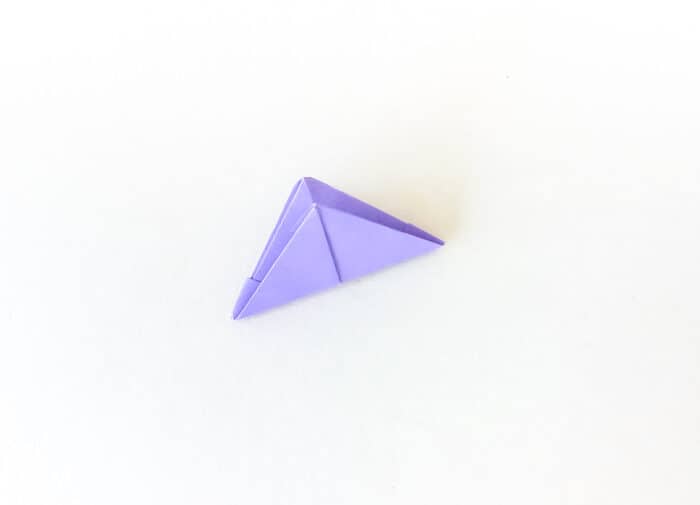
Step 14: Repeat the process. It will create a triangle shape.
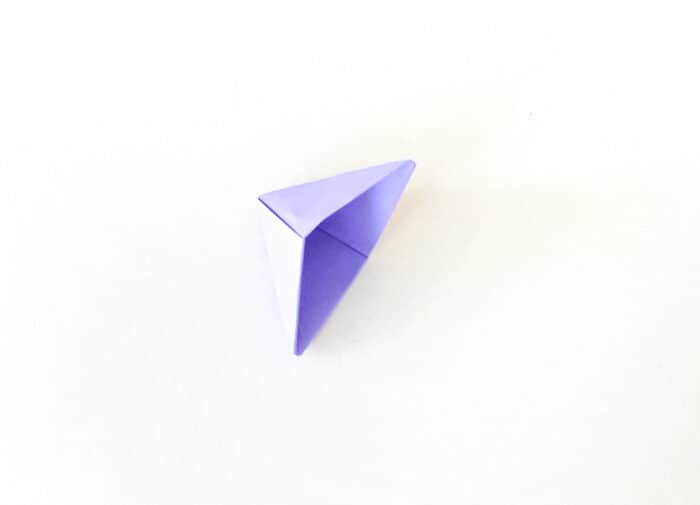
Step 15: Similar to step 9 open the gap in the middle.
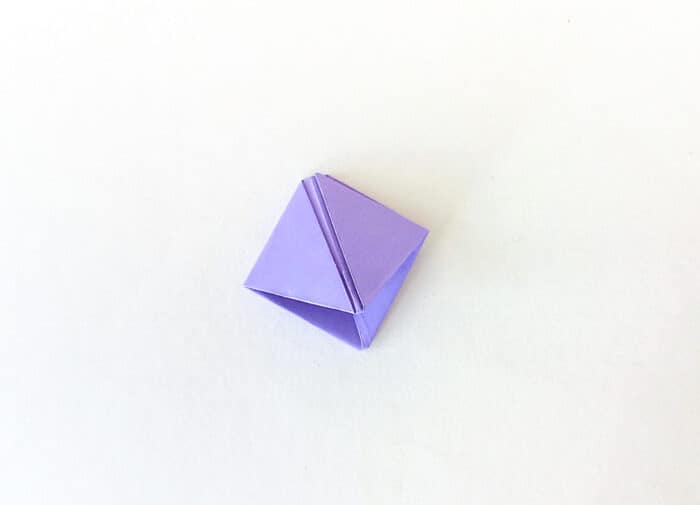
Step 16: Fold it along the two creases. Fold on to sides to create a diamond shape.
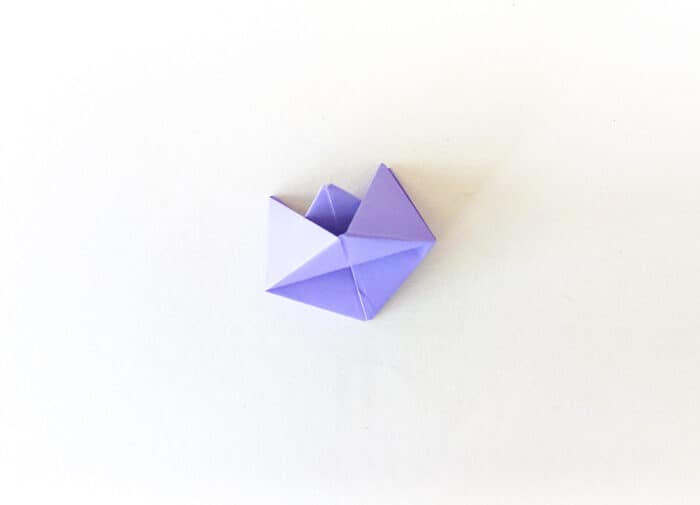
Step 17: Gently pull the two sides of the boat apart to create a small opening.
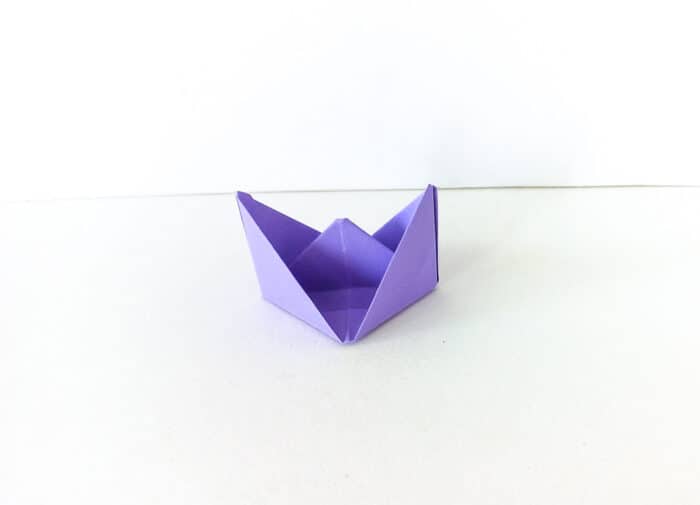
Step 18: Pinch the bottom corners of the boat. Then pull them down slightly to make the boat more stable.
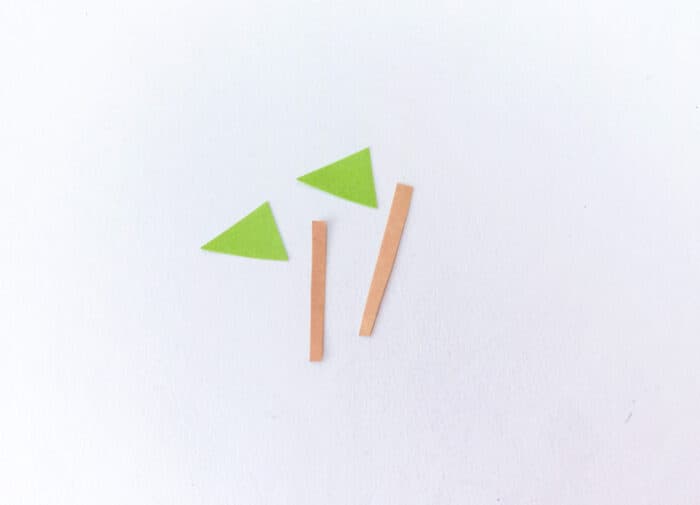
Step 19: To make the flags cut out triangular colorful craft paper and a thin strip from cardstock paper.
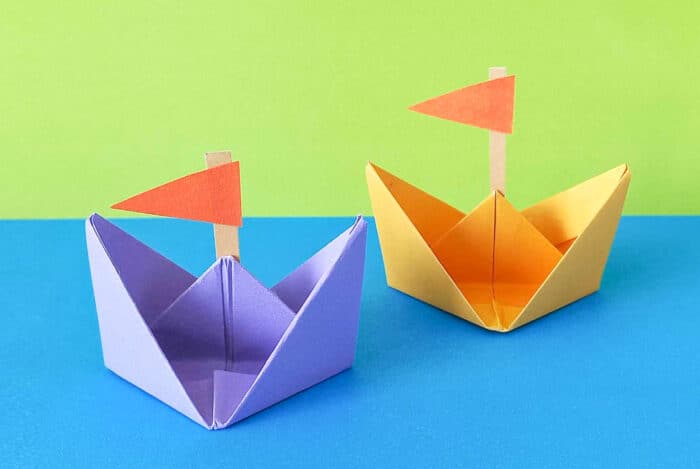
Your origami boat is now complete! You can now use it as a decoration or float it in water.
We highlighted these Origami Crafts along with some other fun kid's crafts in our Summer Crafts for Kids along with our 101+ Easy Kids Crafts.
You also do not want to miss our 101+ Coloring Pages For Kids and 101+ Printables full of Crafts and Coloring Pages.
Other Summer Crafts You'll Enjoy
- Paper Plate Sun
- Strawberry Painted Rock
- Squirt Gun Painting
- Beach Please Hat
- Popsicle Stick Bird Feeder
Origami Boat
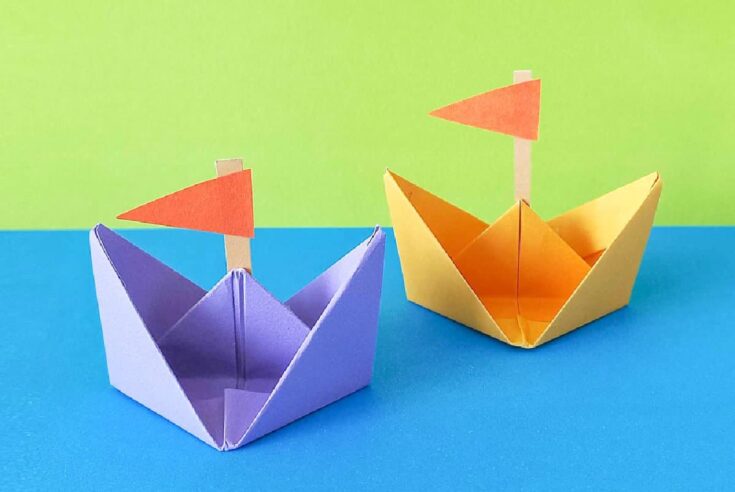
Sail the art of origami with our captivating paper boat. Unfold creativity, craft wonders, and set sail on a paper adventure today!
Materials
- Origami paper
- Card Stock Paper (for the flag)
Instructions
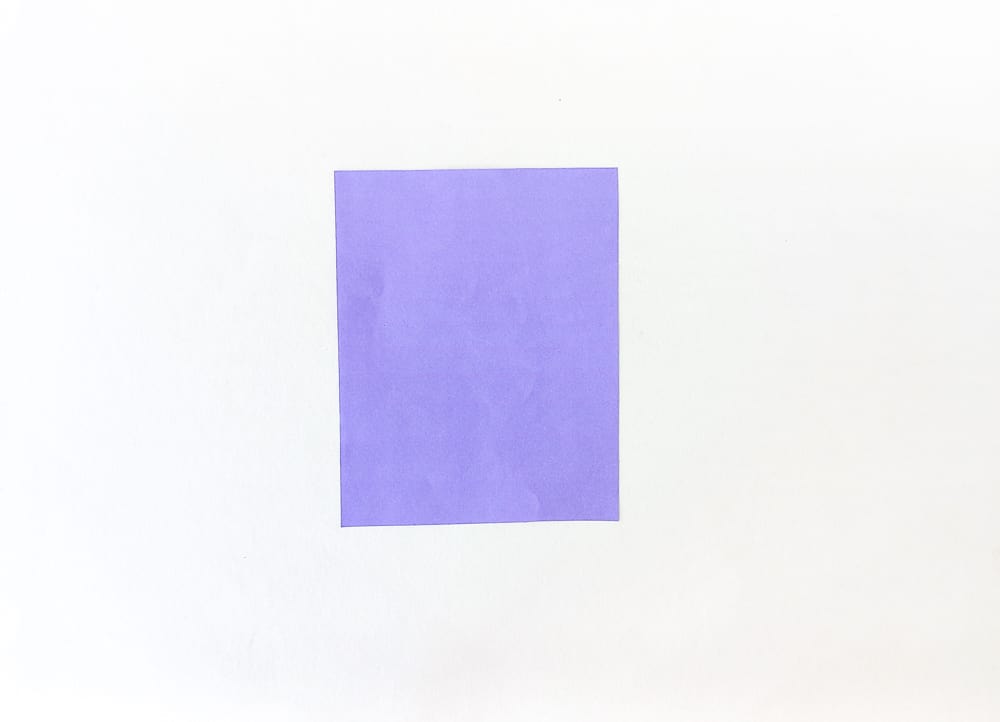
Step 1: Start with a rectangular sheet of craft paper. If the paper has a colored side, make sure it is facing down.
Step 2: Fold the paper in half horizontally to create a crease in the center of the paper.
Step 3: Fold the paper in half vertically to create another crease in the center.
Step 4: Bring the right edge of the paper towards the center crease line, folding it diagonally to create a triangle shape. Crease the fold well.
Step 5: Repeat the previous step for the other edge of the paper, folding it diagonally to create another triangle shape. Crease the fold well.
Step 6: Fold the bottom edge of the paper up to the bottom of the diagonal creases you made in in the last two steps.
Step 7: Flip it over.
Step 8: Repeat the step and fold the bottom edge.
Step 9: Open the gap of the folded triangular-shaped origami pieces.
Step 10: Bring the top corners of the paper down towards the center of the paper, folding them along the diagonal creases on two sides.
Step 11: This will create a diamond shape.
Step 12: Fold the top layer of the bottom point of the paper up along the top edge of the paper to create a triangle shape.
Step 13: Flip it over.
Step 14: Repeat the process. It will create a triangle shape.
Step 15: Similar to step 9 open the gap in the middle.
Step 16: Fold it along the two creases on to sides to create a diamond shape.
Step 17: Gently pull the two sides of the boat apart to create a small opening.
Step 18: Pinch the bottom corners of the boat and pull them down slightly to make the boat more stable.
Step 19: To make the flags cut out triangular colorful craft paper and a thin strip from cardstock paper.
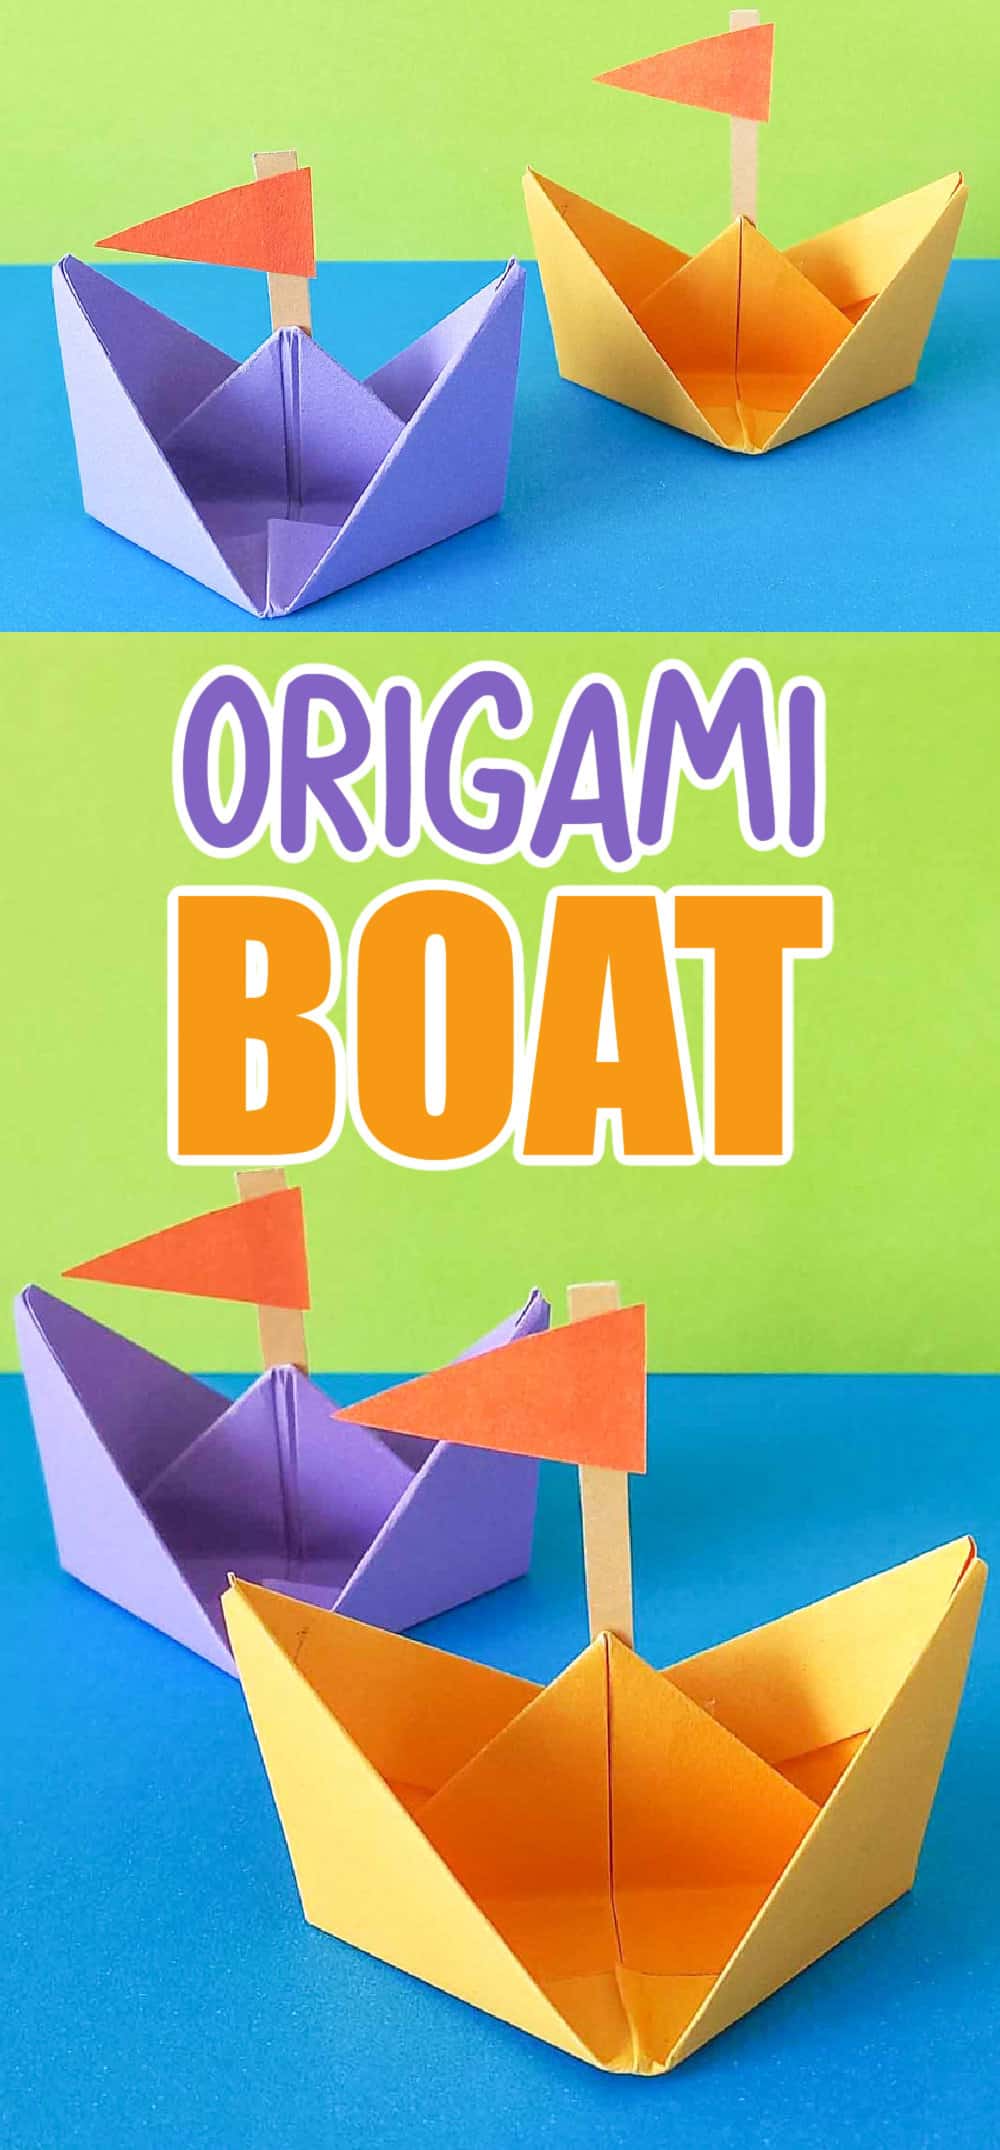
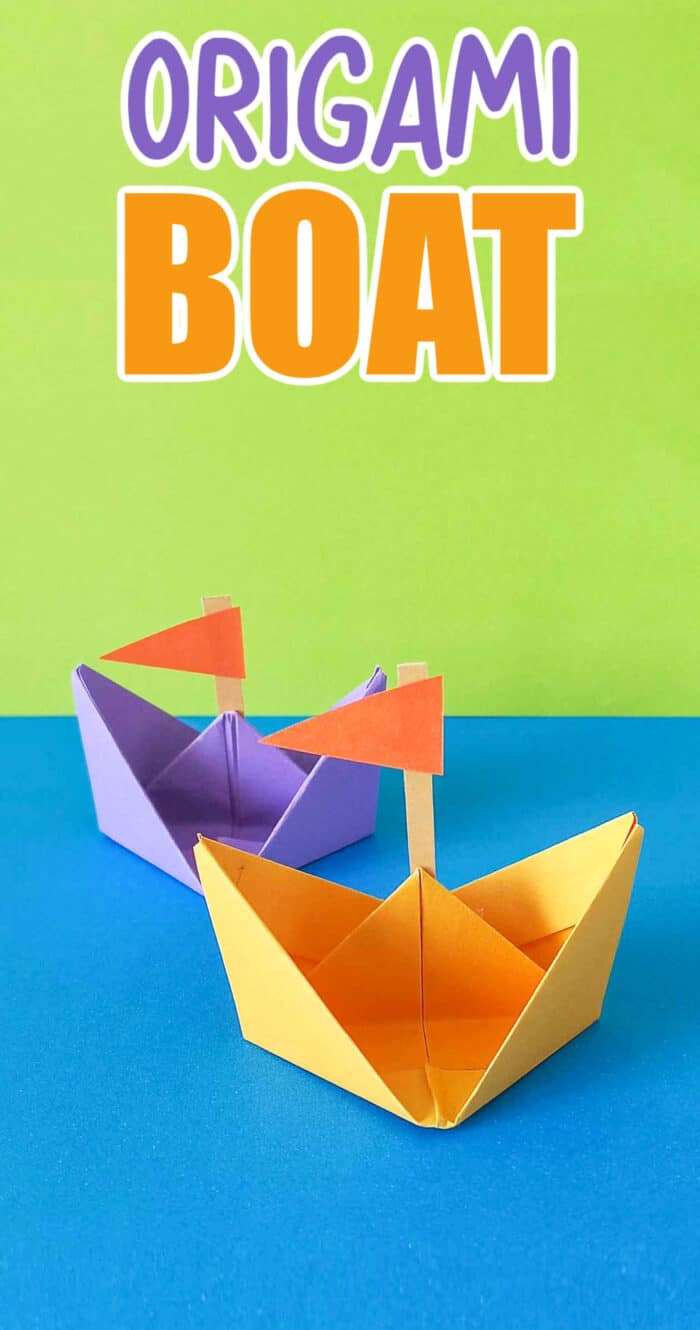
Your origami boat is now complete! You can now use it as a decoration or float it in water.
CONNECT WITH MADE WITH HAPPY!
Be sure to follow me on social media, so you never miss a post!
Facebook | Twitter | Youtube | Pinterest | Instagram
Find and shop my favorite products on my Amazon storefront here!
ORIGAMI BOAT
PIN IT TO YOUR DIY BOARD ON PINTEREST!
FOLLOW MADE WITH HAPPY ON PINTEREST FOR ALL THINGS HAPPY!


 Step 1: Start with a rectangular sheet of craft paper. If the paper has a colored side, make sure it is facing down.
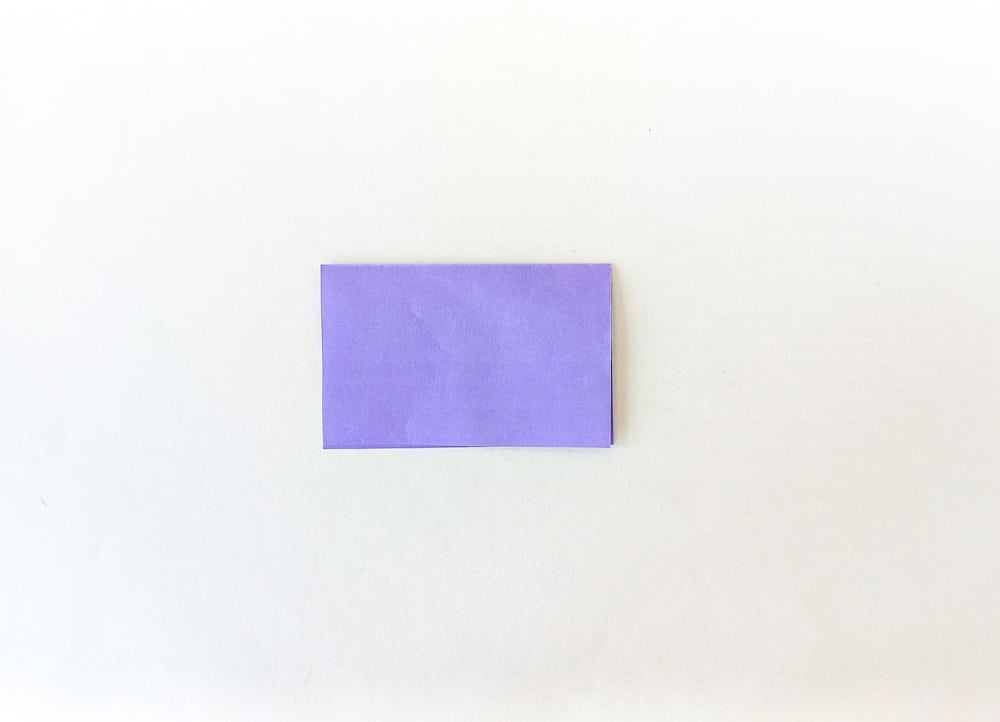 Step 2: Fold the paper in half horizontally to create a crease in the center of the paper.
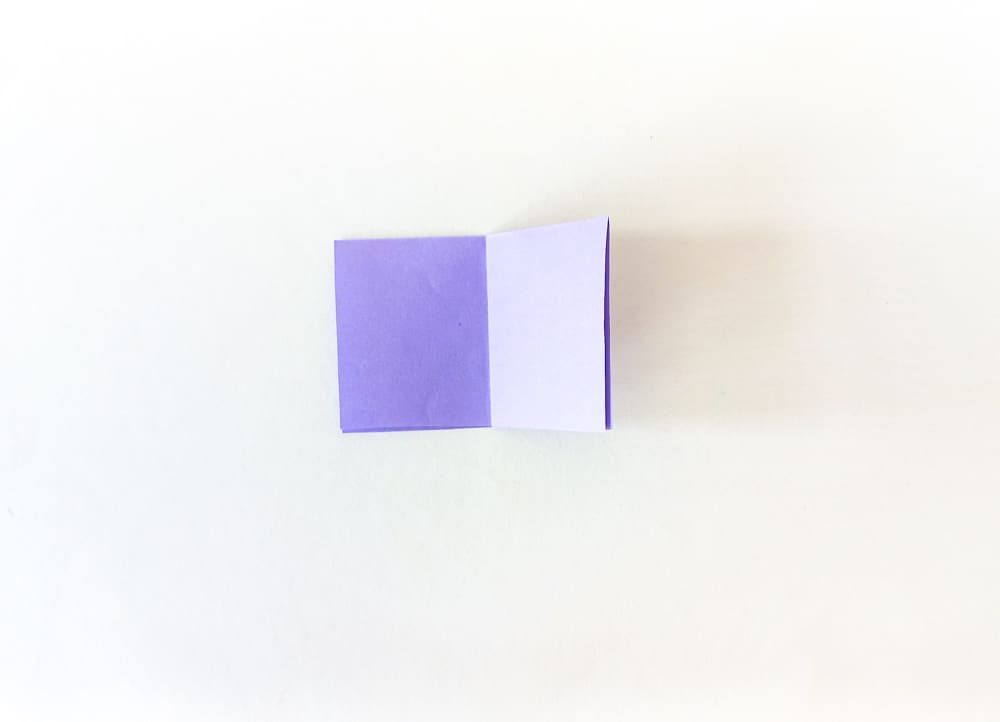 Step 3: Fold the paper in half vertically to create another crease in the center.
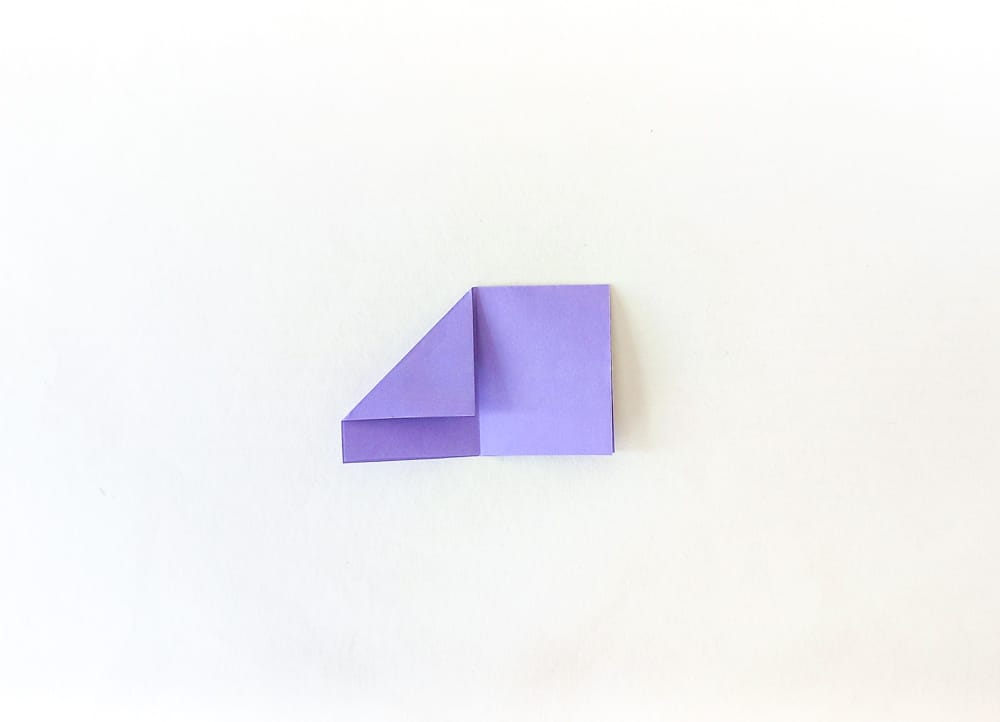 Step 4: Bring the right edge of the paper towards the center crease line, folding it diagonally to create a triangle shape. Crease the fold well.
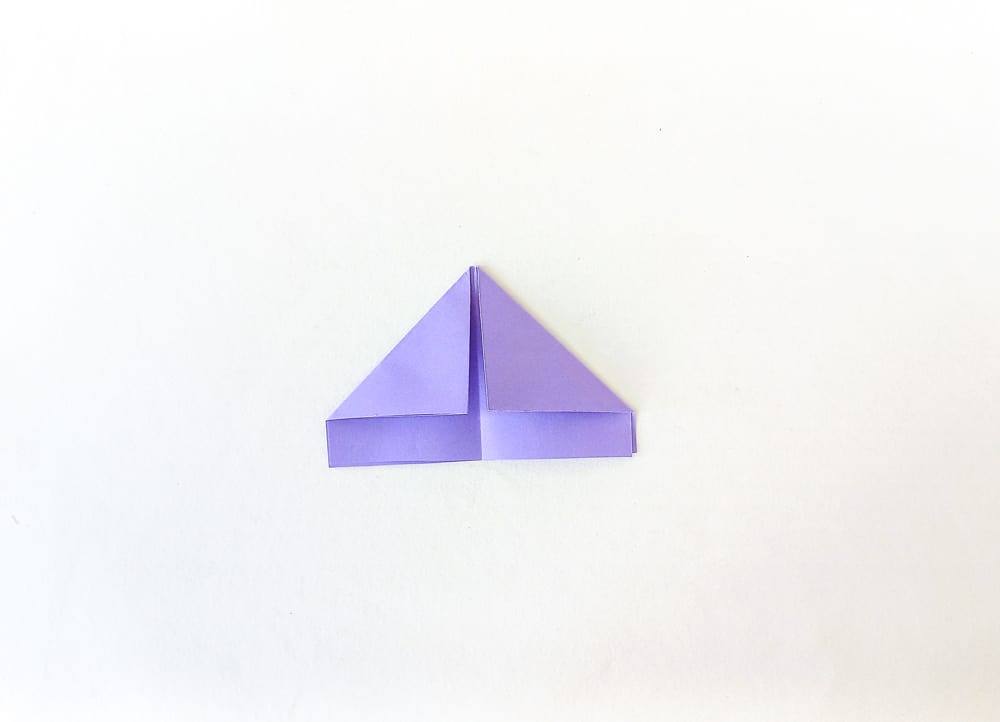 Step 5: Repeat the previous step for the other edge of the paper, folding it diagonally to create another triangle shape. Crease the fold well.
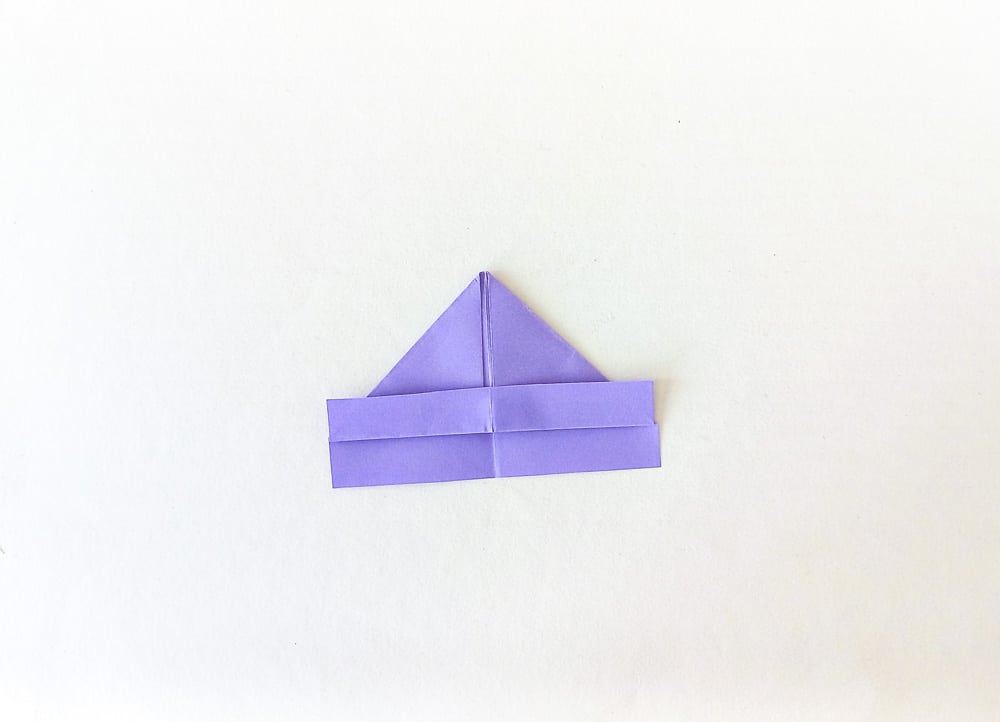 Step 6: Fold the bottom edge of the paper up to the bottom of the diagonal creases you made in in the last two steps.
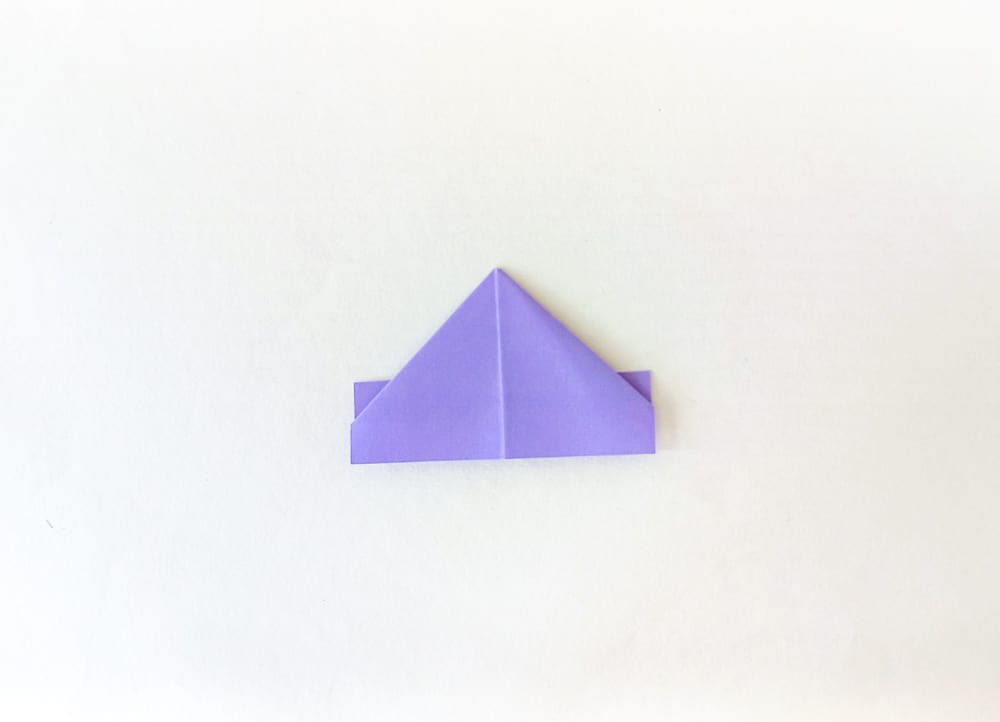 Step 7: Flip it over.
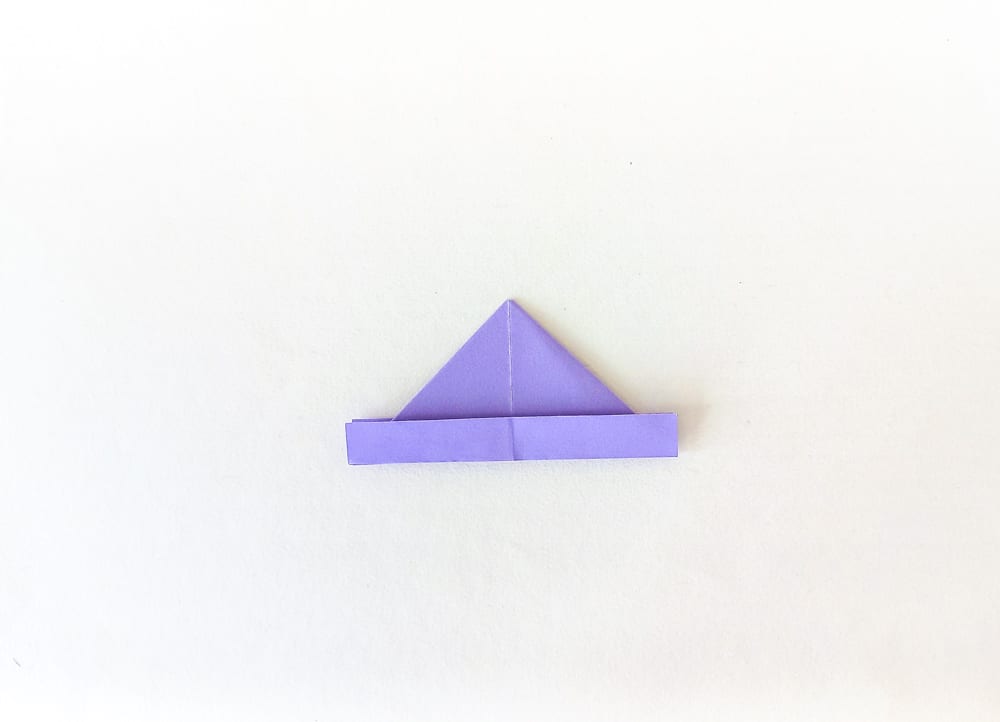 Step 8: Repeat the step and fold the bottom edge.
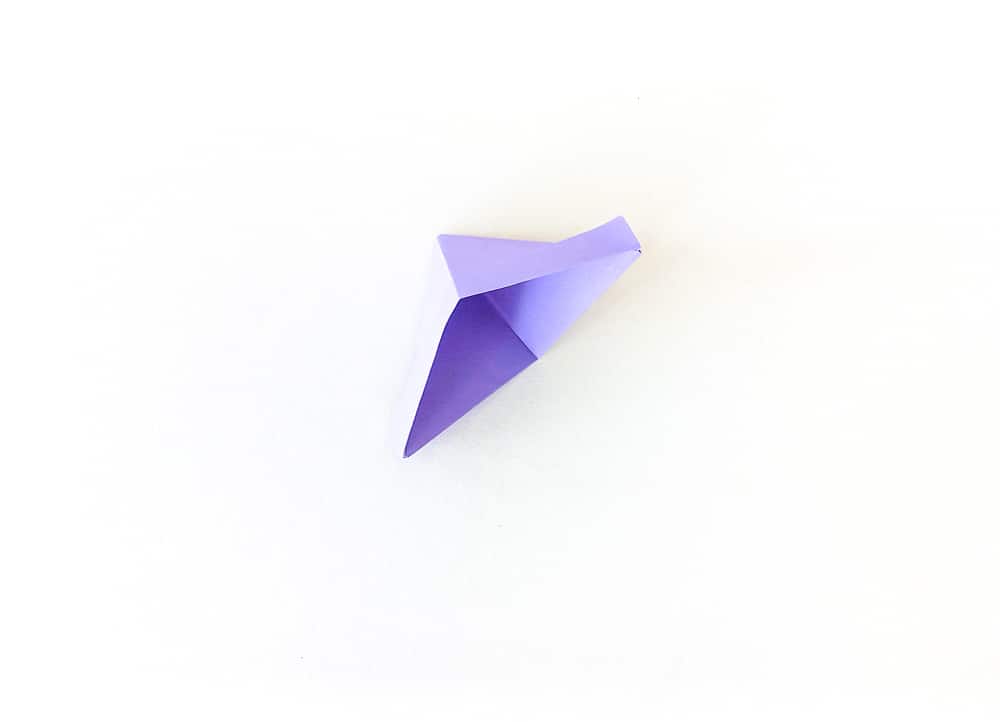 Step 9: Open the gap of the folded triangular-shaped origami pieces.
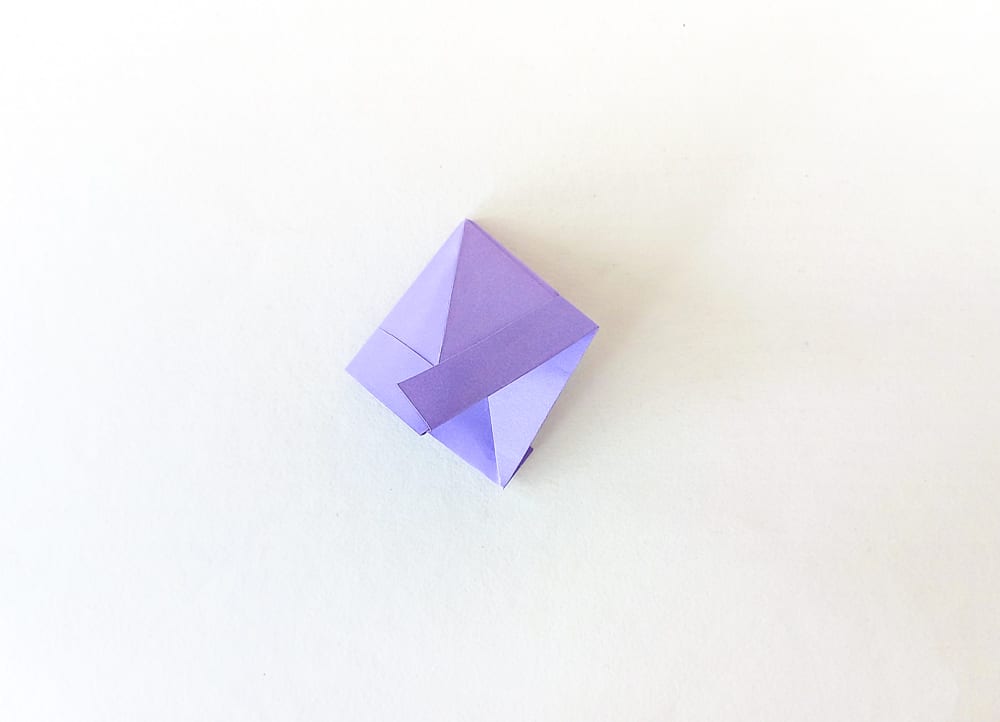 Step 10: Bring the top corners of the paper down towards the center of the paper, folding them along the diagonal creases on two sides.
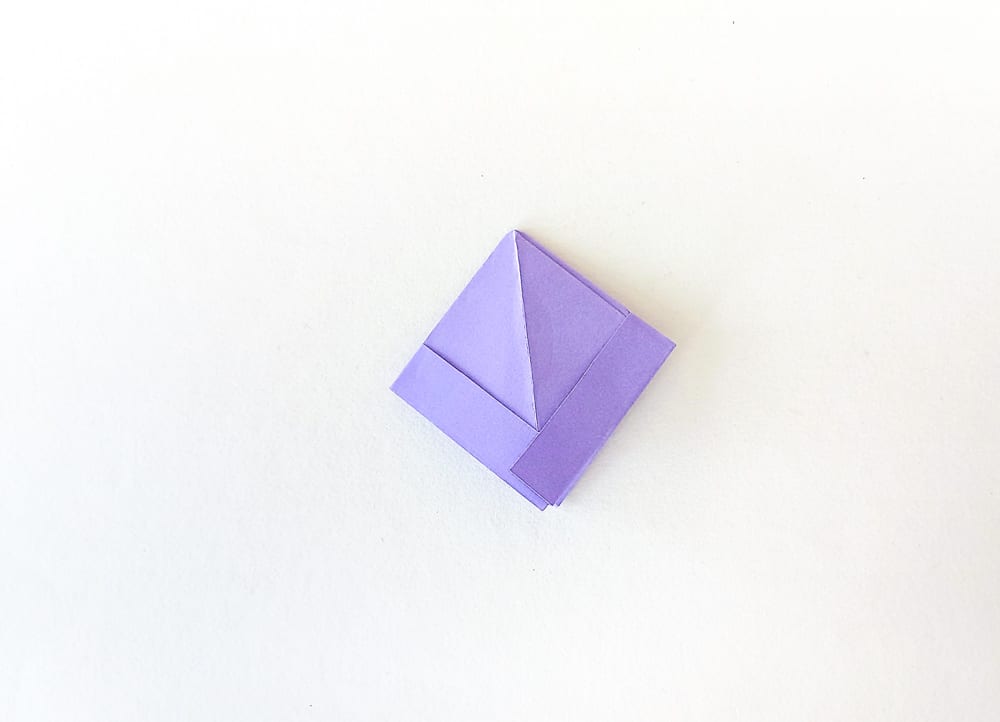 Step 11: This will create a diamond shape.
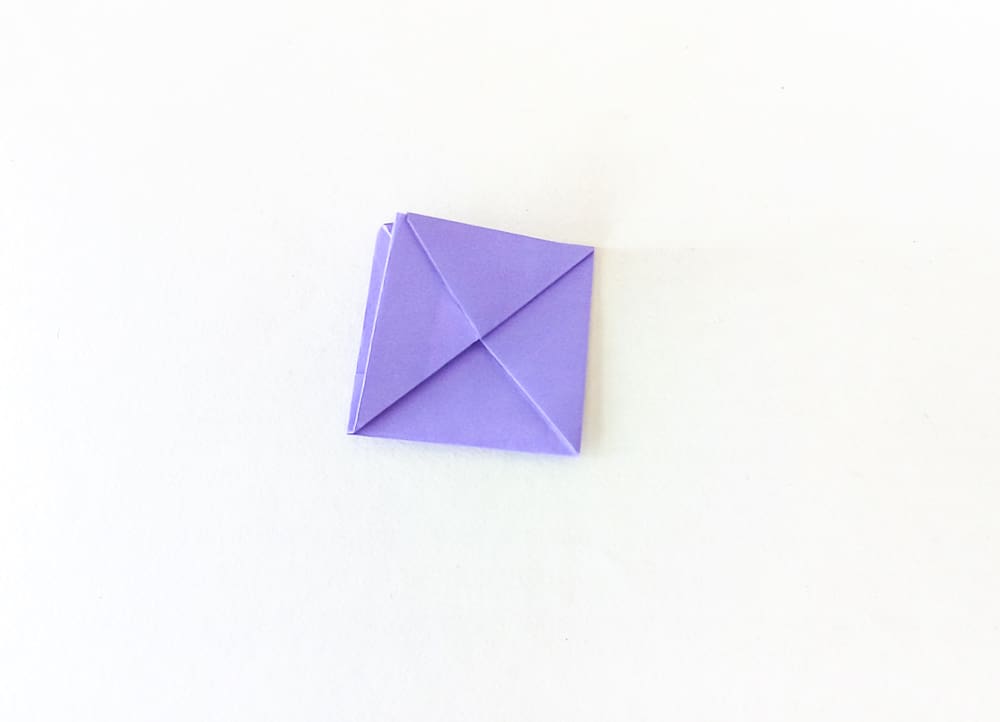 Step 12: Fold the top layer of the bottom point of the paper up along the top edge of the paper to create a triangle shape.
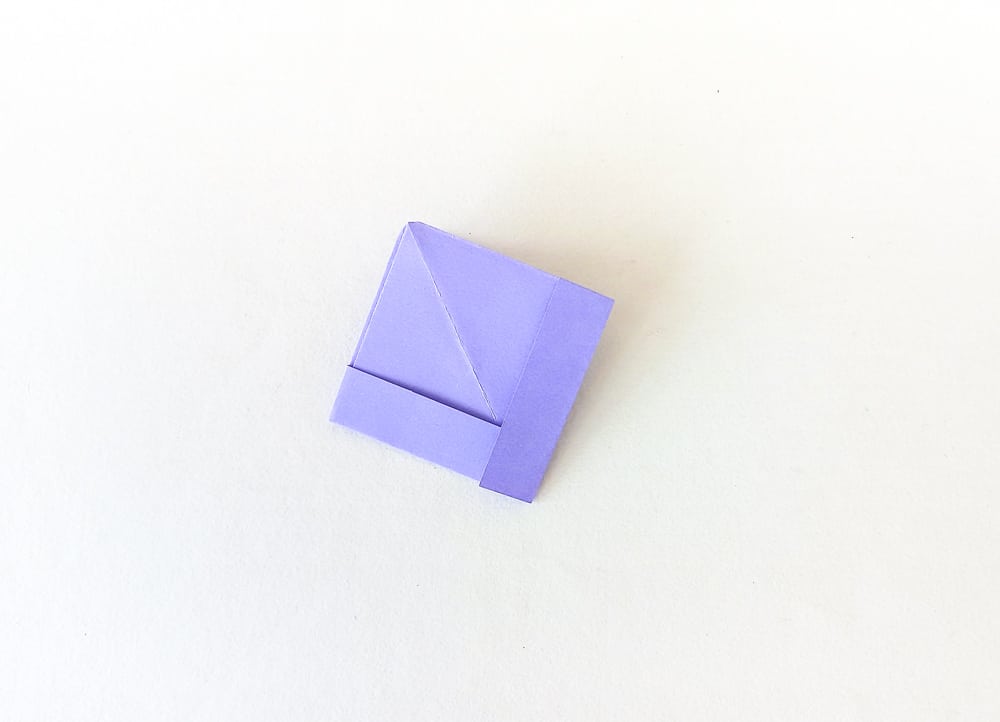 Step 13: Flip it over.
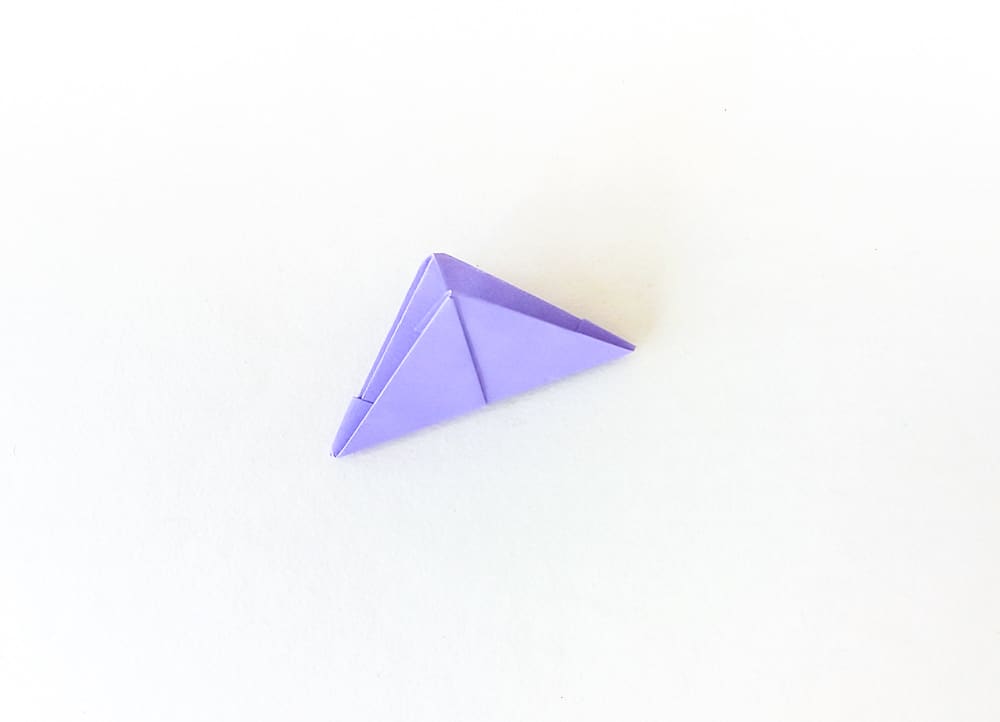 Step 14: Repeat the process. It will create a triangle shape.
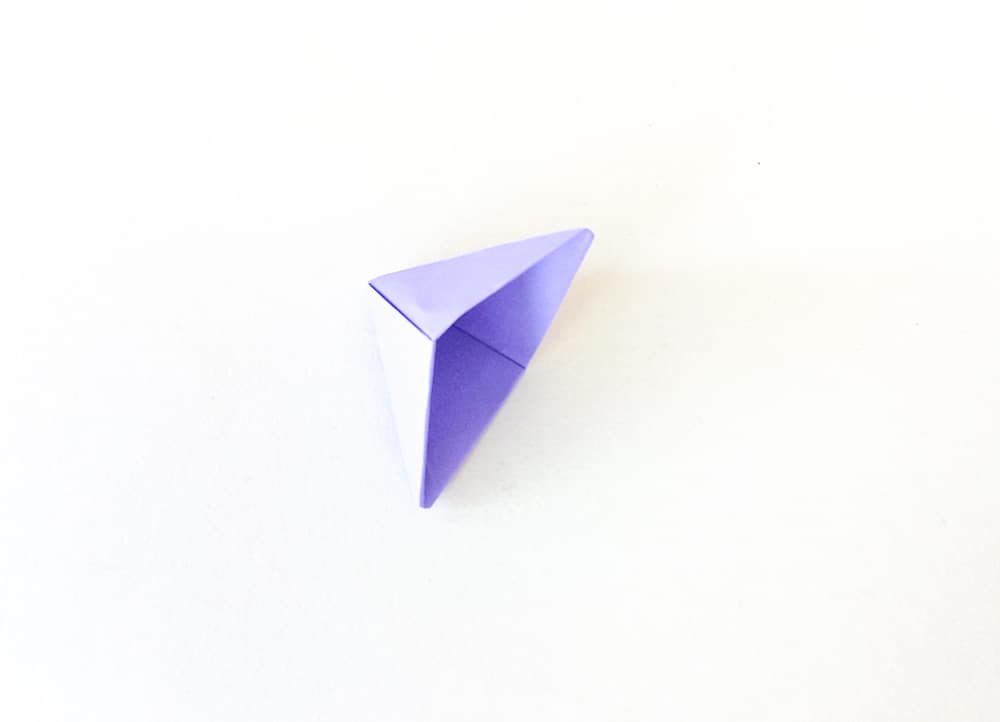 Step 15: Similar to step 9 open the gap in the middle.
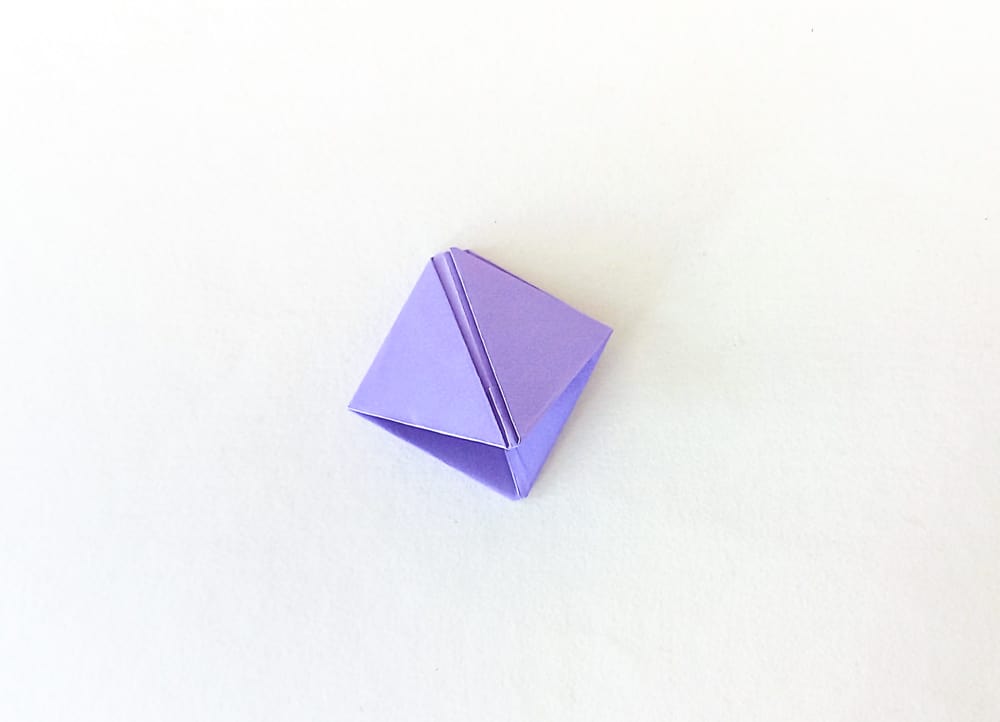 Step 16: Fold it along the two creases on to sides to create a diamond shape.
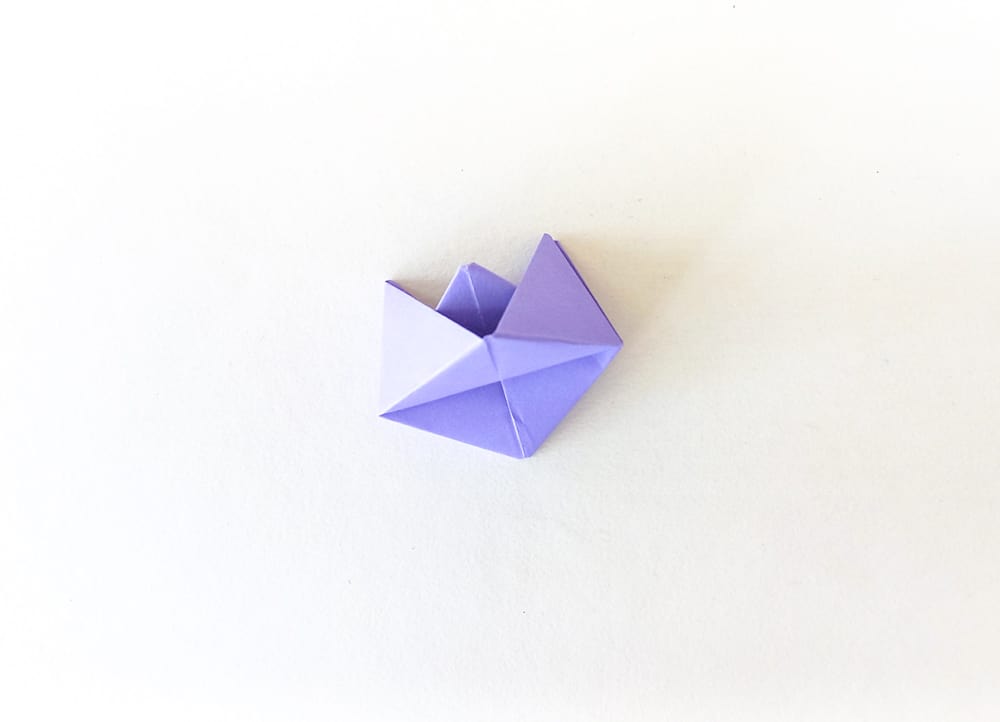 Step 17: Gently pull the two sides of the boat apart to create a small opening.
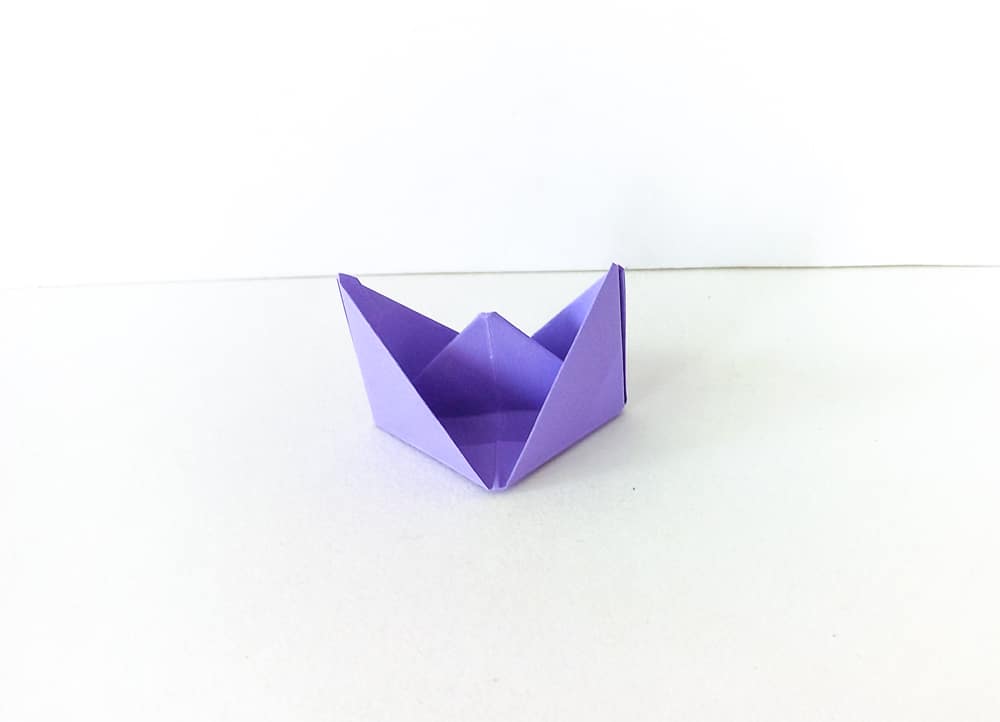 Step 18: Pinch the bottom corners of the boat and pull them down slightly to make the boat more stable.
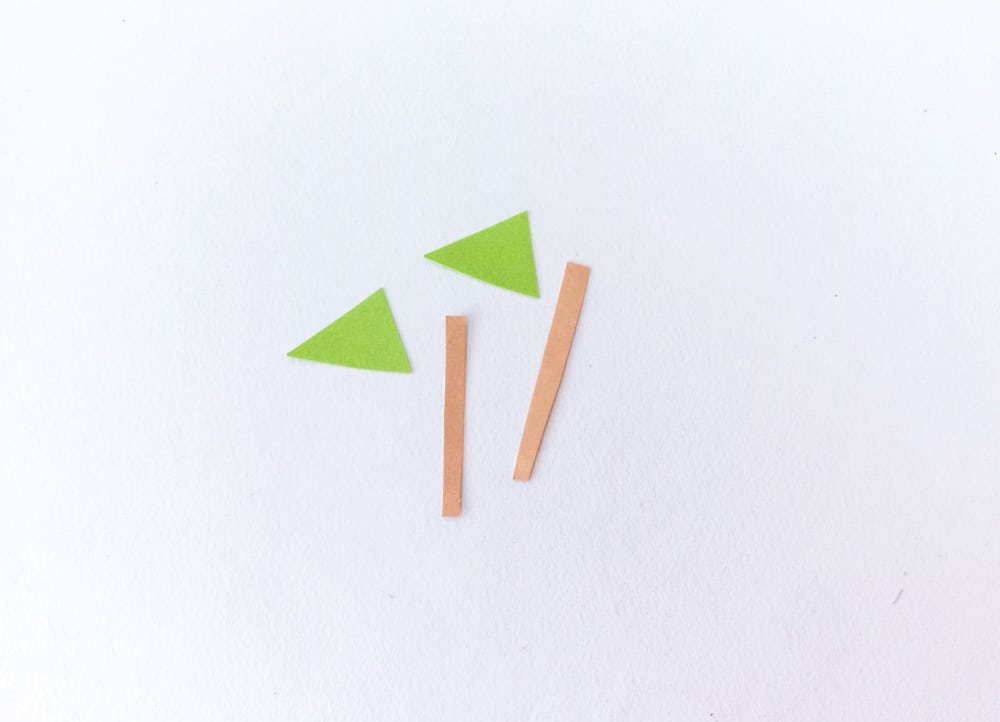 Step 19: To make the flags cut out triangular colorful craft paper and a thin strip from cardstock paper.
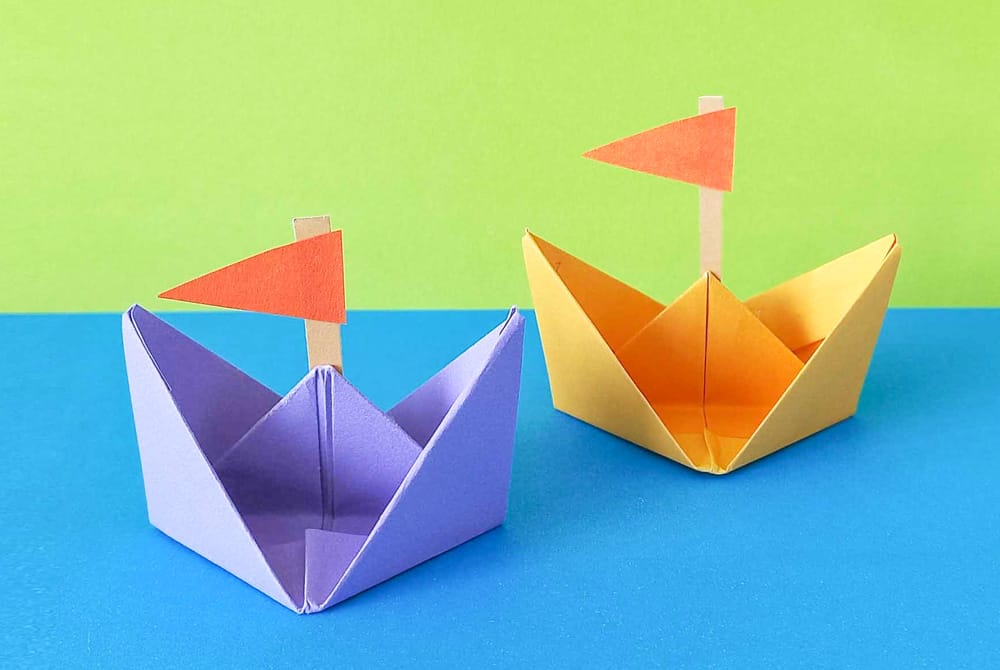 Your origami boat is now complete! You can now use it as a decoration or float it in water.