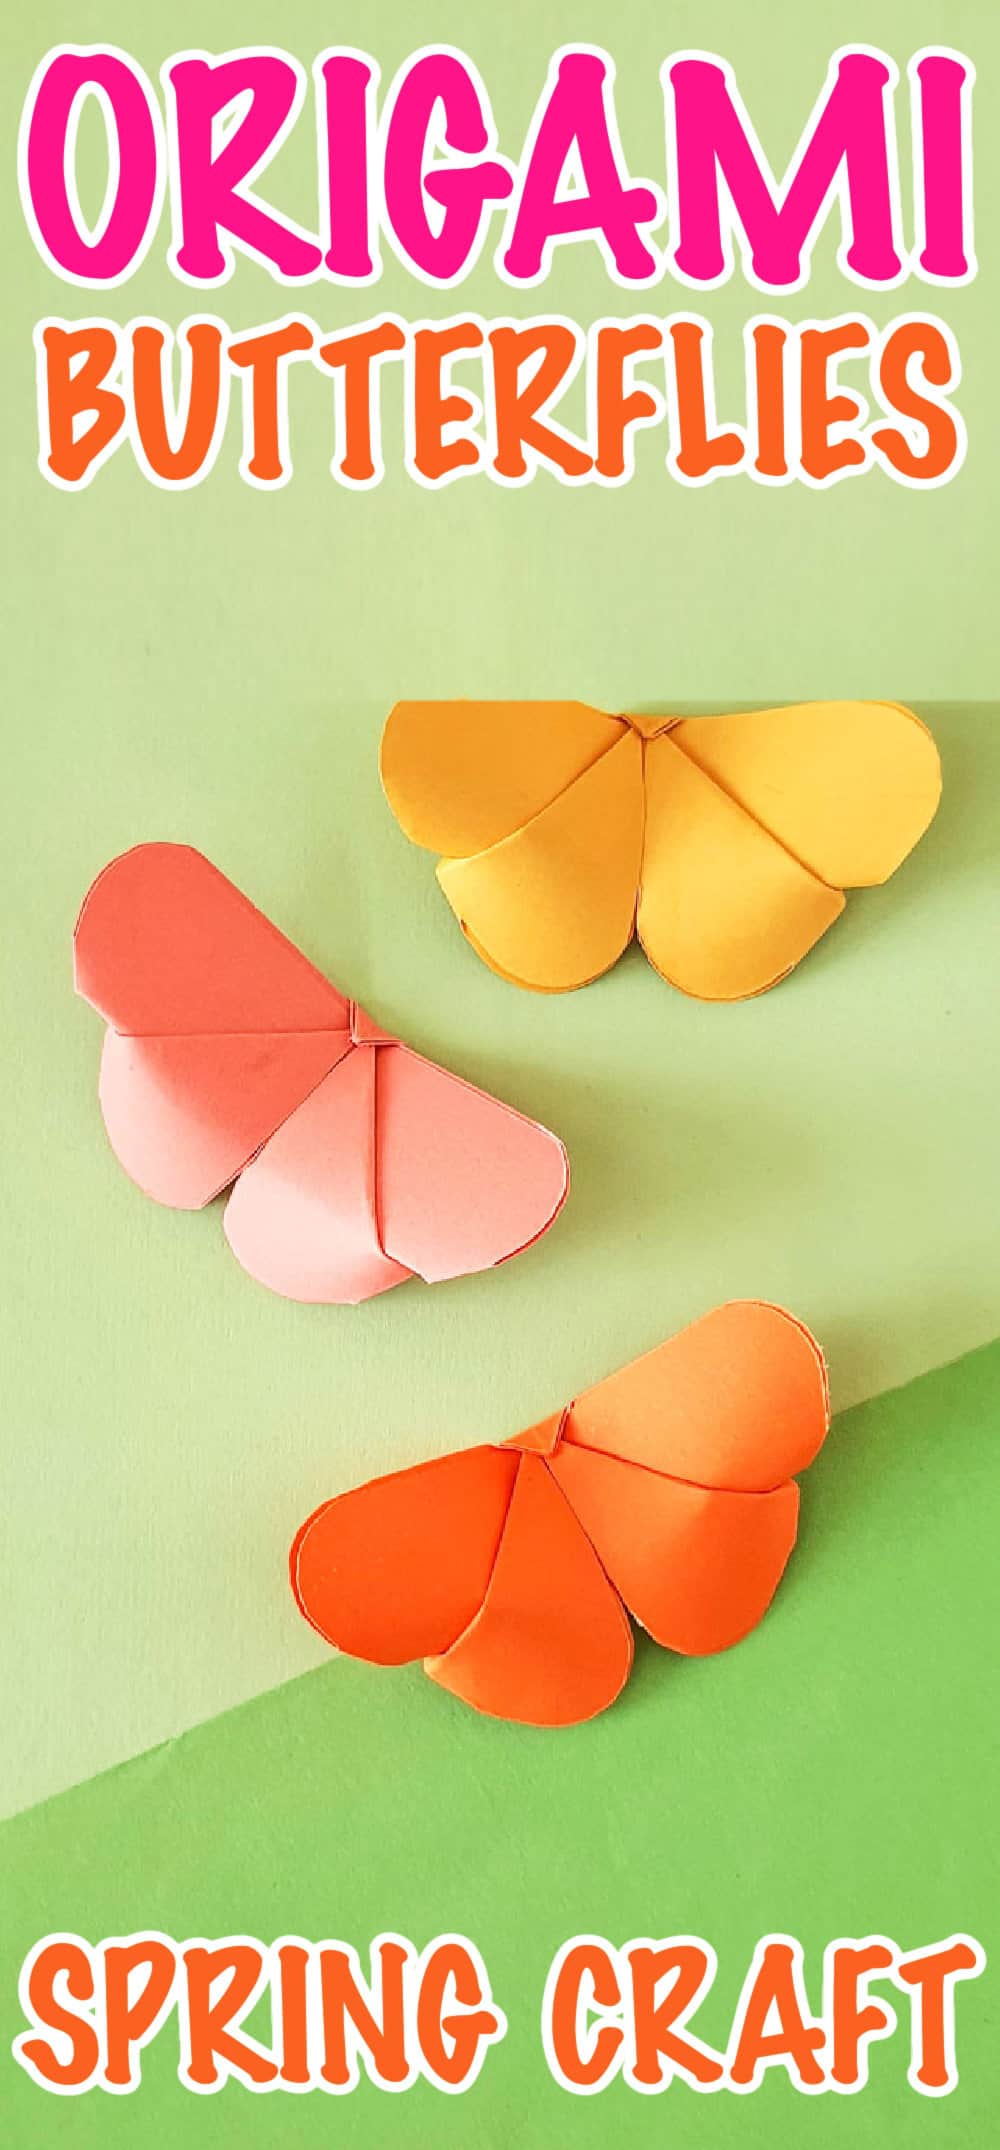
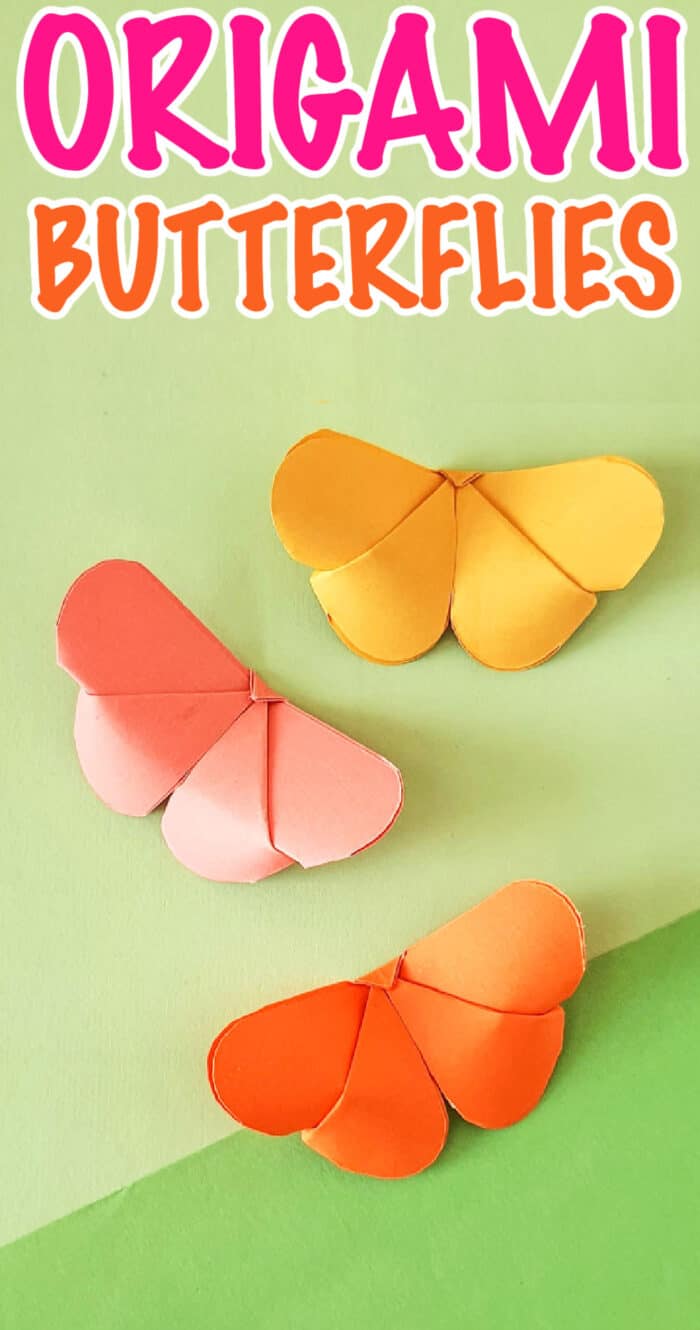
Create these fun origami butterflies with just some paper and your hands. Great Spring origami crafts for kids of all ages!
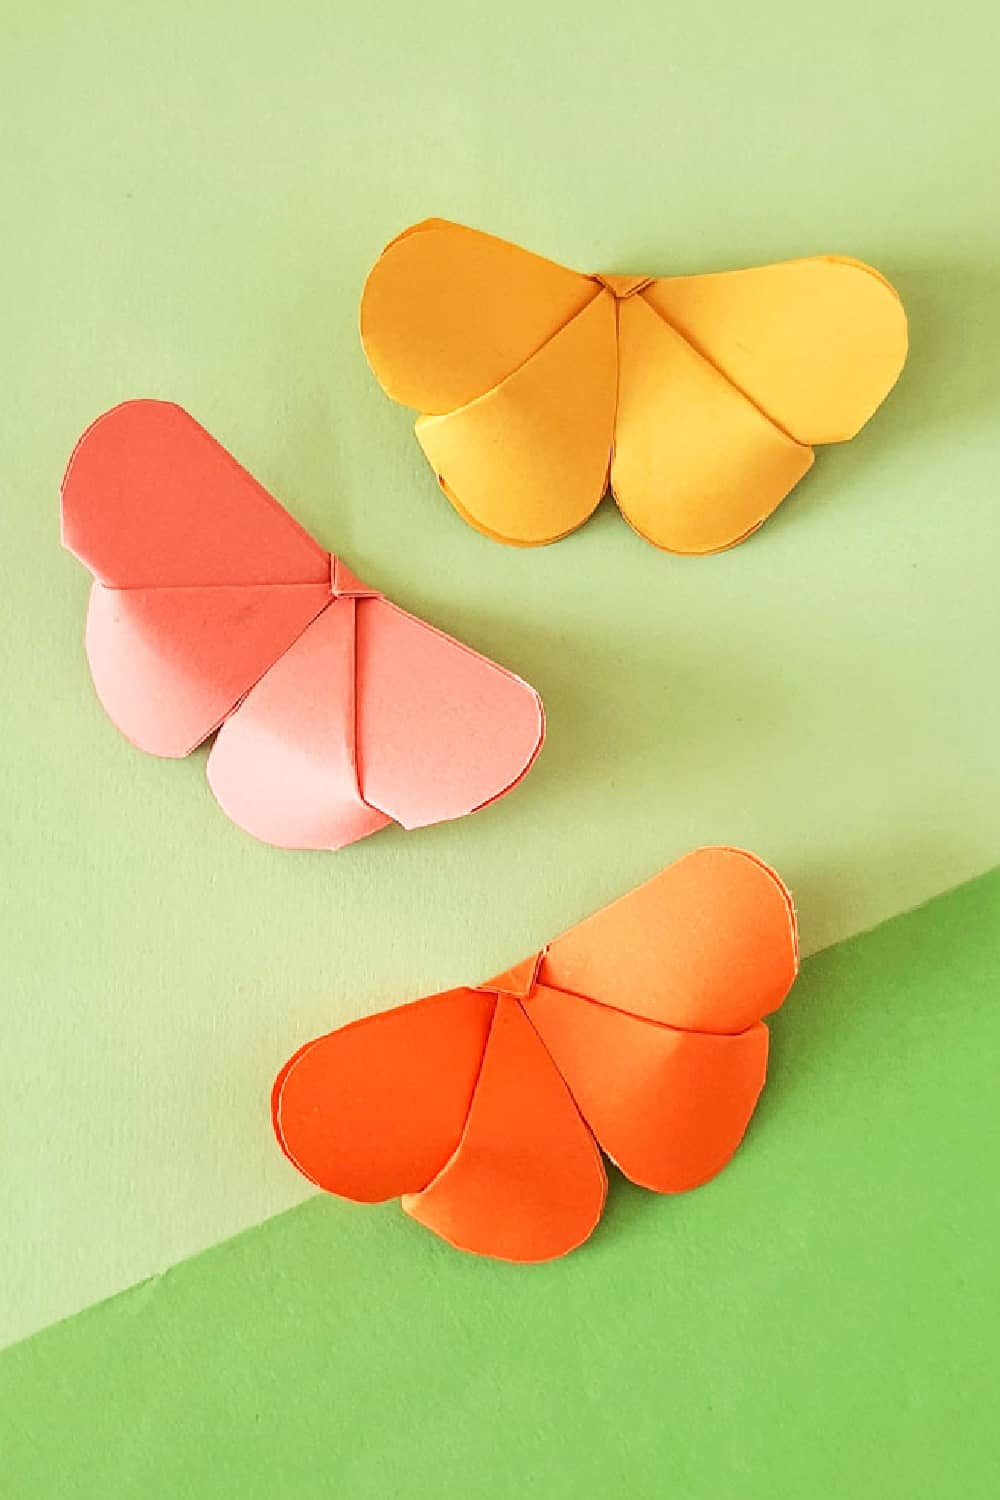
These sweet origami butterflies are Spring crafts that will add some beautiful colors to any project.
These origami butterflies have lots of fun ways they can be used. Origami projects using our own origami butterflies include a hanging mobile, party decorations, and adding them to face masks and handmade cards. Not to mention, adding them to our money leis adds hope and love.
An easy origami butterfly can be made using nice origami paper, scrapbook paper, or even old book pages. The key to origami is to make sure the paper is not too thick and able to be folded. We like using bright colored paper to make a paper butterfly.
Want to save this project?
Enter your email below, and then we'll send it straight to your inbox. Plus get awesome new projects from us each week.
Fun Paper Crafts
Have you got some pieces of paper lying around your house? If yes, it's time to utilize them in the best possible way: Make easy origami butterflies!
As a child, I used to make paper boats, paper planes, paper balls, and several paper games. It was quite a fun activity. However, over the years, kids have forgotten how interesting simple things in life can be.
Therefore, I decided to take a trip down memory lane and re-live my childhood. With a little something in mind, I sat down with a square piece of paper and folded it to make paper butterflies. And once I had the cute little butterfly ready, I put it up on the walls of my kids' room.
As expected, my kids were highly interested in it! My trick had worked; the kids were more than ready to learn how to make origami art!
Don't miss our popular Construction Paper Crafts and Paper Crafts posts!
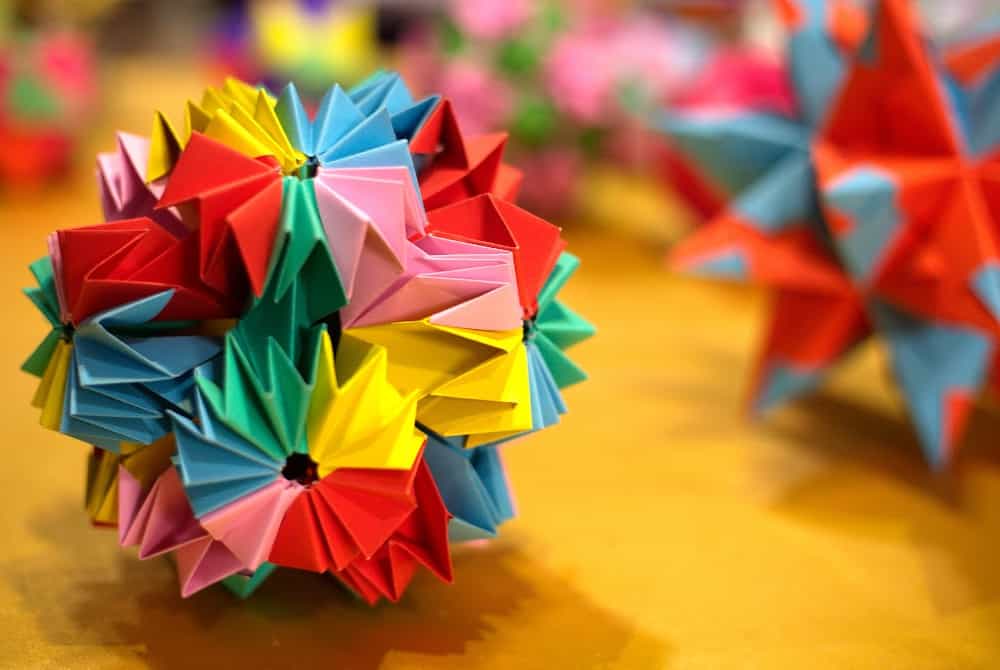
Benefits of Origami
Origami is an ancient form of art, the Japanese art of paper folding to create different objects. For some, it might just be a simple paper-folding technique; however, for me, it’s a great way to engage the kids in doing something productive while enhancing their skills on the side!
So, what are the benefits of indulging in origami paper art?
For one, origami involves hands-on learning, improving spatial perception, and developing logical and sequential thinking in kids. These skills benefit children by helping them comprehend and characterize the world around them.
Secondly, origami teaches kids the concept of trial and error, which is excellent for developing problem-solving skills. They fold the paper in an attempt to make an object, and if it goes wrong, they try again. The result? They learn to try again in order to succeed.
Moreover, when the kids use their eyes, hands, and brains to create origami art, it develops fine motor skills and improves hand-eye coordination.
With so many benefits of folding paper, we should definitely incorporate origami into our kids’ life!
Don't miss our unique collection of origami designs including
Check Out These Other Origami Projects!
Check out our 101+ Animal Crafts for added animal fun!
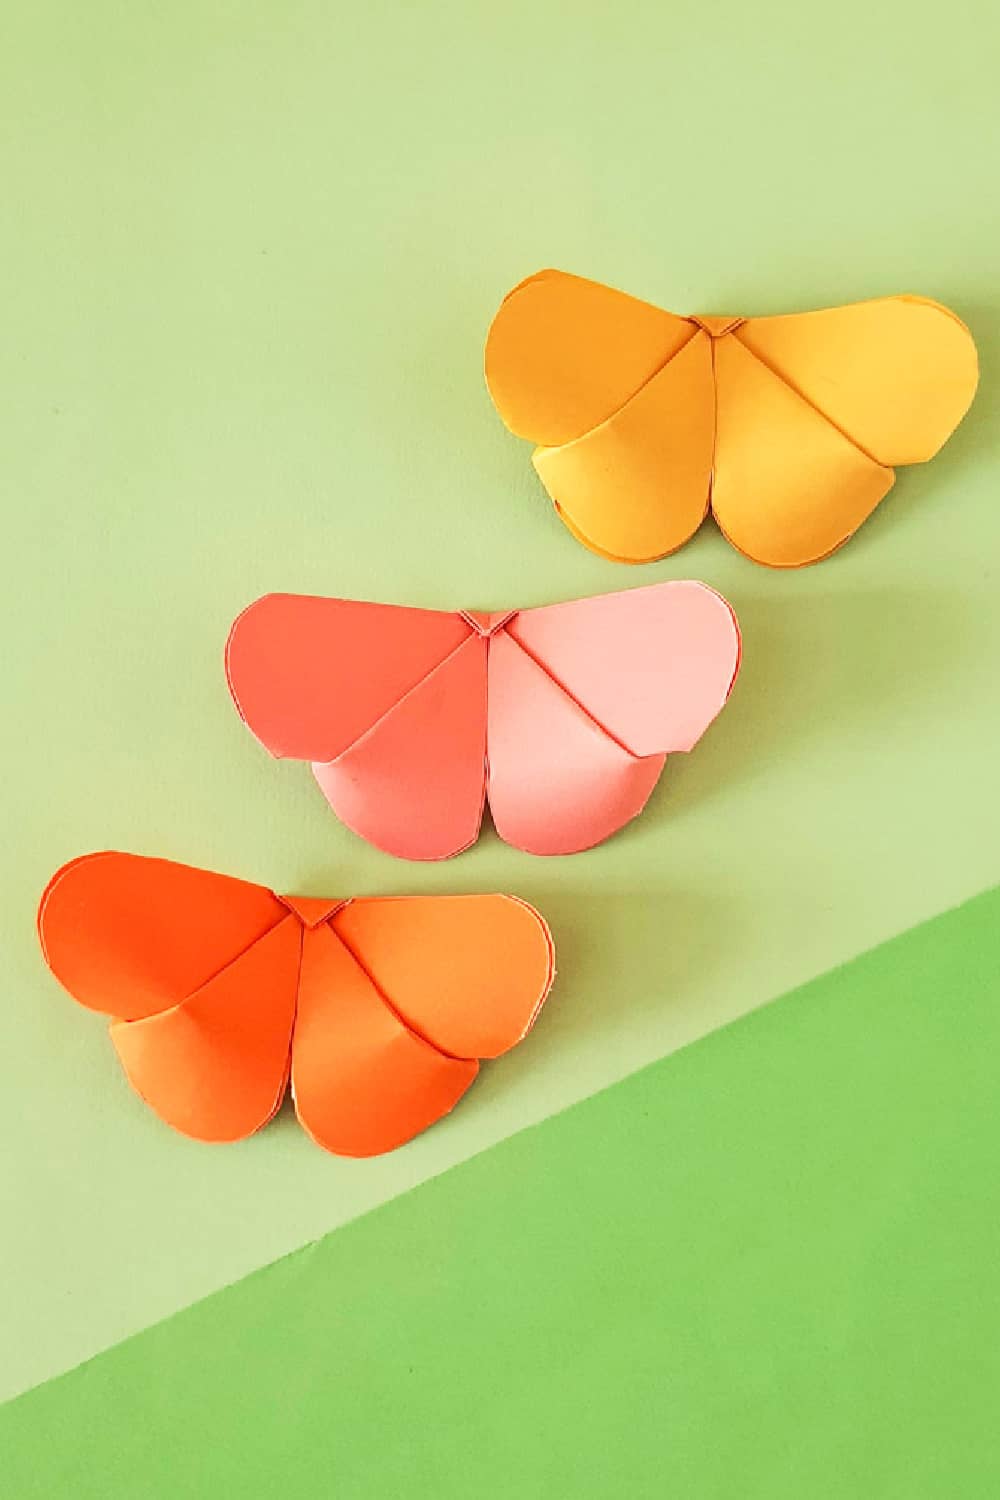
Origami Butterflies
To develop your kids’ interest in origami, you can start from the basics, i.e., making paper hats, planes, etc. And once they get the gist of it, you can take them up a level by introducing the easy origami butterflies.
The origami butterfly craft is so easy; you only need 1 item for it: A piece of square paper. Now all you need is to follow the origami butterfly instructions to fold the top edge, bottom end, right side and left side to give it the shape of a butterfly.
You can use craft papers of different colors and sizes to make multiple butterflies. Now, you can either put them on the walls to make beautiful butterfly-themed wall art, get them framed, or hang them on your window. If you want the butterflies to be more colorful and vibrant, you can use gift wrap or textured paper to make them stand out.
For more fun and exciting craft ideas, browse through my website. I have several free printable resources to keep your kids busy in brain-healthy activities.
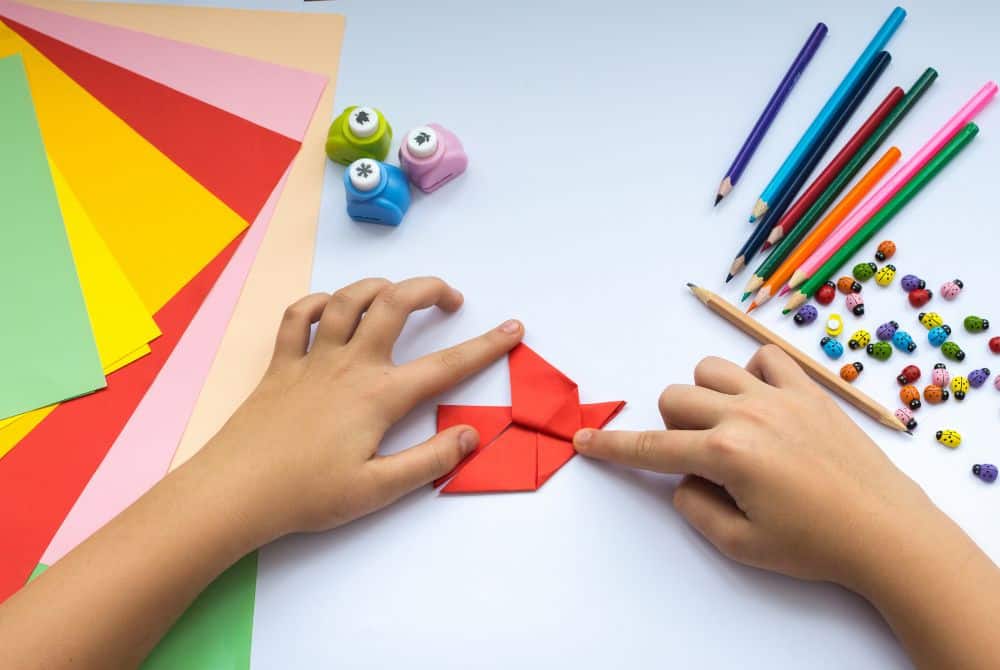
Supplies for Butterfly Origami
- Origami Paper
- Scissors
- Craft Glue
How to Make Origami Butterflies
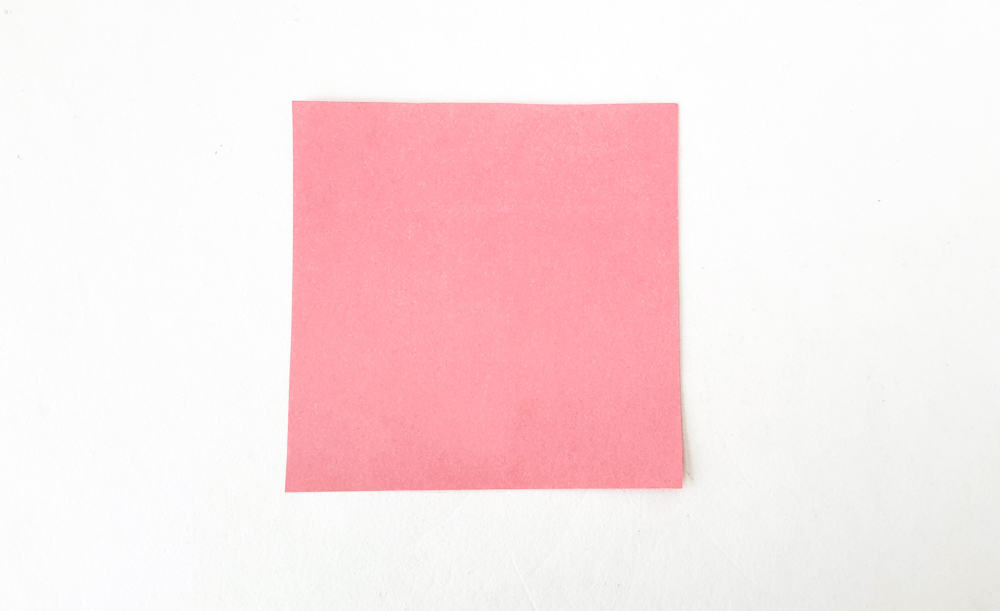
Start with a piece of square paper.
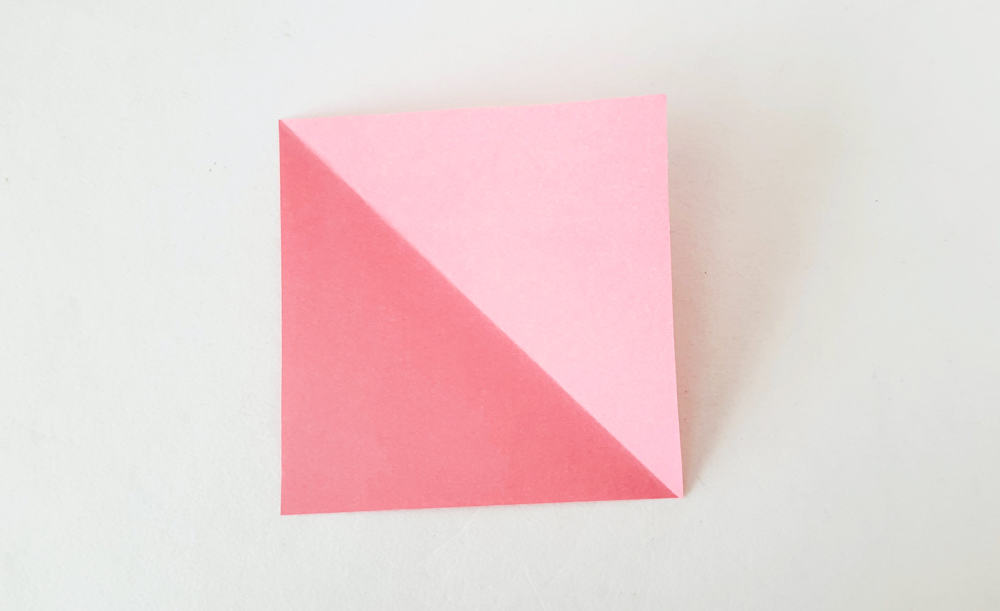
Fold the paper in half diagonally and then unfold.
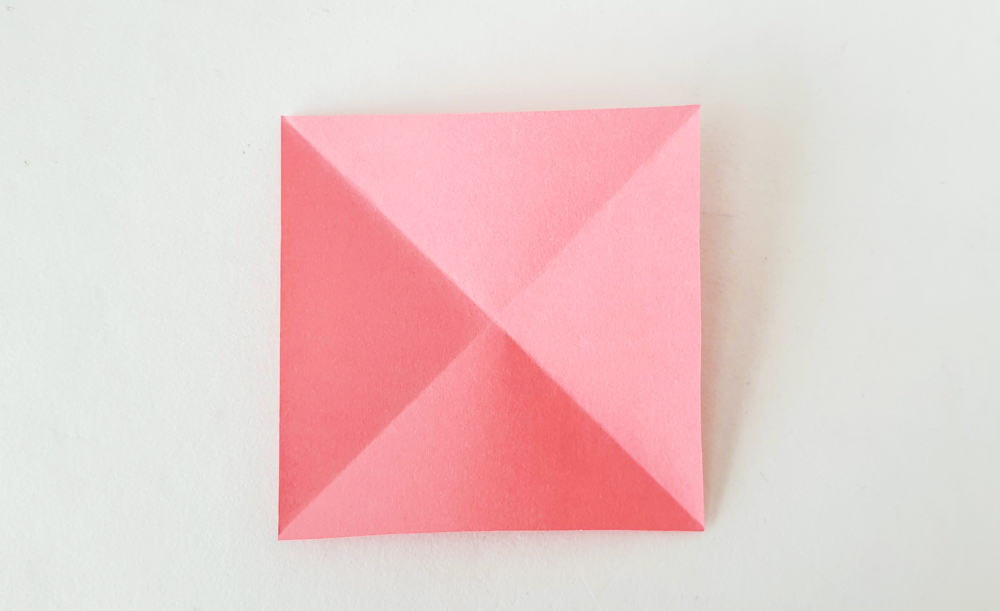
Fold the paper in half diagonally along the other side and unfold again. These will leave diagonal creases on the paper.
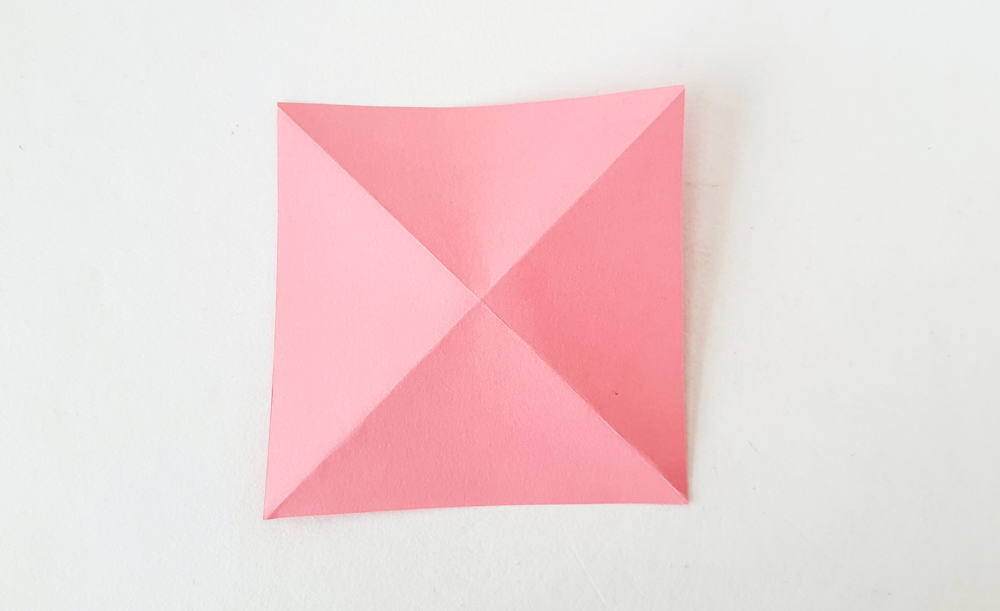
Turn the paper to the other side.
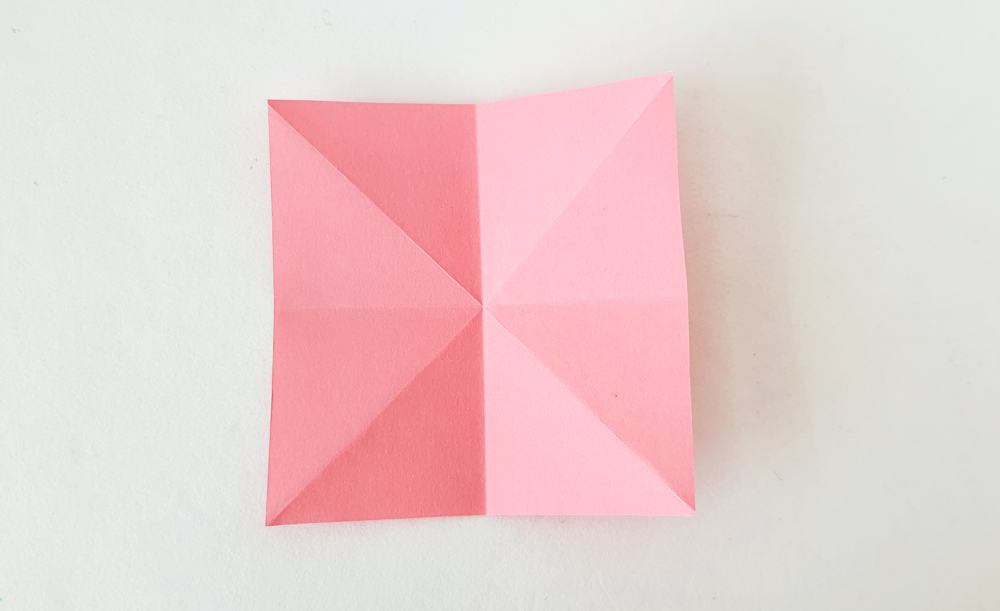
Now, fold the paper in half vertically and horizontally and then unfold it.
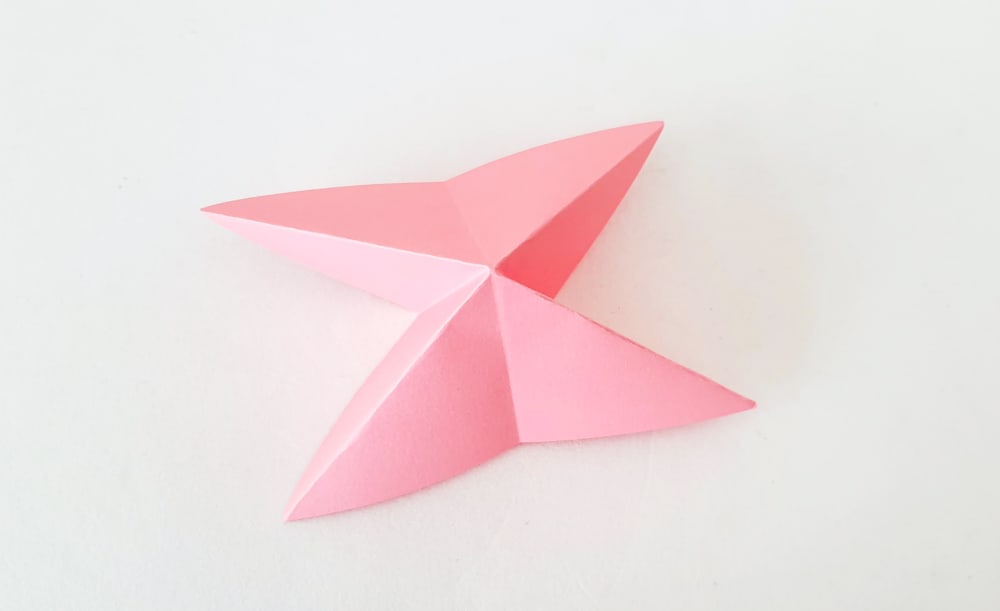
Fold up the paper along the diagonal creases and push the vertical and horizontal creases down. This will form a 4-point star shape.
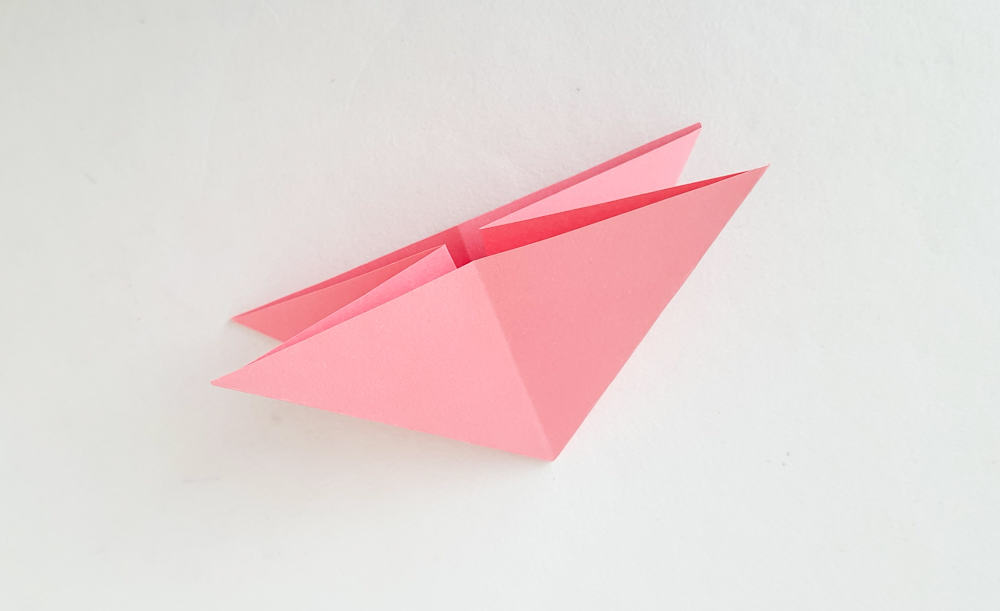
Flatten the origami paper to form a triangle pattern with the point of the triangle pointing down.
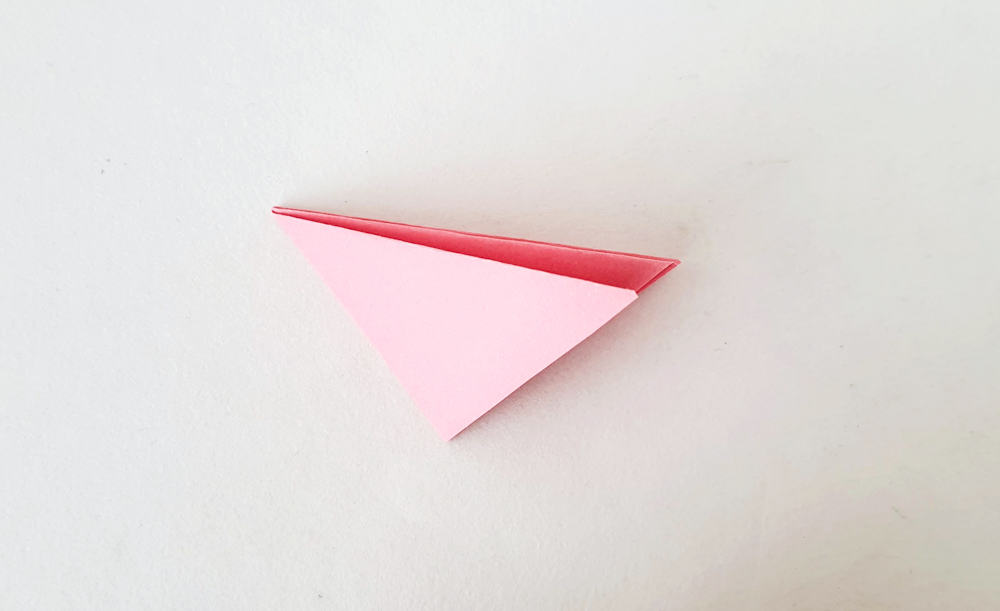
Fold in half with the fold going diagonal and bring all four triangle ends together on one side.
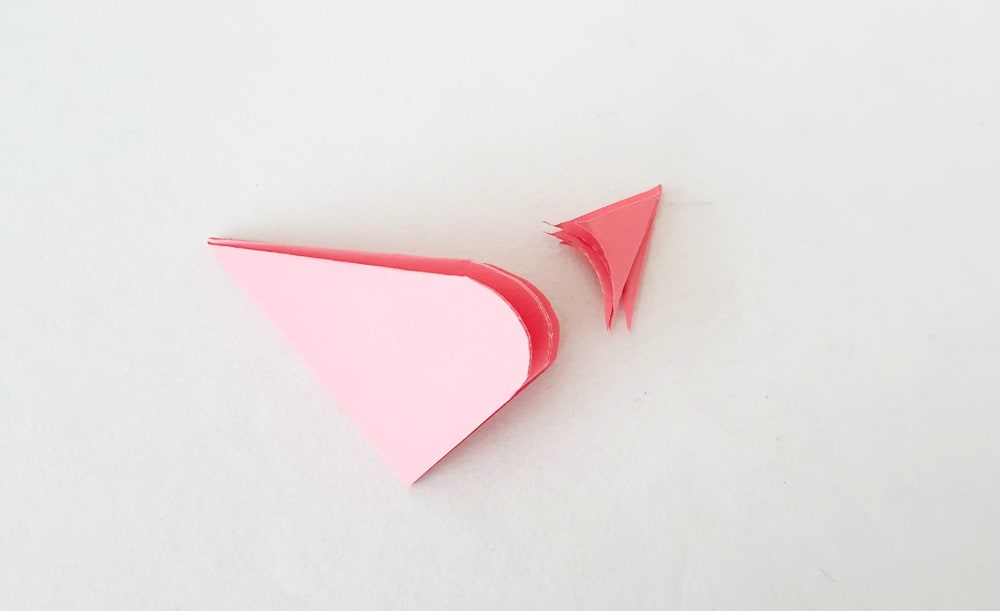
Using the scissors round the edges of the four triangle ends.
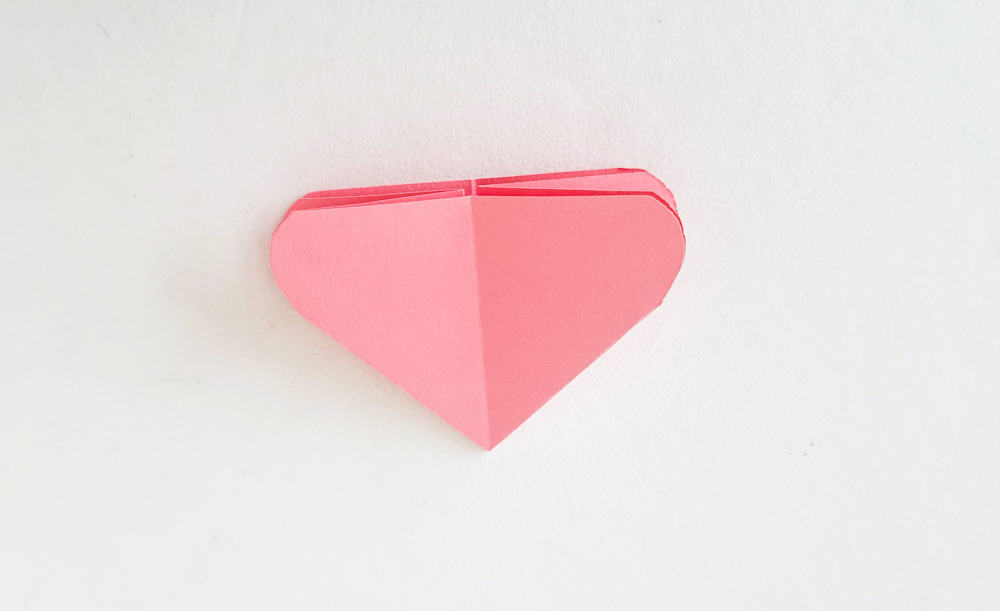
Open the end and bring pairs on each side.
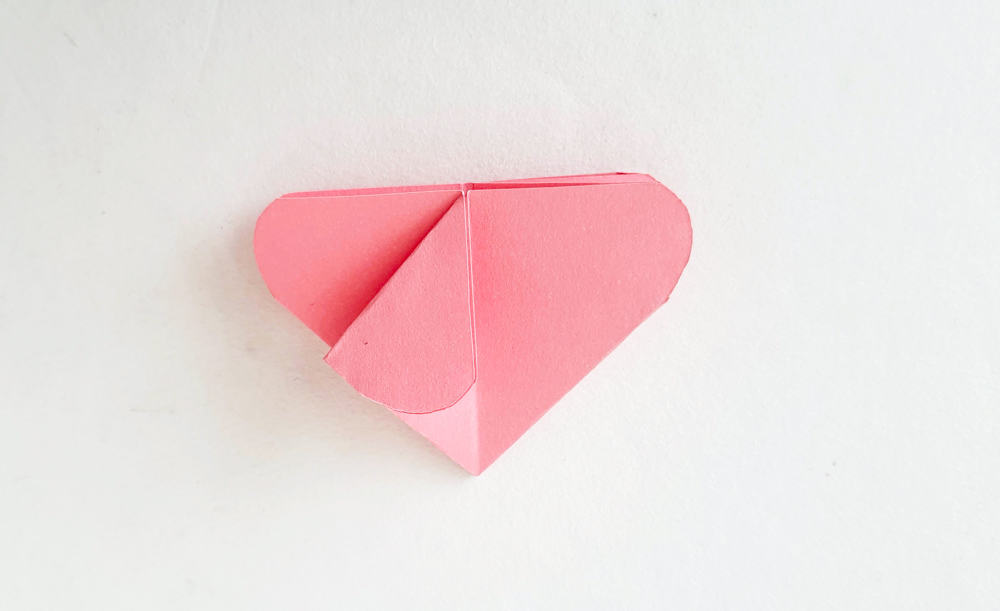
Fold the left open edge inside, along the middle crease of the pattern.
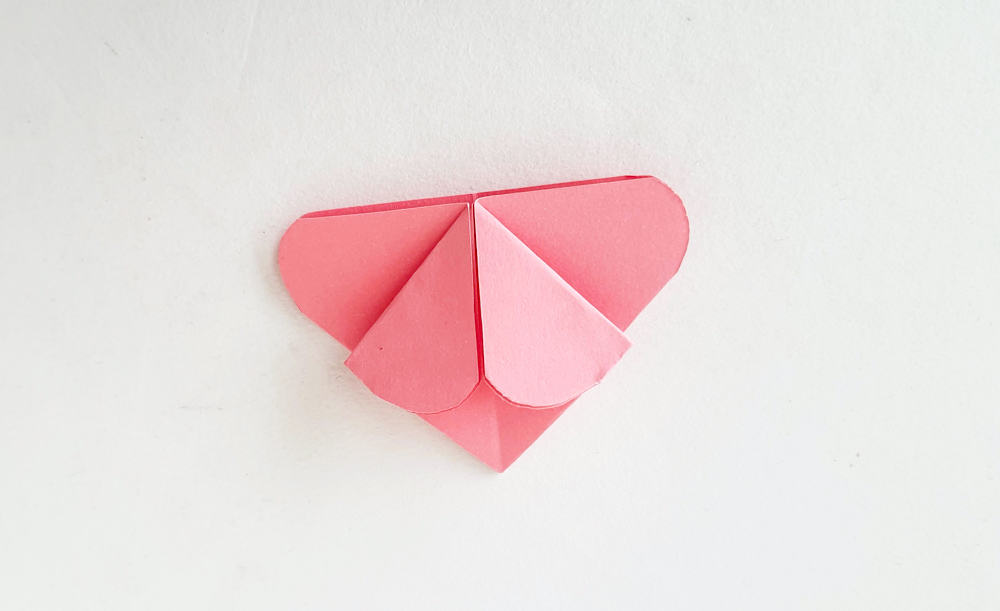
In the same fashion, fold the right side down.
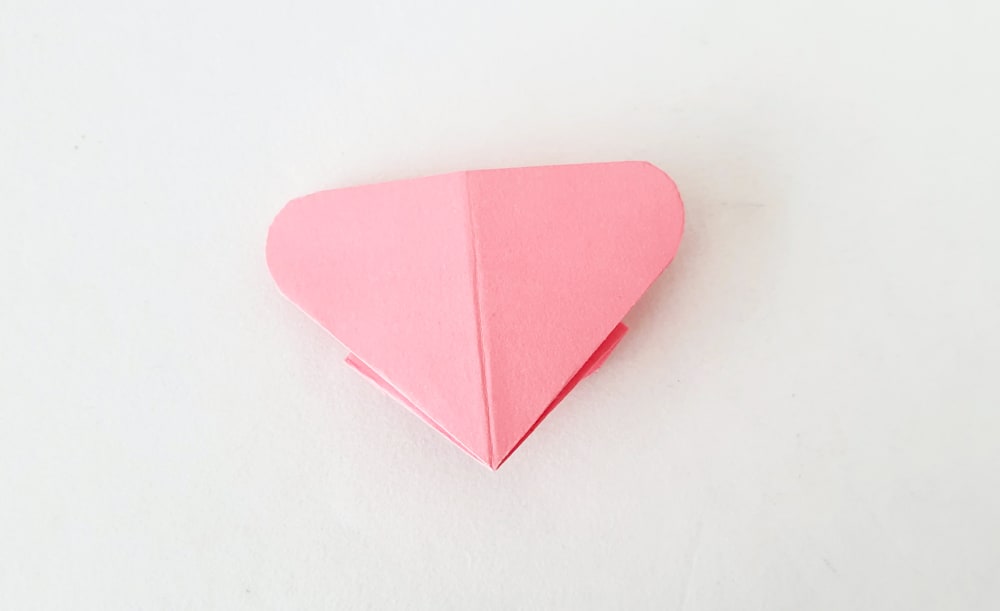
Turn the origami to the other side.
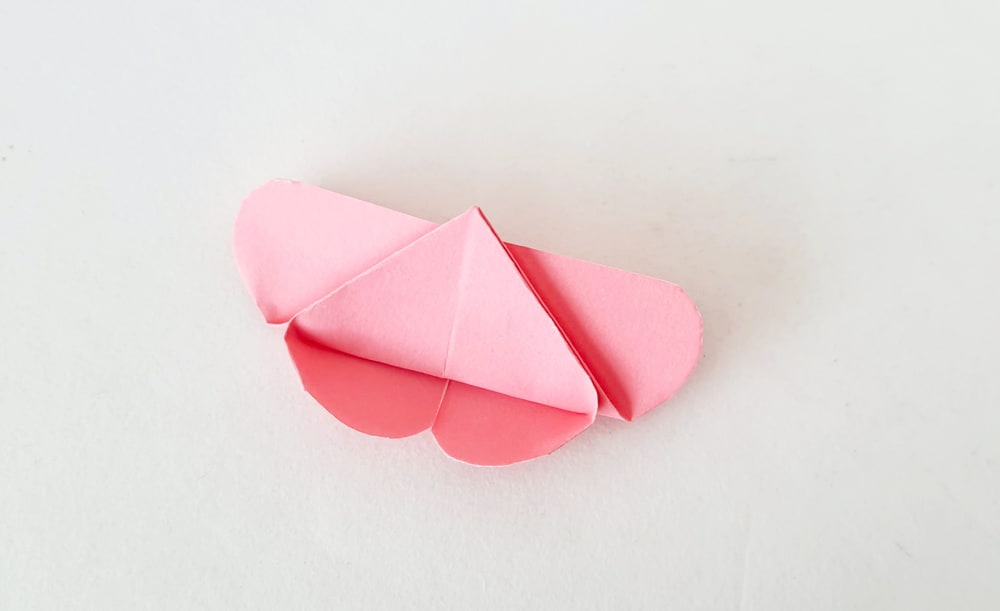
Fold up the bottom triangle and bring it all the way up. A small (about a cm) part of the triangle should peek out of the pattern on the other side.
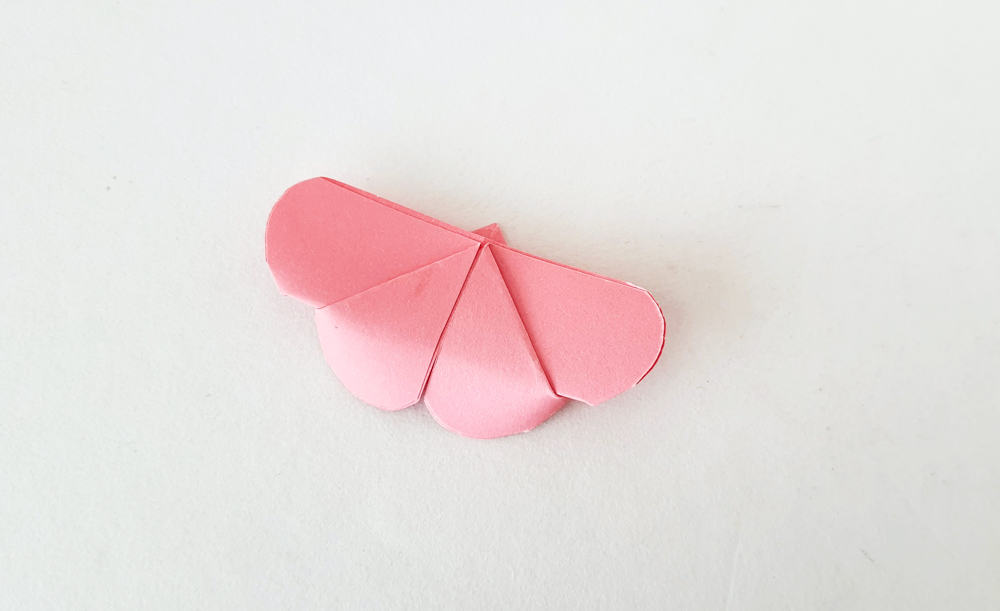
Turn the origami project over to the other side.
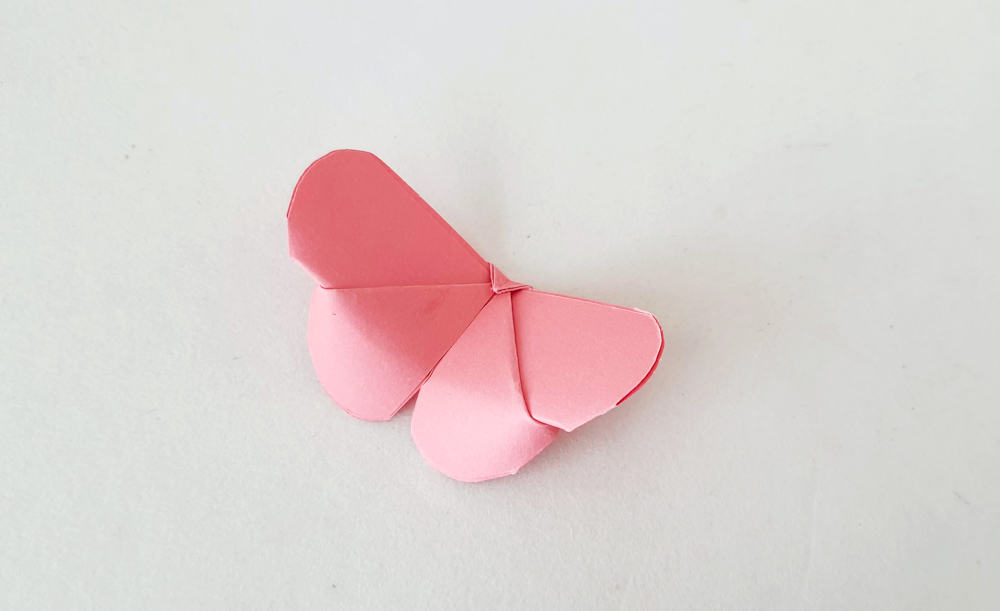
Lastly, fold the extra tip to the front and apply glue on the tip (1 cm part) to secure the fold and complete the origami butterfly pattern.
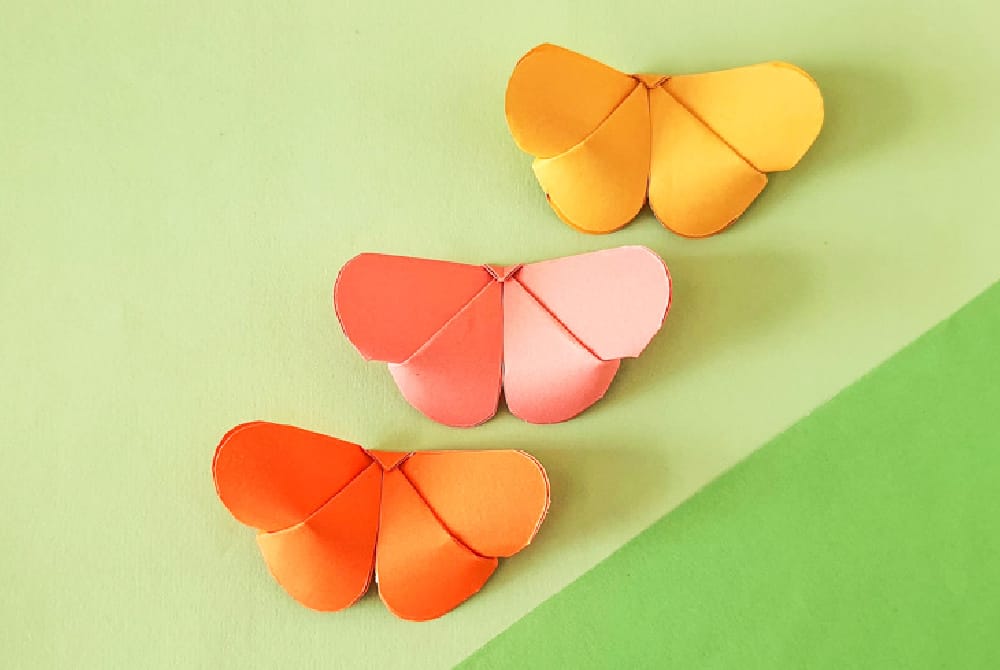
Make them in all the bright colors of Spring and enjoy
We highlighted this Spring Craft along with some other fun kid's crafts in our April Crafts along with our 101+ Easy Craft Ideas for kids.
You also do not want to miss our 101+ Printable Coloring Pages For Kids and 101+ Printables For Kids full of Crafts and Coloring Pages.
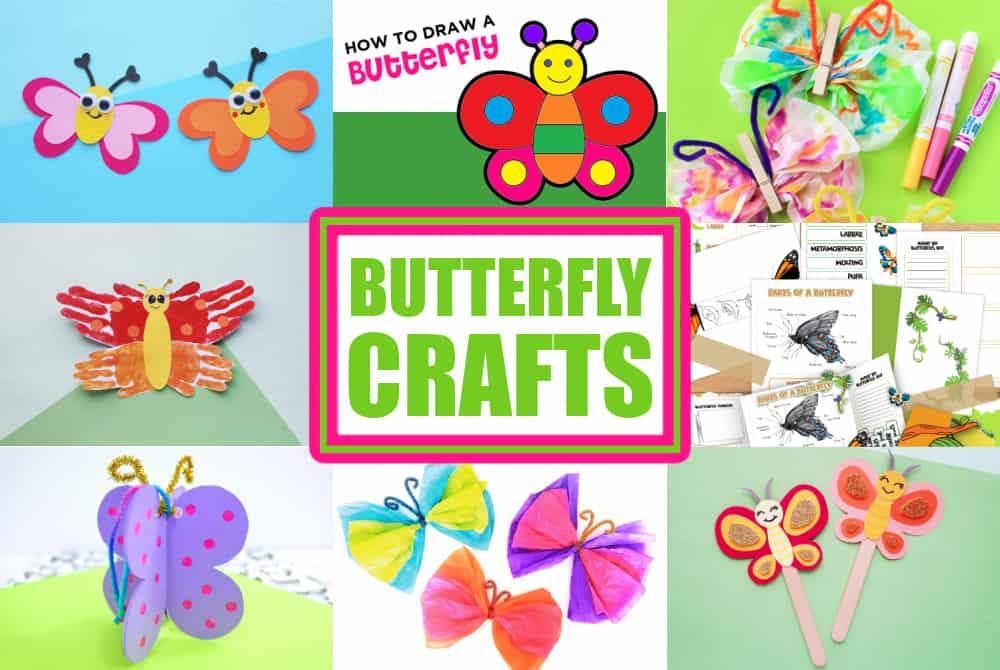
Other Butterfly Crafts You'll Enjoy
- Butterflies in Paper
- How To Draw a Butterfly
- Butterflies 3D
- Tissue Paper Butterflies
- Butterfly Craft Preschool
- Coffee Filter Butterfly
- Butterfly Paper Plate
- Handprint Butterflies
- Caterpillar Craft
Origami Butterflies
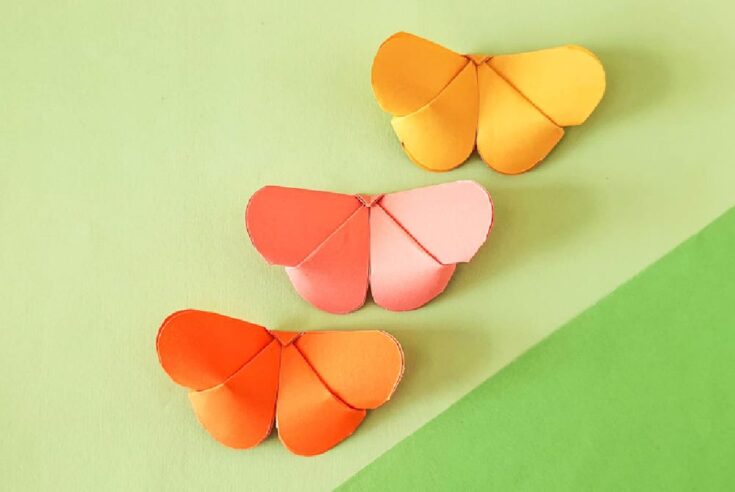
Create these fun origami butterflies with just some paper and your hands. Great Spring origami crafts for kids of all ages!
Materials
Tools
Instructions
Start with a piece of square paper.
Fold the paper in half diagonally and then unfold.
Fold the paper in half diagonally along the other side and unfold again. These will leave diagonal creases on the paper.
Turn the paper to the other side.
Now, fold the paper in half vertically and horizontally and then unfold it.
Fold up the paper along the diagonal creases and push the vertical and horizontal creases down. This will form a 4-point star shape.
Flatten the origami paper to form a triangle pattern with the point of the triangle pointing down.
Fold in half with the fold going diagonal and bring all four triangle ends together on one side.
Using the scissors round the edges of the four triangle ends.
Open the end and bring pairs on each side.
Fold the left open edge inside, along the middle crease of the pattern.
In the same fashion, fold the right side down.
Turn the origami to the other side.
Fold up the bottom triangle and bring it all the way up. A small (about a cm) part of the triangle should peek out of the pattern on the other side.
Turn the origami project over to the other side.
Lastly, fold the extra tip to the front and apply glue on the tip (1 cm part) to secure the fold and complete the origami butterfly pattern.
CONNECT WITH MADE WITH HAPPY!
Be sure to follow me on social media, so you never miss a post!
Facebook | Twitter | Youtube | Pinterest | Instagram
Find and shop my favorite products in my Amazon storefront here!
ORIGAMI BUTTERFLIES
PIN IT TO YOUR DIY BOARD ON PINTEREST!
FOLLOW MADE WITH HAPPY ON PINTEREST FOR ALL THINGS HAPPY!
