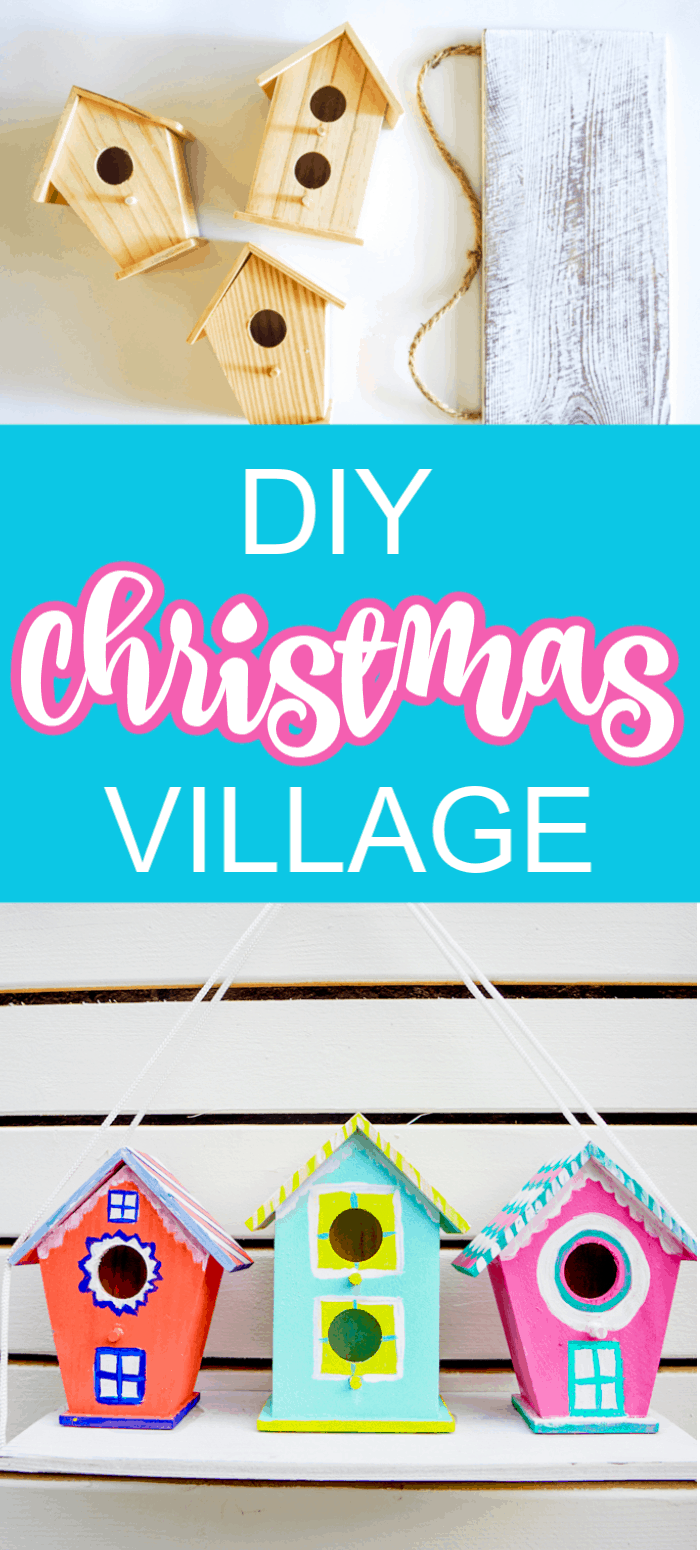
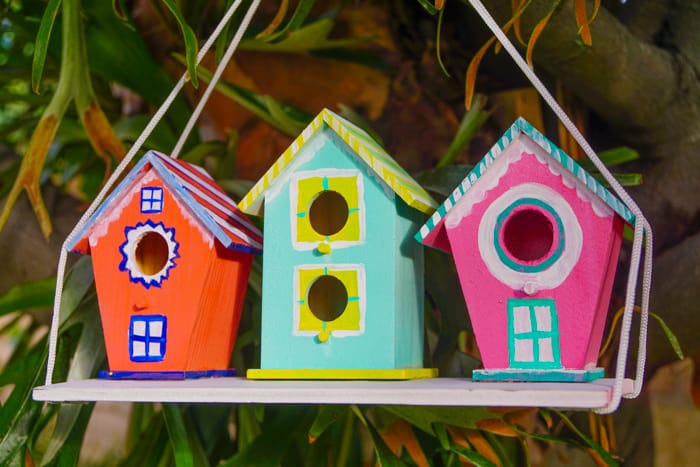
Looking for a simple and colorful DIY Christmas Village display for the kids, then we have you covered with this painted Birdhouse DIY Christmas Village.
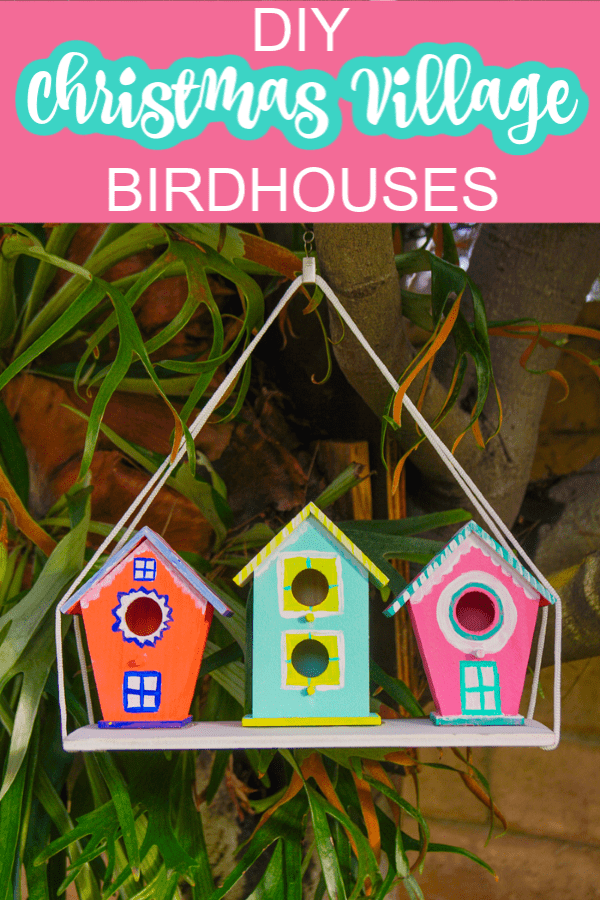
This DIY Christmas Village display is a fun way to decorate for the holidays and great for the birds all December and winter long.
In the past few years, the family has been loving having a DIY Christmas Village display at the house. This year, the kids were looking for a fun way they could create their own DIY version with a little more color. That is when we set off to the store and came up with this fun and functional colorful mini birdhouse Christmas Village.
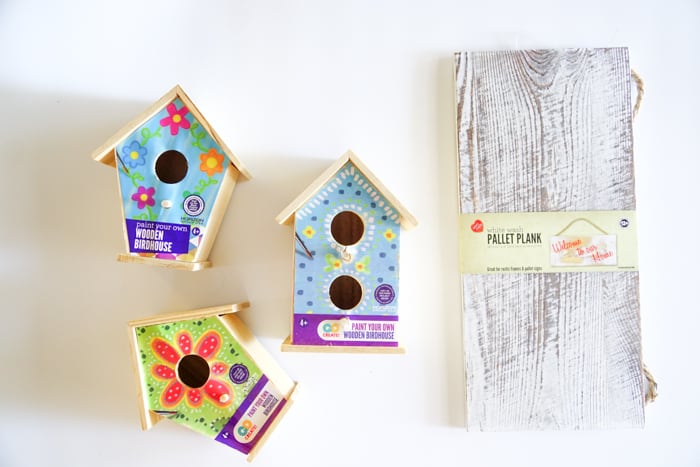
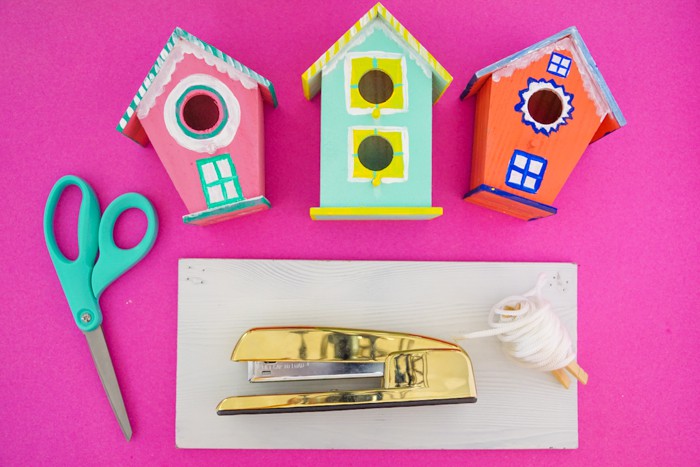
Supplies needed for this Christmas Village Displays DIY
Want to save this project?
Enter your email below, and then we'll send it straight to your inbox. Plus get awesome new projects from us each week.
- Mini Wooden Birdhouses
- A plank of wood
- Acrylic Paint
- Paint Brushes
- Rope or Twine
- Stapler
Other Optional Christmas Village Decor
We found most of these items at our local dollar store, so my thought is to start there. You can add miniature Christmas ornaments, tea lights, and all the other fun things to bring this village to life.
How to DIY Christmas Village Display
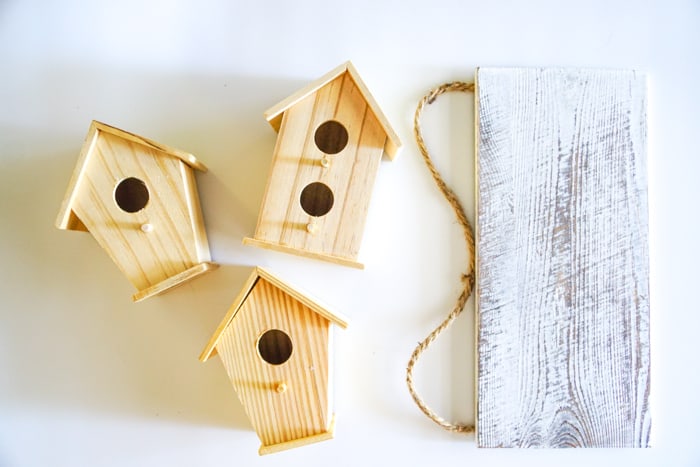
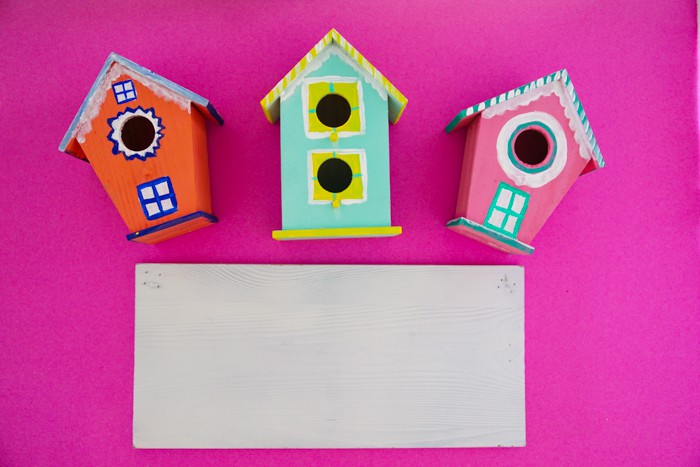
The first thing to do is paint your houses and your wood plank. My plank came with a piece of rope attached to hang it. I removed the rope and then painted the plank we used white paint.
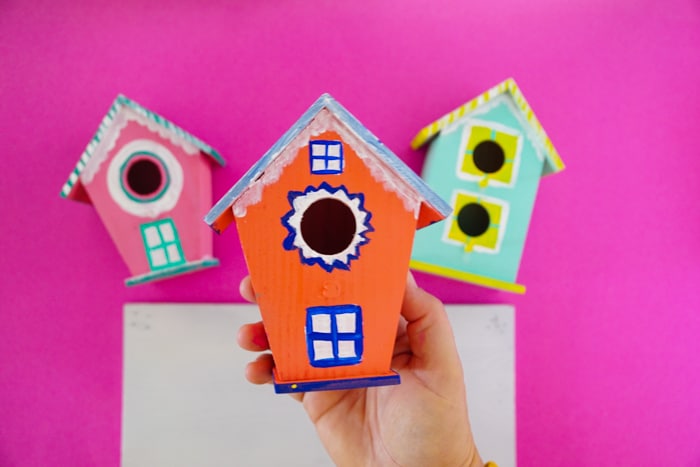
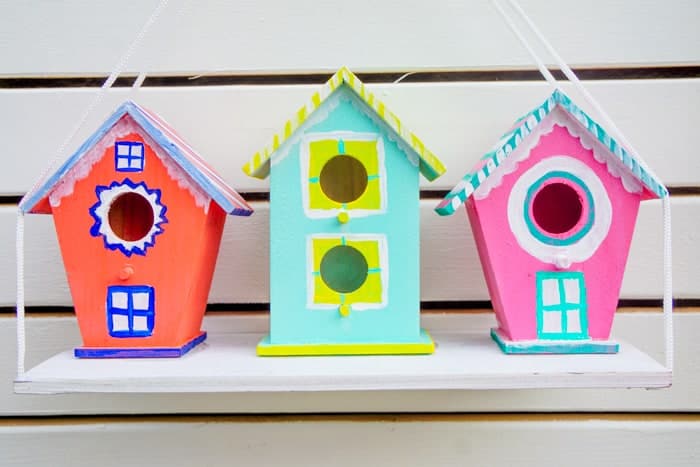
When painting the houses, remember Christmas villages typically have defined doors and windows.
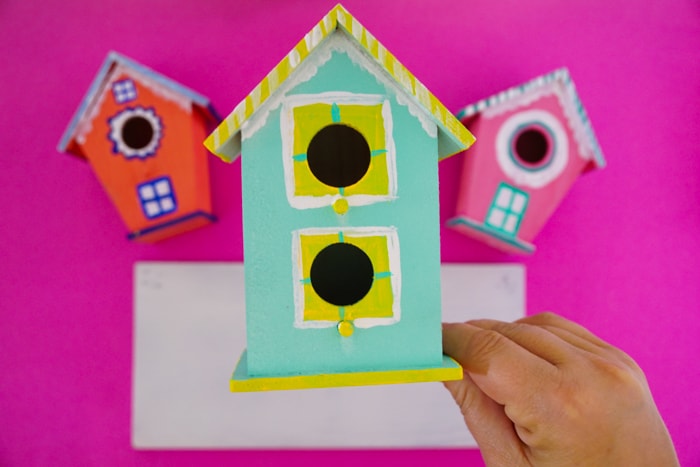
We went with bright colors because... well, we are Made with HAPPY and we love color.
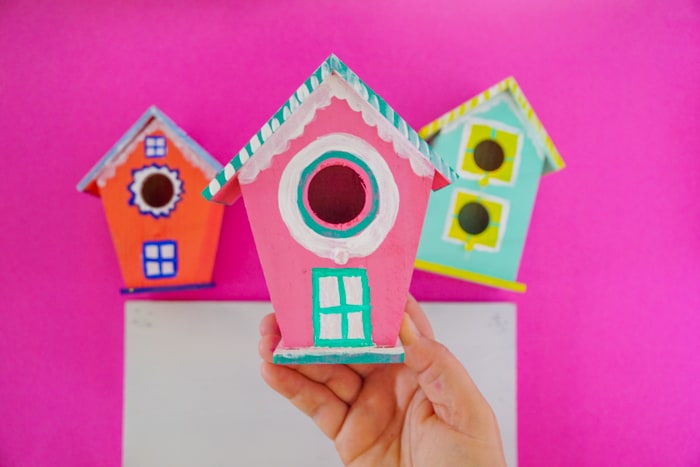
One characteristic of a Christmas Village Display is the fake snow.
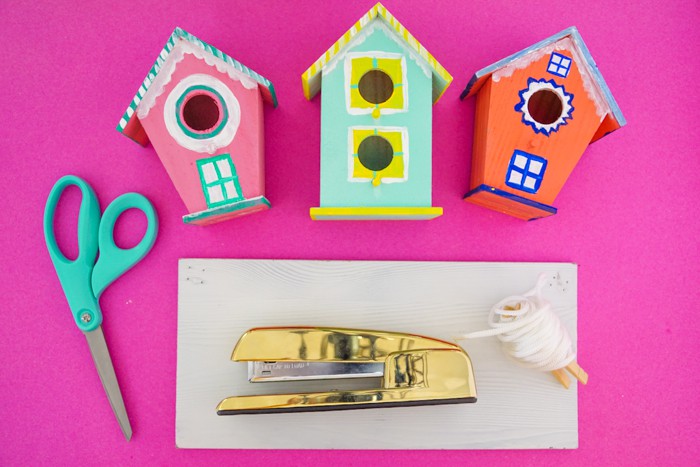
There are a few different options for this. If you are like us, and going to use this as an actual birdhouse, I recommend doing as we did and have the kids pain on a thin layer of white along the roof edges. If you are going to use it traditionally as a Christmas village display in your house, then you could add a layer of chunky white glitter or fake snow.
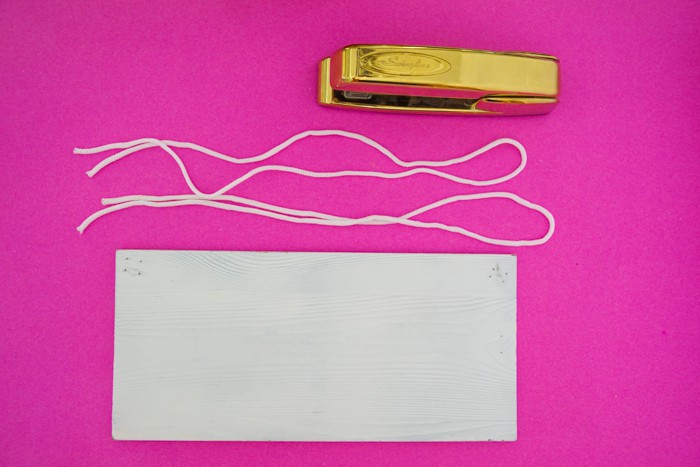
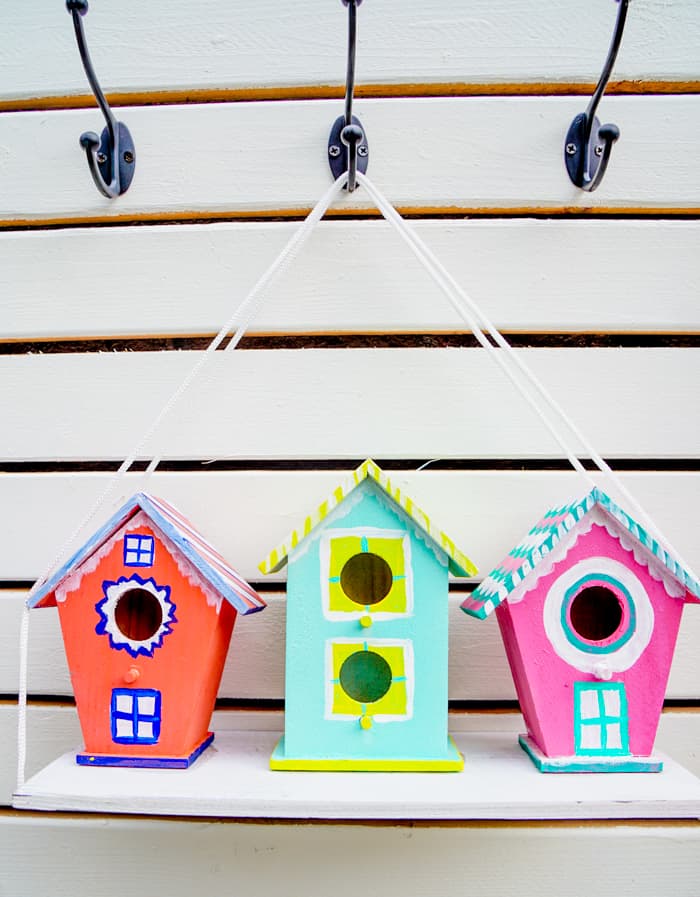
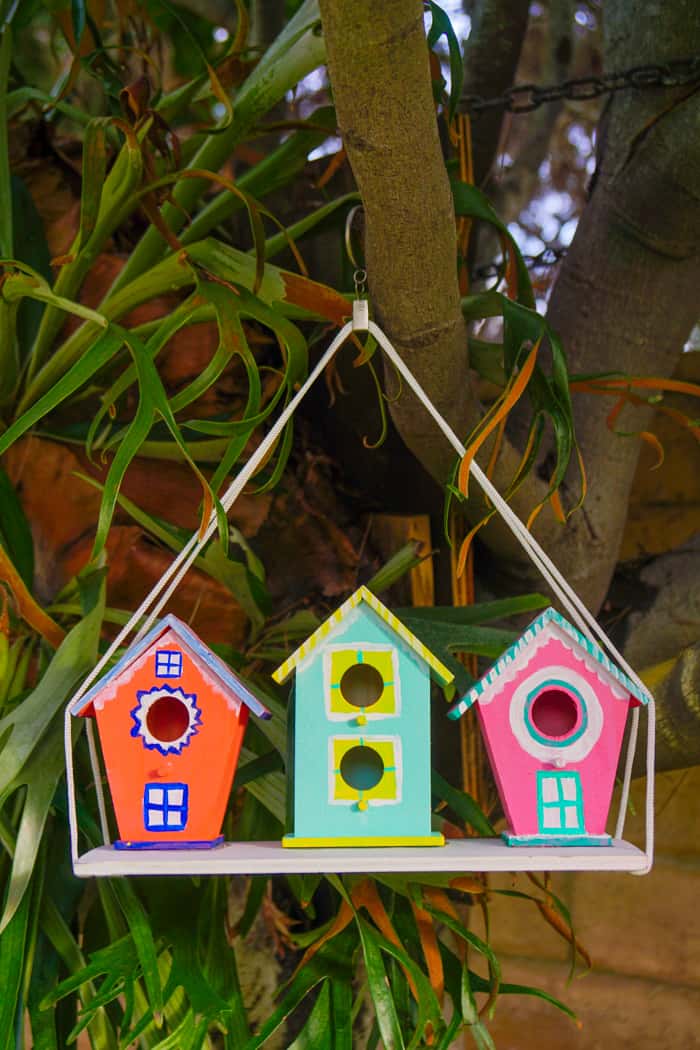
Next, for those that are creating the full DIY Birdhouse Christmas Village for the birds, you have to make sure it can hang. Cut two pieces of your rope or twine, each two and a half feet long.
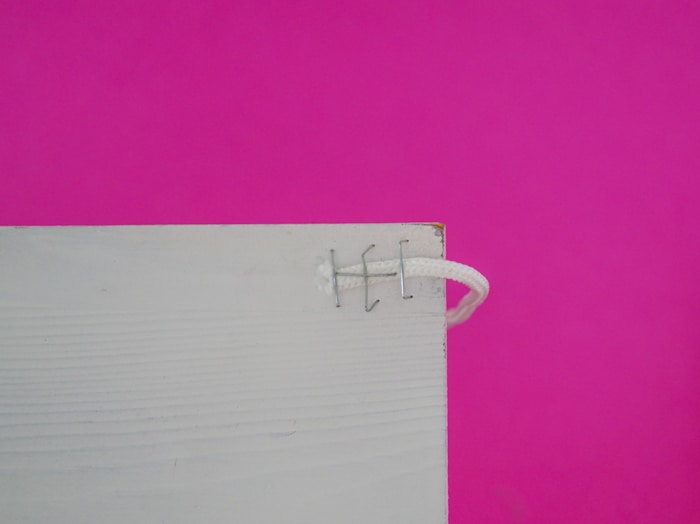
Staple each piece of rope to the bottom of the piece of wood on the short edges of the wood. Add a few staples across the rope to hold the rope down and then on the length of the rope to secure it from slipping.
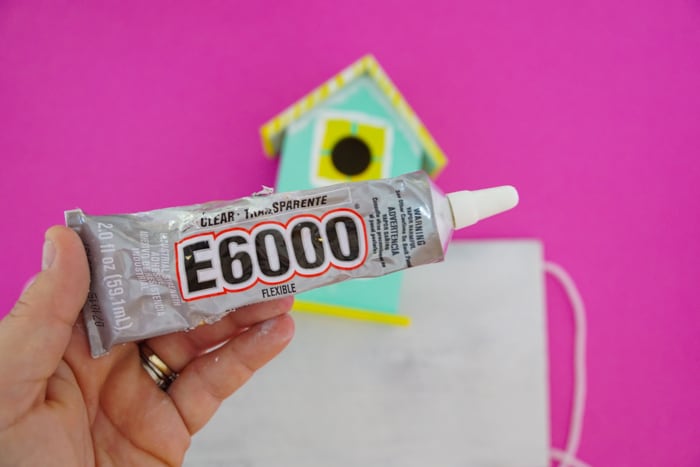
Once you have the ropes secured, it's time to glue the Christmas village to your piece of wood. You can use wood glue or industrial-strength glue like I did to place the birdhouses onto the platform.
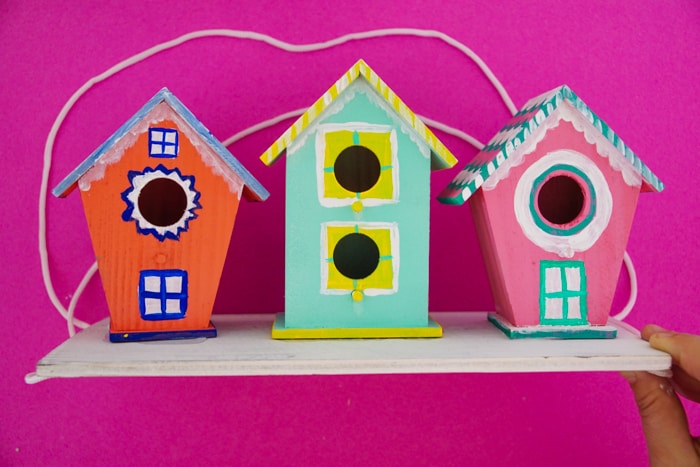
Once they are dry, then it is time to fill it with birdseed and hang your DIY Birdhouse Christmas Village.
 Variations to Your Simple Christmas Village
We've already talked about snow village and adding fake snow if you so desired. There are lots of other fun ideas that you can certainly add to your Christmas Village. Adding more Christmas decorating especially if it's going to be displayed in your living room rather than outside with actual birds.
I would be cautious of adding glitter or fake snow when there is a possibility of real birds digesting it.
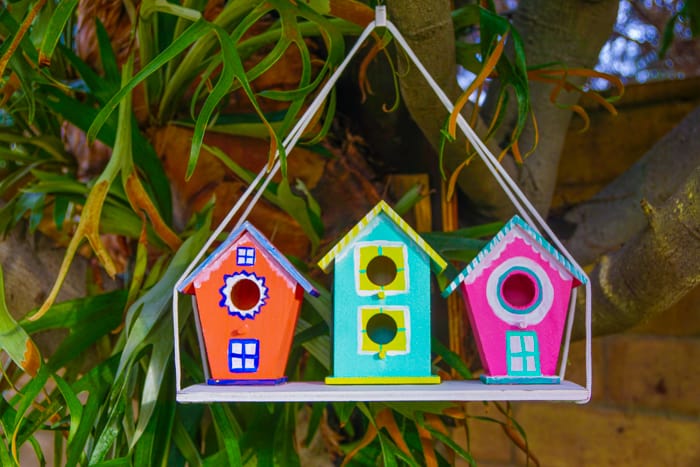
I highly suggest adding Christmas Wreaths and or a Christmas tree to your display if you are going for a more traditional look. You can find lots of little additions at your local craft store.
However you chose to decorate, I hope you can create a Christmas village set that you love for years to come.
We highlighted this Christmas craft along with some other fun kid's crafts in our December Crafts for Kids along with our 101+ Easy Craft Ideas for kids.
You also do not want to miss our 101+ Printable Coloring Pages For Kids and 101+ Printables For Kids full of Crafts and Coloring Pages.

DIY Birdhouse Christmas Village for Kids


Other Christmas DIYs you might enjoy
- DIY WINE CORK SNOWMAN ORNAMENTS
- WALL HANGING CHRISTMAS TREE
- PHOTO WRAPPING PAPER
- YOU’VE BEEN ELFED
- MODERN CHRISTMAS WREATH
Christmas is one of our favorite times of the year. If you decided to make our fun simple Christmas village, we would love for you share it with us. You can always tag us on Instagram or Facebook.
Some of Made with HAPPY's most popular DIY projects
- MADE WITH HAPPY TREEHOUSE
- DIY POOL HEATERS
- MODERN FIREPLACE MAKEOVER
- MADE WITH HAPPY DOG HOUSE
- HOW TO MAKE OUTDOOR EASEL
DIY Birdhouse Christmas Village

Materials
- Mini Wooden Birdhoues
- A plank of wood
- Acrylic Paint
- Paint Brushes
- Rope or Twine
- Glue
Tools
- Stapler
Instructions
The first thing to do is paint your houses and your wood plank. My plank came with a piece of rope attached to hang it. I removed the rope and then painted the plank we used white paint.
When painting the houses, remember Christmas villages typically have defined doors and windows.
We went with bright colors because... well, we are Made with HAPPY and we love color.
One characteristics of a Christmas Village Display is the fake snow.
There are a few different options for this. If you are like us, and going to use this as an actual birdhouse, I recommend doing as we did and have the kids pain on a thin layer of white along the roof edges. If you are going to use it traditionally as a Christmas village display in your house, then you could add a layer of chunky white glitter or fake snow.
Next, for those that are creating the full DIY Birdhouse Christmas Village for the birds, you have to make sure it can hang. Cut two pieces of your rope or twine, each two and a half feet long.
Staple each piece of rope to the bottom of the piece of wood on the short edges of the wood. Add a few staples across rope to hold the rope down and then one the length of the rope to secure it from slipping.
Once you have the ropes secured, its time to glue the Christmas village to your piece of wood. You can use a wood glue or industrial strength glue like I did to place the birdhouses onto the platform.
Once they are dry, then it is time to fill it with birdseed and hang your DIY Birdhouse Christmas Village.
BIRDHOUSE DIY CHRISTMAS VILLAGE
PIN IT TO YOUR CRAFT BOARD ON PINTEREST!
FOLLOW MADEWITHHAPPY ON PINTEREST FOR ALL THINGS HAPPY


 There are a few different options for this. If you are like us, and going to use this as an actual birdhouse, I recommend doing as we did and have the kids pain on a thin layer of white along the roof edges. If you are going to use it traditionally as a Christmas village display in your house, then you could add a layer of chunky white glitter or