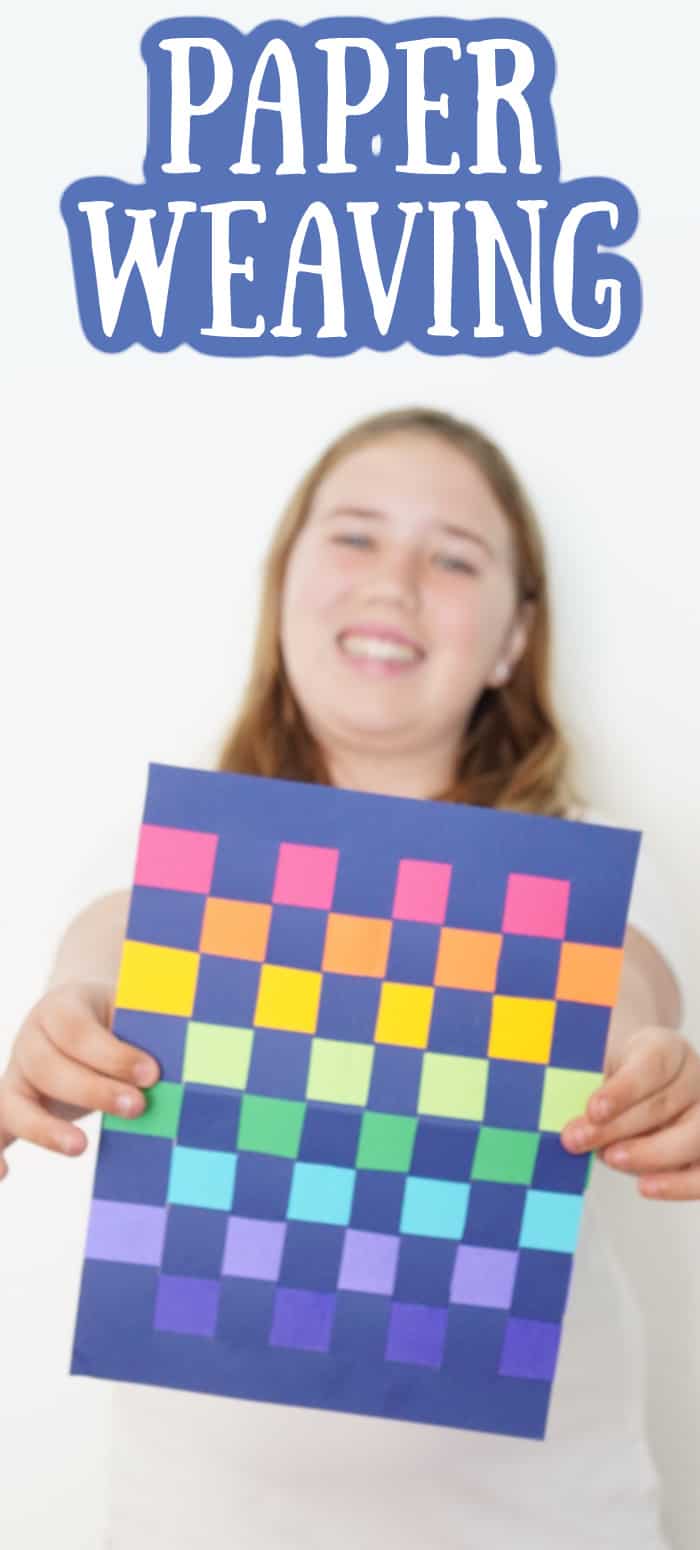
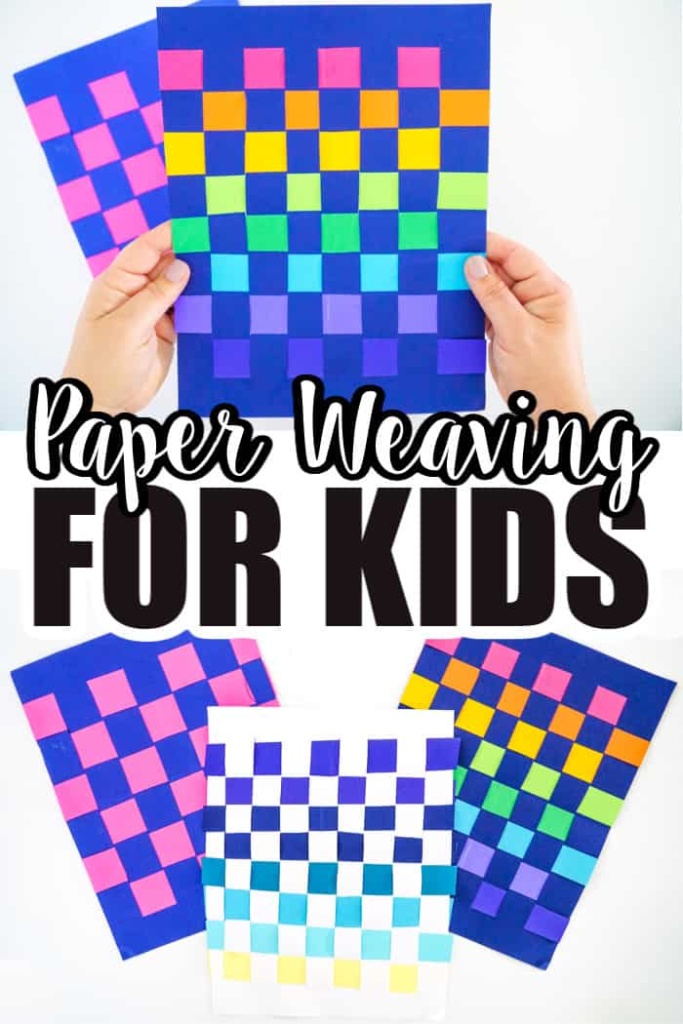
These super fun paper weaving are a great paper craft for kids of all ages. This fun craft can be made with two pieces of paper, a pencil, and scissors.
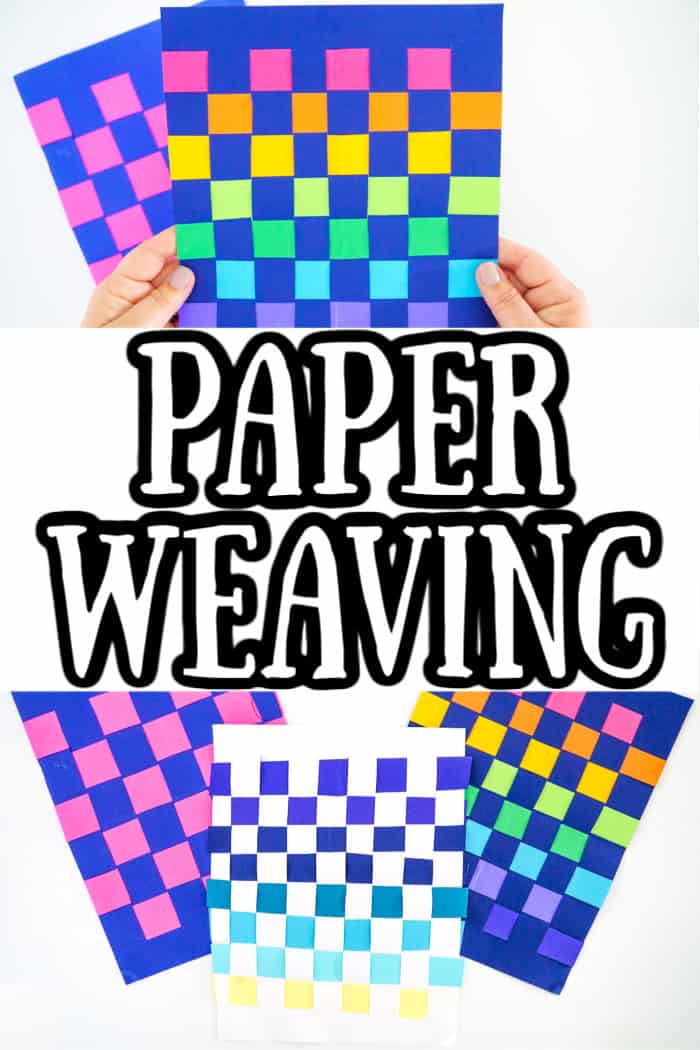
These paper weaving - paper crafts for kids are all kinds of fun and can be made into so many patterns.
Paper crafts are some of our favorite types of crafts.
Different Variations to Paper Weaving
We are going to show you the way to paper weave using two different colored pieces of construction paper in a checkered pattern. There are a number of different variations you can do for the checkered patterned project.
- With two of the same colored pieces of craft paper, we recommend having the children draw on one of the pieces of paper to make it stand out.
- Rather than draw, you could have the kids paint one or both pieces of simple paper to give it different dimension.
- Color variation of the weaving strips.
- Change the size you are cutting the paper and the size of the strips of paper.
- For younger children, the thicker the strip size the easier it is for them to weave the paper.
- The older kids can handle smaller strips making it a bit longer of a project.
There are different patterns you can make in the paper weave. We are hoping to create a follow-up project to this one with a few different patterns. Look for that coming soon.
Kids Crafts

Want to save this project?
Enter your email below, and then we'll send it straight to your inbox. Plus get awesome new projects from us each week.
Before we get into the tutorial, I think it's important to note how these might just seem like a fun craft for the kids. They certainly are fun projects. But really crafts are really good for kid's growth.
Crafts that use scissors are great in building their fine motor skills in little fingers. For both younger kids and older kids, it builds their creativity with color, sizes to make it into a fun project. Encouraging kids to create different projects is just really important.
What you need to make this fun paper craft
How to Weave with Paper Strips
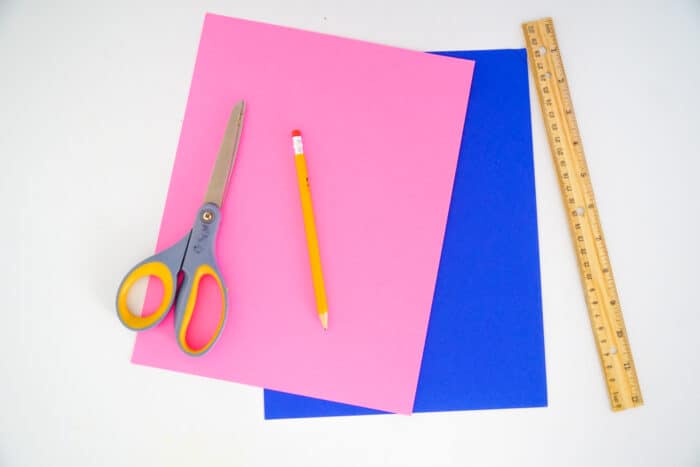
Grab your two pieces of paper, your pencil, scissors, and ruler if you have one.
First Piece of Paper (Base Paper)
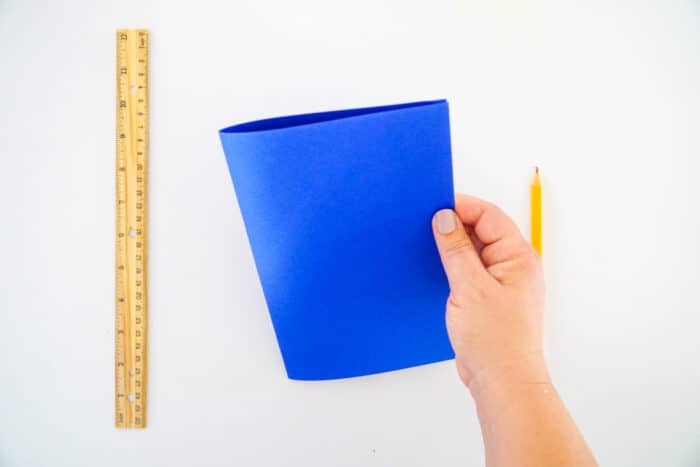
With your base piece of paper vertical (long edge on the side) fold the top down to the bottom. This should meet the two short ends of the paper together.
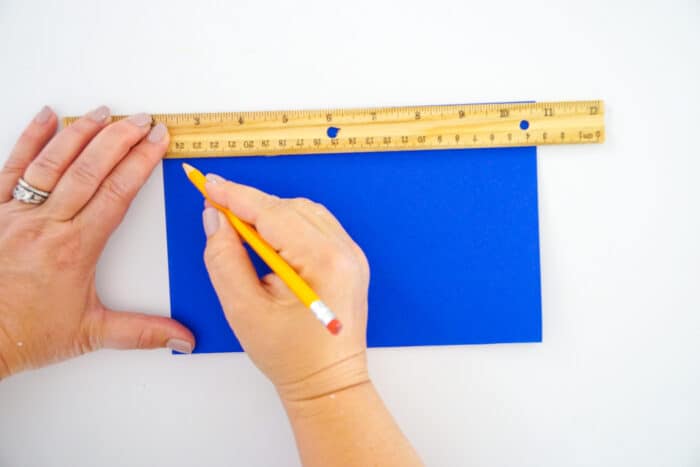
With the fold at the top, place your ruler (or flat edge) approximately an inch from the top of your paper.
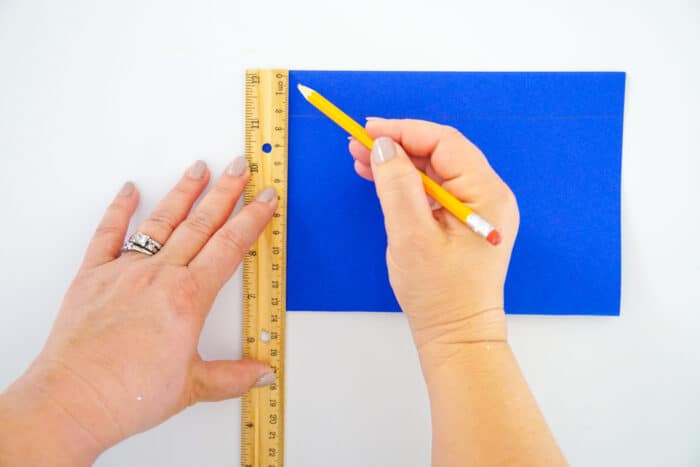
Draw a line along the flat edge.
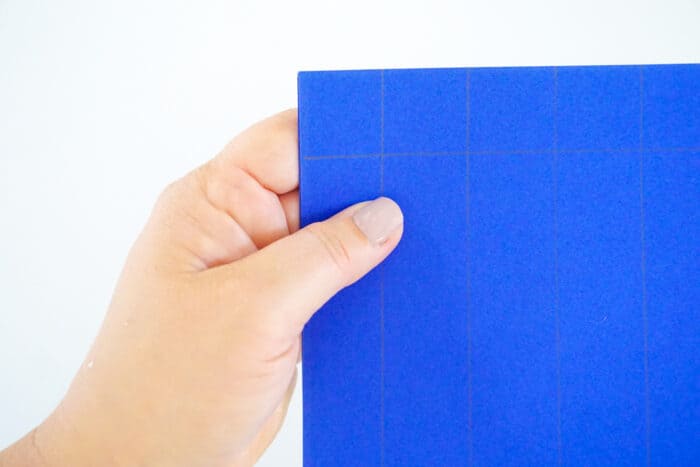
Next, with your paper in the same position (folded end at top) you are going to draw lines approximately 1 inch from the top to the bottom of the folded paper.
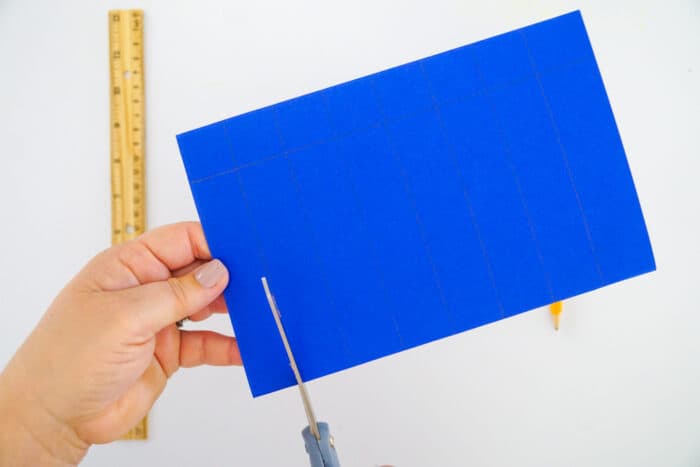
With the paper in the same position, you will cut up each of the lines of the paper till you get to the cross line and stop.
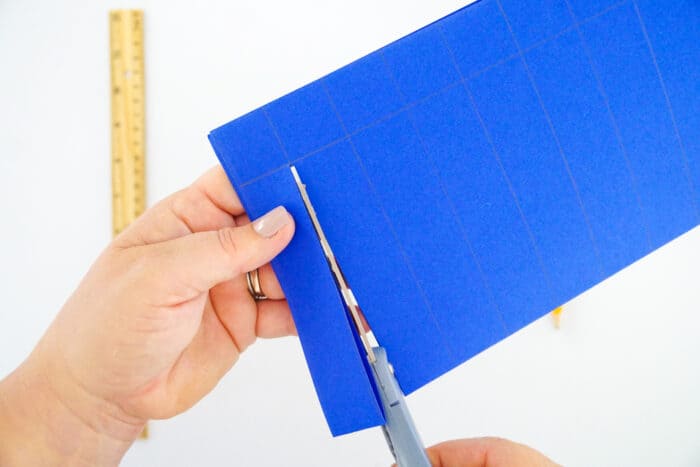
You do not want to cut the base paper all the way through as this is going to be the paper that holds the weaving.
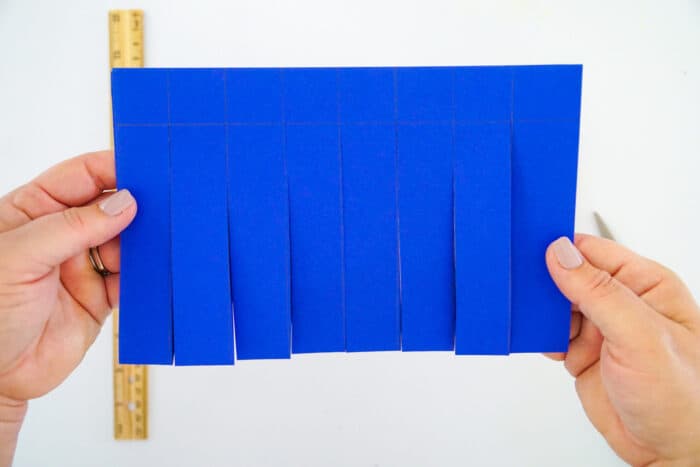
Make cuts along the length of the paper as evenly spaced as you can.
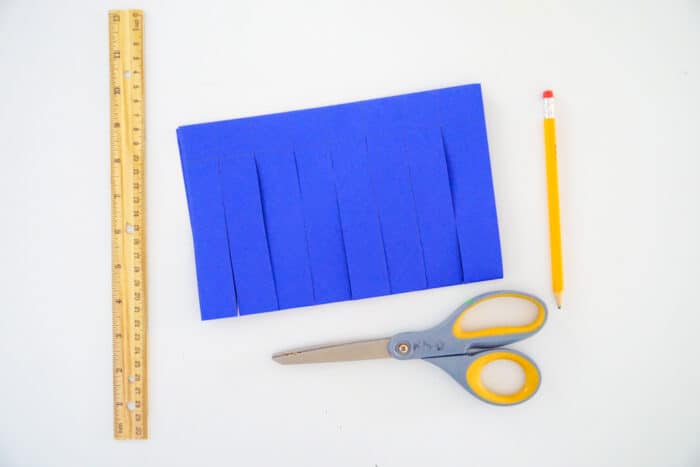
Remember to not cut all the way through the paper.
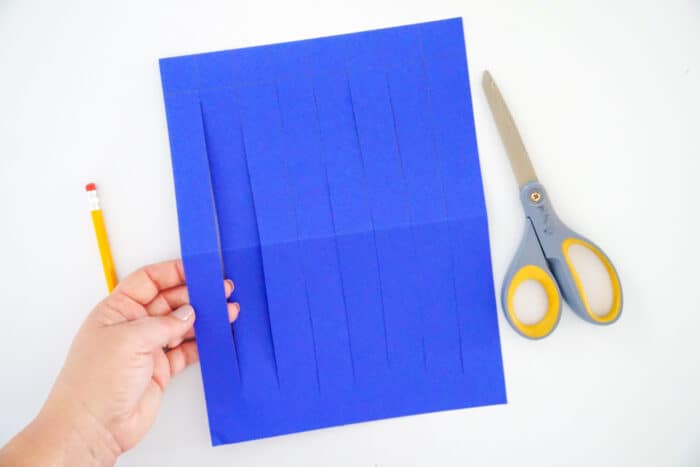
Once you are done, it should look like an accordion.
Second Piece of Paper (Weaving Paper)
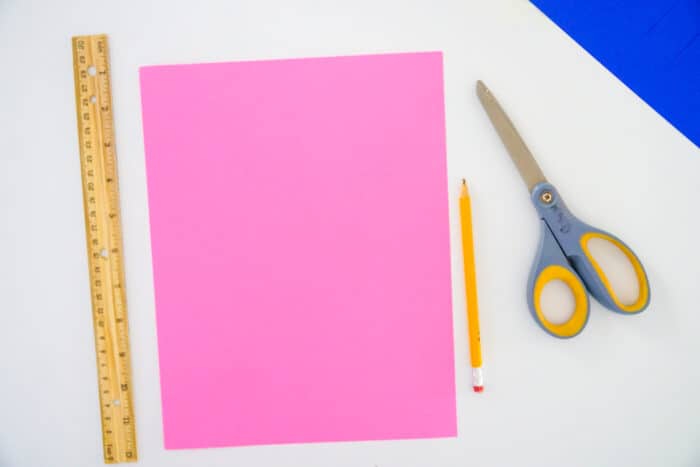
After you place the base paper to the side, grab your second piece of paper. This is your weaving paper.
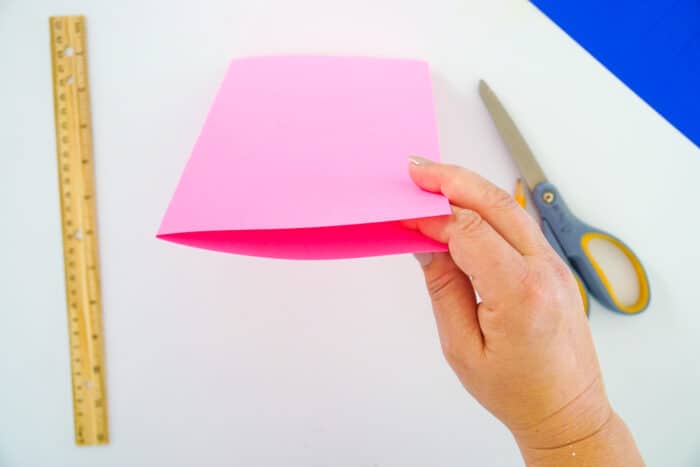
Next, you will need to fold your weaving paper in half the same way you folded your base paper where so that the short ends of the paper will meet up.
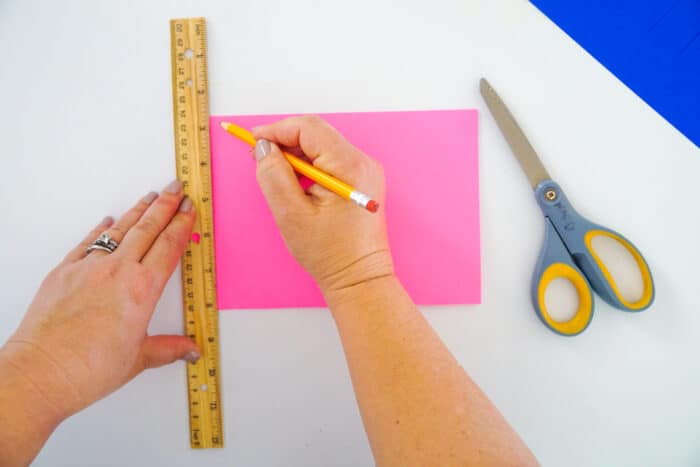
Now with the ruler, you are going to draw lines from top to bottom just as you did with the base paper. You will be cutting through this paper, so no need for the line at the top.
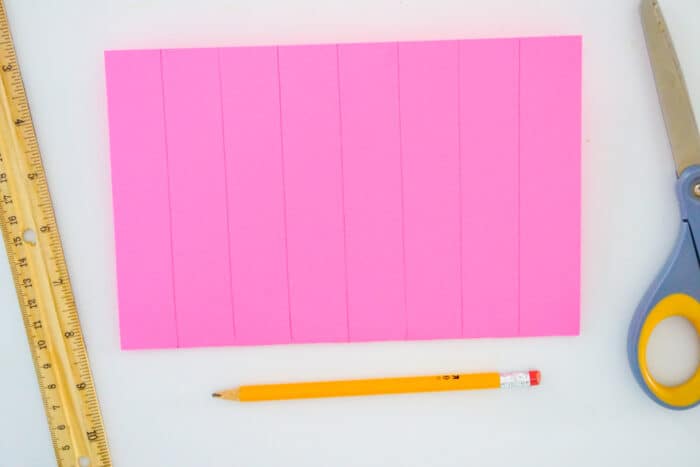
Try and space them as evenly across the paper as possible.
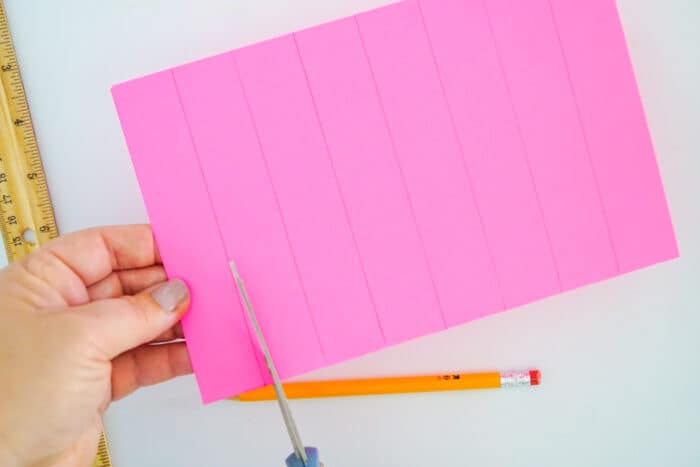
Cut the paper along the lines creating long strips.

For this paper, you are cutting all the way through the paper.
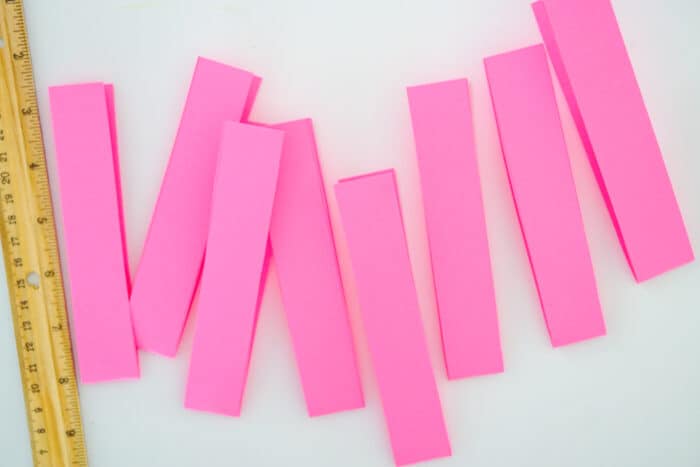
Weaving the Paper Strips
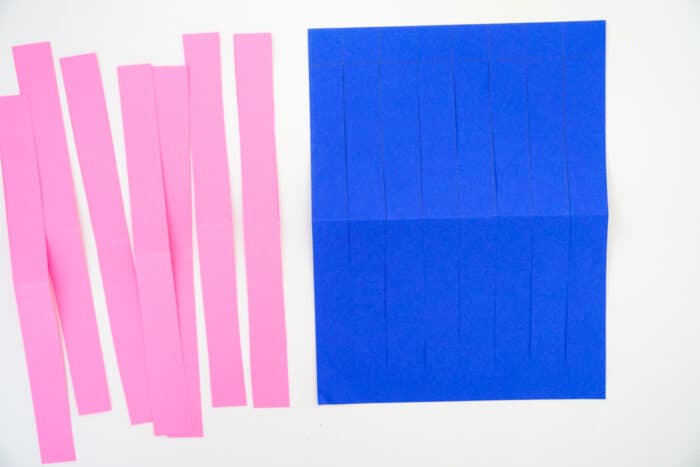
First, unfold both the base paper and the paper strips.
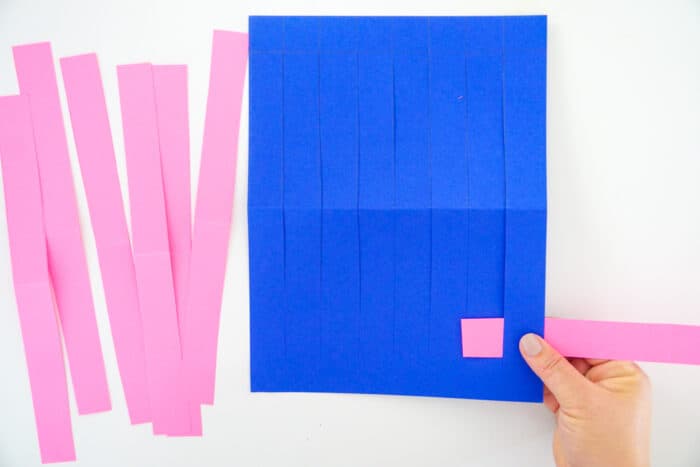
Next, starting at the bottom of the paper weave a paper strip over and under through your base paper.
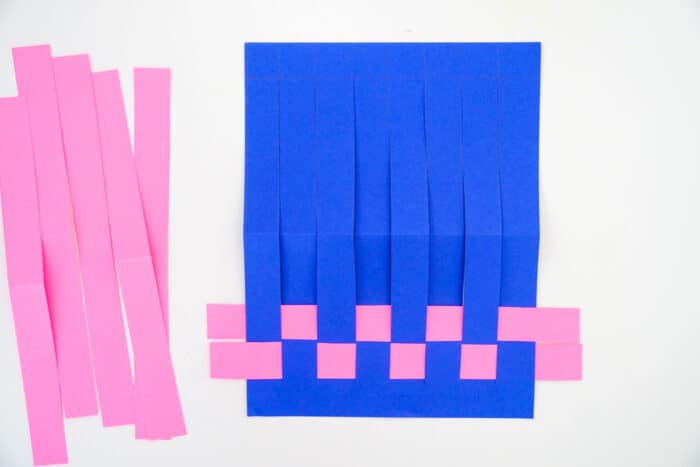
The next paper strip will then weave the opposite of the first. The under and then over creates the weaving process.
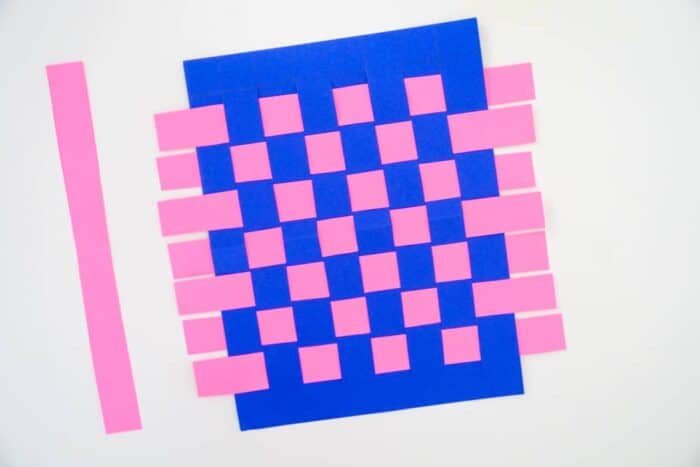
Lastly, continue up the base paper alternating, which will lead you to the top.
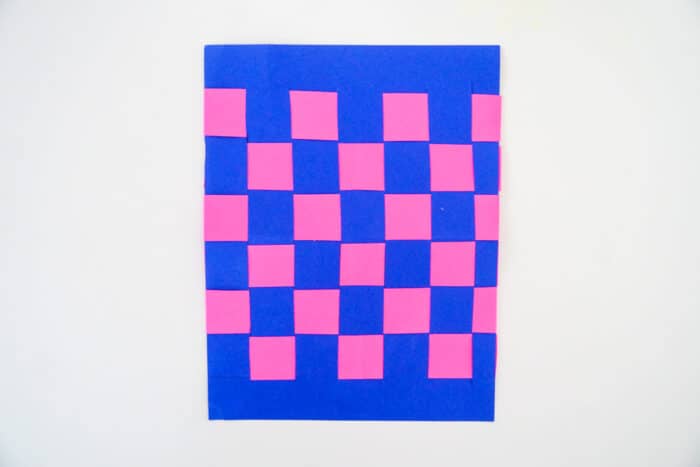
Once you have your weaving complete, you can either cut off the ends of the weave or fold them over and tape them down.
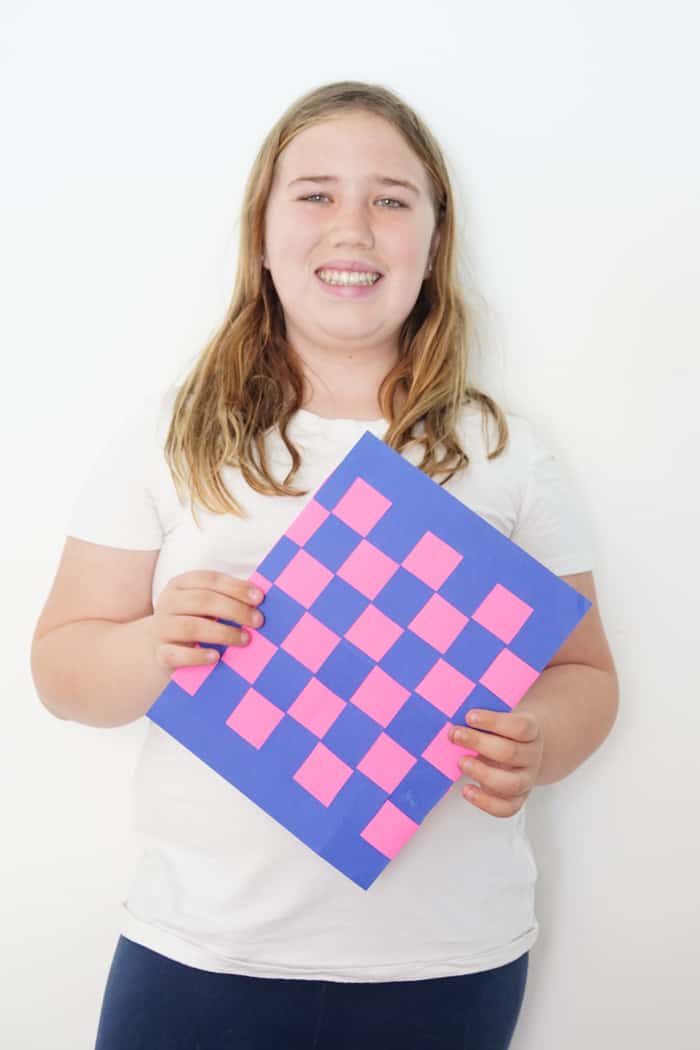
Checkered Board Pattern Paper Weaving
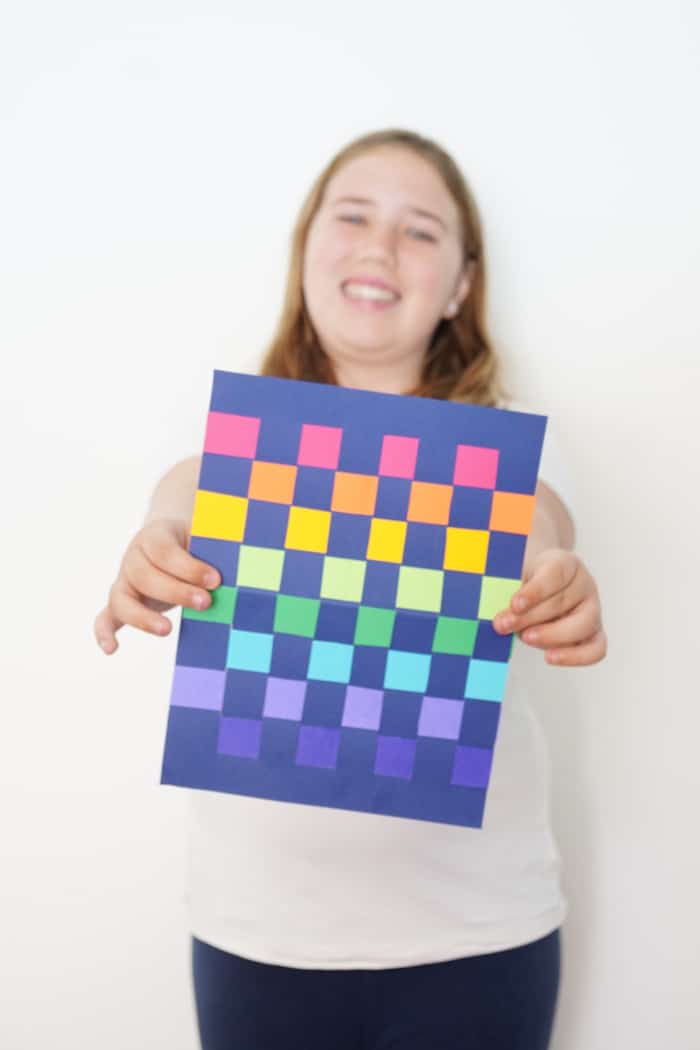
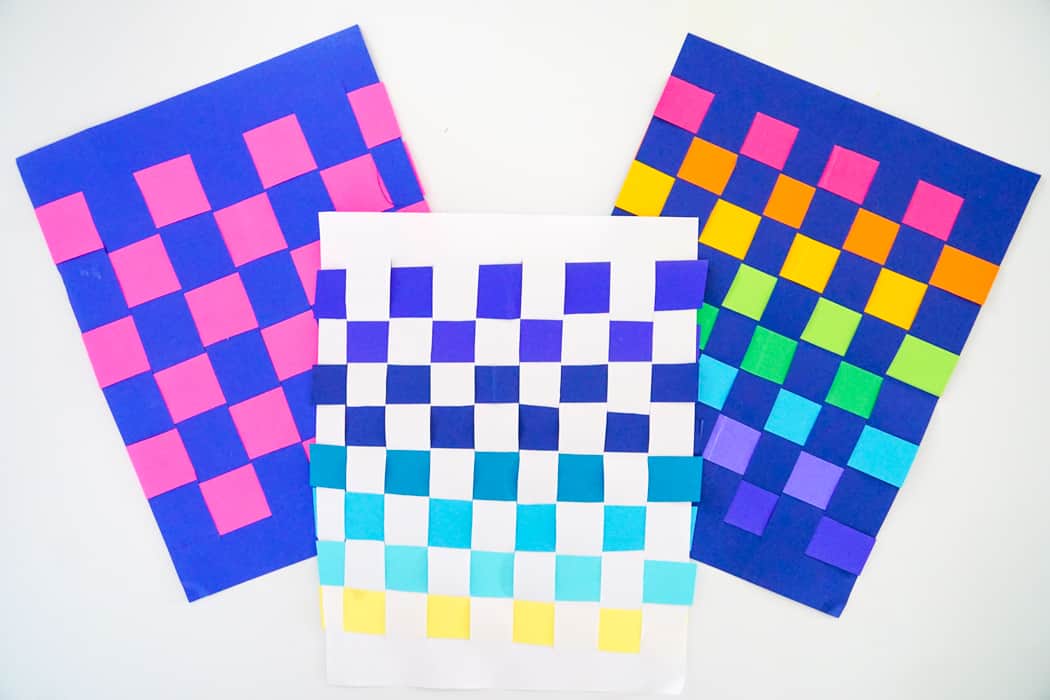
Looking for other variations to this project? Change the colored paper of the weaving strips. Follow the same method as you did for the pink, but with multiple colored pieces of paper.
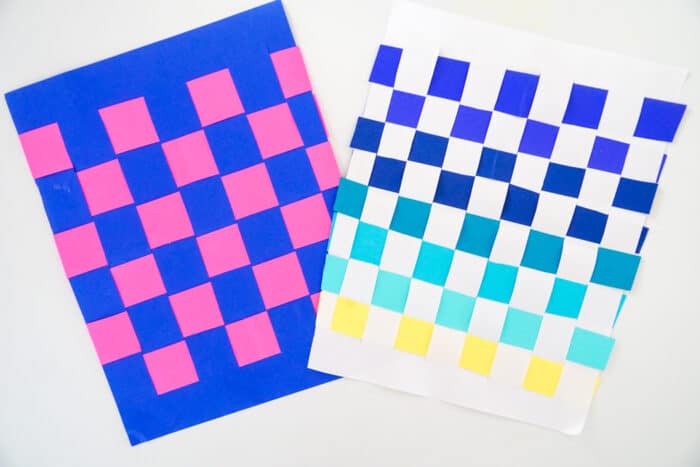
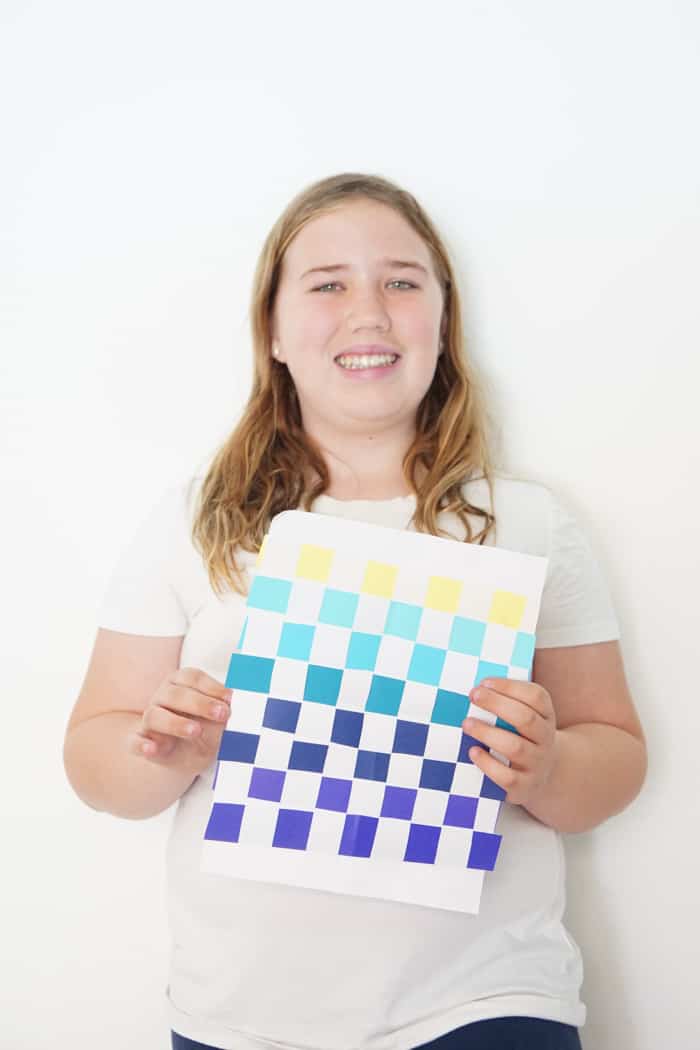
Tip: You can always change your project up using other colors of paper. For example, we created both the rainbow weaving and the blue ombre weaving using different colored paper
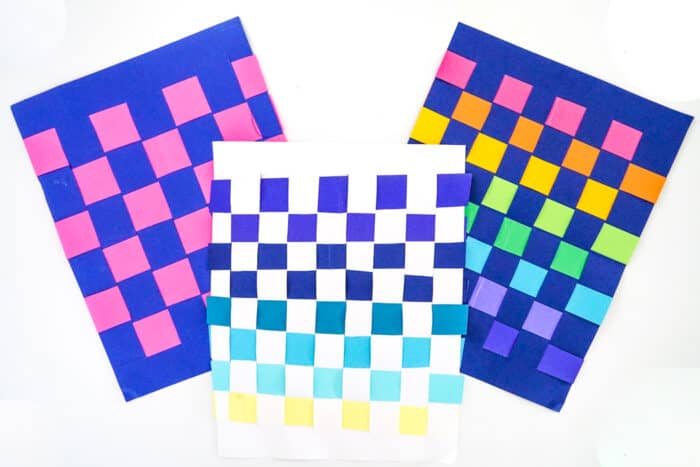
This is a project full of fun and creativity and gives the kids lots of opportunities to put their personal touch on it.
Here are some of your questions now that you've started this project:
Some of our most popular paper crafts include our 3D Paper Cactus Craft, Paper Plate Wind Sock Craft, and our Paper Lantern DIY.
We highlighted this construction paper craft along with some other fun kid's crafts in our January Crafts for Kids.
You also do not want to miss our 101+ Printable Coloring Pages For Kids and 101+ Printables For Kids full of Crafts and Coloring Pages.
Paper Weaving Questions
What is paper weaving?
Paper weaving is a way of taking strips of paper and placing them either "over" or "under" the base piece of paper. The weaving is created in different colors and patterns to create artwork.
How do you make a paper loom?
A paper loom is the base piece of paper we showed you above. You take your base piece of paper, fold it in half, and then cut strips from the folded side up leaving a section not cutting all the way through.
What is the purpose of weaving?
Weaving is done with threads to make the fabrics that we use in our clothes, furniture, and bedding around our house every day. As for weaving paper, it is a form of art.
Other Paper Crafts for Kids
- CAMPING KIDS CRAFTS – PAPER WINDSOCKS
- LADYBUG ROCK PAINTING
- PAPER FOOTBALL GAME
- HOW TO MAKE A PAPER CROWN
- MODERN CHRISTMAS TREES
Paper Weaving - Paper Crafts For Kids
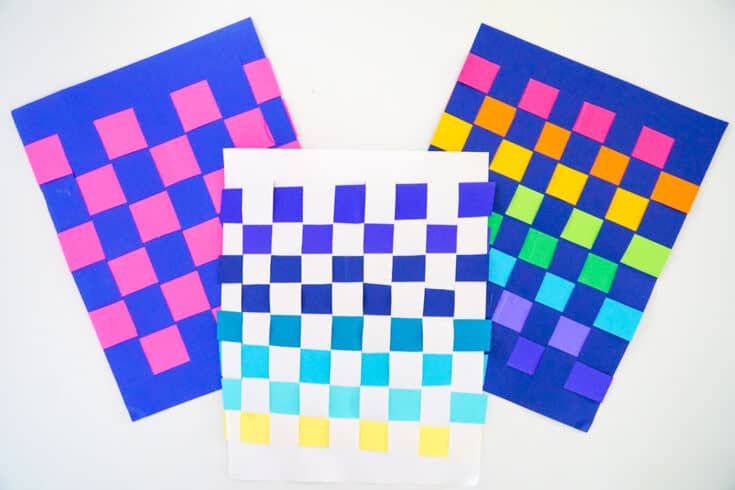
These super fun paper weavings are a great paper craft for kids of all ages. They can be made with two pieces of paper, a pencil and scissors.
Tools
- scissors
- pencil
- ruler (optional)
Instructions
Grab your two pieces of paper, your pencil, scissors and ruler if you have one.
With you base piece of paper vertical (long edge on the side) fold the top down to the bottom. This should meet the two short ends of the paper together.
With the fold at the top, place your ruler (or flat edge) approximately an inch from the top of your paper.
Draw a line along the flat edge.
Next, with your paper in the same position (folded end at top) you are going to draw lines approximately 1 inch from the top to the bottom of the folded paper.
With the paper in the same position, you will cut up each of the lines of the paper till you get to the cross line and stop.
You do not want to cut the base paper all the way through as this is going to be the paper that holds the weaving.
It should look like an accordion once you are done.
Put that paper to the side and grab your second piece of paper. This is your weaving paper.
Fold your weaving paper in half the same way you folded your base paper where the short ends of the paper will meet up.
Now with the ruler, you are going to draw lines from top to bottom just as you did with the base paper. You will be cutting through this paper, so no need for the line at the top.
Cut the paper along the lines creating paper strips.
Unfold both the base paper and the paper strips.
Starting at the bottom of the paper weave a paper strip over and under through you base paper.
The second strip will then weave the opposite of the first, so under and then over.
Continue up the paper alternating until you get to the top.
Once you have your paper complete you can either cut off the excess paper on the ends or fold them over and tape them.
CONNECT WITH MADE WITH HAPPY!
Be sure to follow me on social media, so you never miss a post!
Facebook | Twitter | Youtube
Pinterest | Instagram


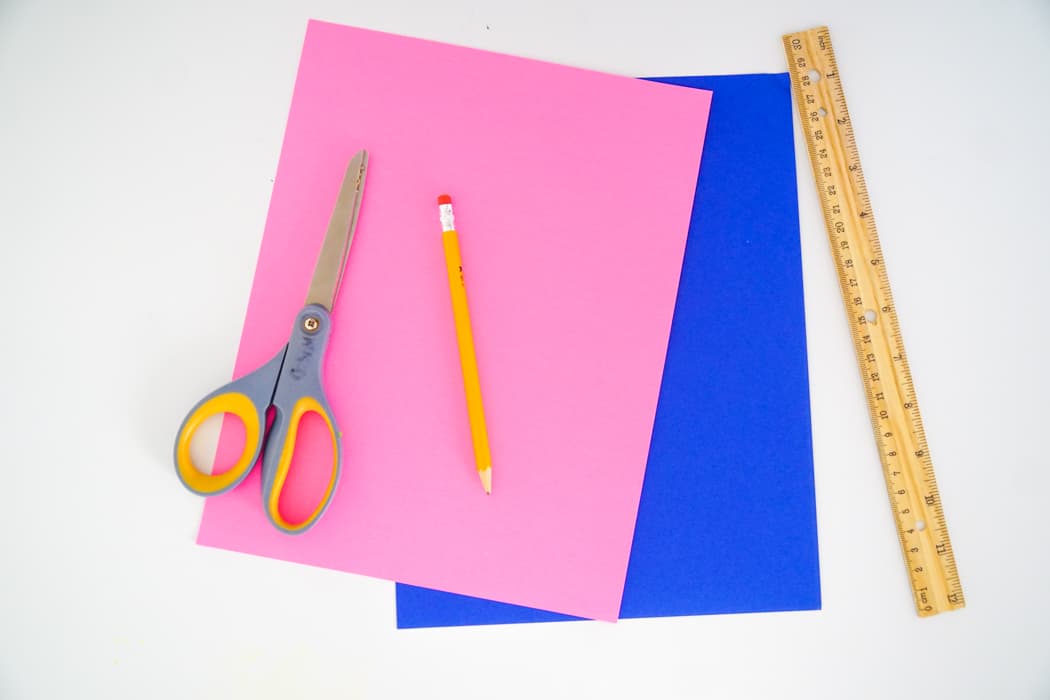 Grab your two pieces of paper, your pencil, scissors and ruler if you have one.
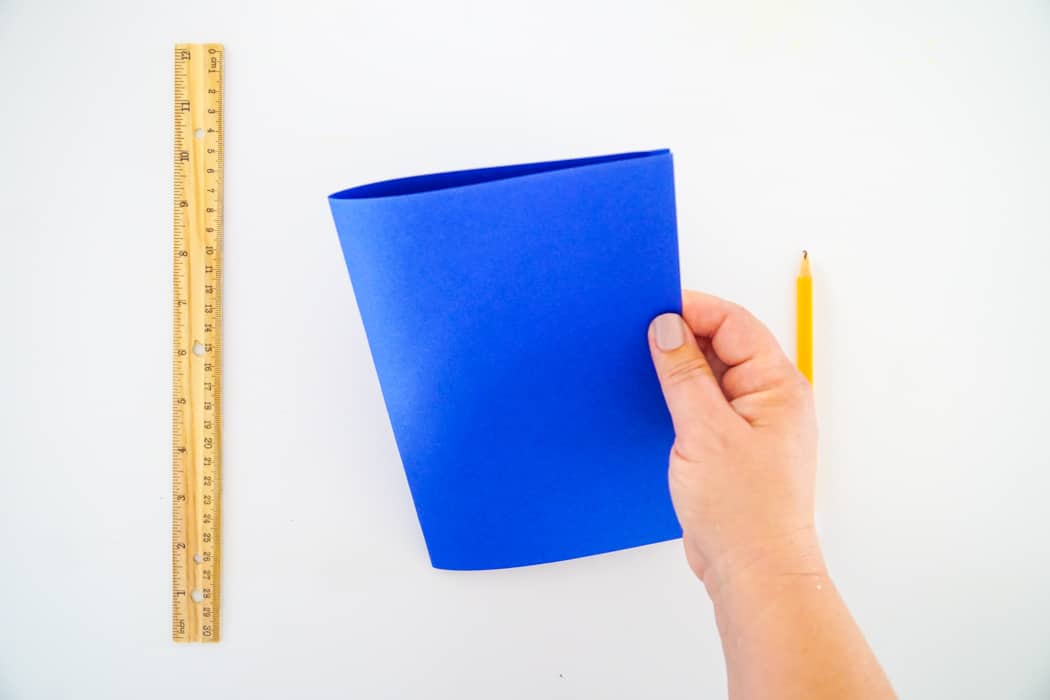 With you base piece of paper vertical (long edge on the side) fold the top down to the bottom. This should meet the two short ends of the paper together.
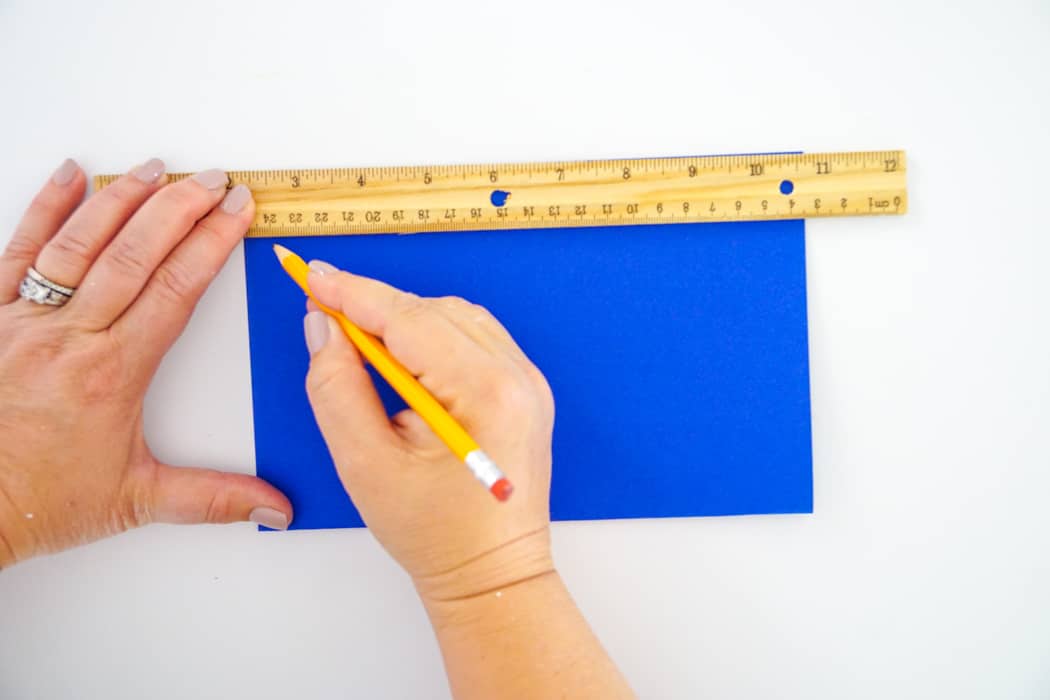 With the fold at the top, place your ruler (or flat edge) approximately an inch from the top of your paper.
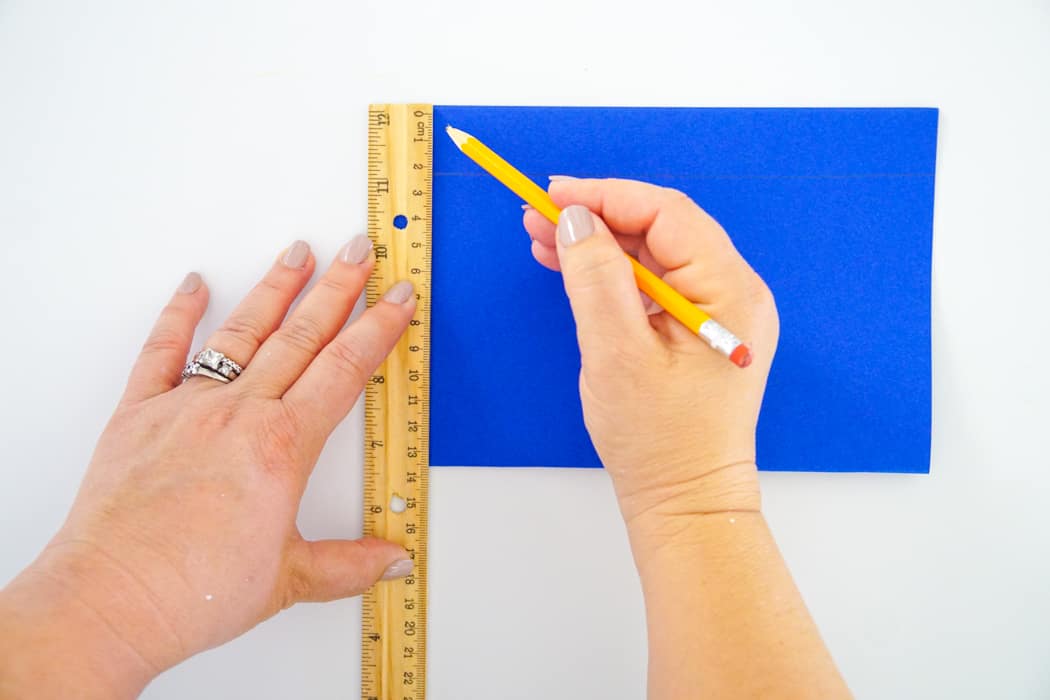 Next, with your paper in the same position (folded end at top) you are going to draw lines approximately 1 inch from the top to the bottom of the folded paper.
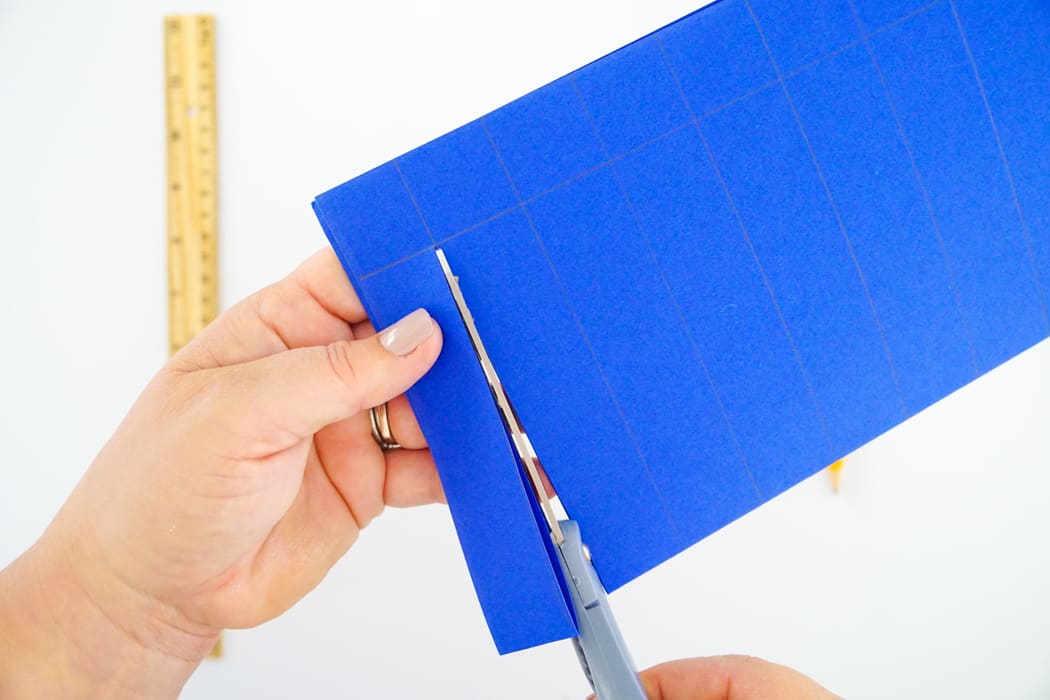 With the paper in the same position, you will cut up each of the lines of the paper till you get to the cross line and stop.
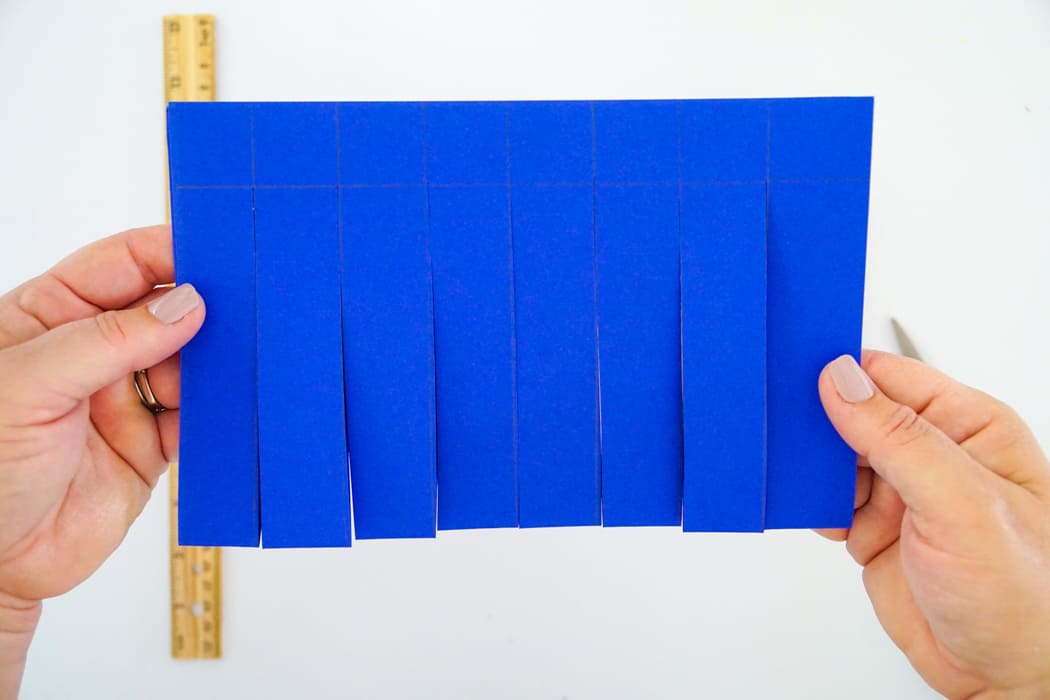 You do not want to cut the base paper all the way through as this is going to be the paper that holds the weaving.
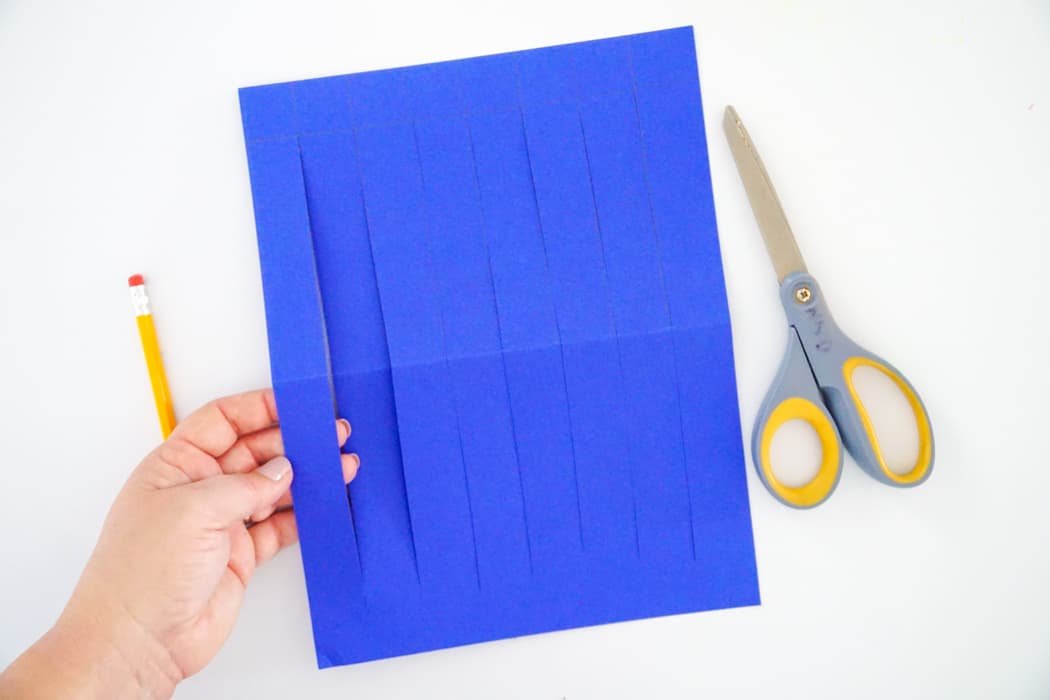 It should look like an accordion once you are done.
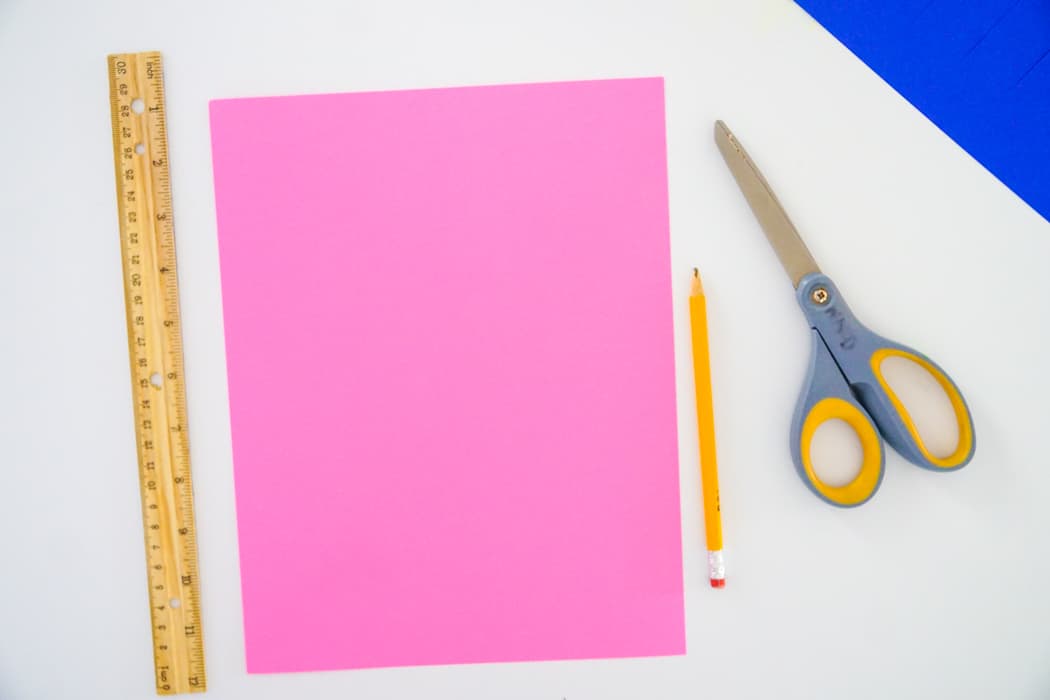 Put that paper to the side and grab your second piece of paper. This is your weaving paper.
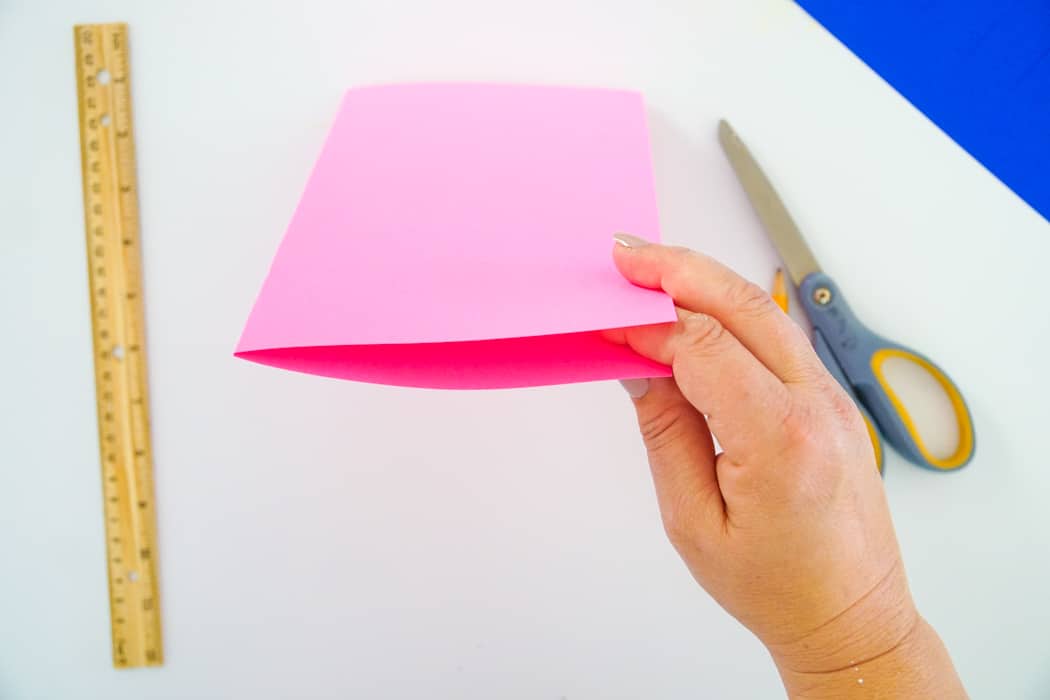 Fold your weaving paper in half the same way you folded your base paper where the short ends of the paper will meet up.
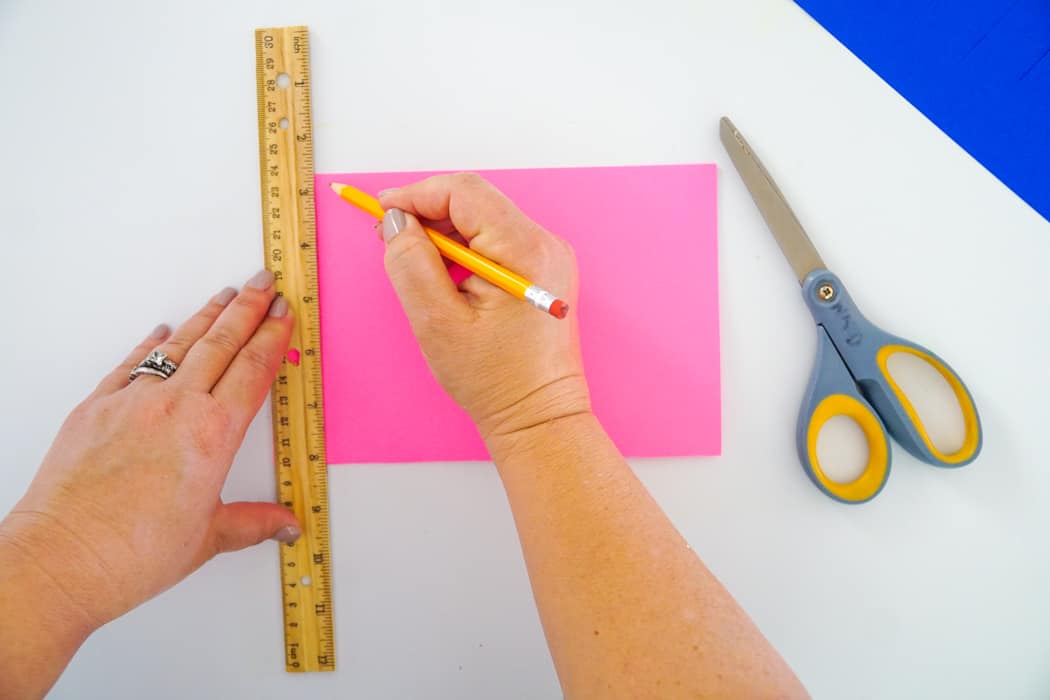 Now with the ruler, you are going to draw lines from top to bottom just as you did with the base paper. You will be cutting through this paper, so no need for the line at the top.
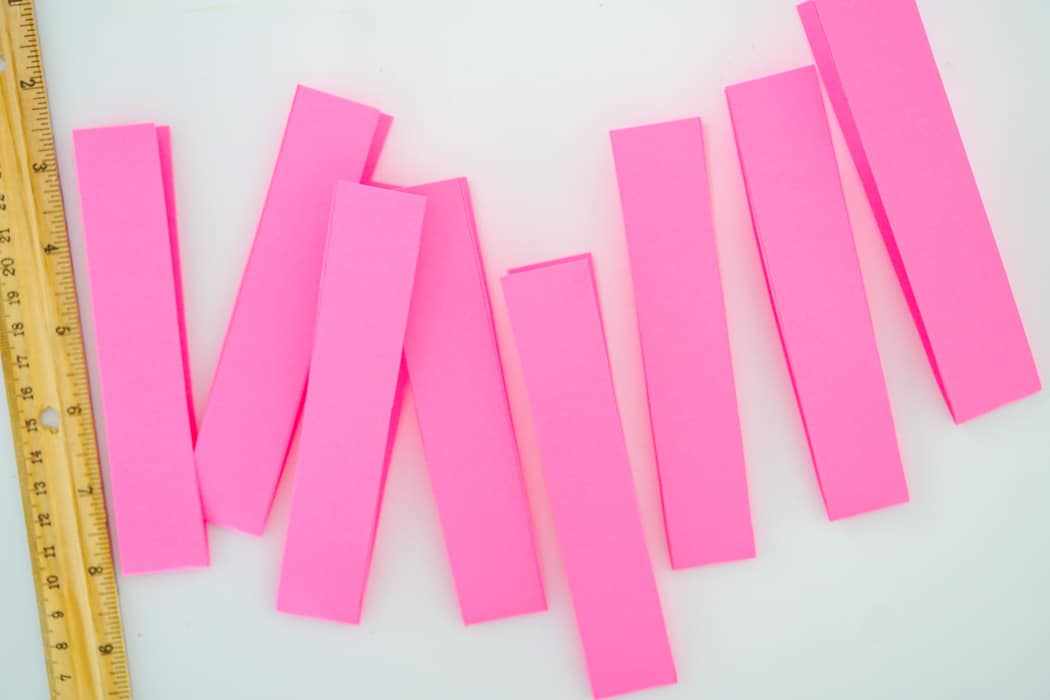 Cut the paper along the lines creating paper strips.
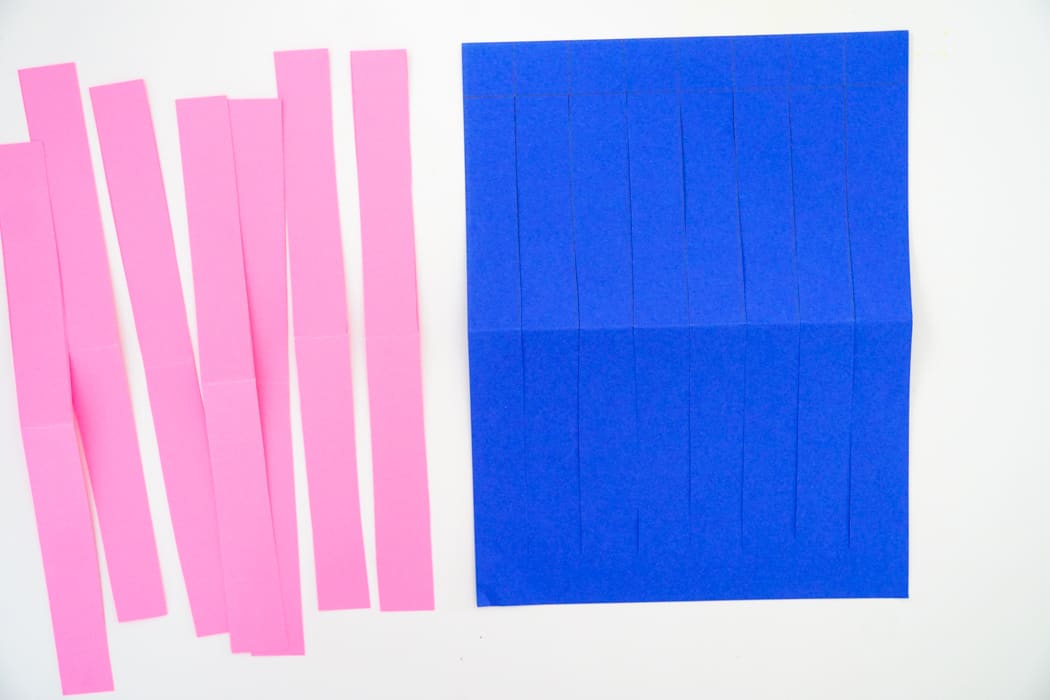 Unfold both the base paper and the paper strips.
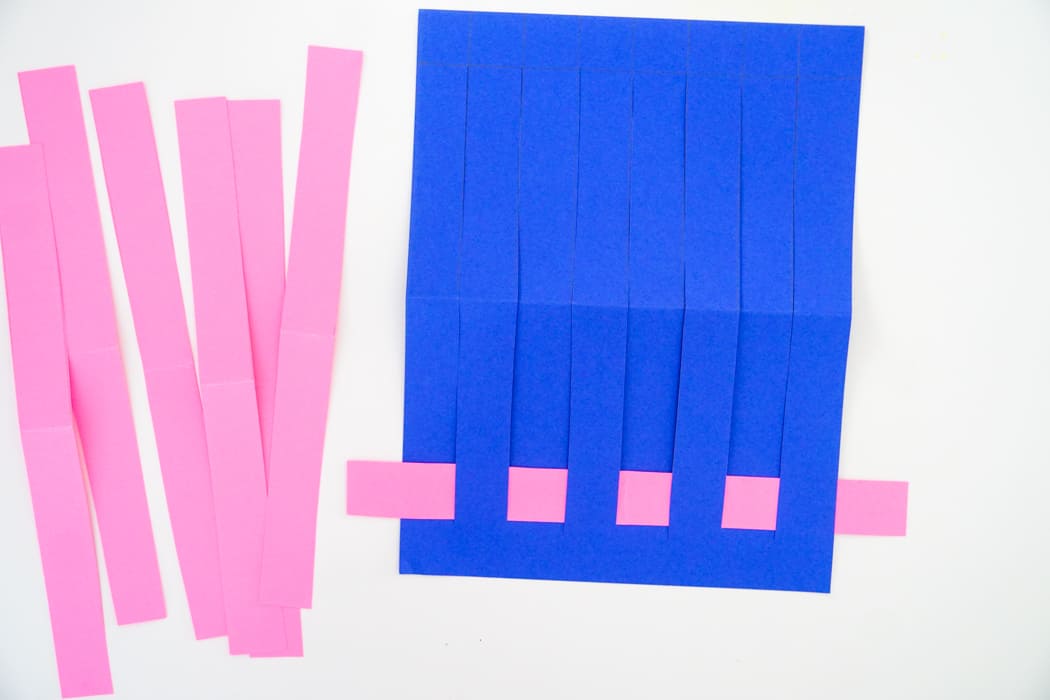 Starting at the bottom of the paper weave a paper strip over and under through you base paper.
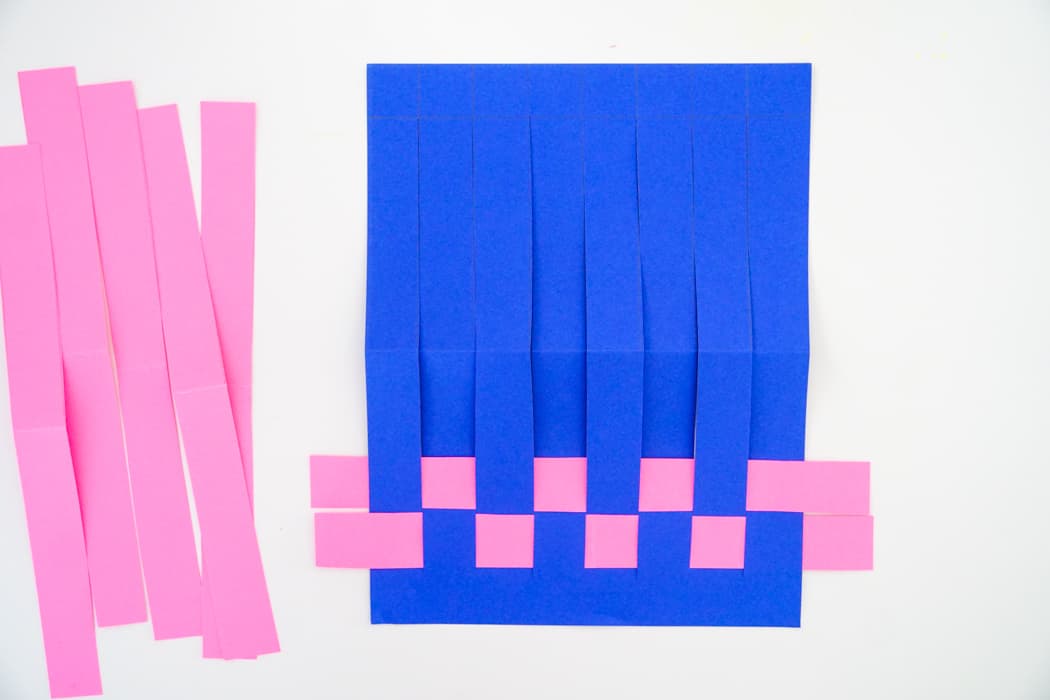 The second strip will then weave the opposite of the first, so under and then over.
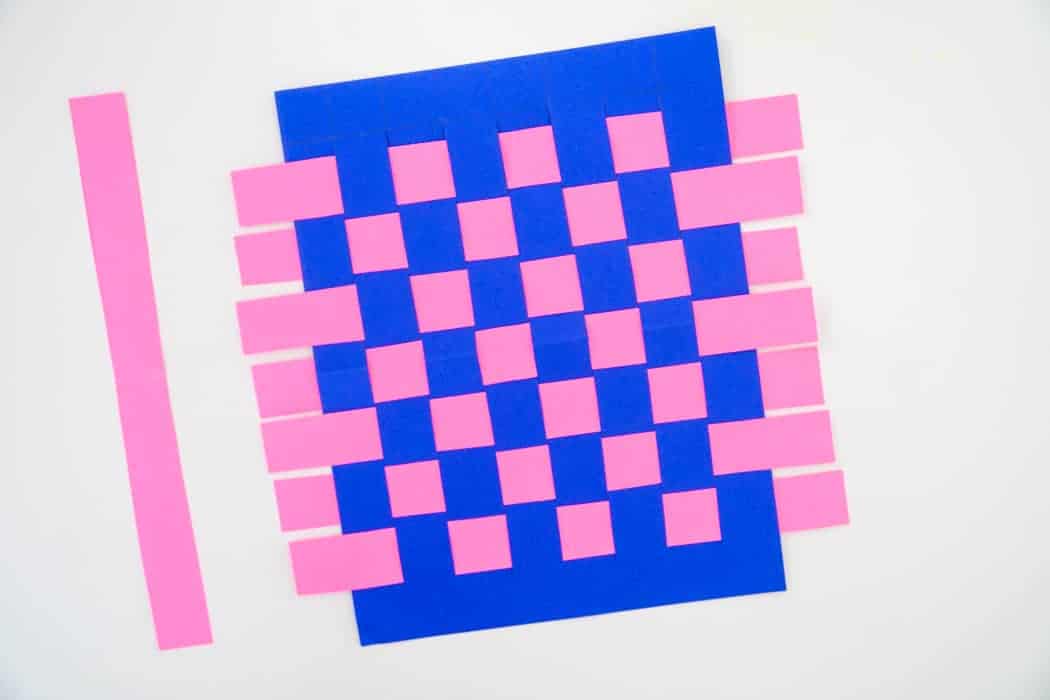 Continue up the paper alternating until you get to the top.
 Once you have your paper complete you can either cut off the excess paper on the ends or fold them over and tape them.