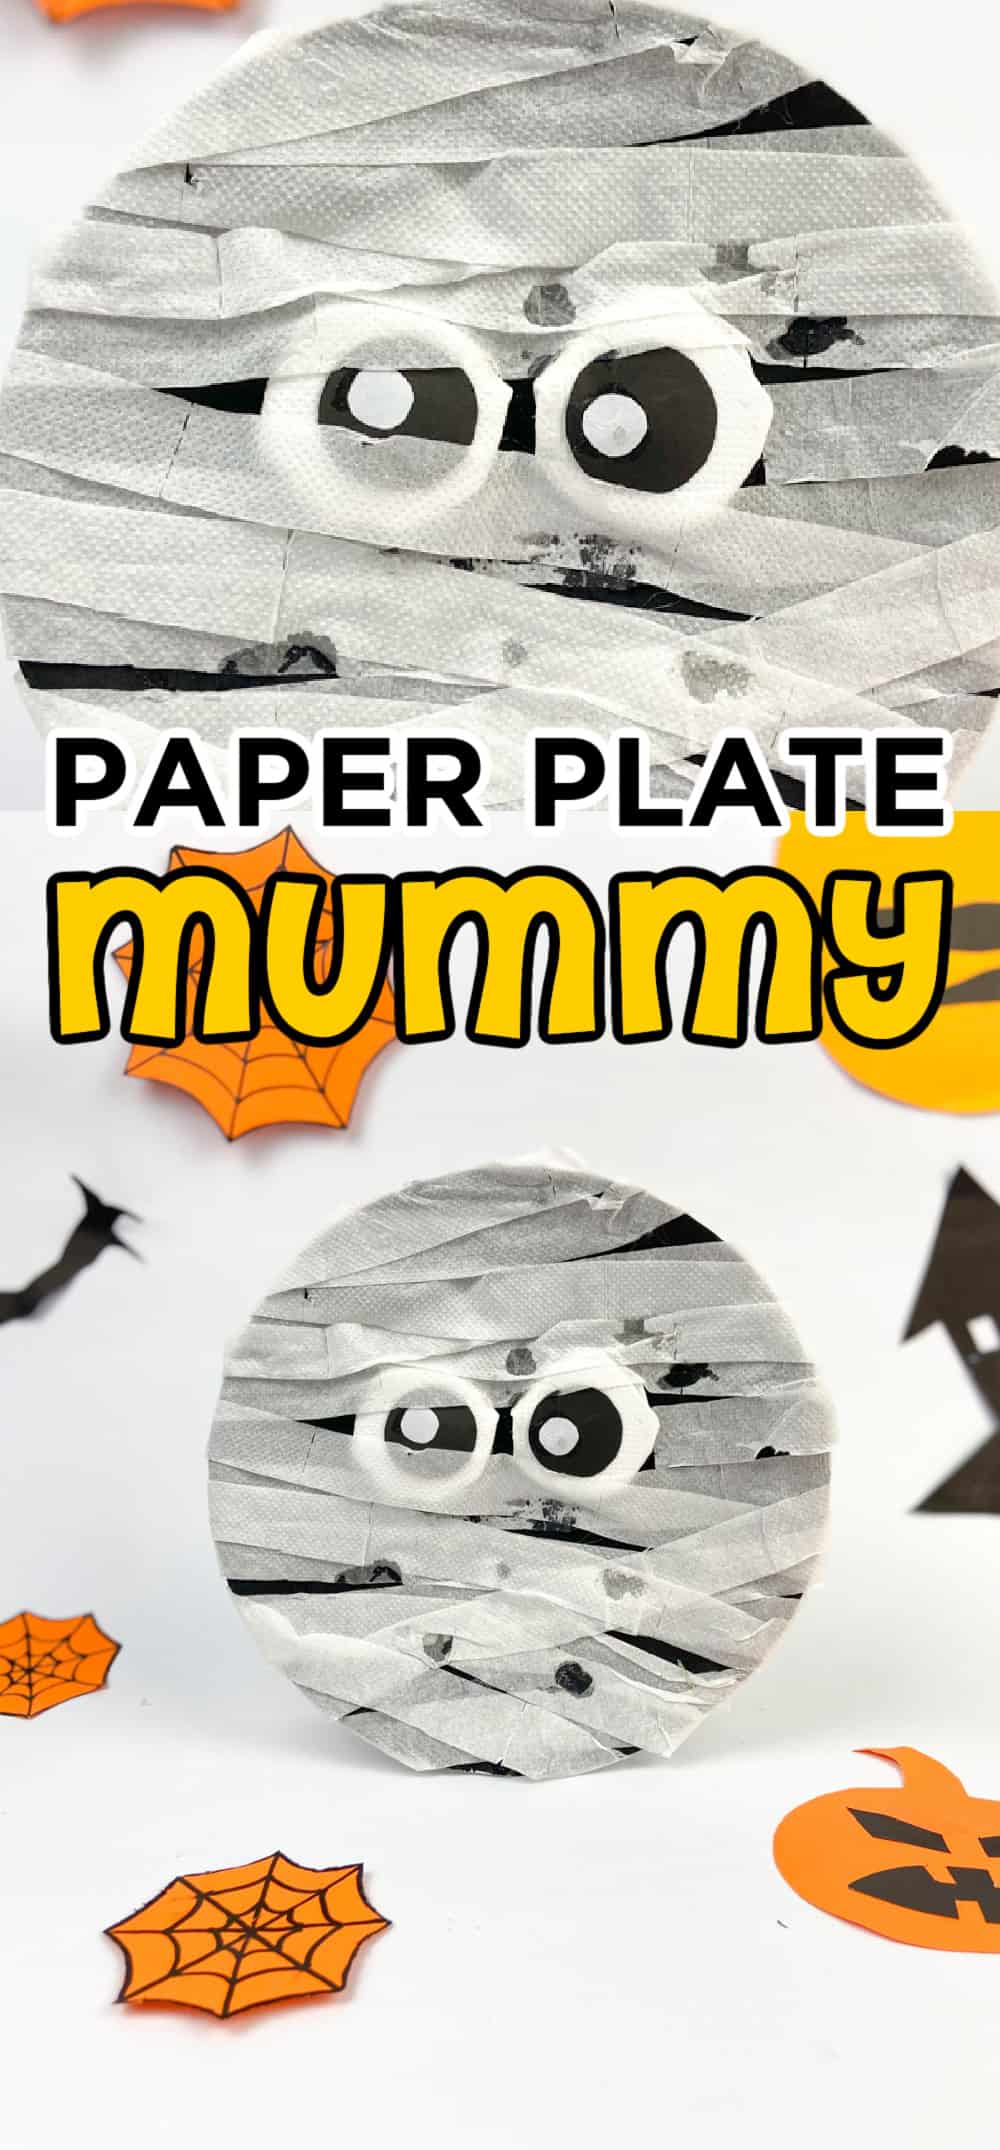
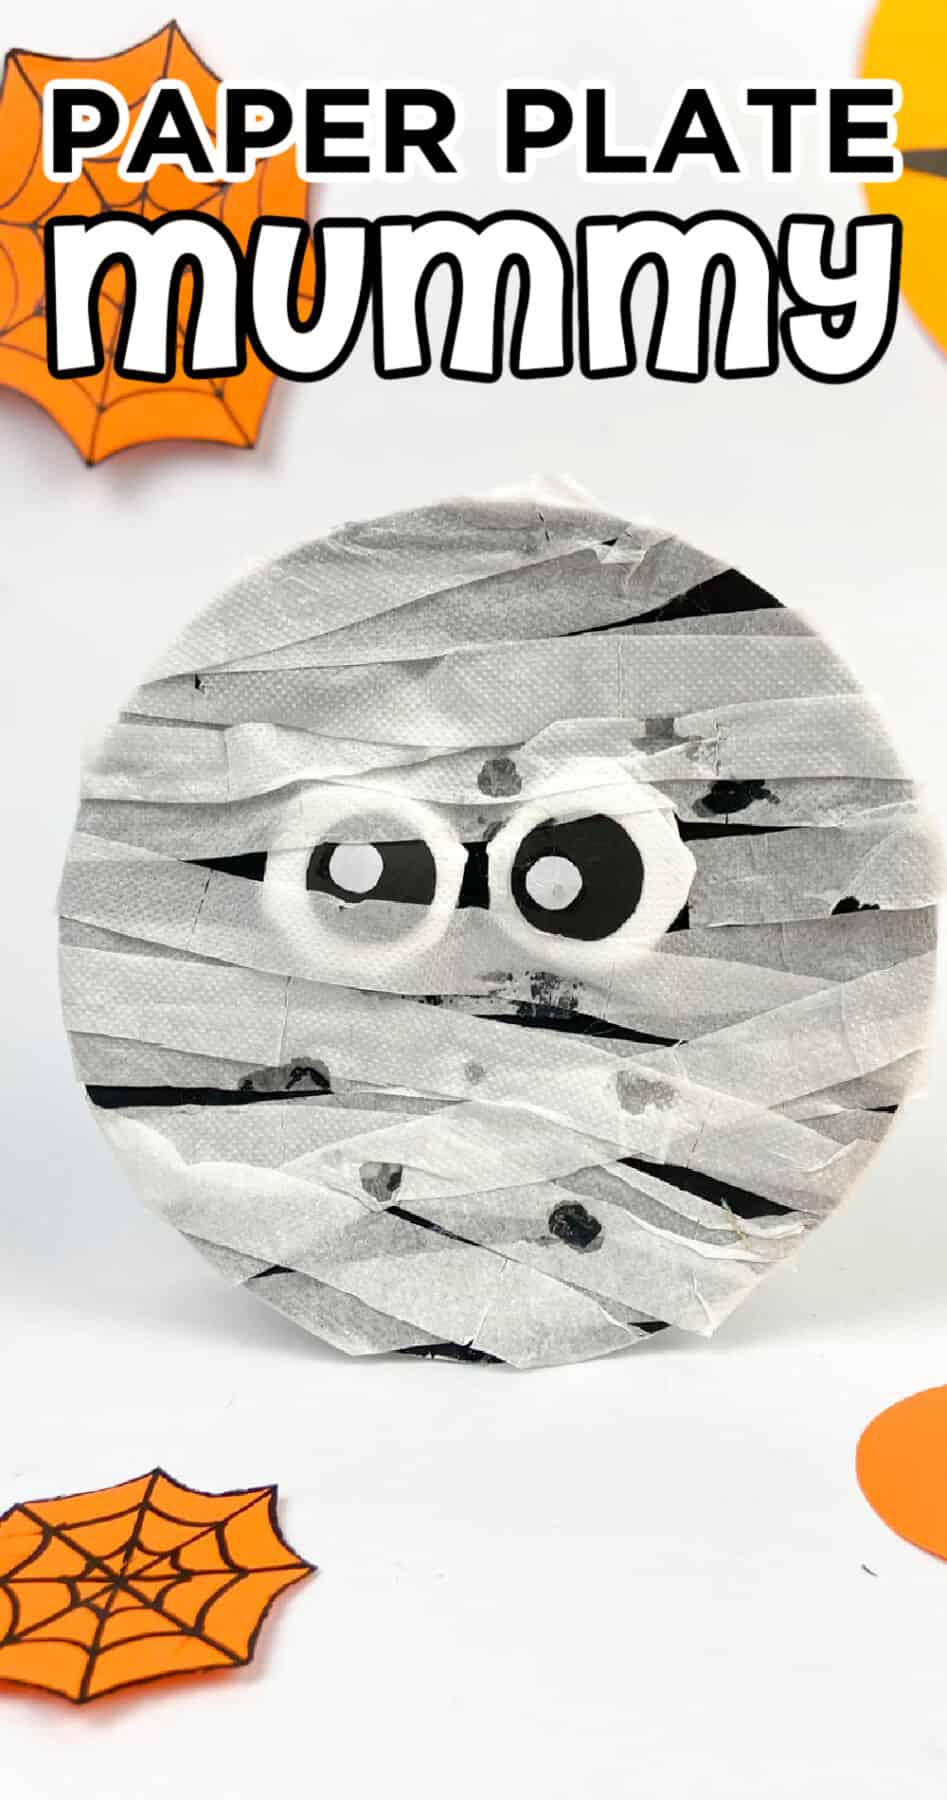
Get wrapped up in creativity with our Paper Plate Mummy Craft for kids of all ages! A spooktacular and fun Halloween activity that's easy to make and perfect for little mummy enthusiasts.
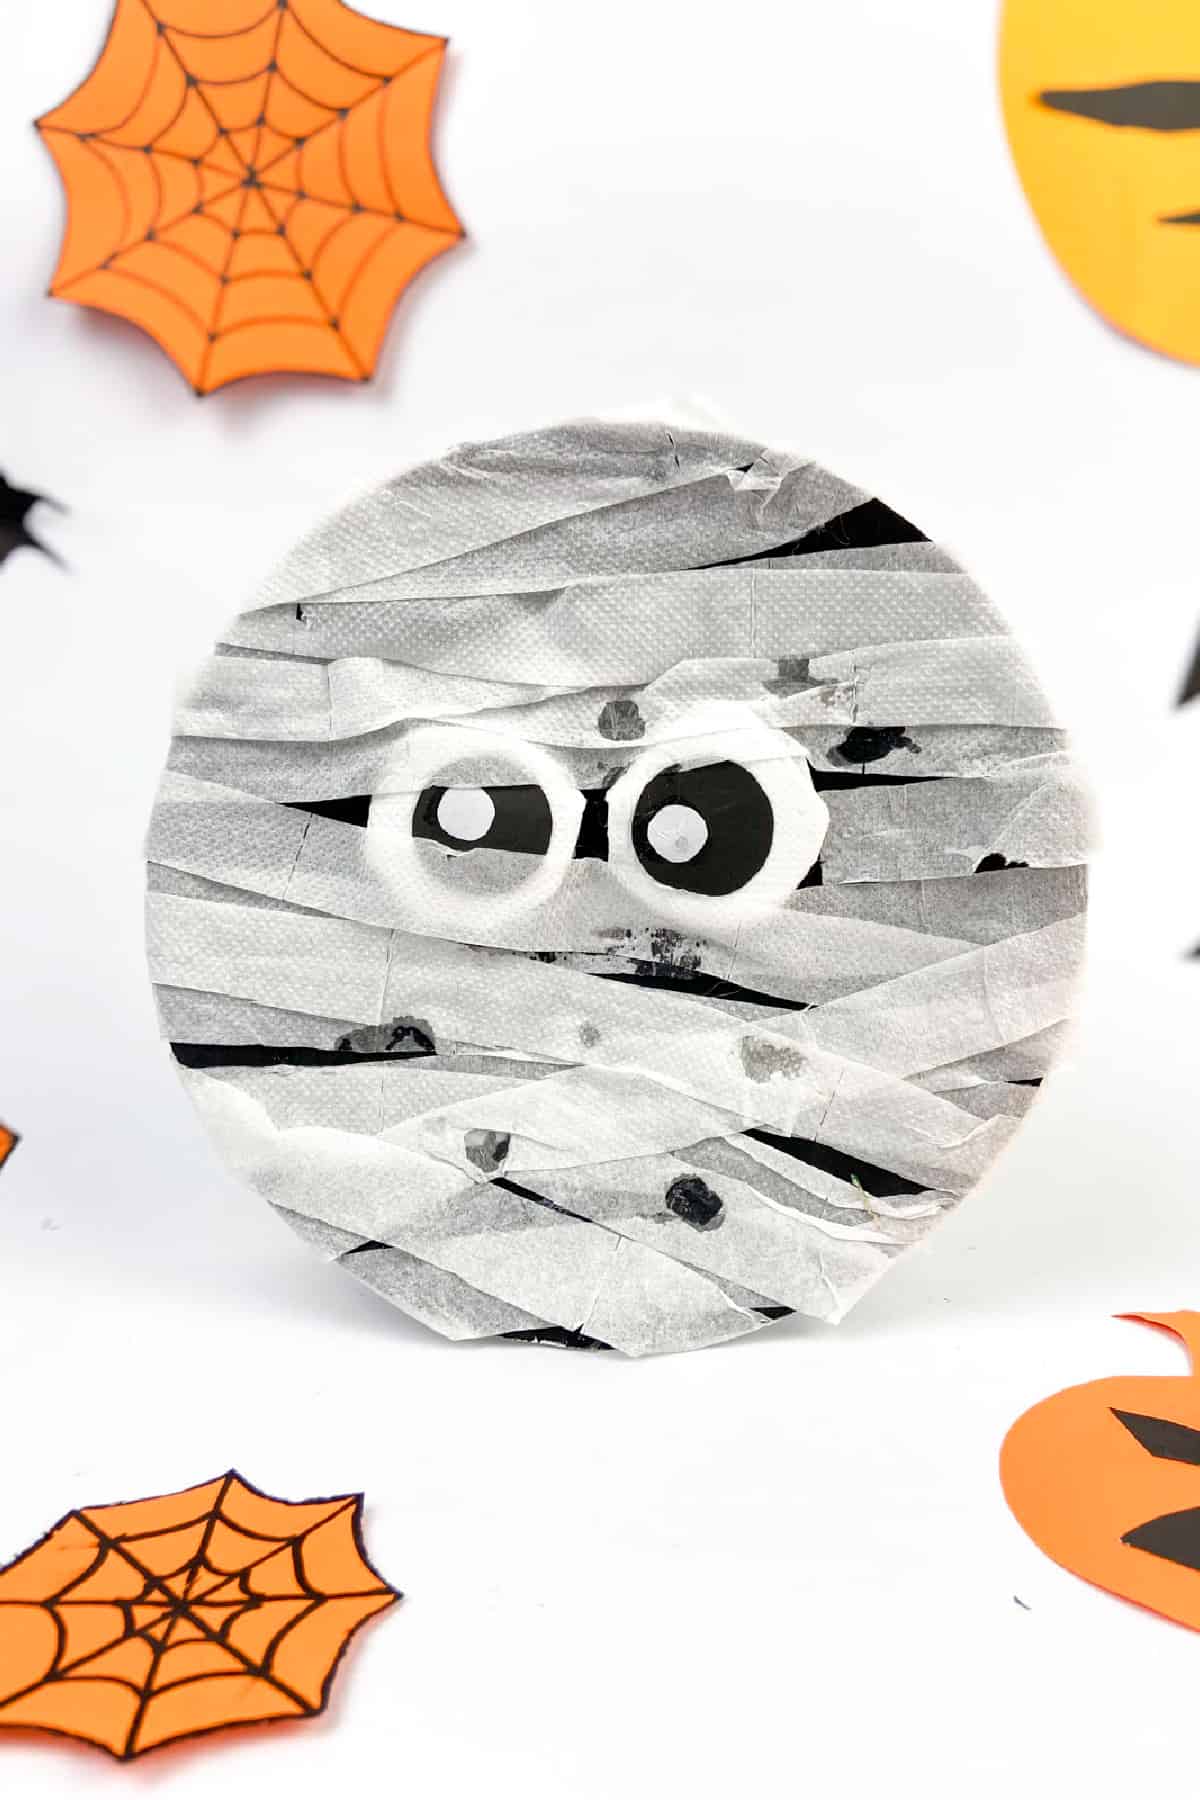
This paper plate mummy is an easy Halloween Craft that both younger kids and older kids can have fun with and they are sure to be a big hit. This time of year always brings out the spooky fun!
Although October 31st is a few weeks from now, there's no harm in gearing up for the Halloween season. The treats, the costumes, the tricks - there's something special about Halloween fun. It can cheer up even the grumpiest of us.
So, what are your Halloween decor plans this year? Nothing special yet? How about some DIY Halloween crafts? They're one of the best Halloween activities that'll keep the kids excited (and occupied) and transform your home into a spooky wonderland.
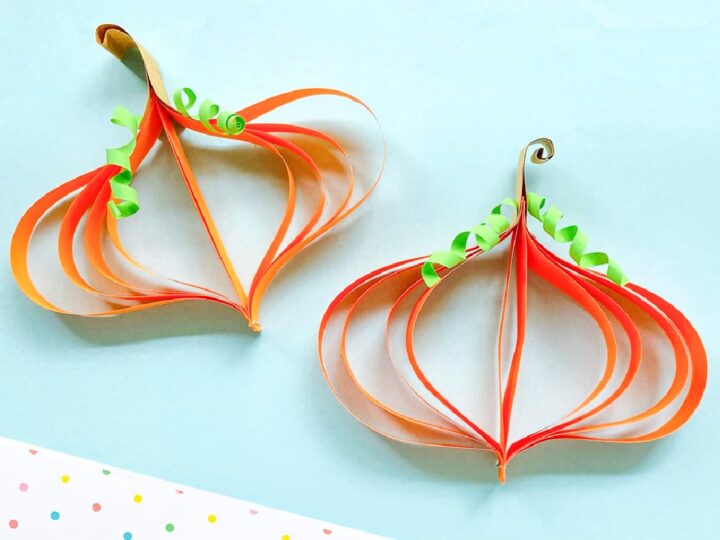
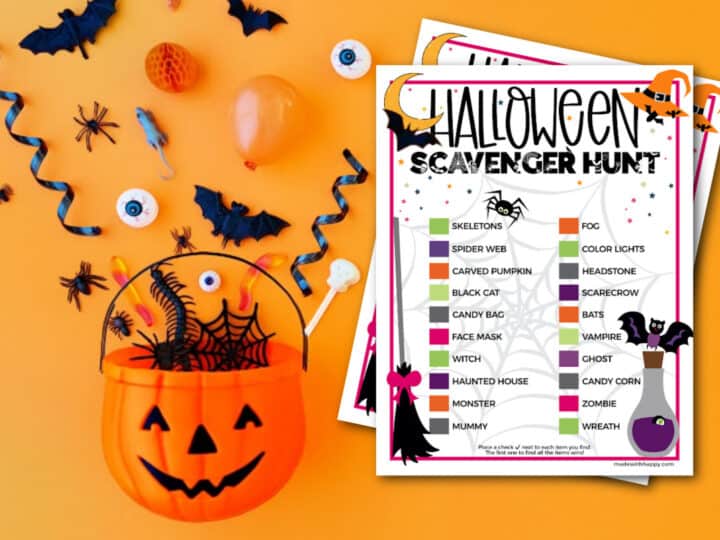
Here are a few that you must check out on the website and try. You'll love them all:
This post, however, is for the creepiest of them all, MUMMIES! Yes, the mysterious, bandage-wrapped, time-traveling buddies with a million questions and no answers.
Ready to stun all your visitors at the next Halloween party? Let's get started.
Don't miss our other fun Halloween Paper Plate Crafts!
Want to save this project?
Enter your email below, and then we'll send it straight to your inbox. Plus get awesome new projects from us each week.
What Can I Use to Wrap My Paper Mummies?
Ready to wrap your plates? Here's what you can use as bandages on your craft:
- White paper cut into strips
- Thin masking tape
- Yarn
- Toilet paper (for a soft, fuzzy mummy)
- Cheesecloth (for extra spookiness!)
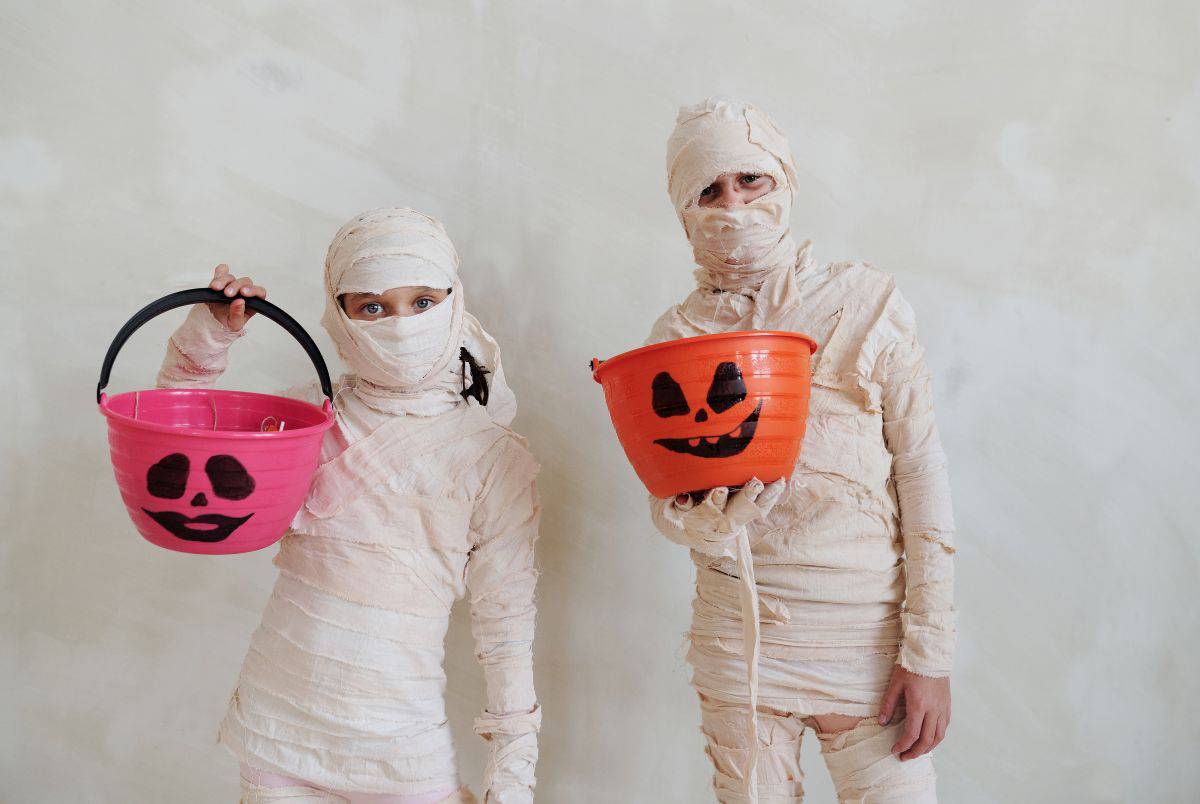
Once you're done wrapping your plate, give it one more finishing touch by adding some wrinkles and folds to the paper or cloth. Now you have your own mummy!
The Creepier, The Better
This paper plate mummy craft is an exciting family activity. You can all create your personalized mummies and put them together to build your own Gibdo (group).
The spookier the mummy, the better the Halloween vibes. Use these ideas to add chills to your paper plate mummies:
Throw in some googly eyes of various sizes to give it that eerie feeling, like the mummies are keeping an eye on you! If you're out of wiggly eyes, use cotton balls and a black marker to draw eyes.
A mouth, a few teeth, and maybe some bloodstains? Why not? Get creative and give your Halloween mummy craft that eerie look with red paint.
Create a spine-chilling scene with spider webs, bats, and a moon.
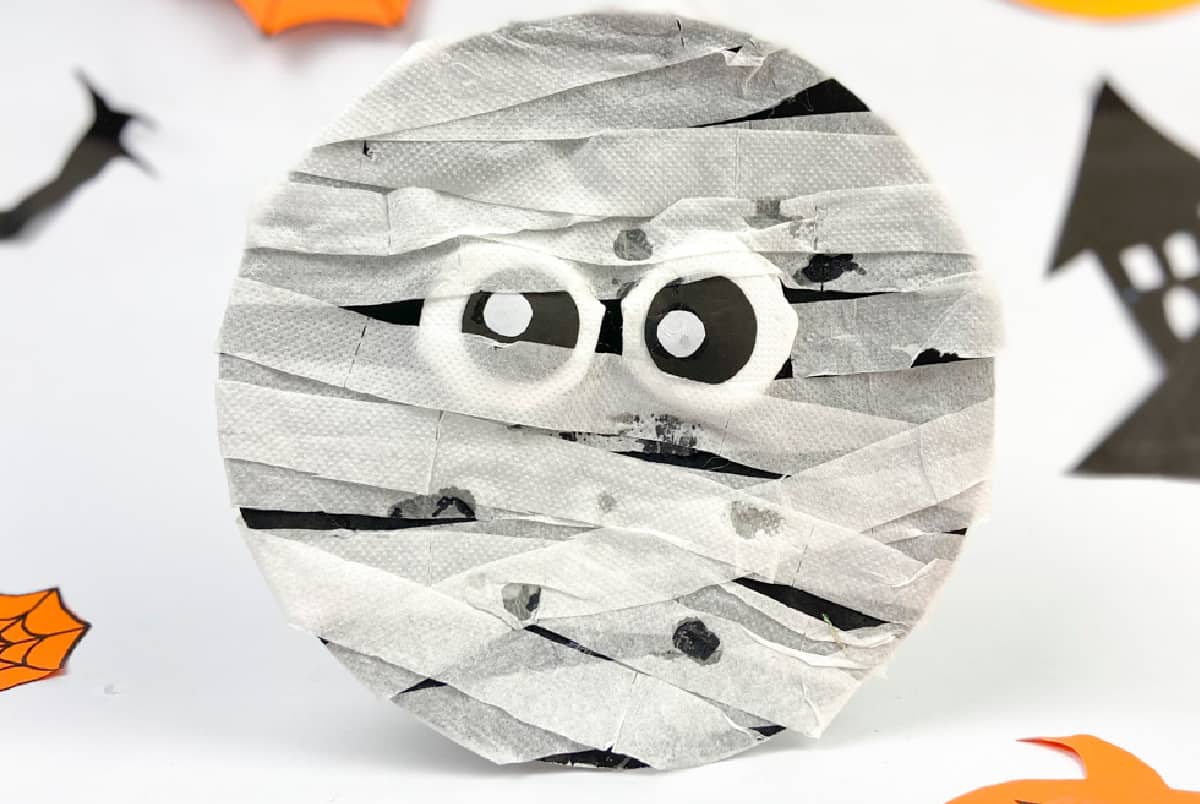
Using the Paper Plate Mummy Craft
Halloween mummy crafts are fun to use. Try these ideas:
- Punch holes in the top of your mummies with a hole punch and tie ribbons to make a garland.
- Write an invitation on the back of the paper plate and give it to your friends.
- Make large quantities of these mummies and hang them around your house for a perfect Halloween vibe.
- Put a few paper mummies in a gift basket, along with some other Halloween goodies like candies and chocolates, as a special surprise for your close ones.
Paper plate crafts are an excellent pick if you're looking for easy crafts for your little kids. They are a great way to improve your child's fine motor skills without creating a lot of mess. Try this fun mummy paper plate craft, and let me know how much fun you all had.
Mummy Craft Supplies
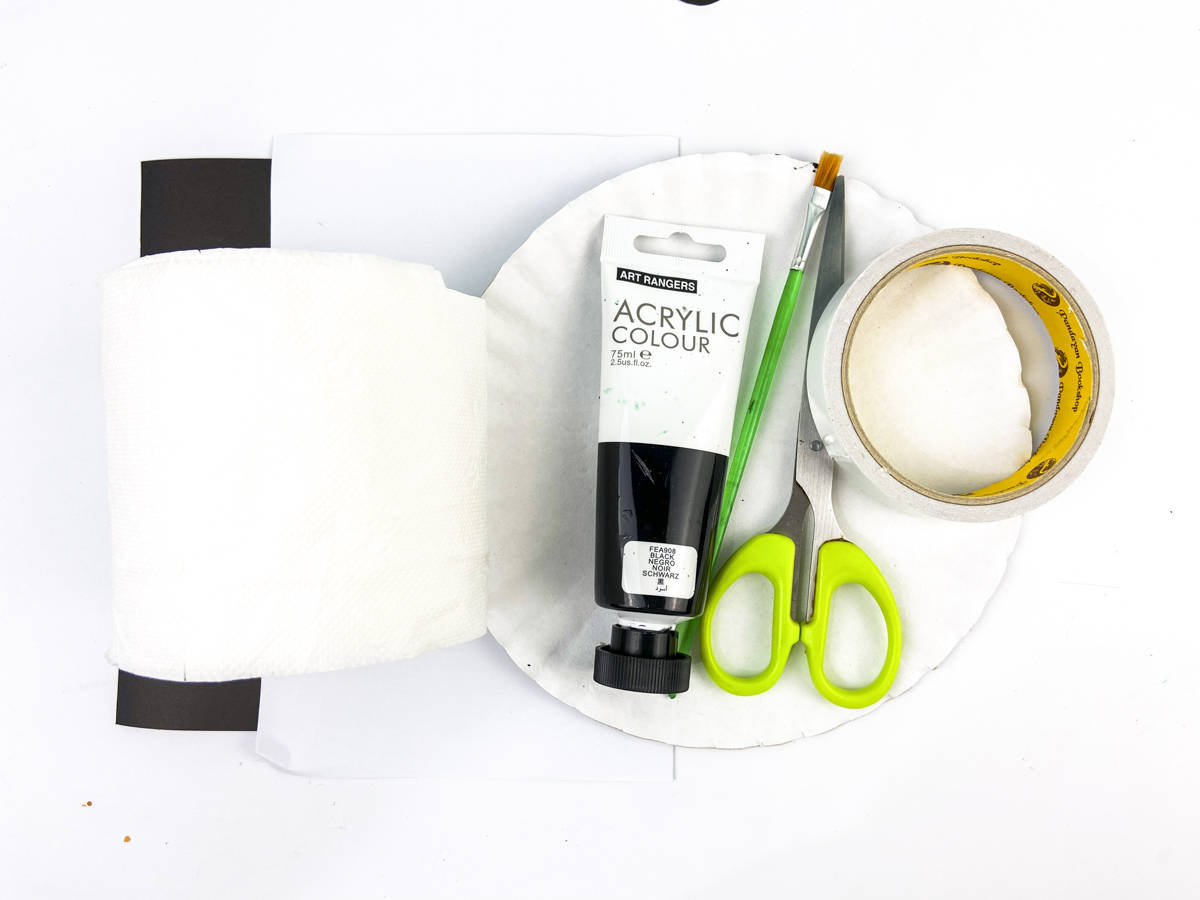
- Paper Plate
- Paint
- Construction Paper
- Toilet Paper or Tissue Paper or Crepe Paper
- Craft Glue or Glue Stick
- Scissors
- Paintbrush

How To Make a Paper Plate Mummy
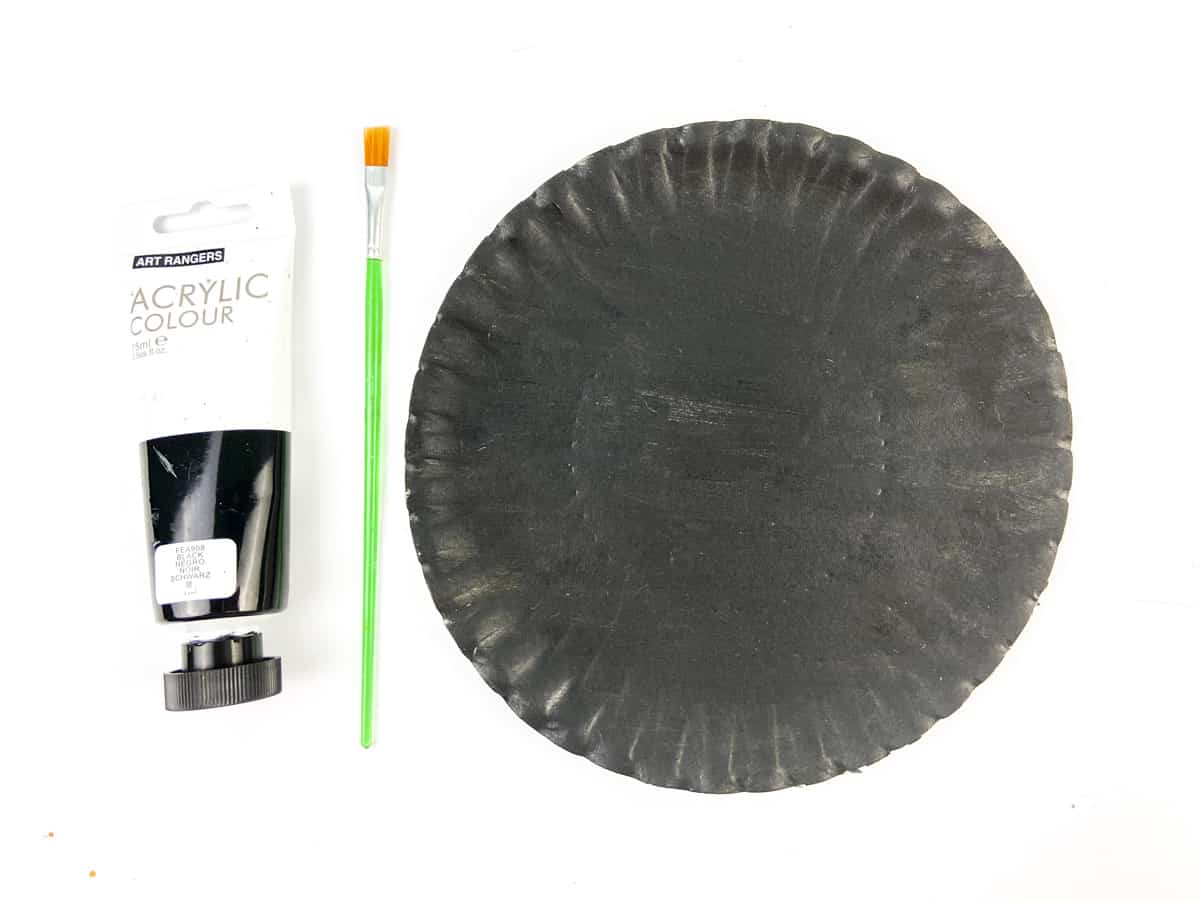
Start by painting the paper plate black. Paint all the way to the edge of the plate.
Mummy's Eyes
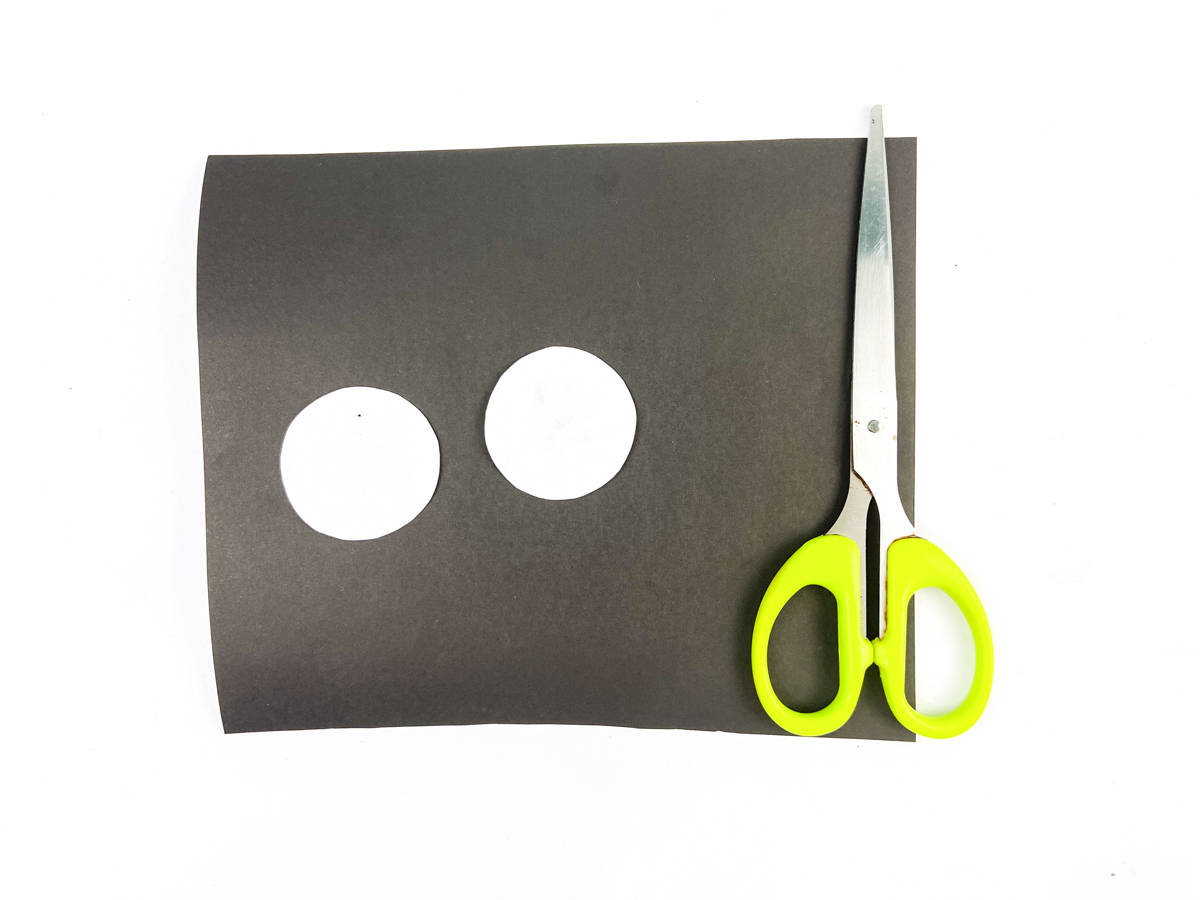
Cut two circles out of cardboard.

Cut two additional circles out of black paper that are slightly smaller than the circles from the previous step.
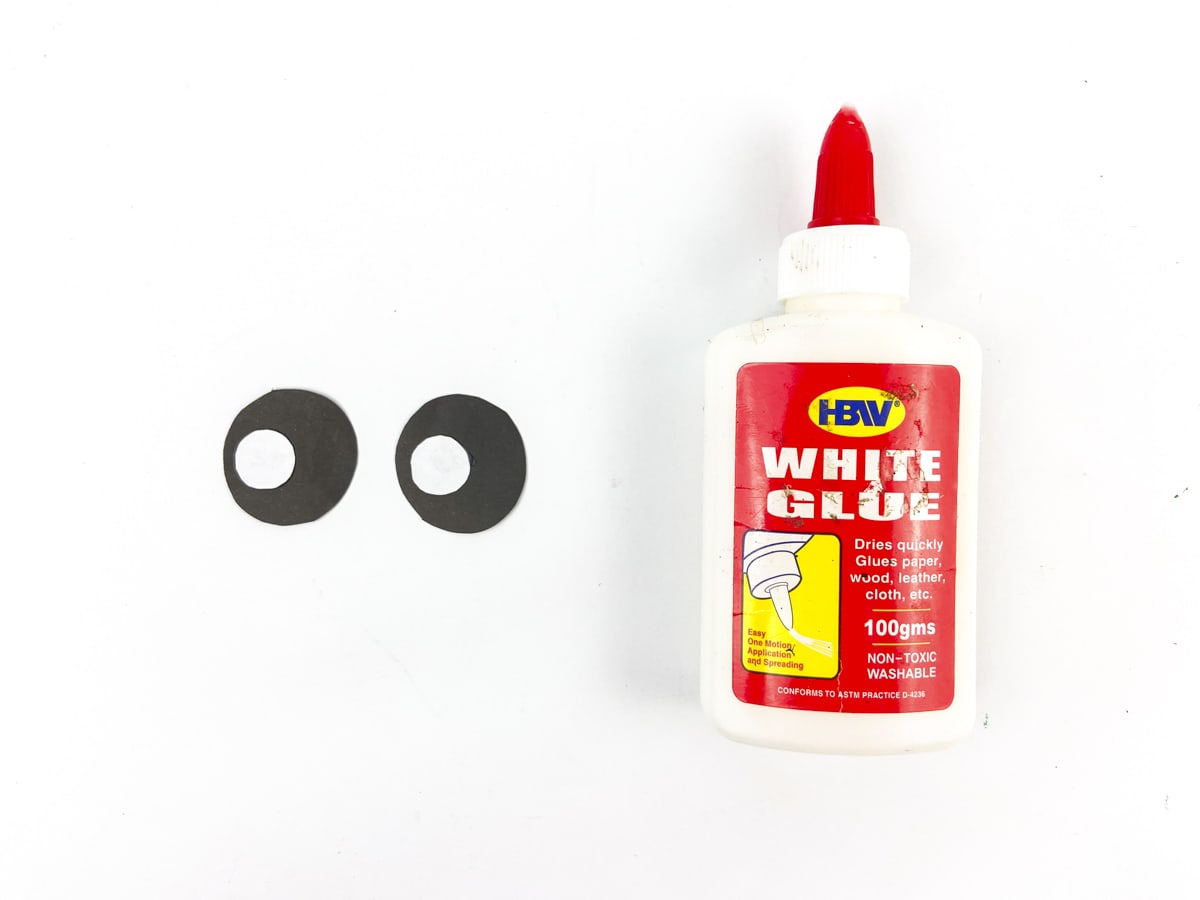
Next, cut two additional smaller circles out of white paper. These should be the smallest of the three sets.
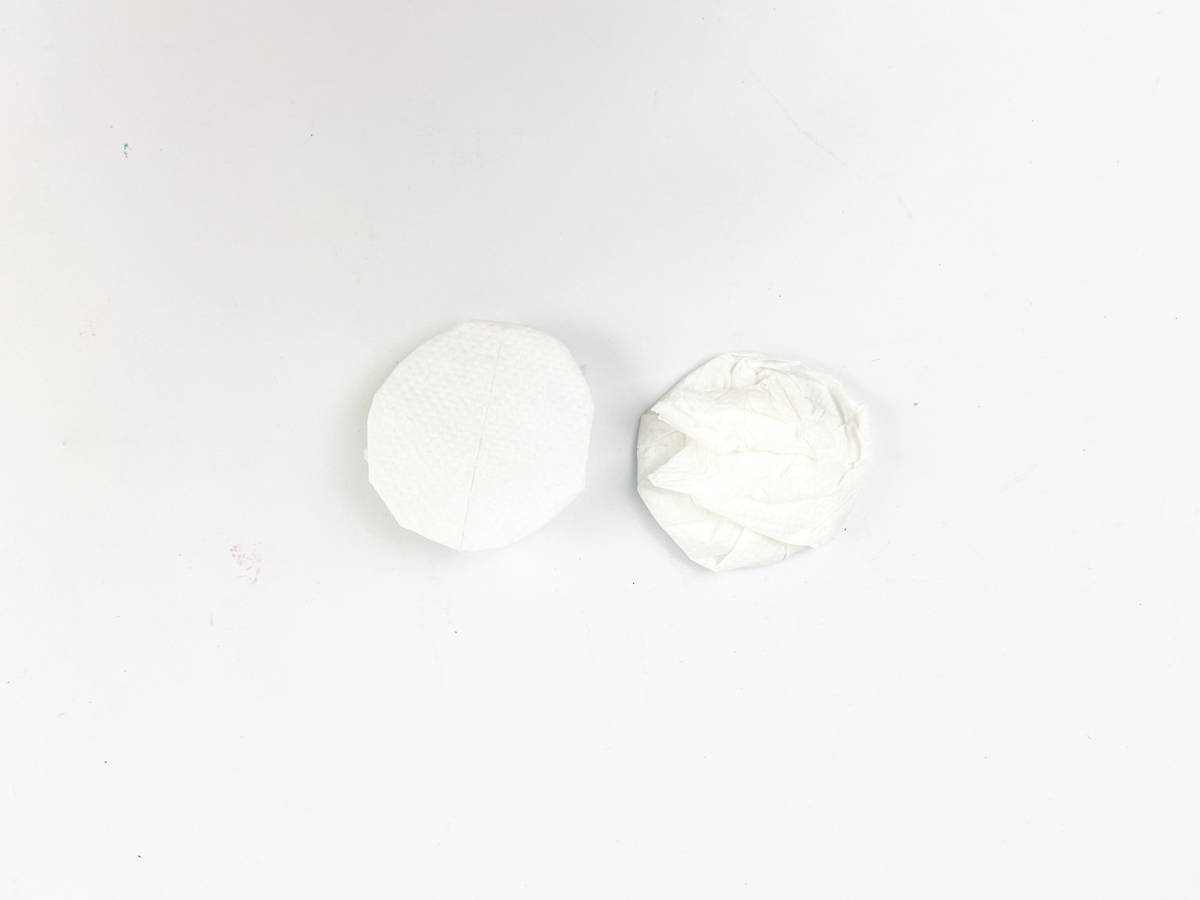
Wrap the largest circles in toilet paper. Glue the back side holding the toilet paper.
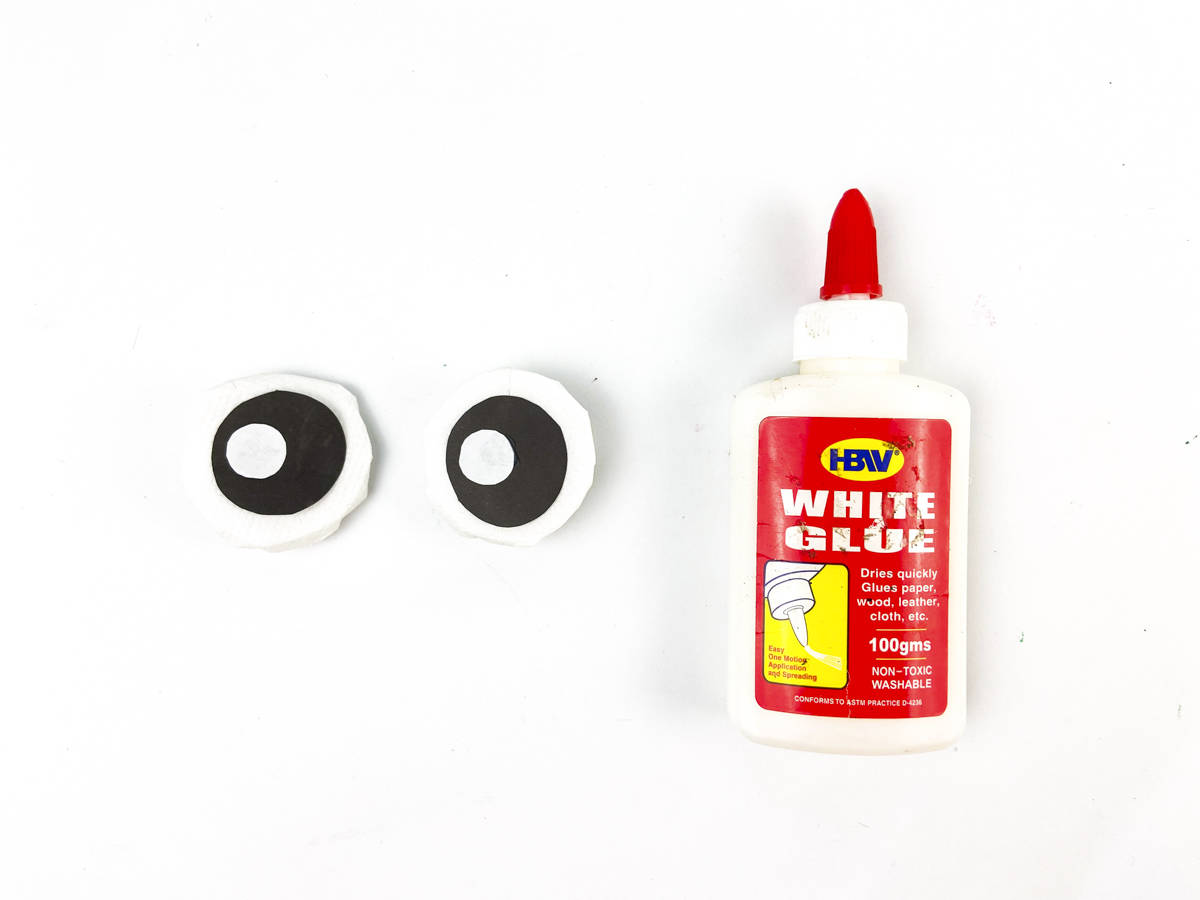
Assemble the eyes by gluing the black circle on the toilet paper-wrapped circle, and then the white circle on top of that.
Face of the Mummy
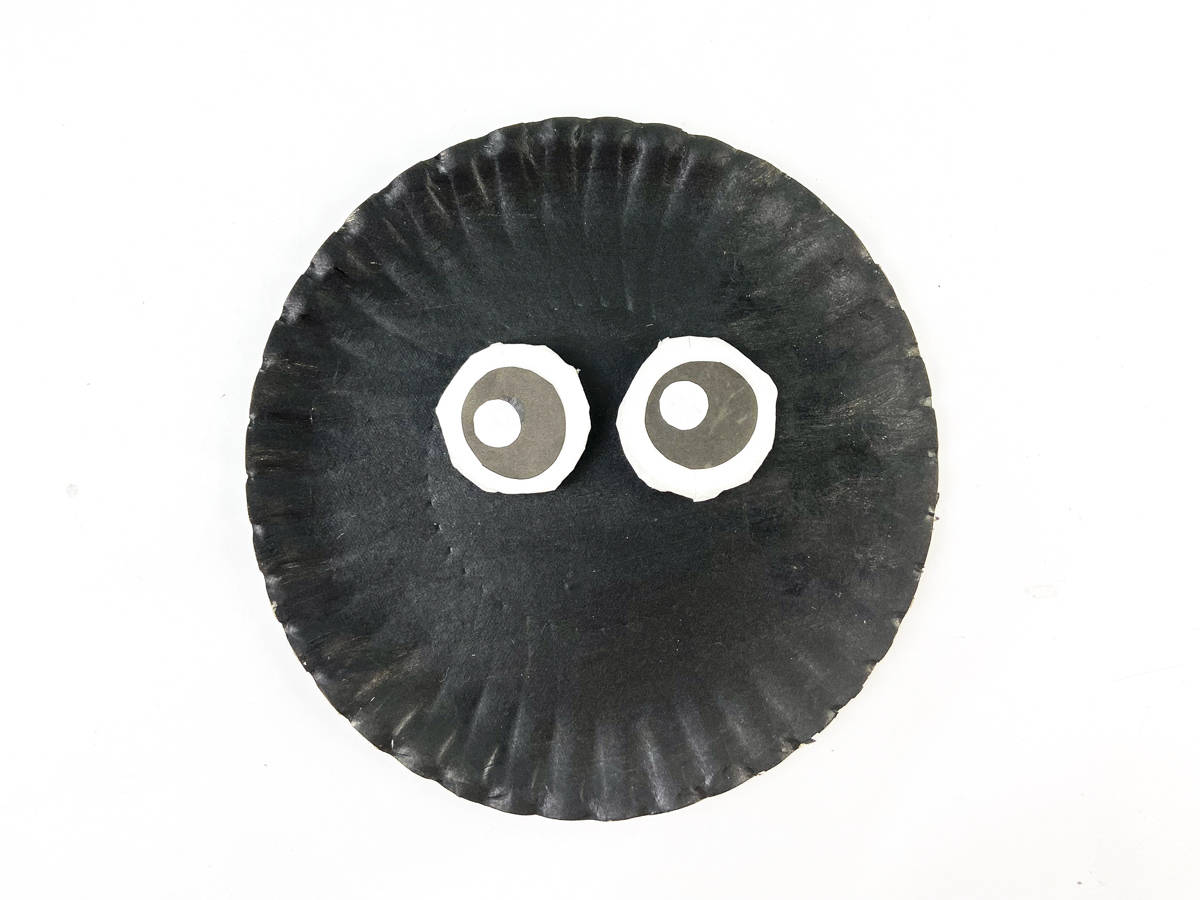
Glue the eyes to the middle of the paper plate.
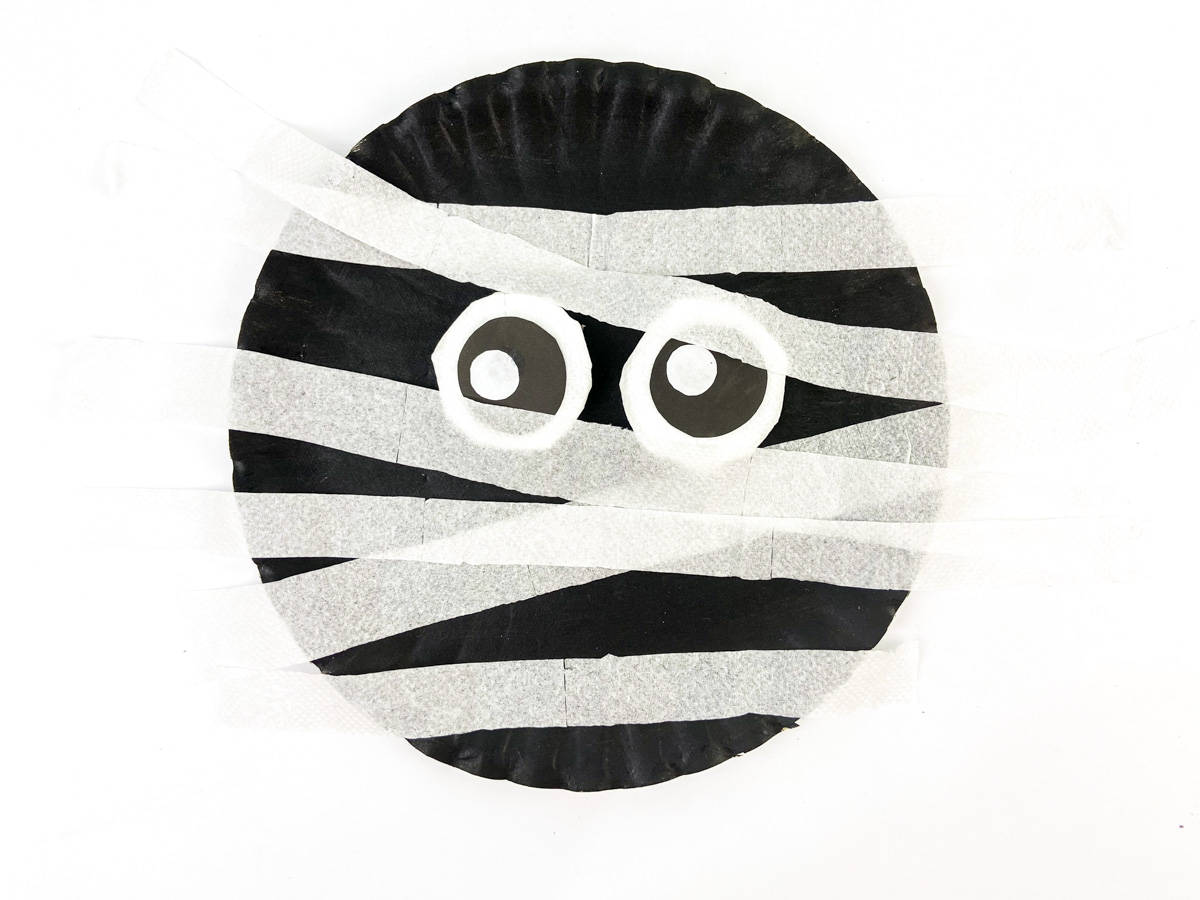
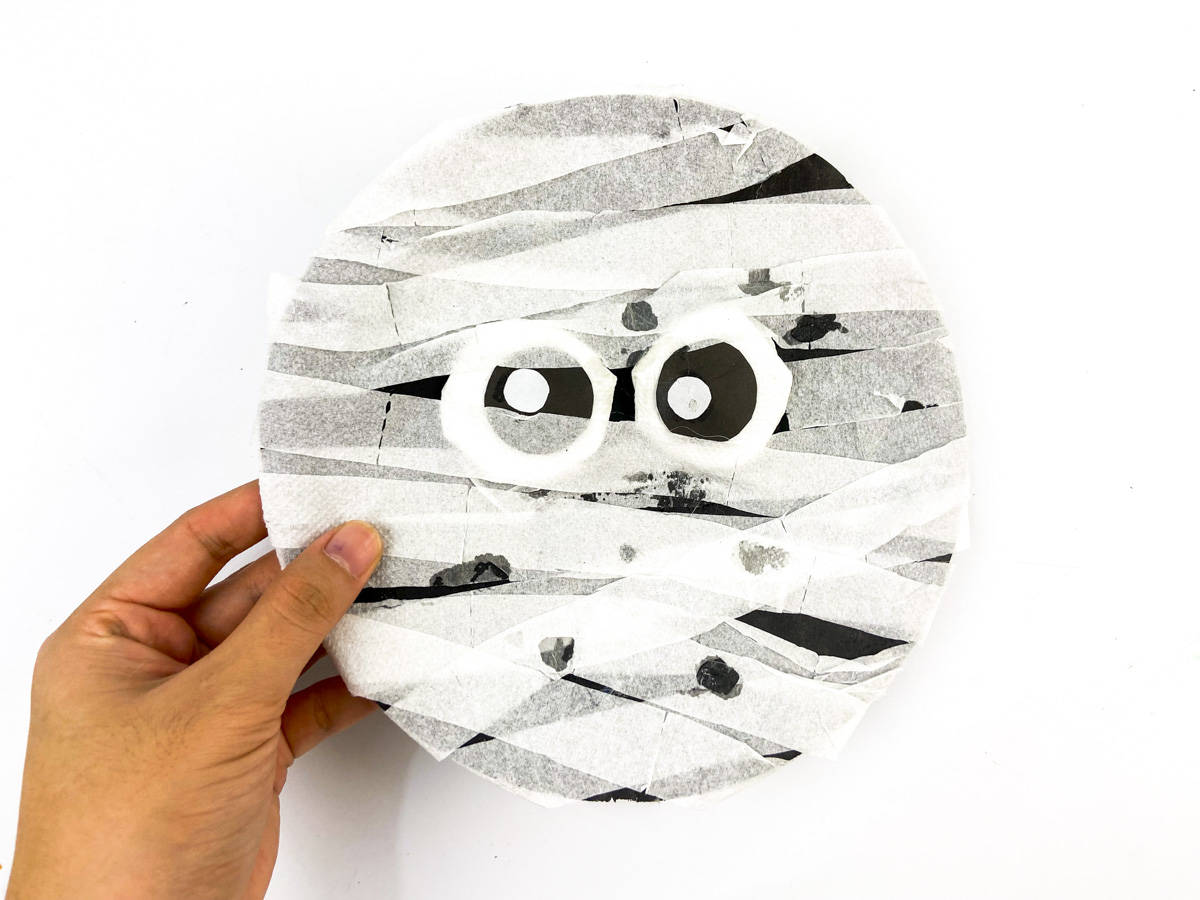
Next, cut strips out of toilet paper. Glue the strips across the mummy face.
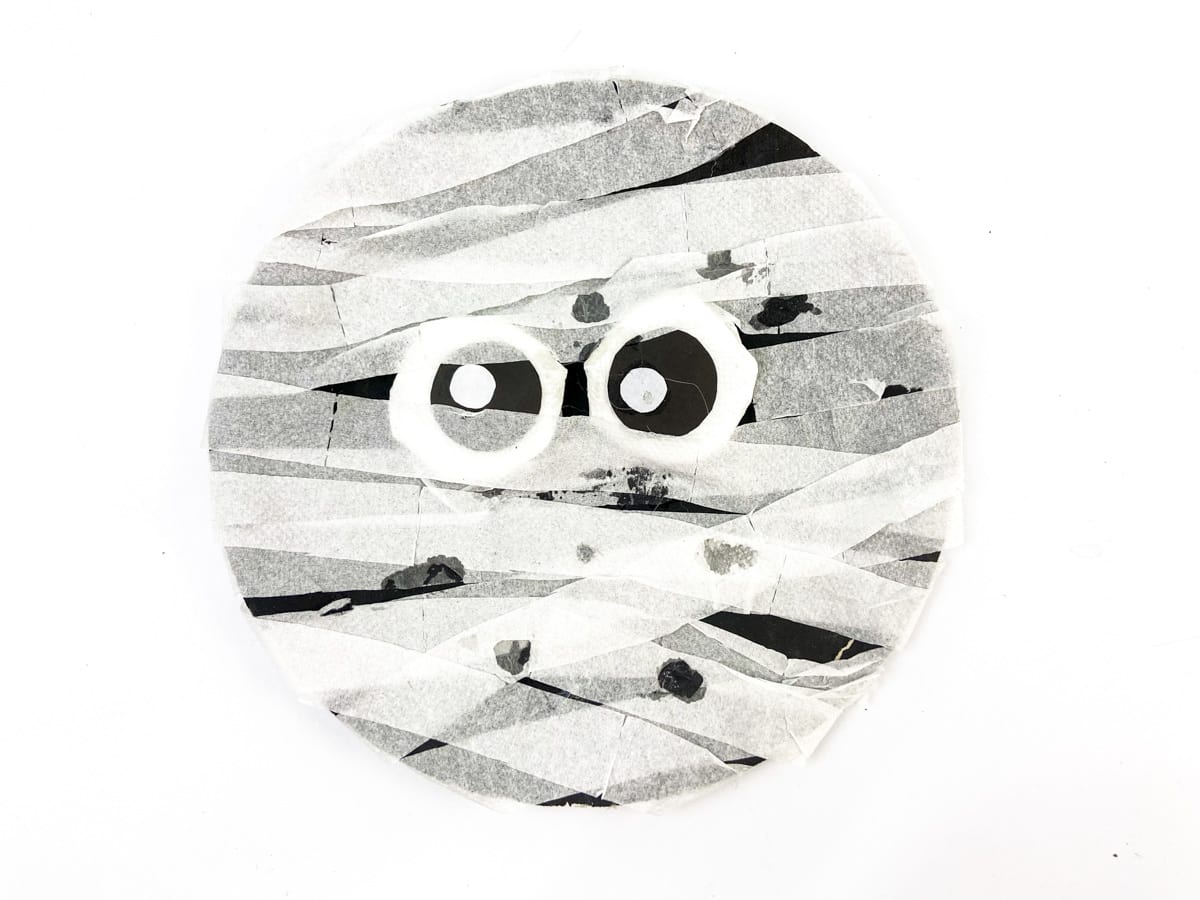
Continue to glue the strips across the face of the mummy at different angles making sure you can still see the eyes. Viola, you have a cute and simple mummy craft!
Happy Halloween and Happy Crafting!
We highlighted this Halloween Crafts For Kids along with some other fun kid's crafts in our October Crafts along with our 101+ Easy Kids Crafts.
You also do not want to miss our 101+ Coloring Pages and 101+ Printables full of Crafts and Coloring Pages.
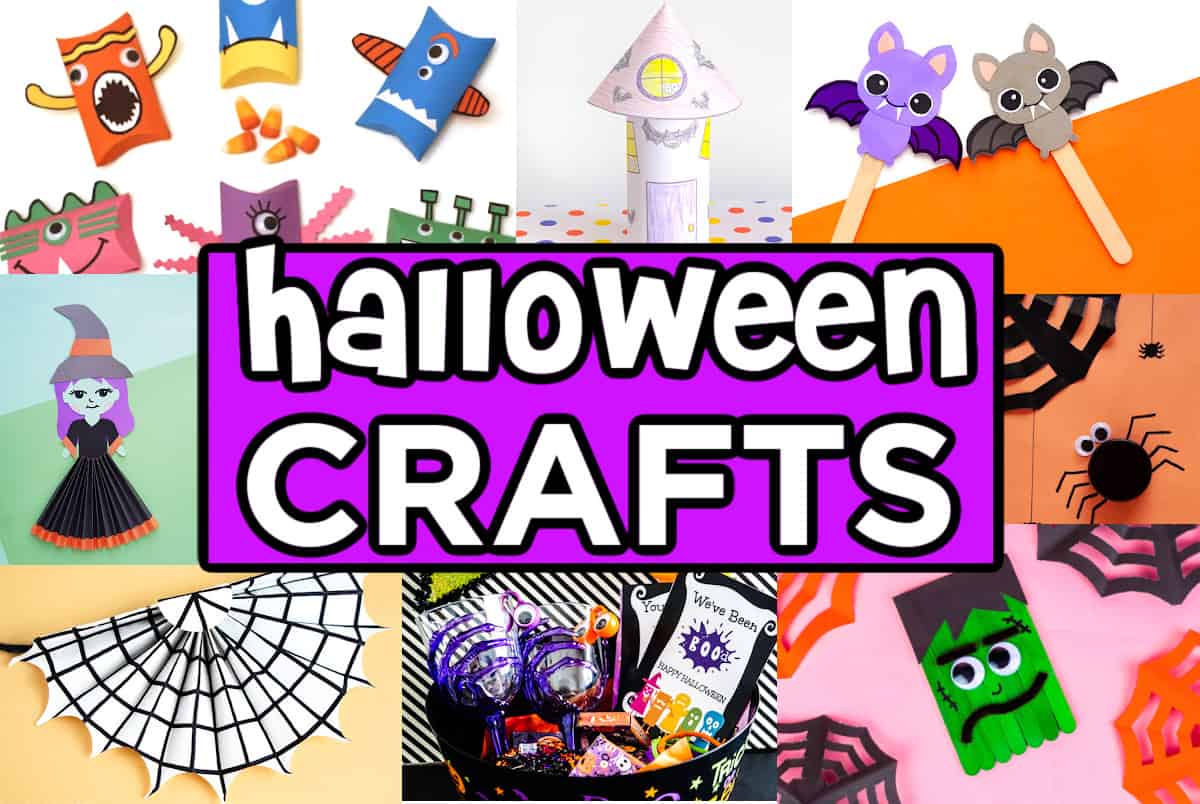
Other Halloween Crafts You'll Enjoy
Paper Plate Mummy
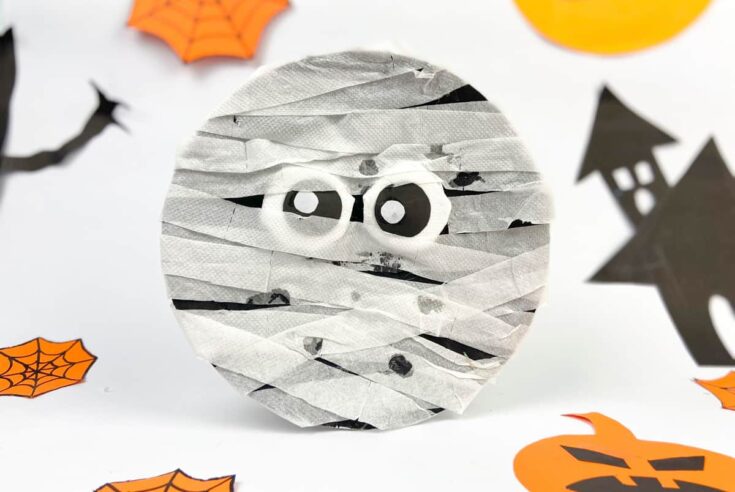
Get wrapped up in creativity with our Paper Plate Mummy Craft for kids of all ages! A spooktacular and fun Halloween activity that's easy to make and perfect for little mummy enthusiasts.
Materials
Tools
- Scissors
- Paintbrush
Instructions
Start by painting the paper plate black. Paint all the way to the edge of the plate.
Cut two circles out of cardboard.
Cut two additional circles out of black paper that are slightly smaller than the circles from the previous step.
Next, cut two additional smaller circles out of white paper. These should be the smallest of the three sets.
Wrap the largest circles in toilet paper. Glue the back side holding the toilet paper.
Assemble the eyes by gluing the black circle on the toilet paper-wrapped circle, and then the white circle on top of that.
Glue the eyes to the middle of the paper plate.
Next, cut strips out of toilet paper. Glue the strips across the mummy's face.
Continue to glue the strips across the face of the mummy at different angles making sure you can still see the eyes.
CONNECT WITH MADE WITH HAPPY!
Be sure to follow me on social media, so you never miss a post!
Facebook | Twitter | Youtube | Pinterest | Instagram
Find and shop my favorite products on my Amazon storefront here!
Paper Plate Mummy
PIN IT TO YOUR DIY BOARD ON PINTEREST!
FOLLOW MADE WITH HAPPY ON PINTEREST FOR ALL THINGS HAPPY!
