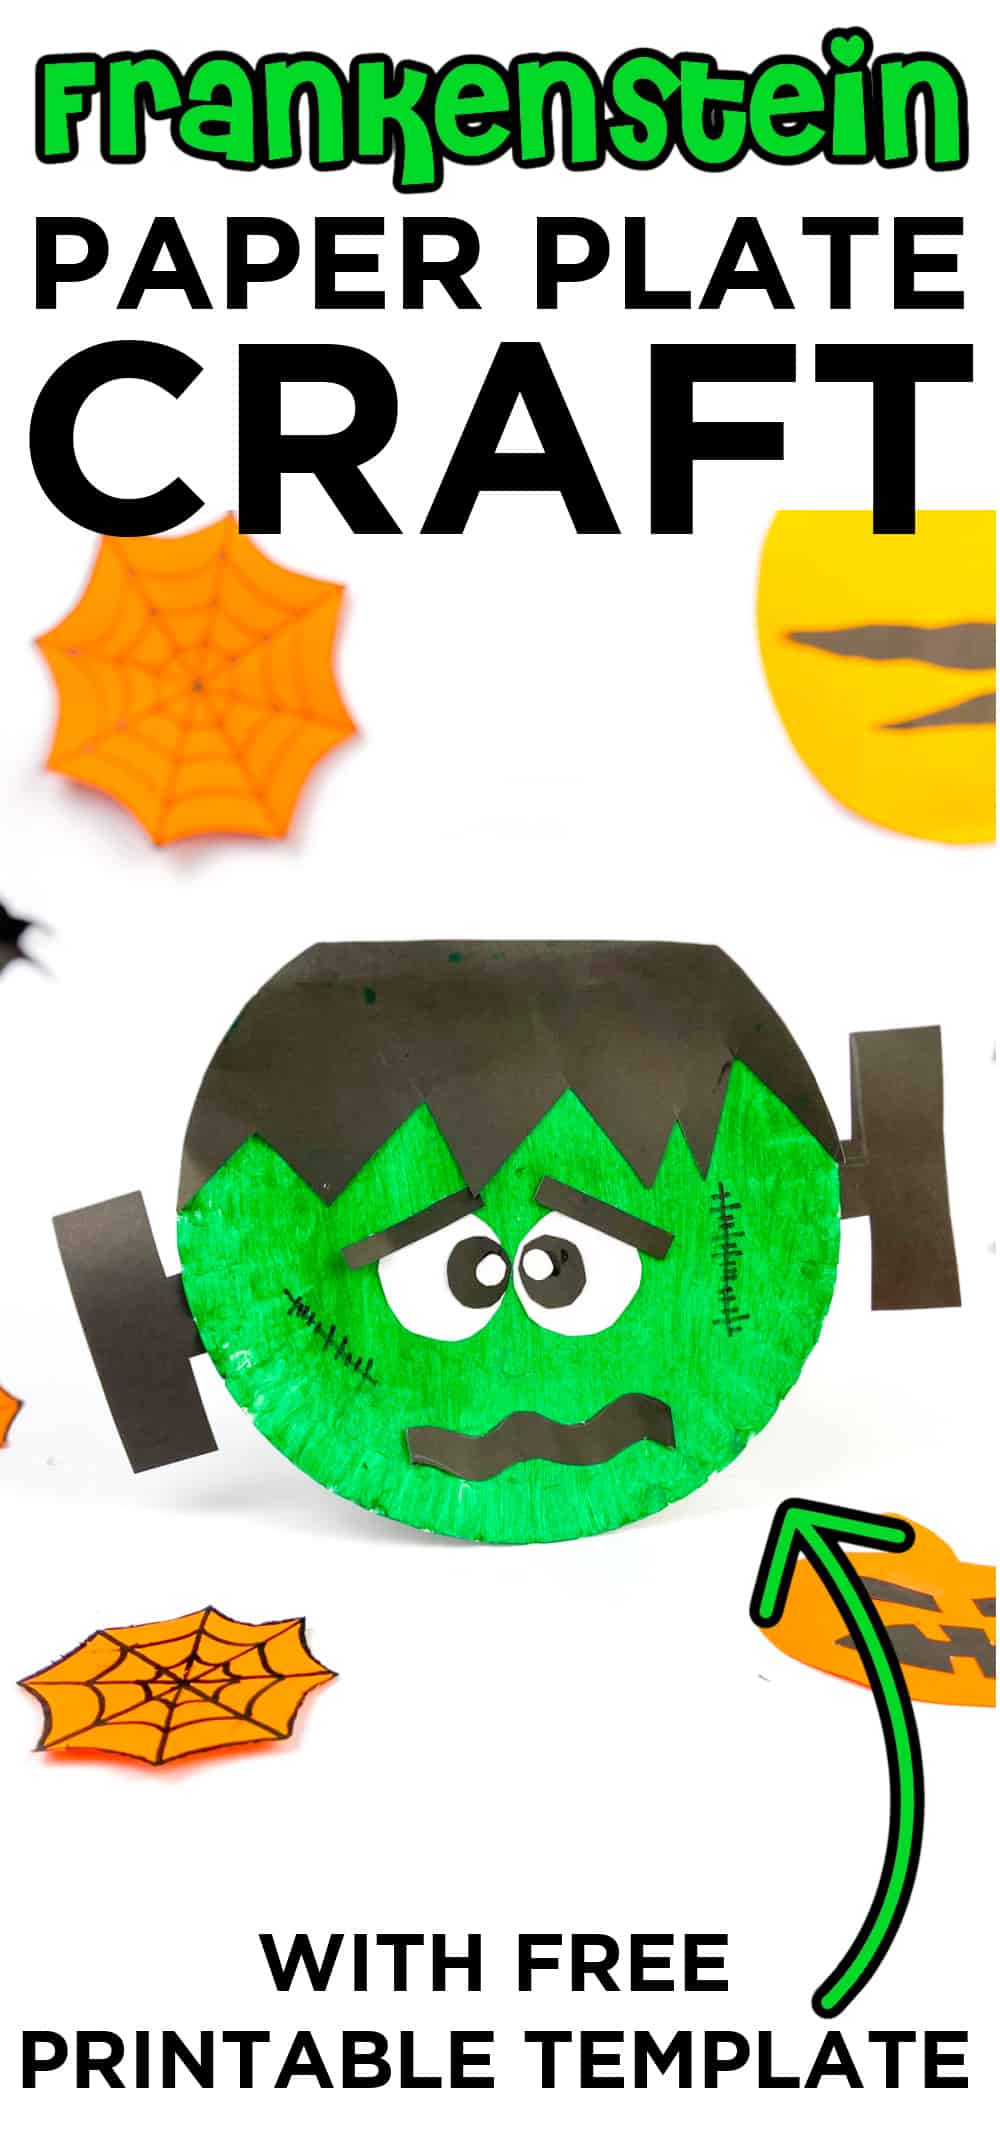
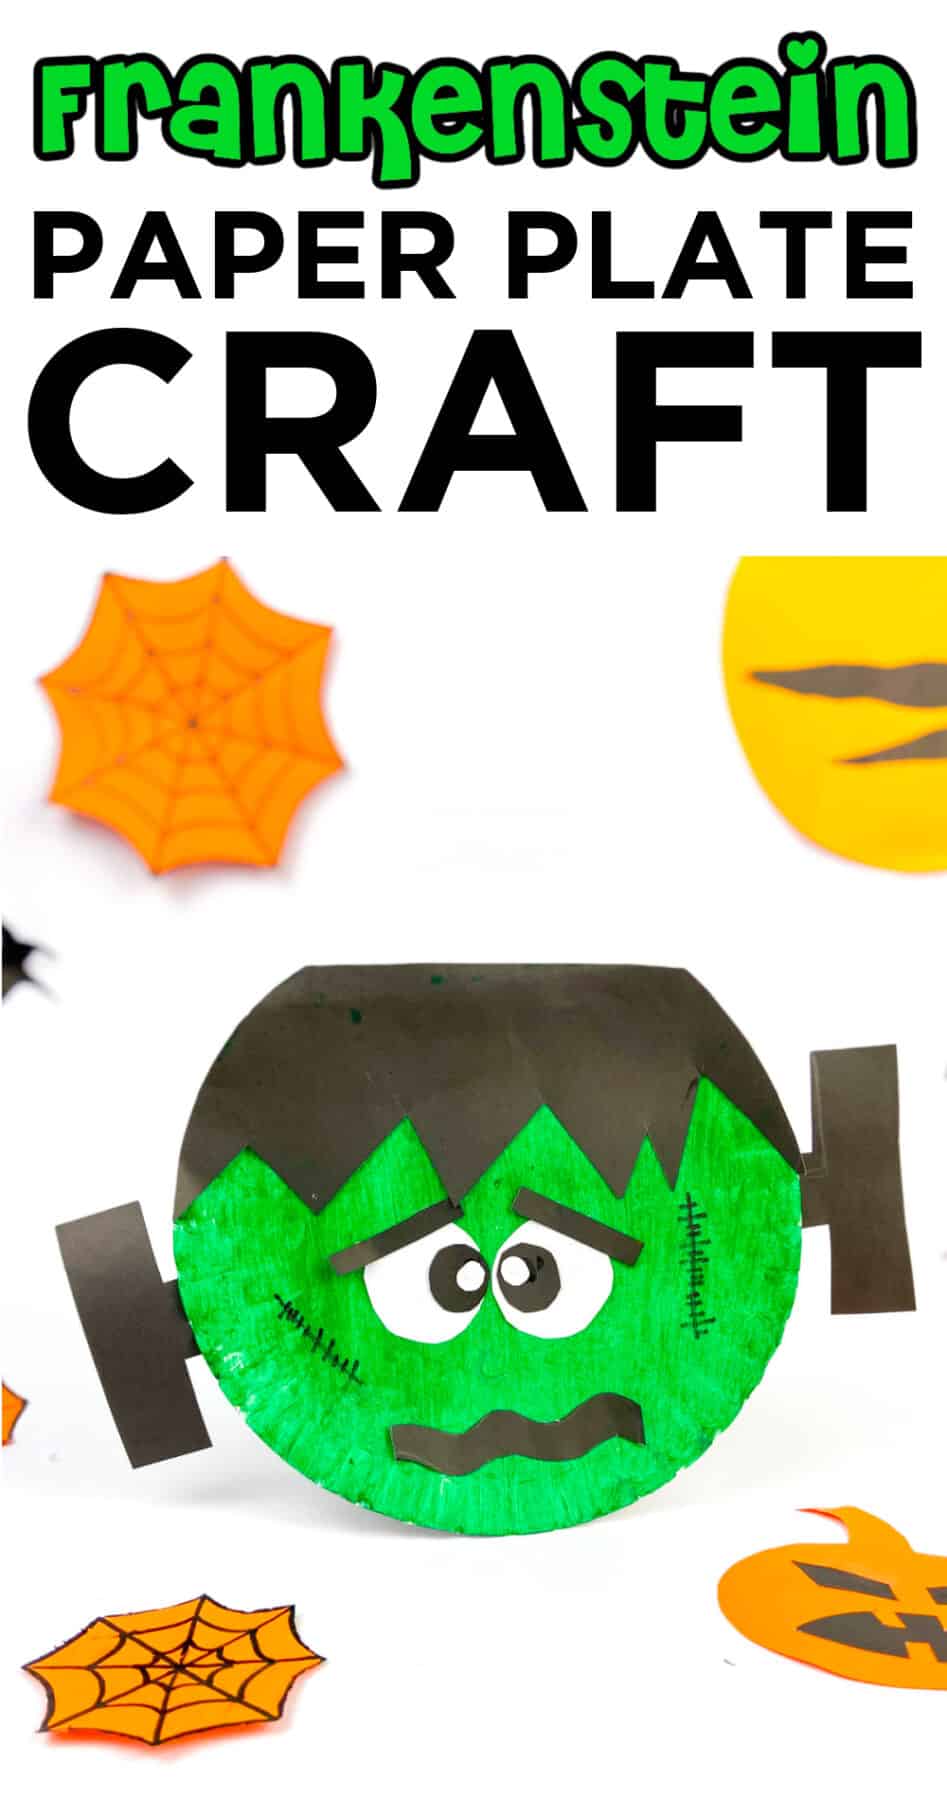
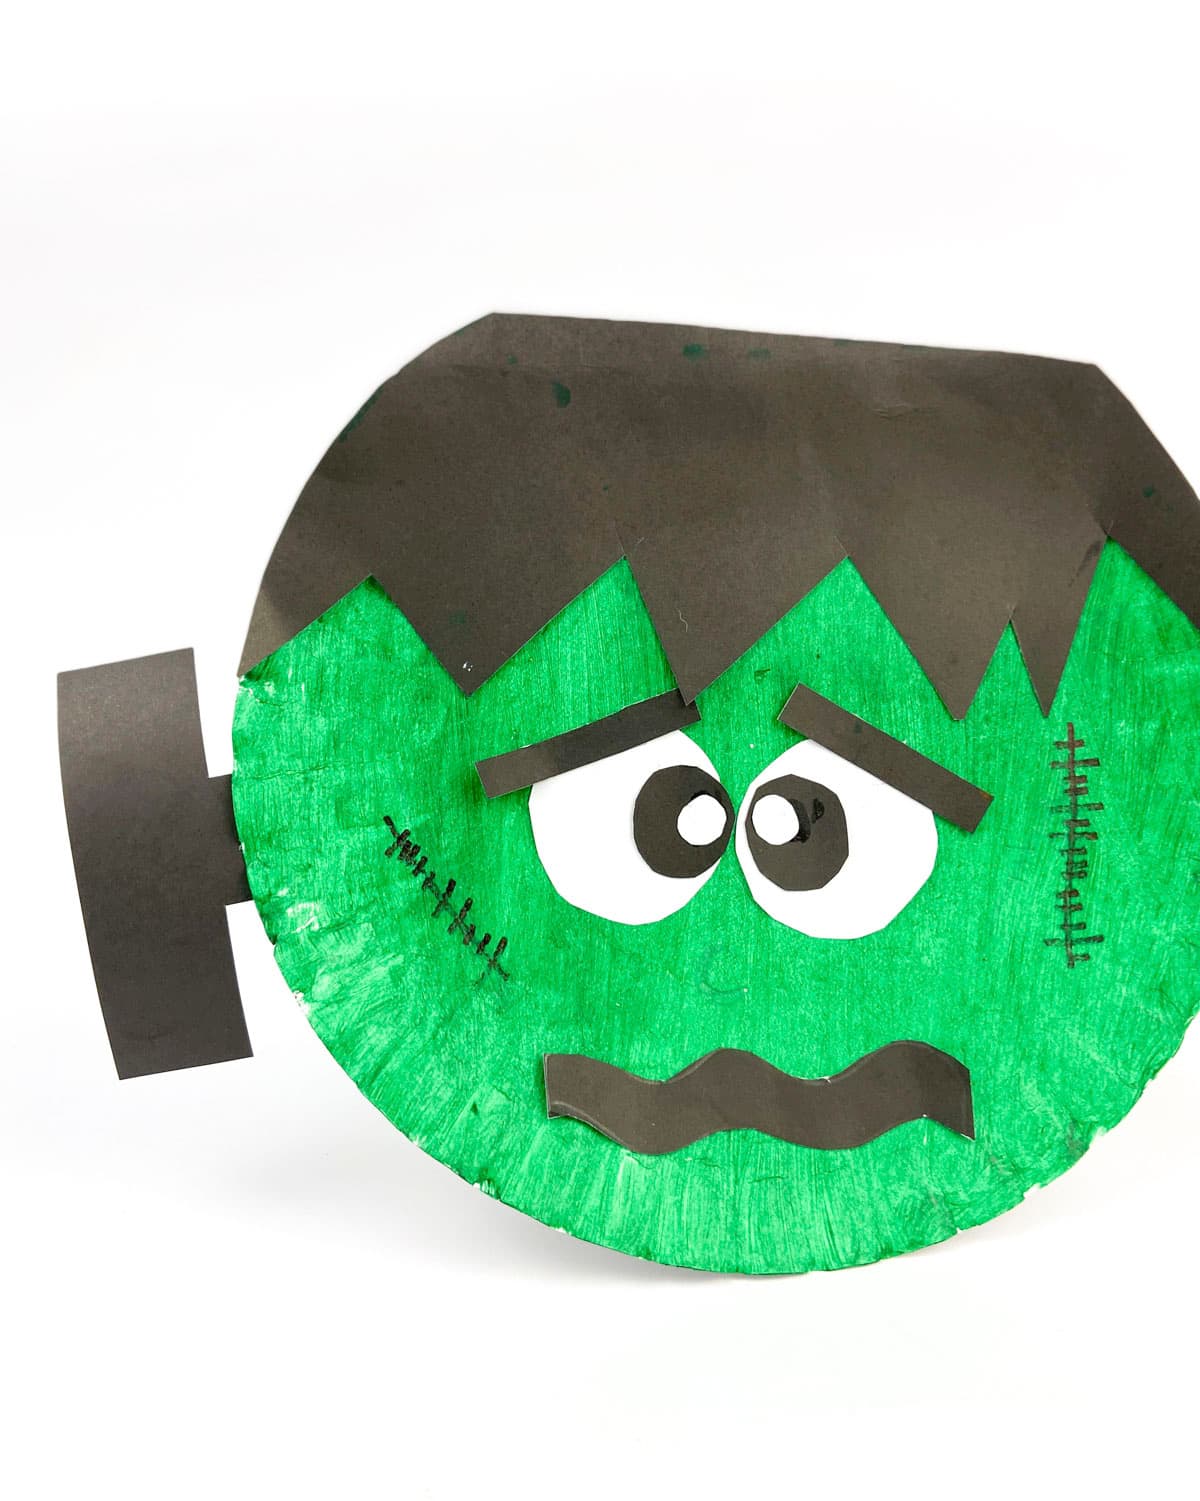
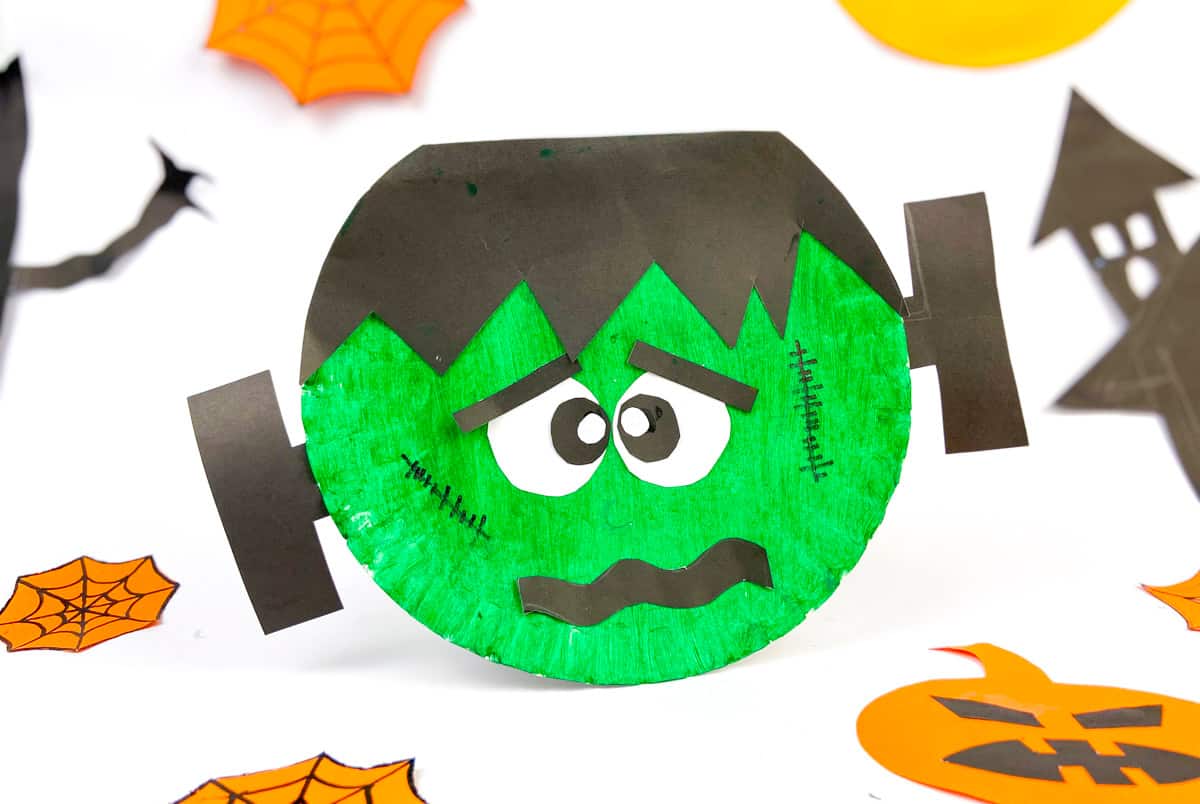
Get into the Halloween spirit with our Paper Plate Frankenstein Craft, a fun and creative DIY project perfect for a spooky season!
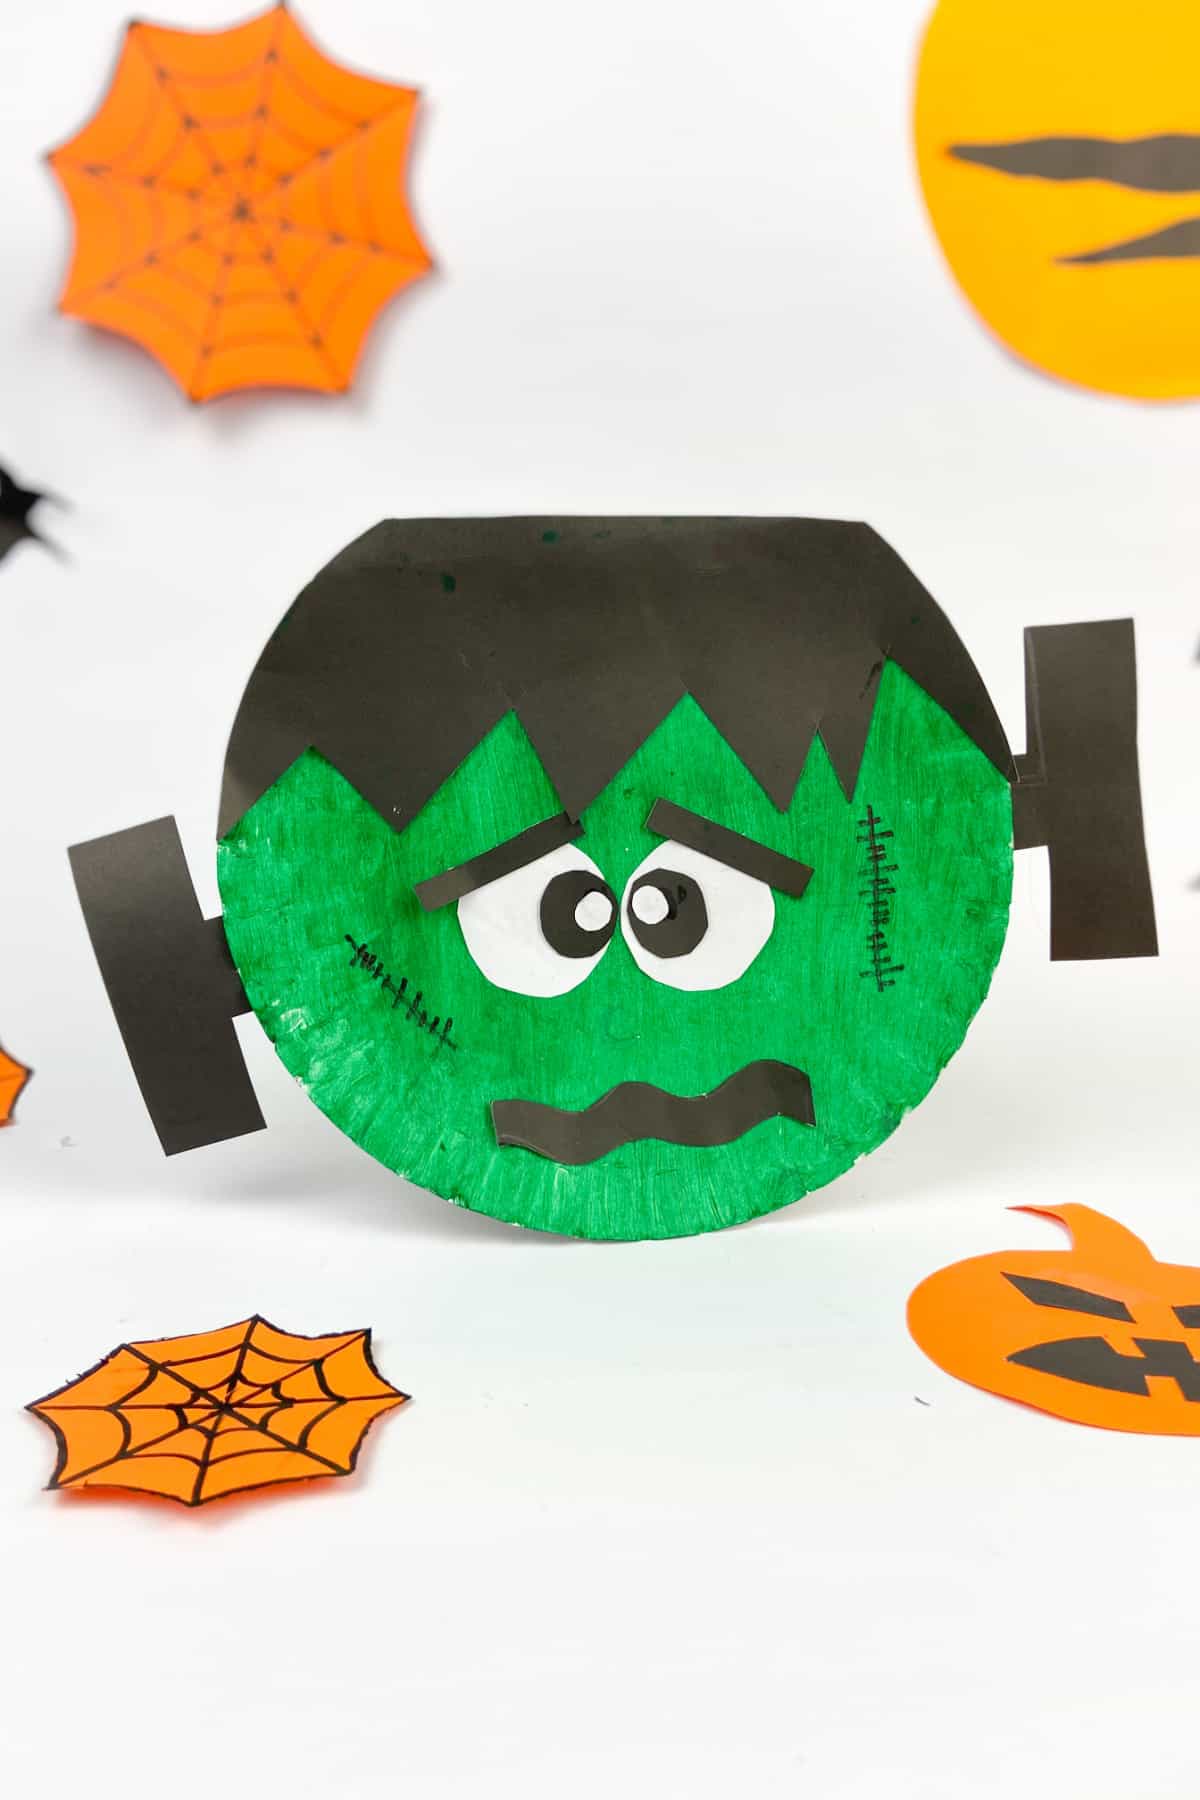
This paper plate Frankenstein craft with a free printable template is a great way for kids to celebrate Halloween.
If you're looking for a perfect Halloween craft to do with kids this Halloween season, look no further than the ever-classic and fun Frankenstein paper plate craft.
It is an easy craft that kids of all ages can participate in. The younger ones can color or paint their plates, stick googly eyes on the craft, or construct the plate with adult assistance. All these activities will improve your kiddo's fine motor skills and instill some level of creativity.
This fun Frankenstein's Monster craft is the perfect cutting exercise for older kids.
Plus, you only need a handful of supplies - a glue stick, some popsicle sticks, a black marker, a hole punch - yep, all the other things along the lines.
This activity will be a huge hit with the entire family; it's just that much fun. If you love this fun Frankenstein Craft, be sure to also check out our Haunted House Paper Plate Craft, Paper Plate Bat, and Monster Paper Plate Craft.
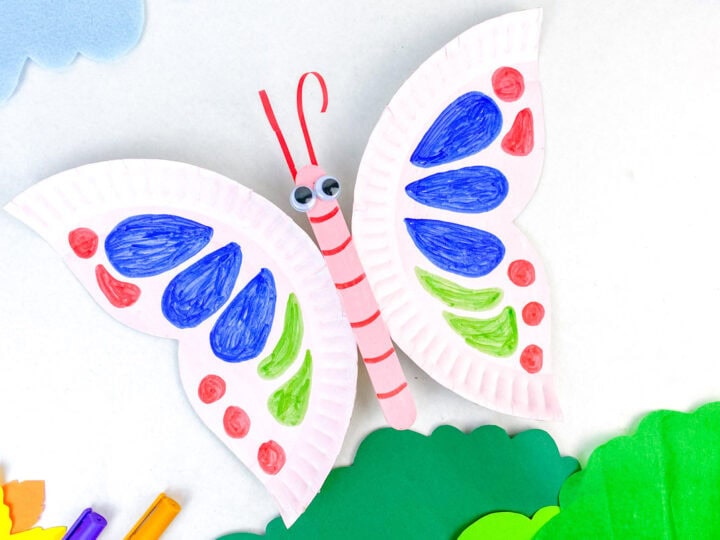
Don't miss our full list of Paper Plate Crafts!
Want to save this project?
Enter your email below, and then we'll send it straight to your inbox. Plus get awesome new projects from us each week.
Decorating the Frankenstein Craft
If you've tried other fun Frankenstein crafts, you know this guy can get pretty creepy (which, btw, is pretty cool). So, let's see what we can do with the paper plate version of the Addam Family's biggest member:
- Make expressions and eyebrows with pipe cleaners.
- Use a black Sharpie or a piece of black electrical tape to replicate Frankenstein's scar.
- Add a suit and bow tie made with construction paper to make the big guy look formal.
Stick shredded and dyed tissue paper on the plate as Frankenstein's hair.
Ways to Use Frankenstein Paper Craft
If your kid is a visual learner, you can use this fun craft to teach him counting. For instance, make a craft stick craft Frankenstein, and ask your child to count the number of used sticks. Or keep adding an extra stick to each Frankenstein to help them with the concept of addition.
You can also use it as a story-writing activity. Make a Frankenstein-themed booklet and encourage your child to write some interesting sentences.
Try sticking magnets at the back of this Frankenstein paper plate craft as Halloween decorations. It'll also boost your child's morale.
More Frankenstein Craft Ideas
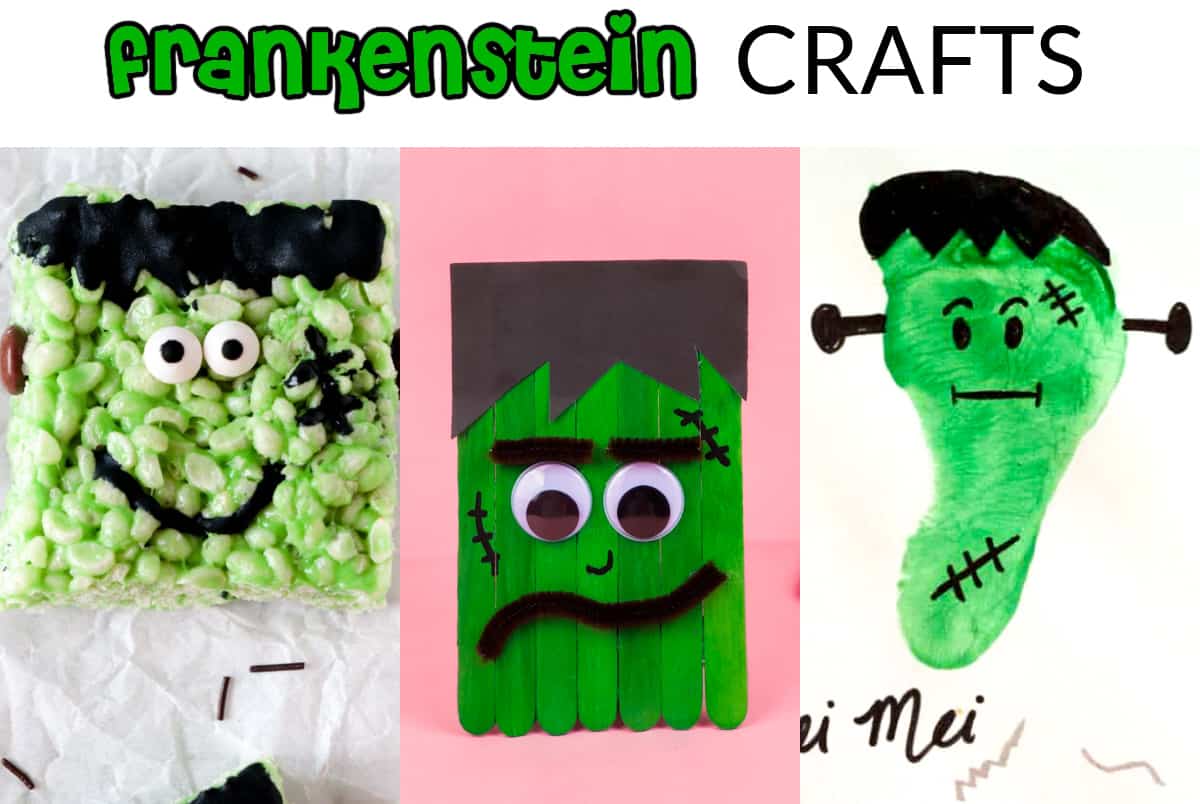
You can make other Frankenstein crafts if you are out of green paper plates. Here are some Cute Frankensteins:
- Make Popsicle Stick Frankenstein if you're out of the green paper plates.
- Make a paper plate Frankenstein mask by punching a hole on each side of the paper plate, and tying a piece of elastic string to each side. Cut out each eye so you can see out the mask.
- Paint the bottom of your child's foot and stamp it on construction paper to create a Frankenstein Footprint Art.
- Use green craft paper to make a traditional Frankenstein invitation card for your Halloween party.
- Sweeten the holiday with Frankenstein Rice Krispie Treats.
- Make a Frankenstein box to store all your Halloween crafts in.
Frankenstein Paper Plate Craft Supplies
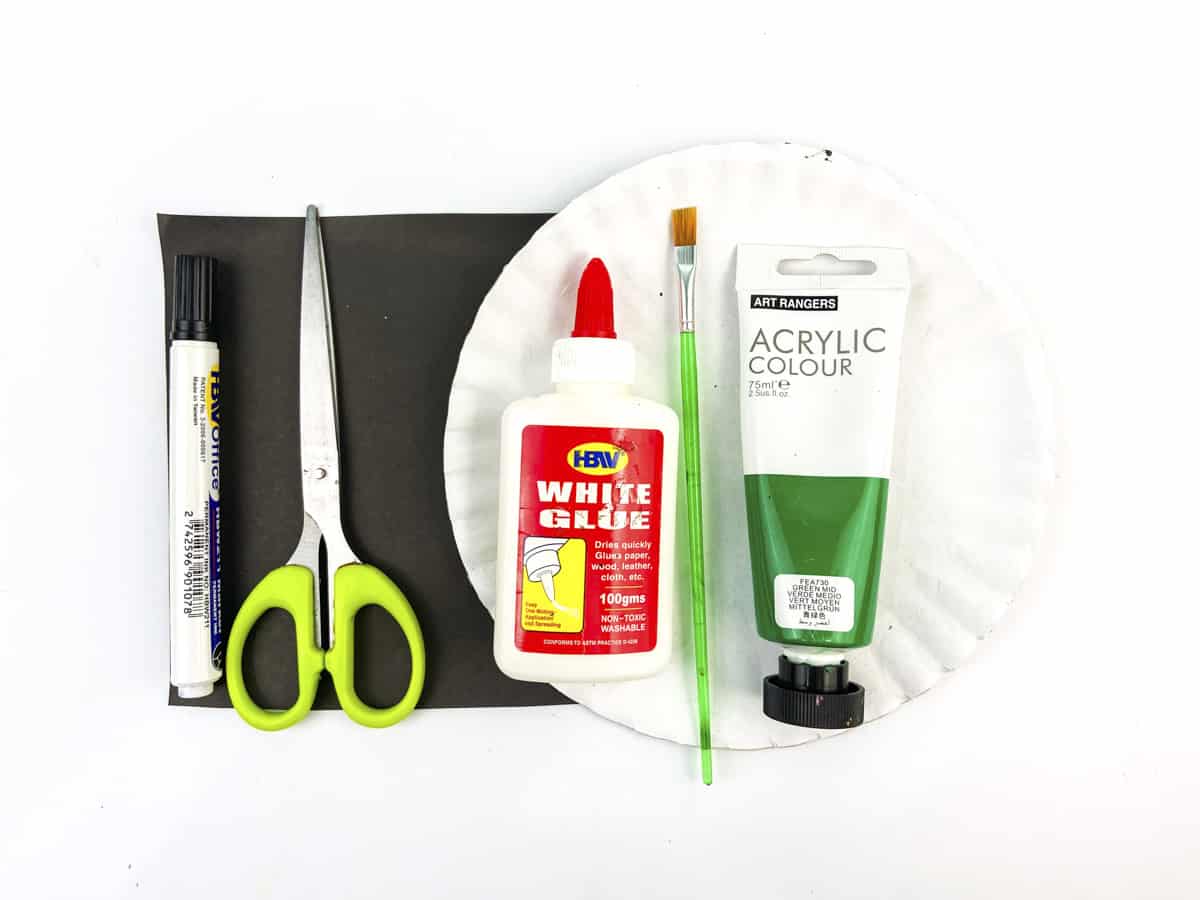
Ready to add another favorite to your list of paper plate crafts? Try this fun craft and have a great time with your young artists. If you want more assistance, there's a list of simple supplies that you need, along with a step-by-step guide.
- Paper plate
- Paint
- Paintbrush
- Construction Paper or Cardstock Paper
- Marker
- Glue
- Scissors
Making the Creative Frankenstein Paper Plate Craft
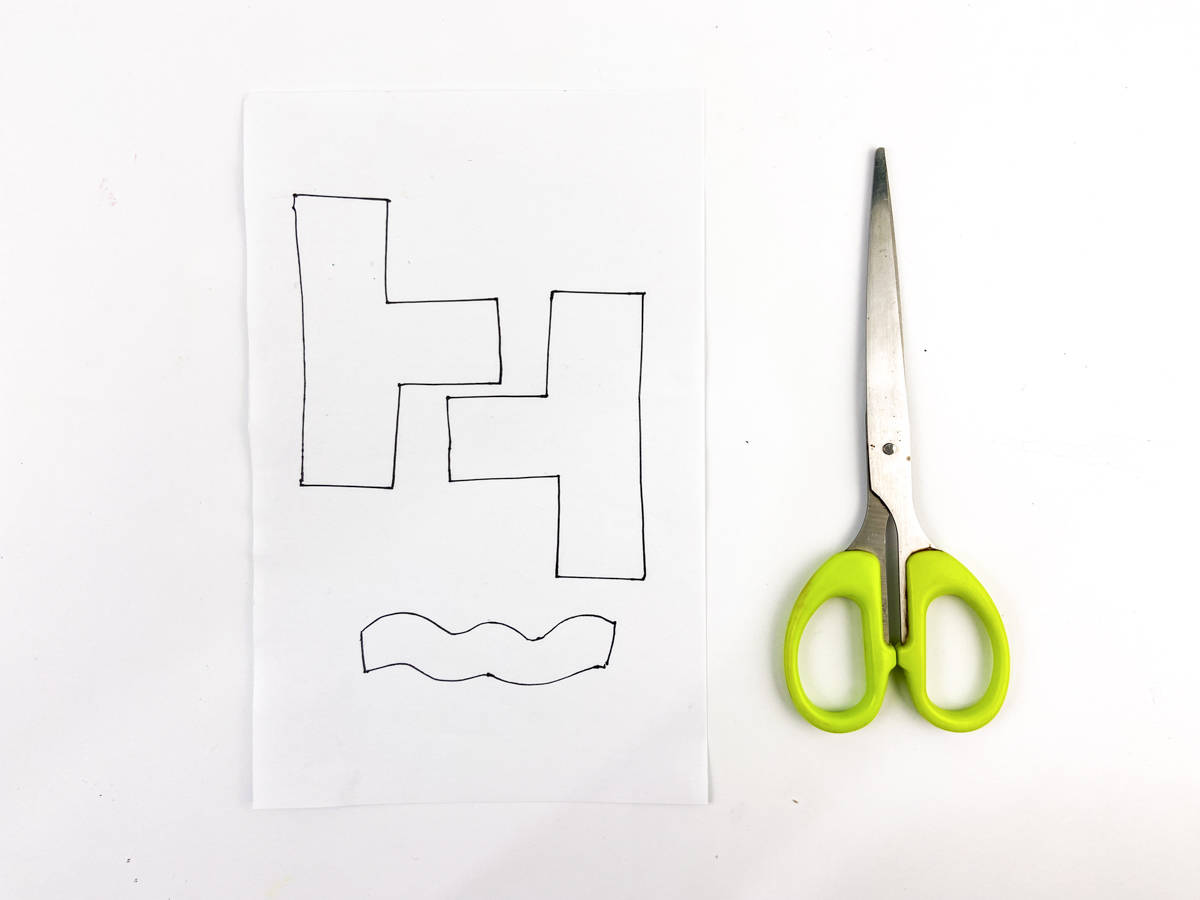
Start by printing out the free template at the bottom of the post.
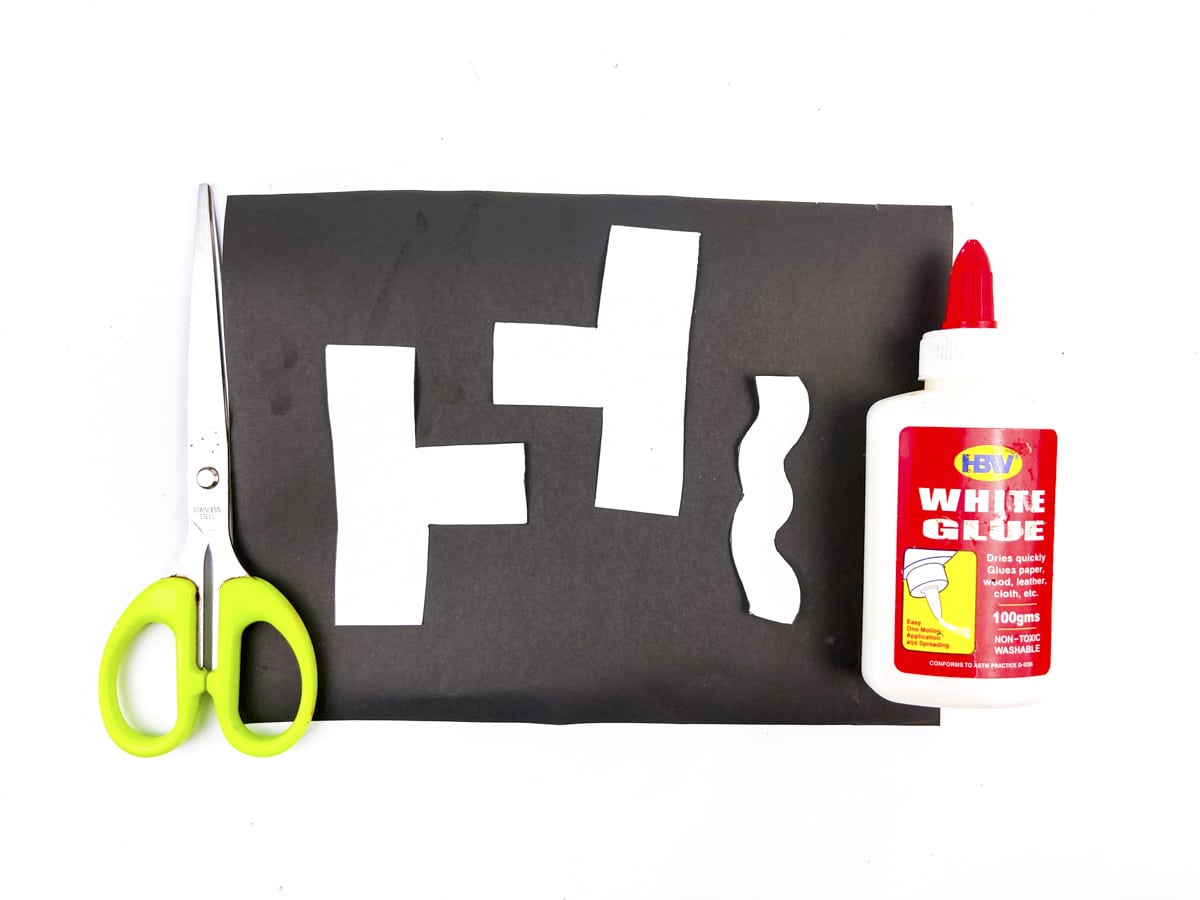
Next, cut out the pieces of the template and place them on the black construction paper.
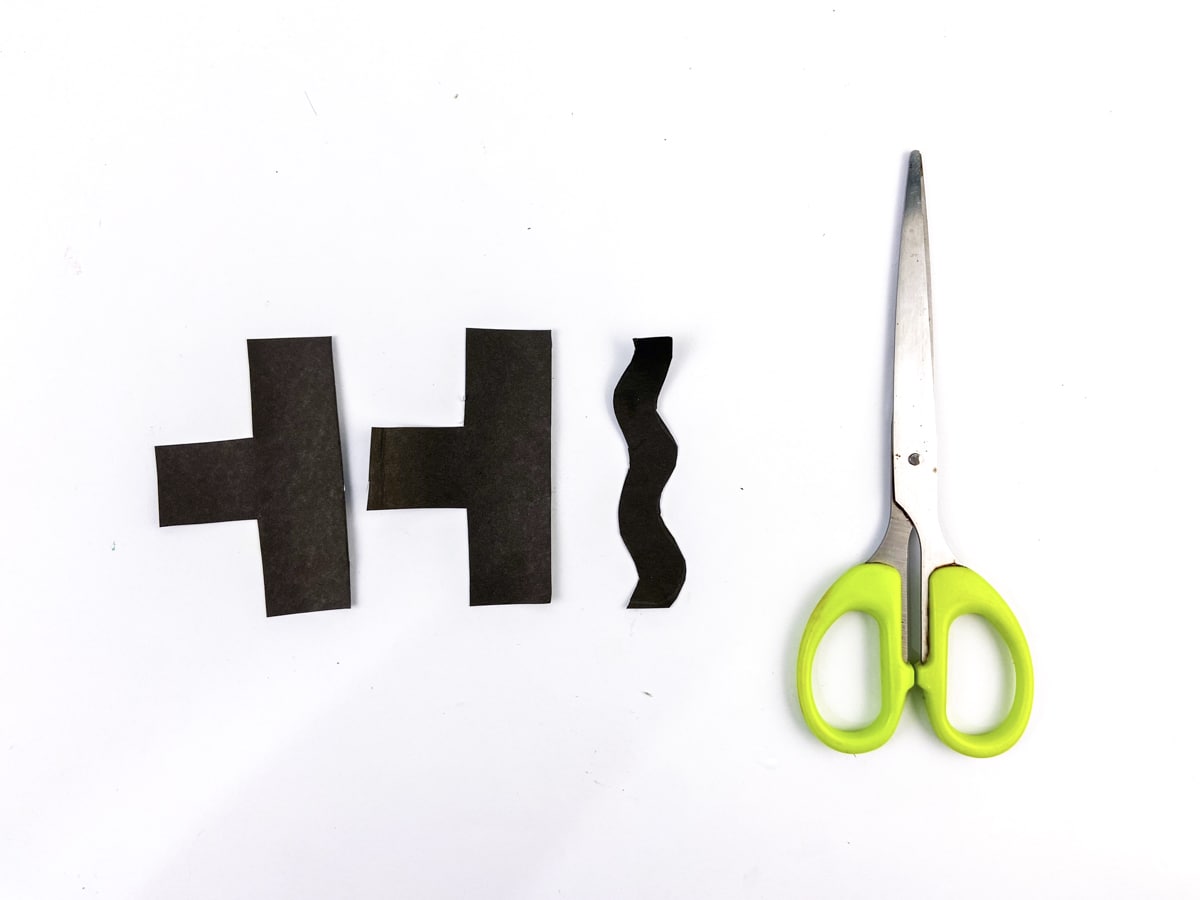
Cut each of those pieces out of the black paper.
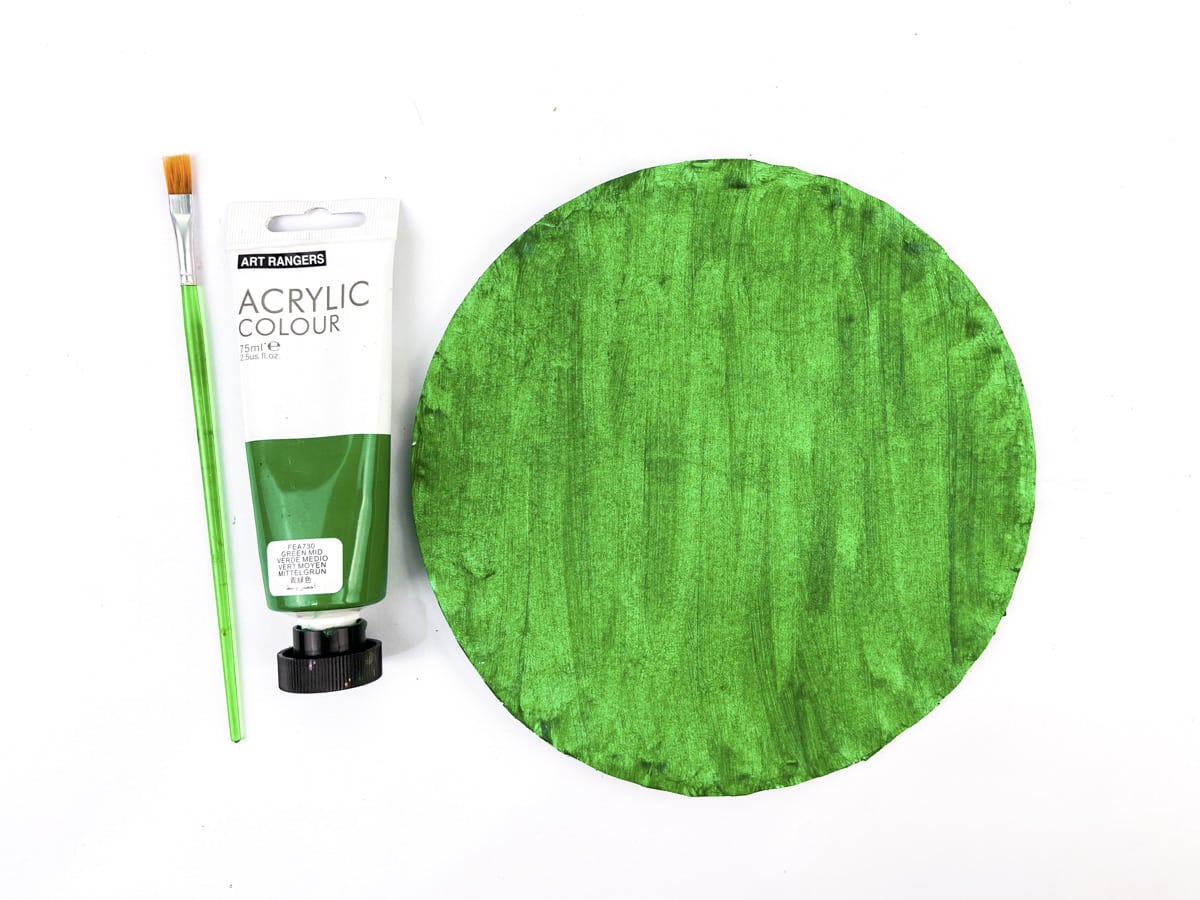
Next, paint the front of the paper plate with green paint.
Frankenstein's Hair
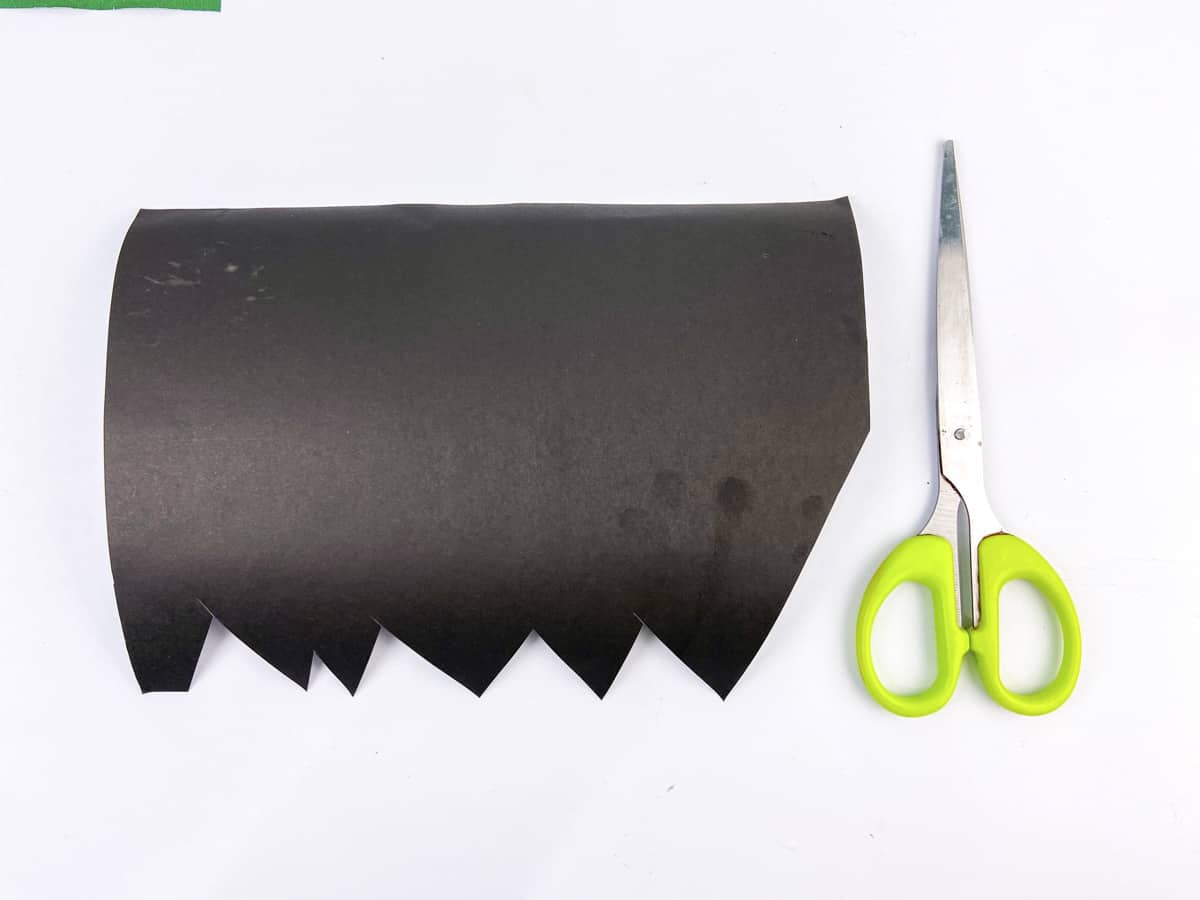
Grab your next piece of black paper, and cut a jagged edge along the length of the paper.
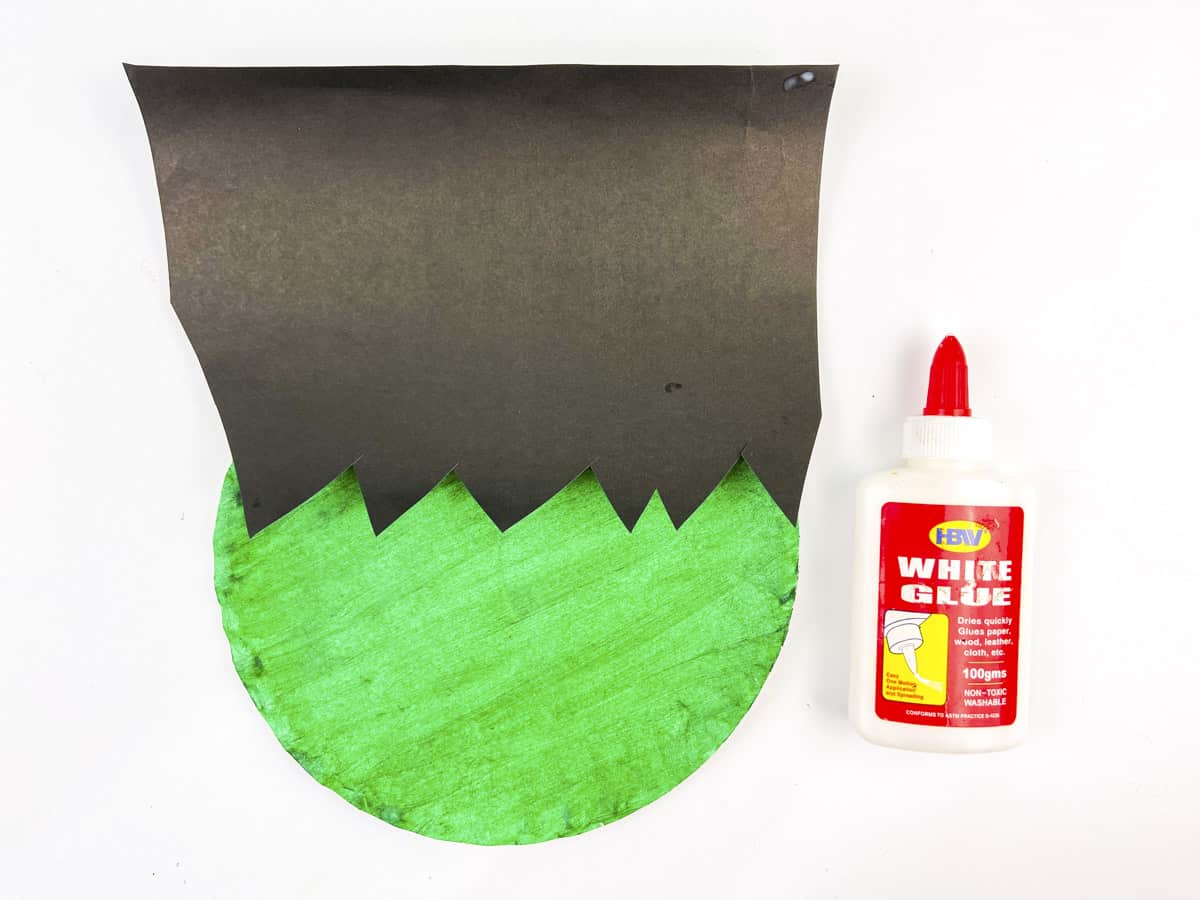
Next, glue the black paper to the top portion of the paper plate.
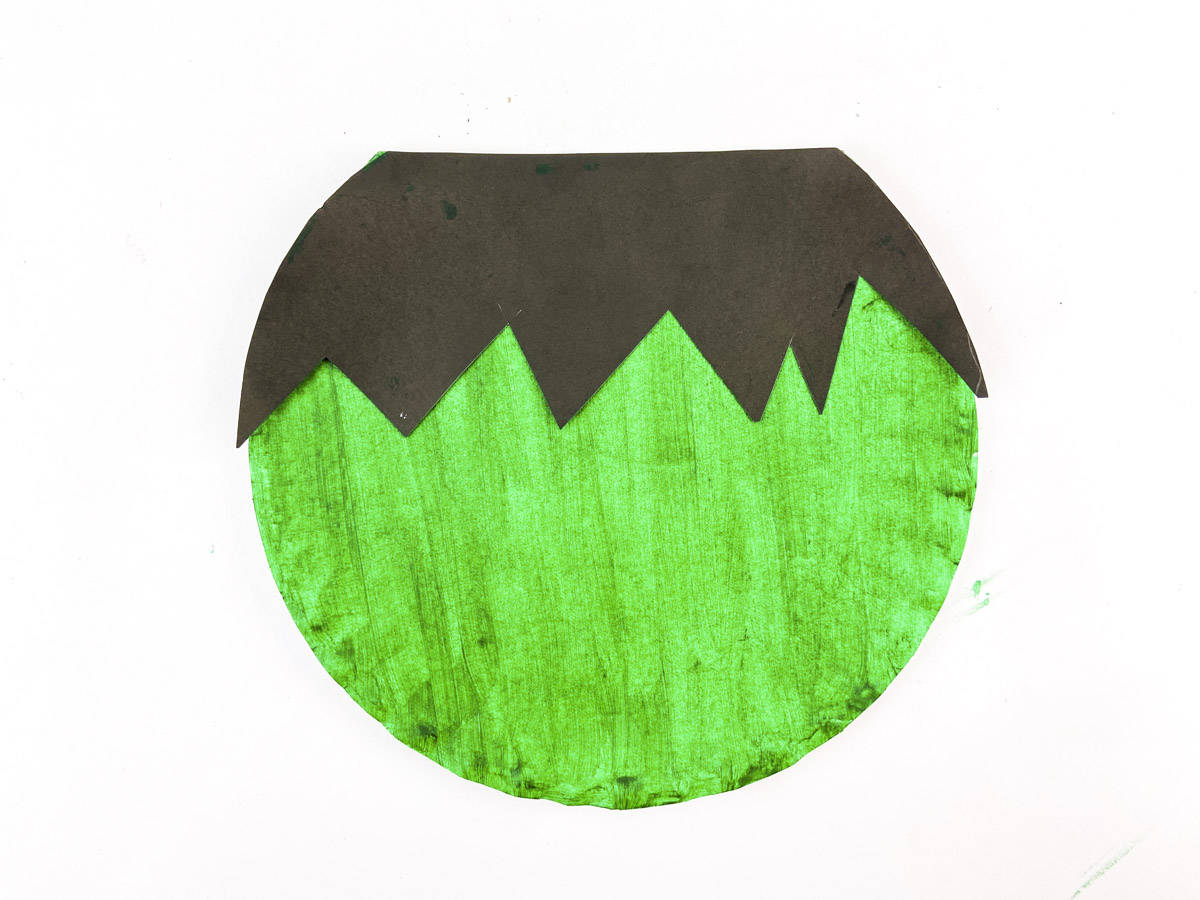
Cut off the excess of black paper around the paper plate. Cut off the top of the paper plate flat so as to resemble Frankenstein's Head and Hair.
Frankenstein's Face
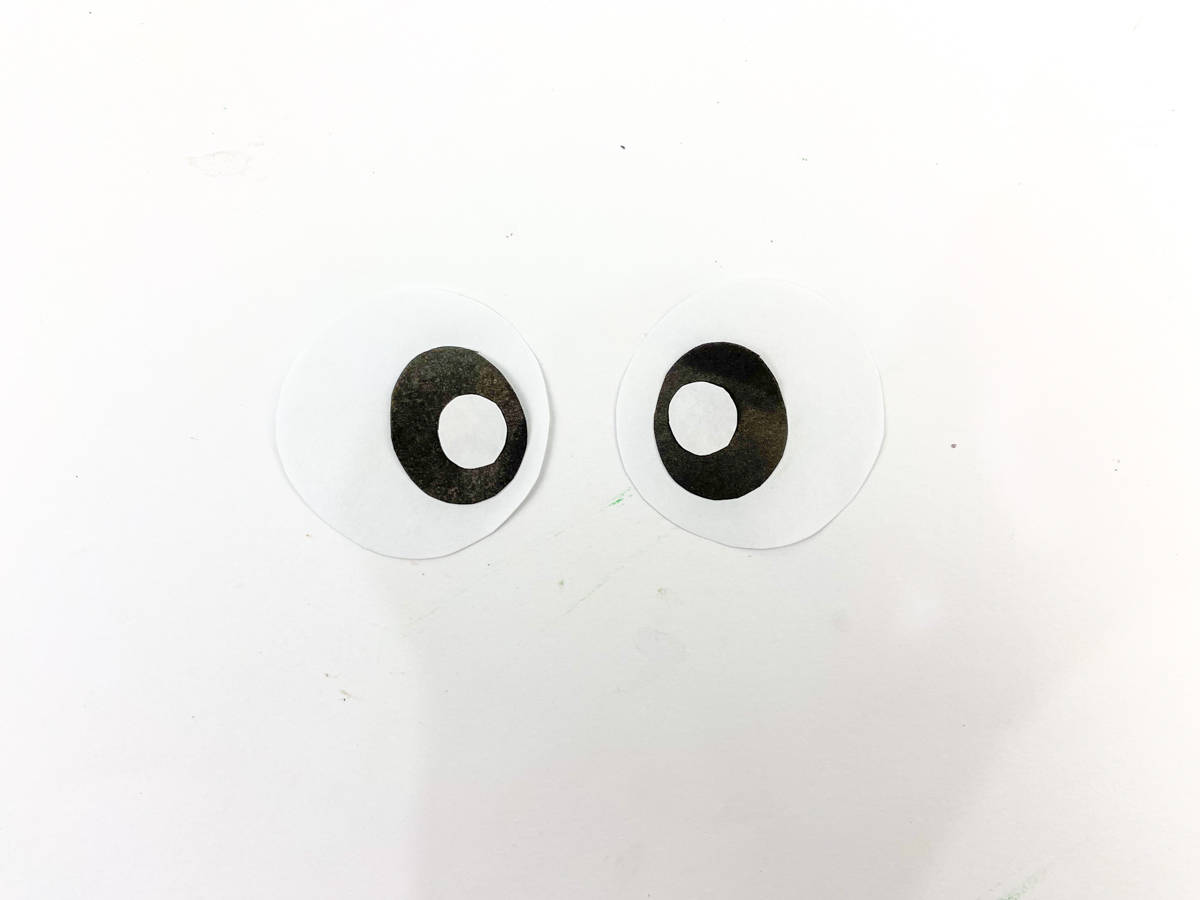
Next, cut out two larger circles out of the white paper as well as two small circles. Then cut two circles out of black paper in a size slightly bigger than the small white circles.
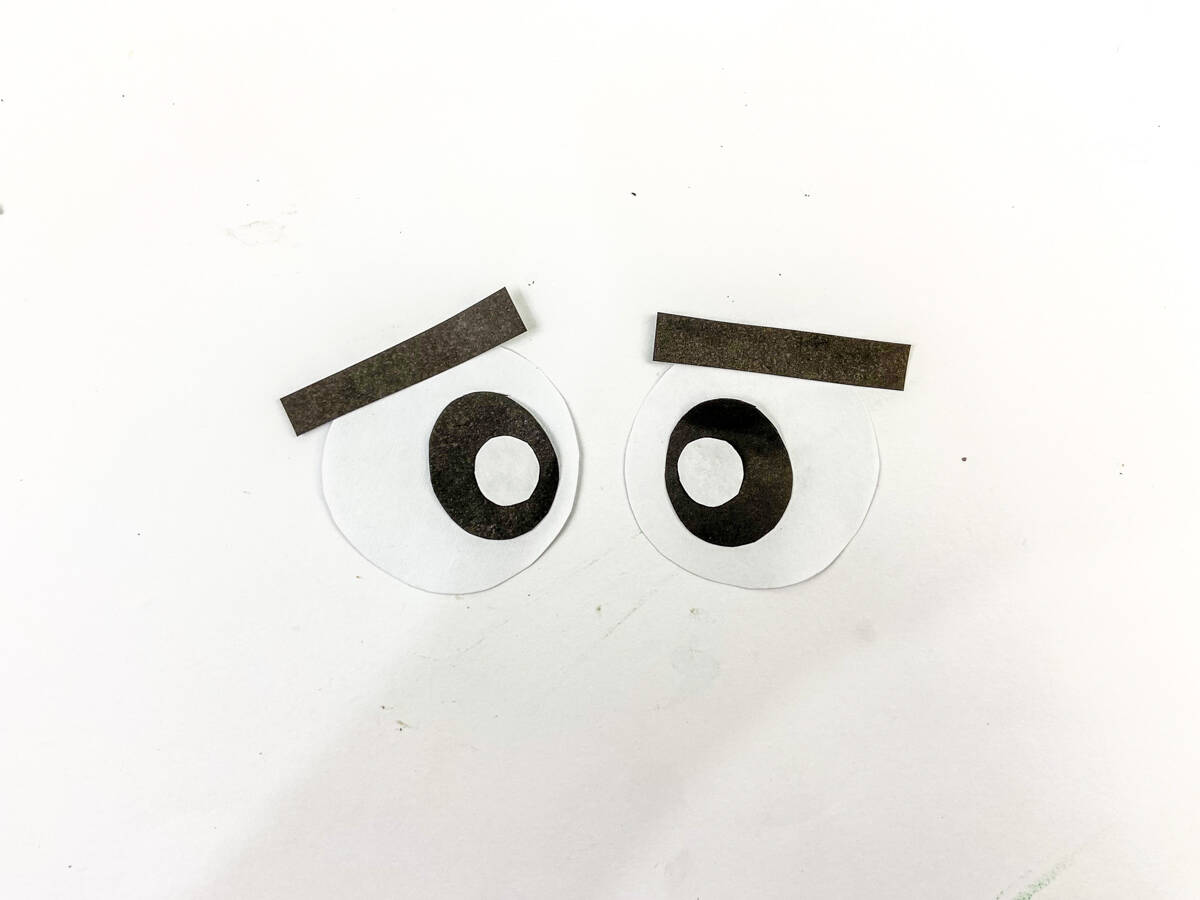
Next, cut out two thin rectangle shapes out of the black paper for the eyebrows.
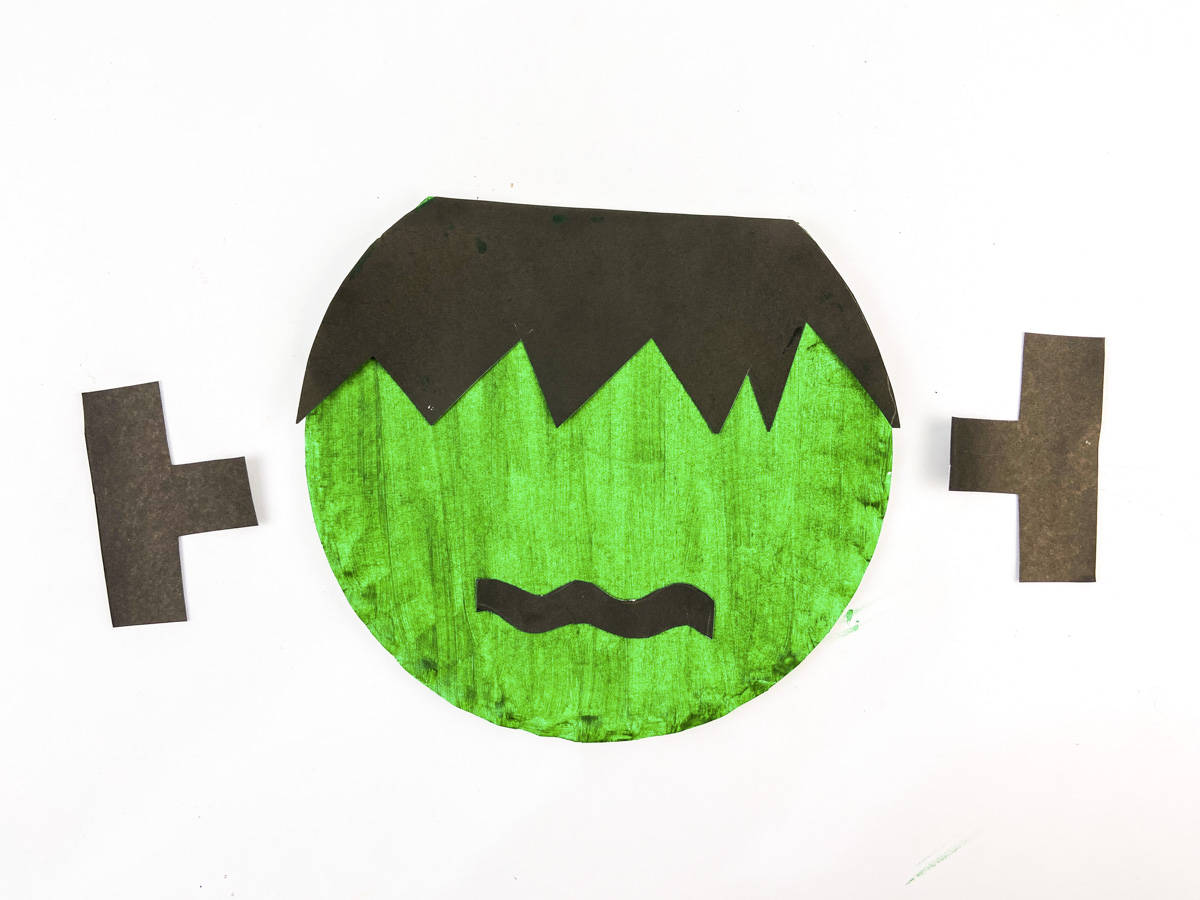
Glue the wavy piece from the template onto the paper plate as Frankenstein’s mouth.
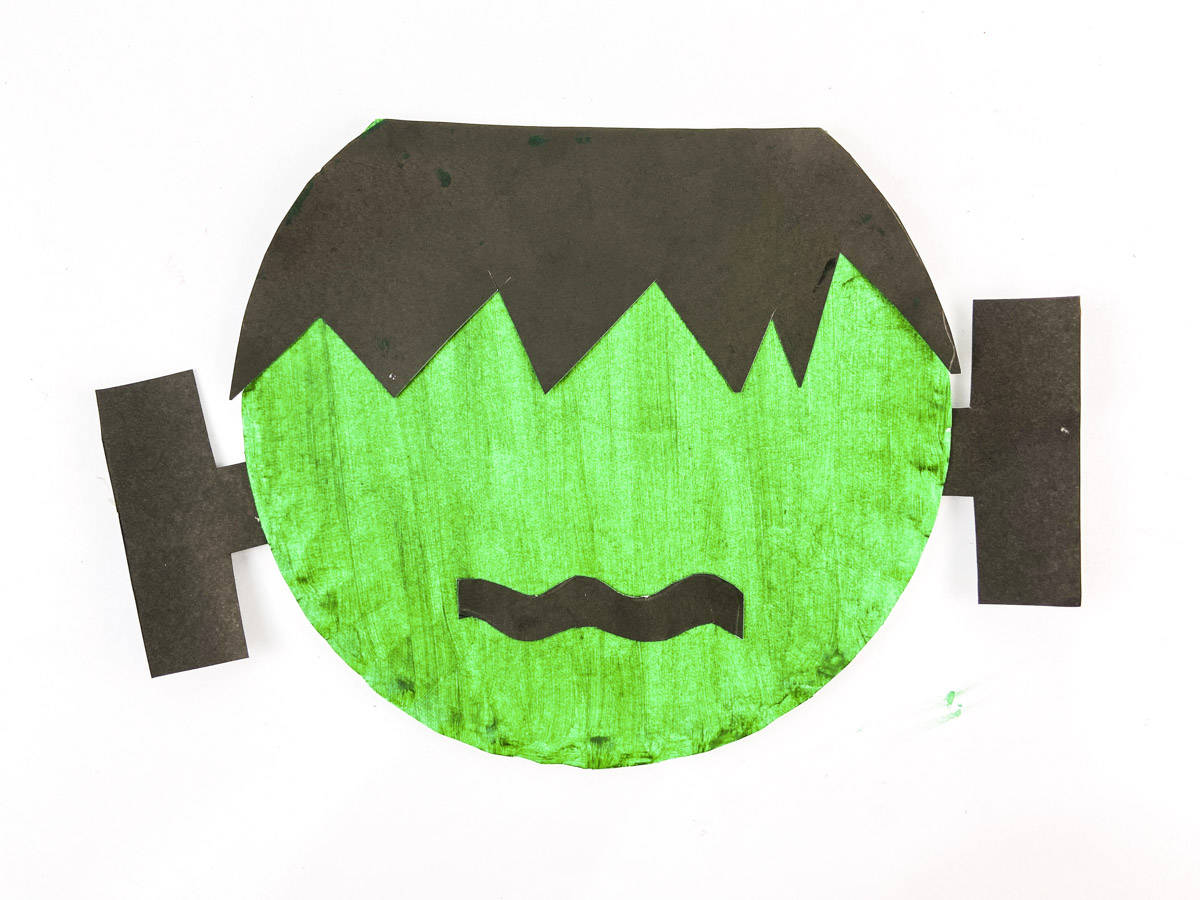
Next, glue the bolts to each side of Frankenstein's neck on the back of the paper plate.
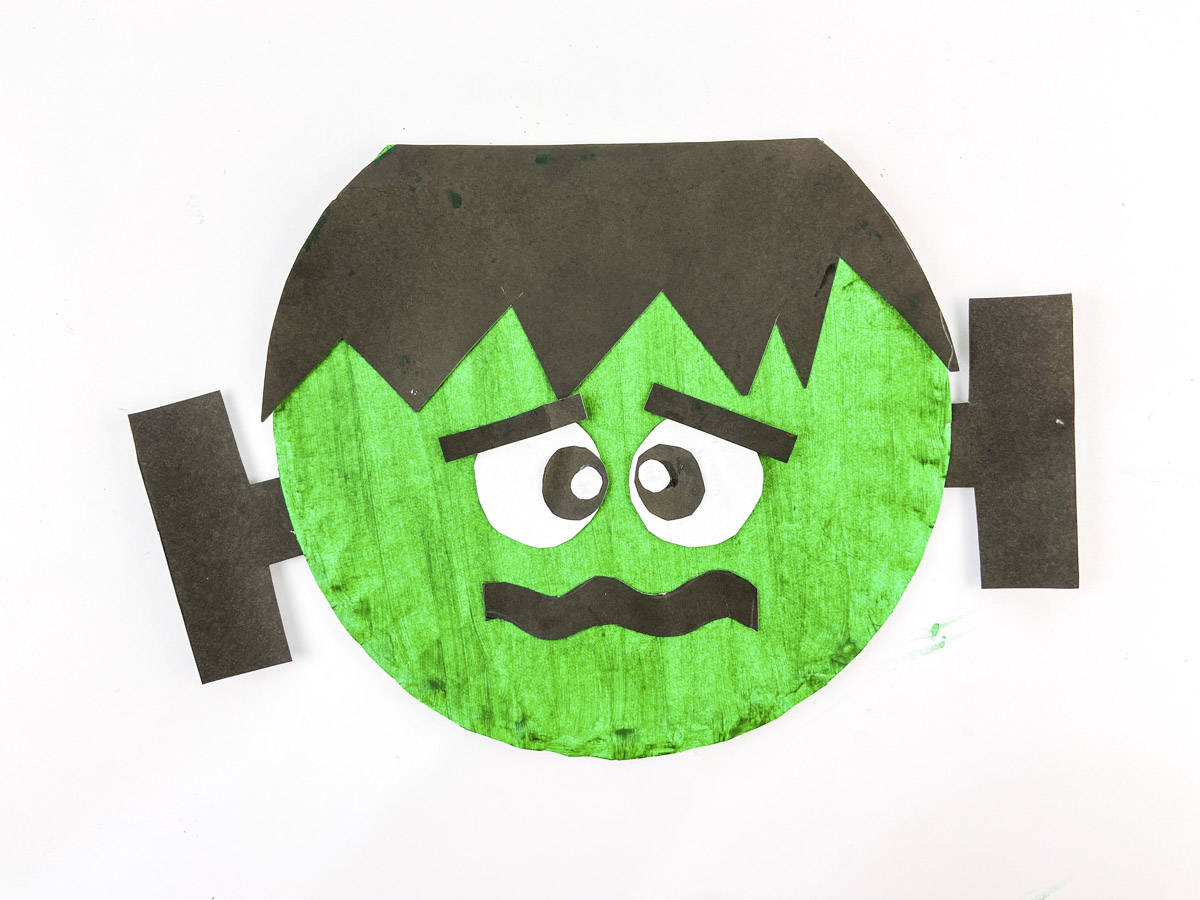
Next, glue on the eyes, and eyebrows.
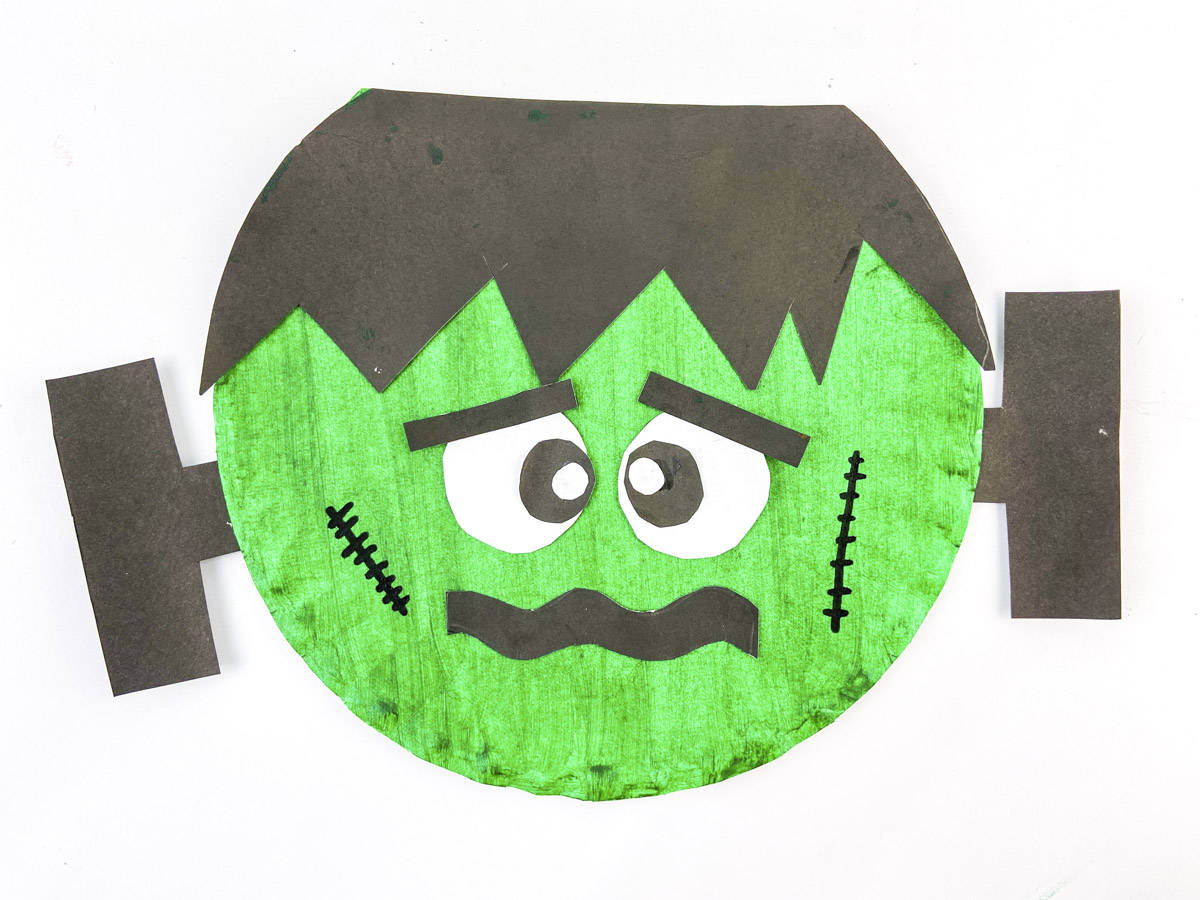
Lastly, using a black marker or black paint, draw stitches on each side of Frankenstein's face.
Viola, you have an adorable Paper Plate Frankenstein craft!
Happy Crafting and Happy Halloween!
We highlighted this Halloween Paper Plate Craft along with some other fun kid's crafts in our October Crafts along with our 101+ Easy Kids Crafts.
You also do not want to miss our 101+ Printable Coloring Pages For Kids and 101+ Printables For Kids full of Crafts and Coloring Pages.
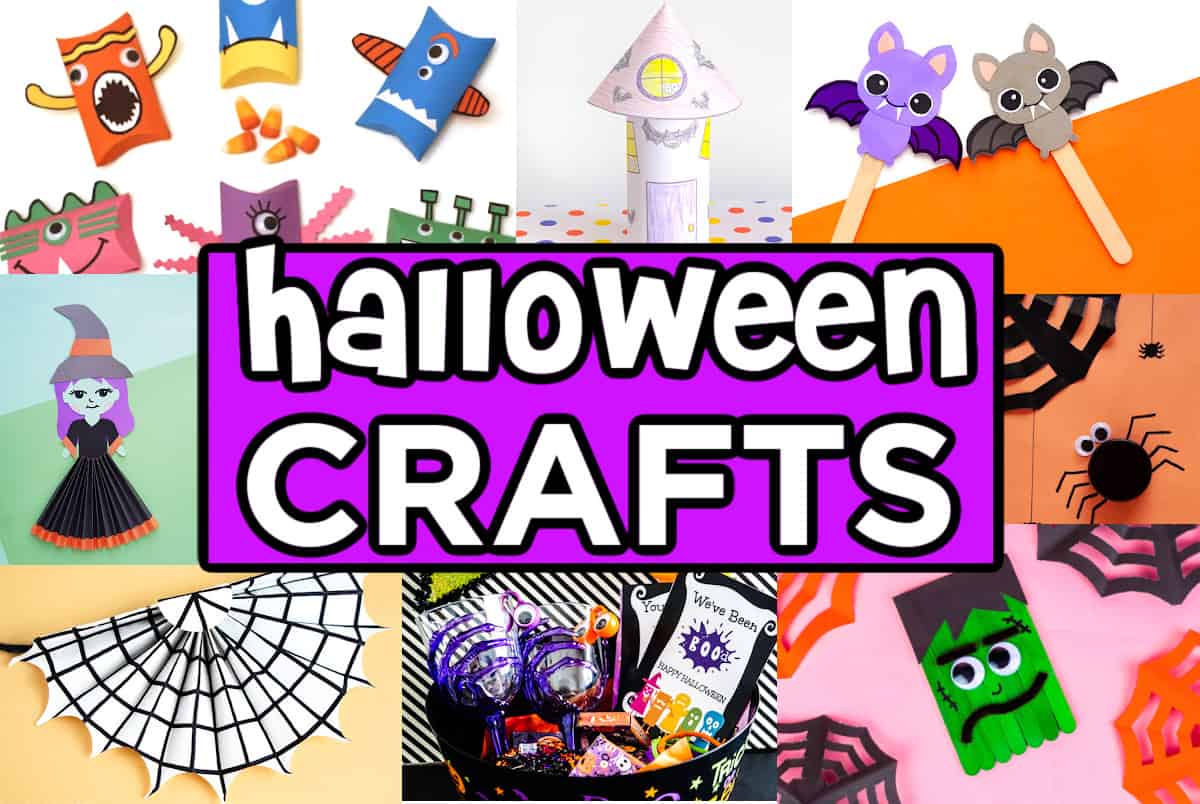
Other Halloween Crafts For Kids
- Haunted House Craft
- Paper Bat
- Candy Corn Crafts
- Ghost Crafts
- Halloween Cat Paper Luminary
- Haunted House Paper Plate Halloween Craft
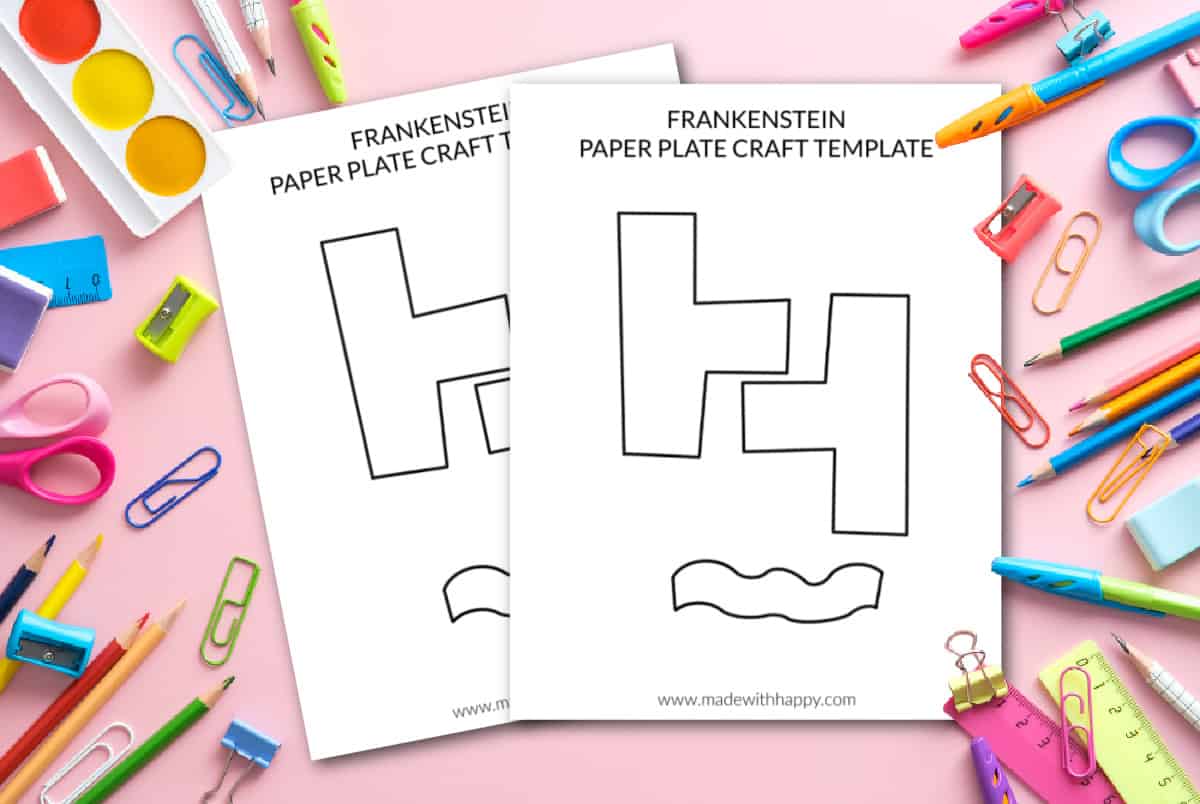
Download the Free Frankenstein Paper Plate Template
Enter your email address in the form below and you'll be taken directly to the Frankenstein Template PDF file.
*For personal use only
Frankenstein Paper Plate
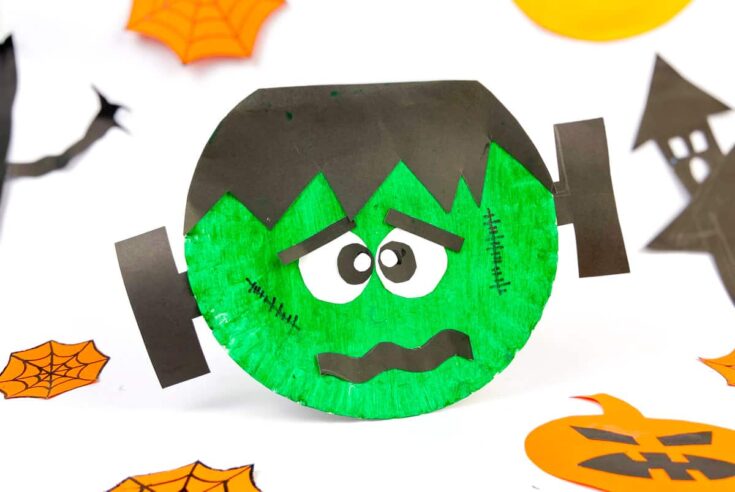
Get into the Halloween spirit with our Paper Plate Frankenstein Craft, a fun and creative DIY project perfect for a spooky season!
Materials
Tools
- Paintbrush
- Scissors
Instructions
Start by printing out the free template at the bottom of the post.
Next, cut out the pieces of the template and place them on the black construction paper.
Cut each of those pieces out of the black paper.
Next, paint the front of the paper plate with green paint.
Grab your next piece of black paper, and cut a jagged edge along the length of the paper.
Next, glue the black paper to the top portion of the paper plate.
Cut off the excess of black paper around the paper plate. Cut off the top of the paper plate flat so as to resemble Frankenstein's Head and Hair.
Next, cut out two larger circles out of the white paper as well as two small circles. Then cut two circles out of black paper in a size slightly bigger than the small white circles.
Next, cut out two thin rectangle shapes out of the black paper for the eyebrows.
Glue the wavy piece from the template onto the paper plate as Frankenstein’s mouth.
Next, glue the bolts to each side of Frankenstein's neck on the back of the paper plate.
Next, glue on the eyes, and eyebrows.
Lastly, using a black marker or black paint, draw stitches on each side of Frankenstein's face.
CONNECT WITH MADE WITH HAPPY!
Be sure to follow me on social media, so you never miss a post!
Facebook | Twitter | Youtube | Pinterest | Instagram
Find and shop my favorite products on my Amazon storefront here!
Paper Plate Frankenstein
PIN IT TO YOUR DIY BOARD ON PINTEREST!
FOLLOW MADE WITH HAPPY ON PINTEREST FOR ALL THINGS HAPPY!
