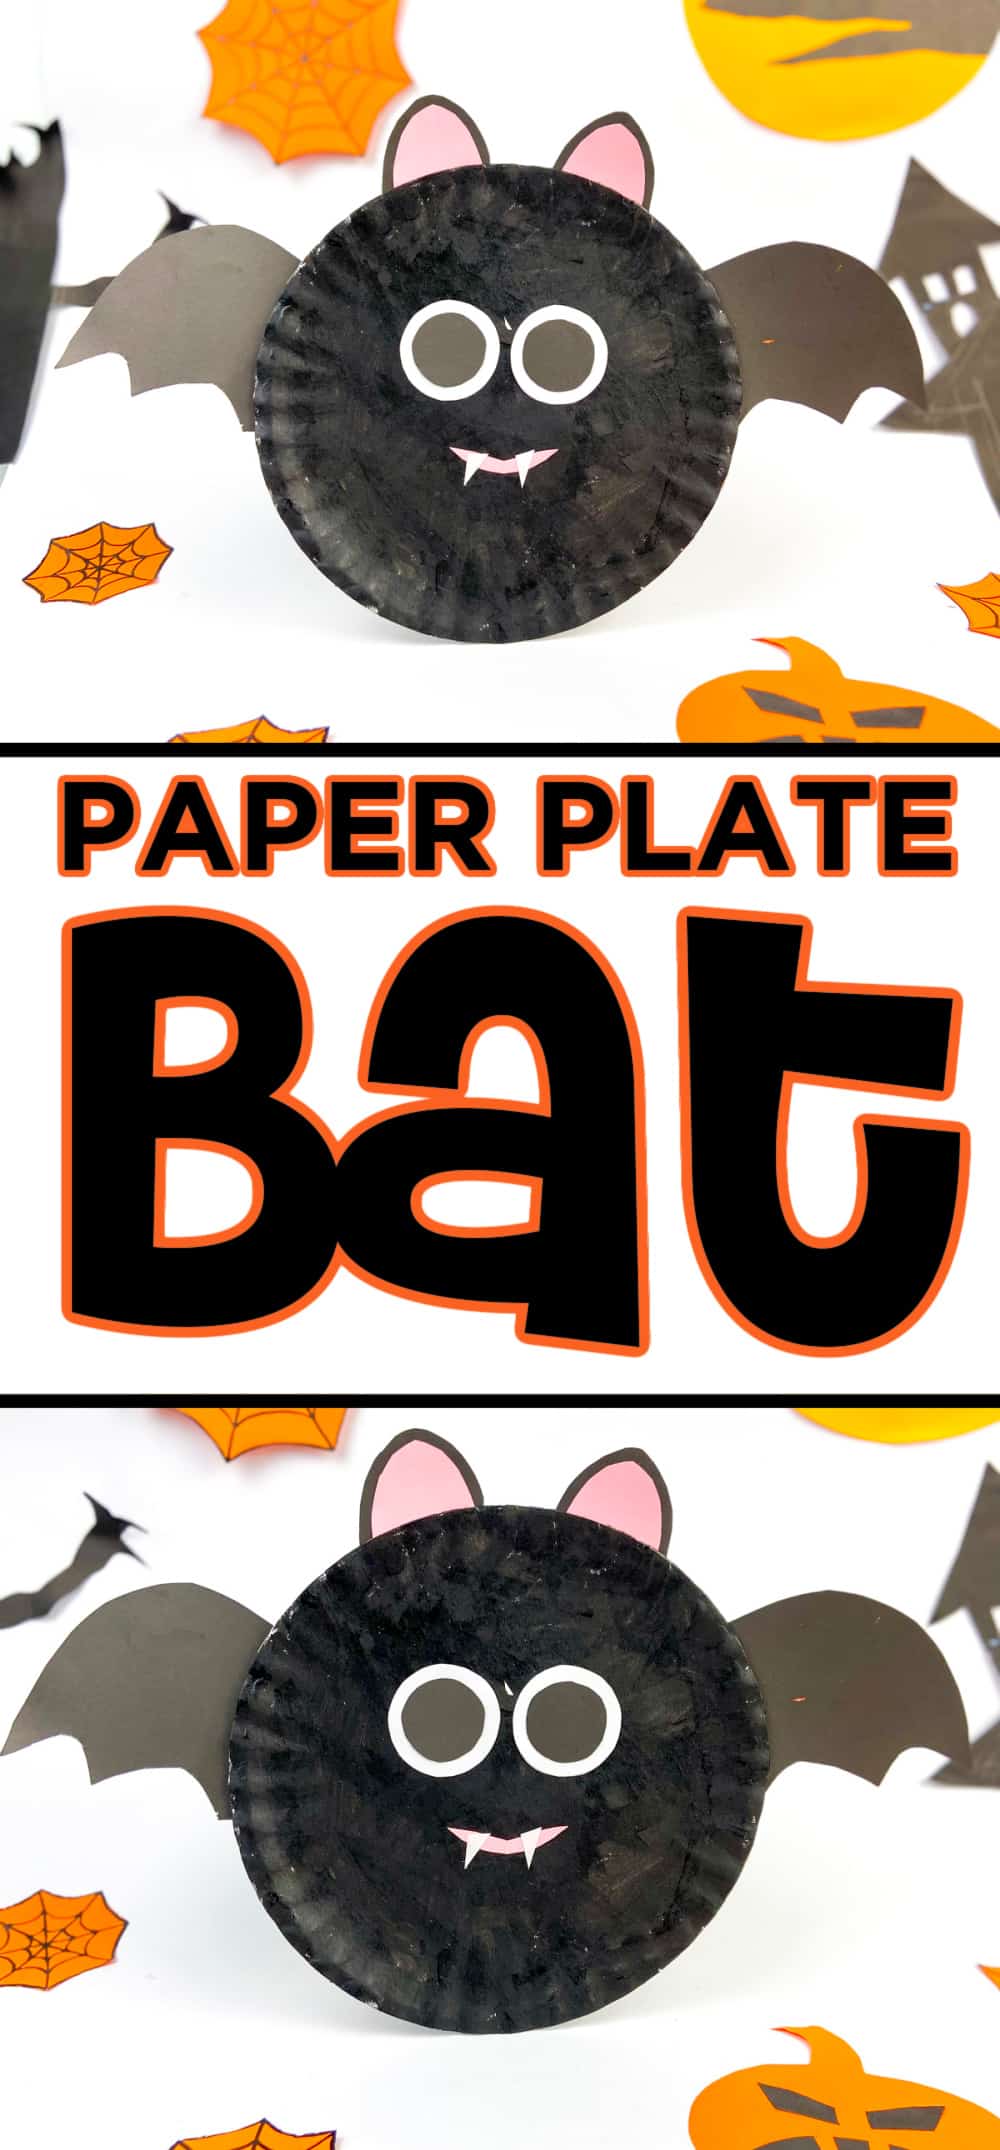
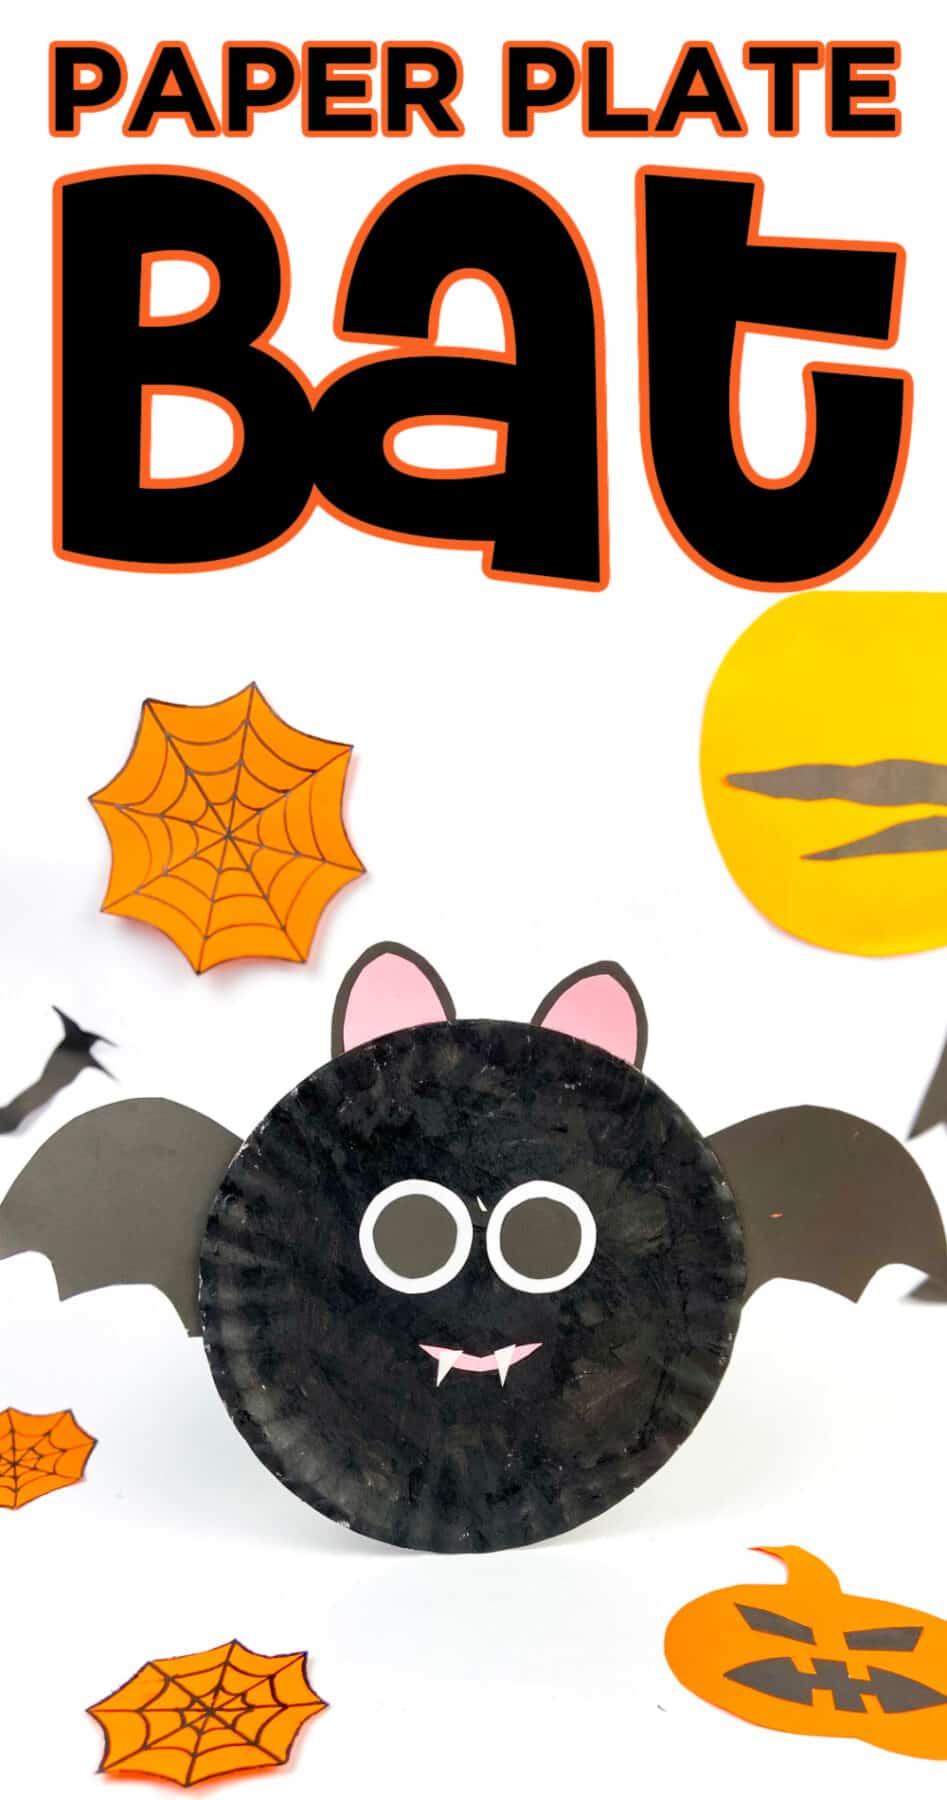
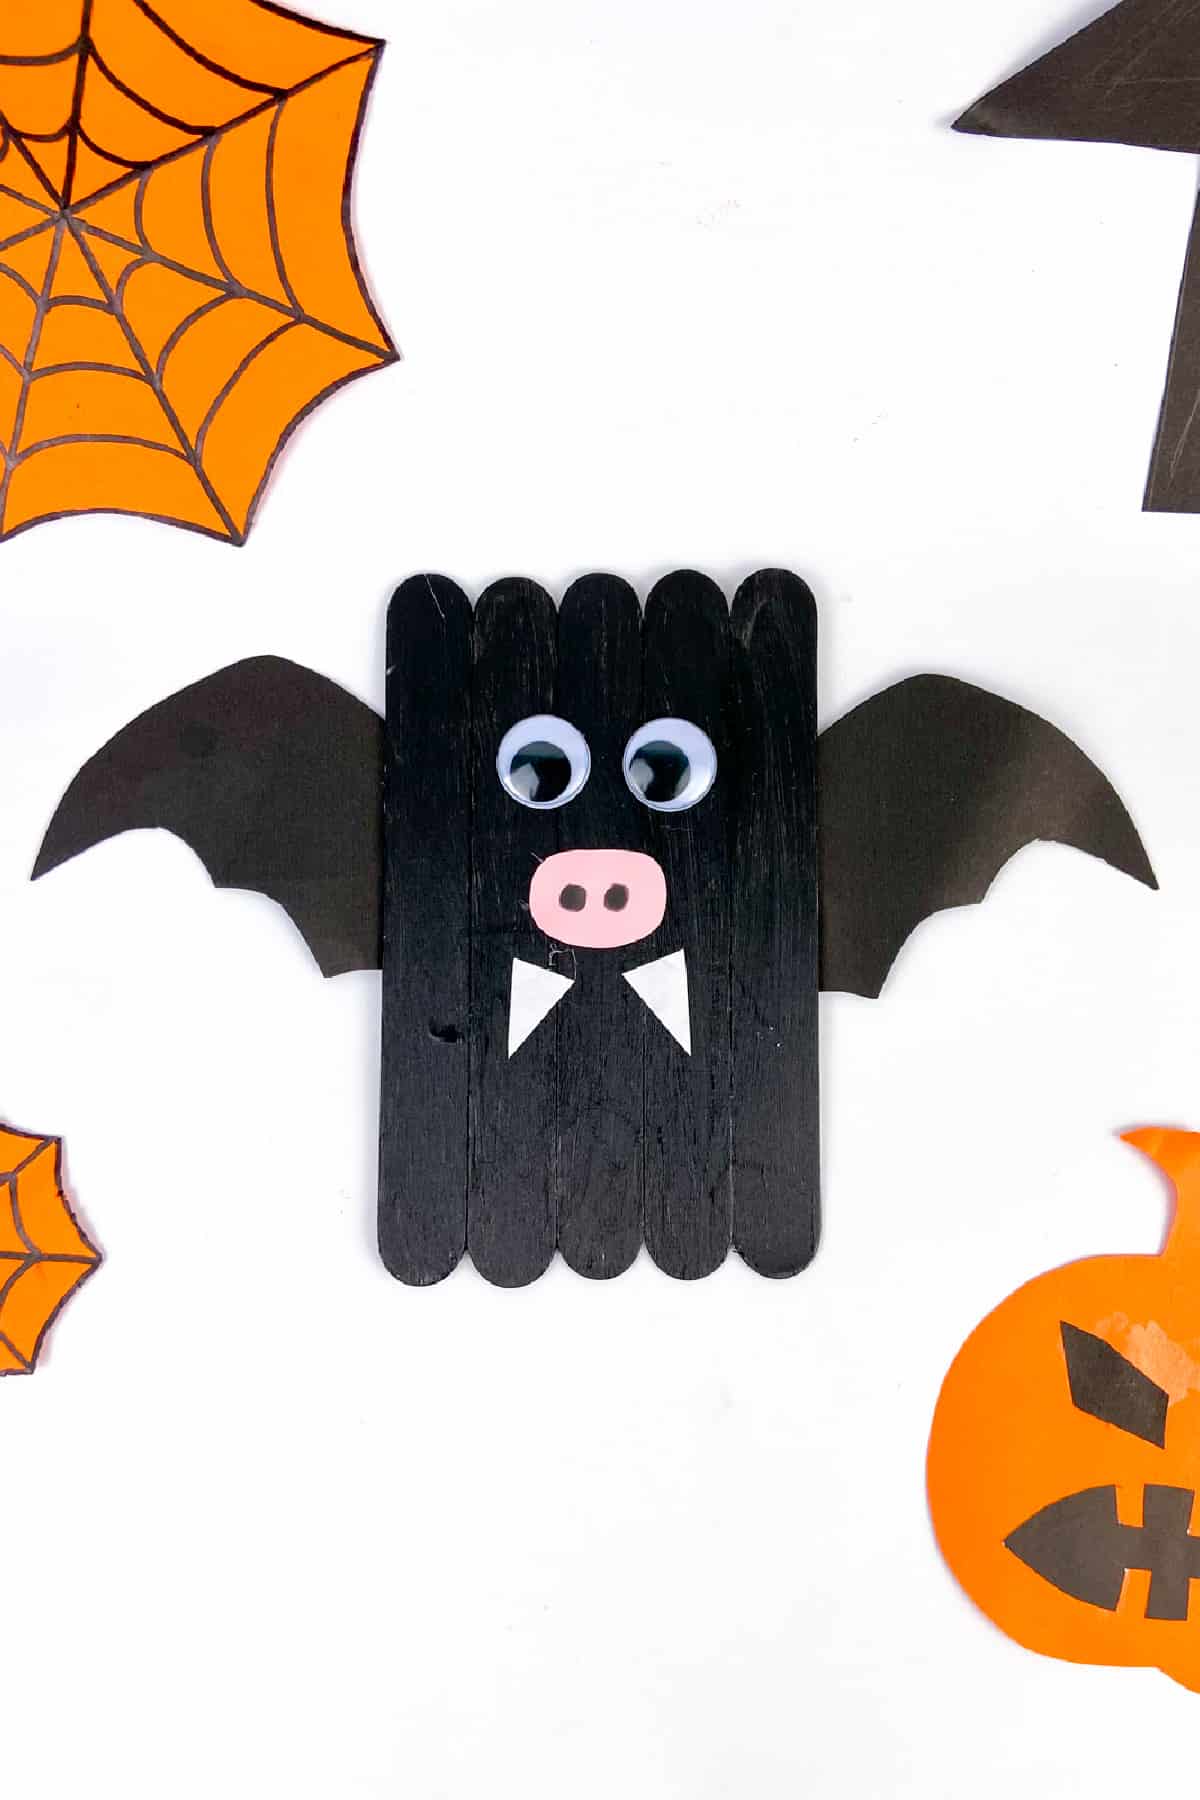
Get crafty this Halloween with our Easy Bat Paper Plate Craft - a fun and simple DIY project for kids that adds a spooky touch to your holiday decor!
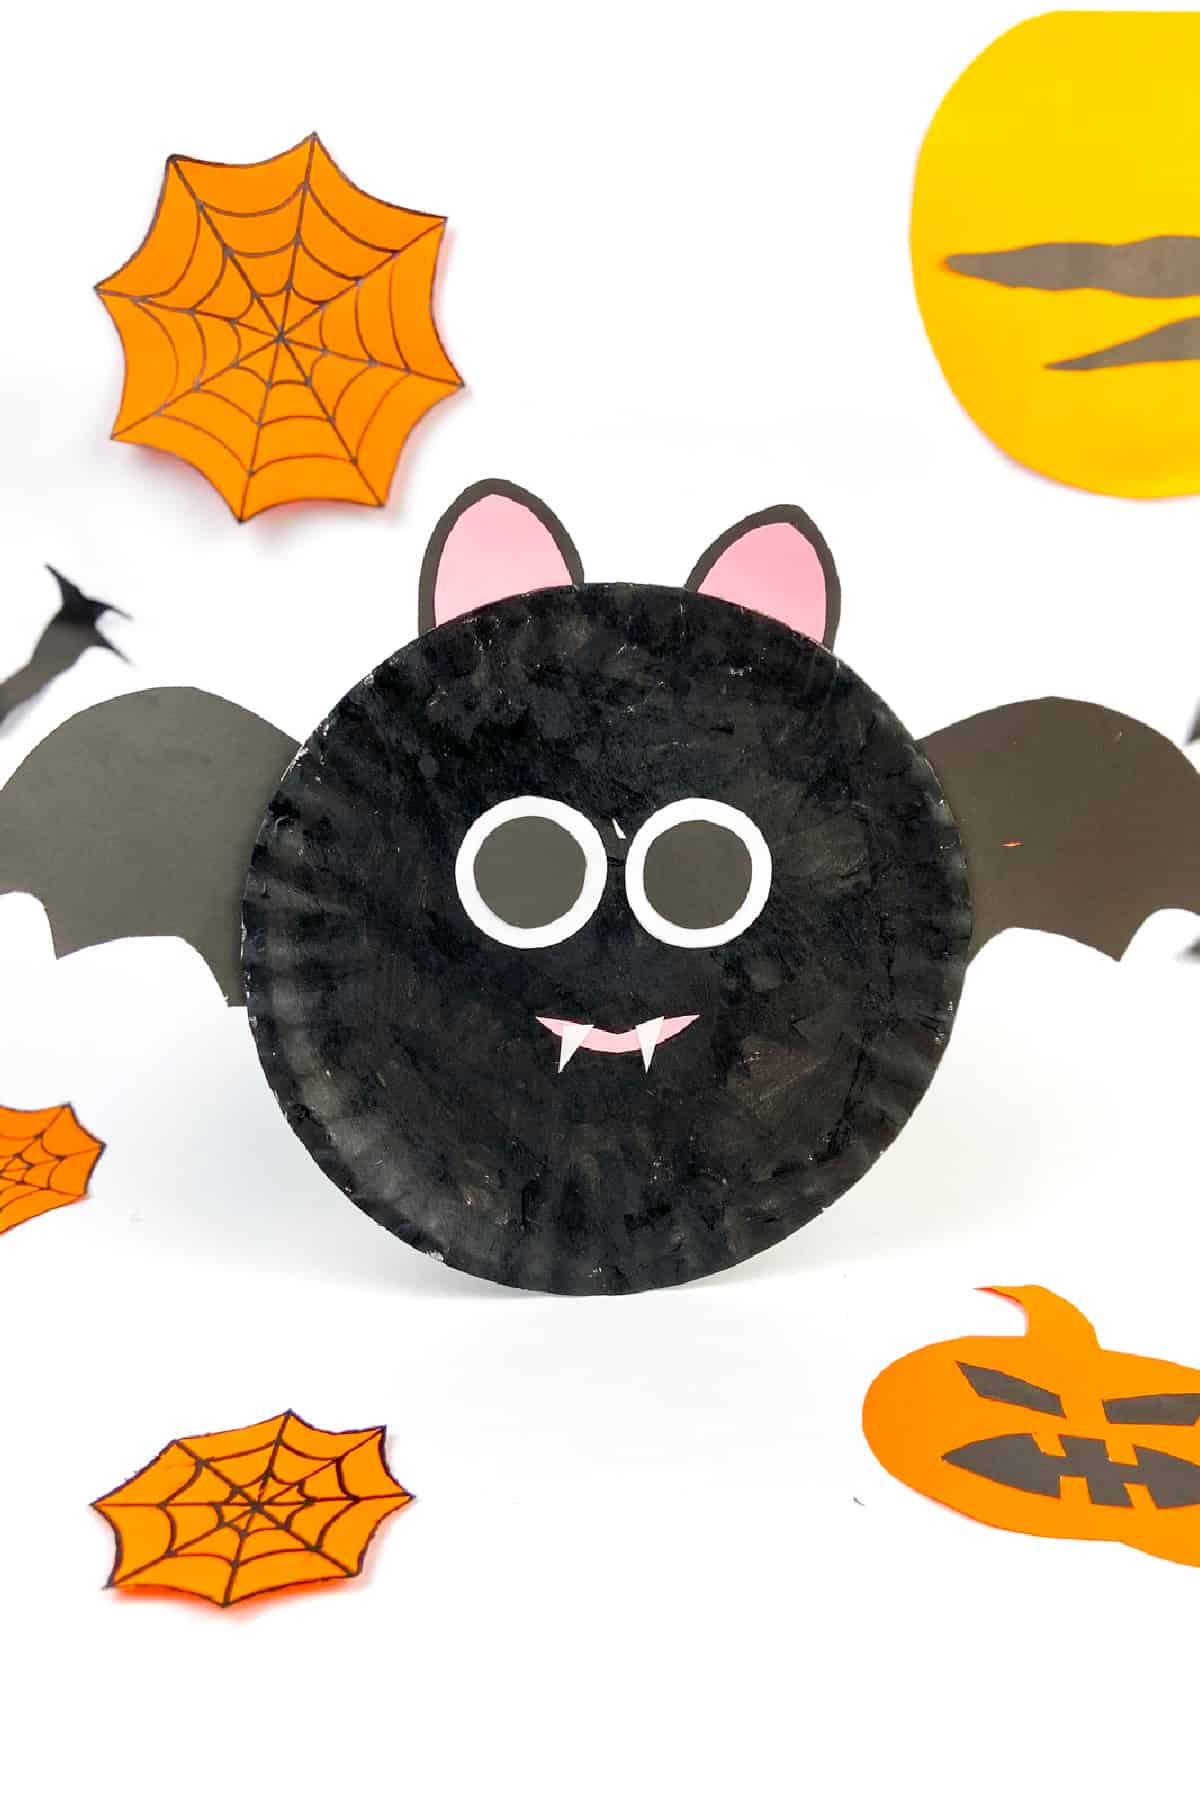
This bat paper plate is a simple craft that will make the Halloween Season (month of October and beyond) that much more cute!
Hey, wait! Don't throw out those paper plates in your pantry just yet! Pull them all out because we have some super fun Paper Plate Halloween Crafts including Haunted House Paper Plate Halloween Craft, Paper Plate Frankenstein, and Paper Plate Owl. From vampires to mummies, your Halloween decoration will surely drop some jaws this year!
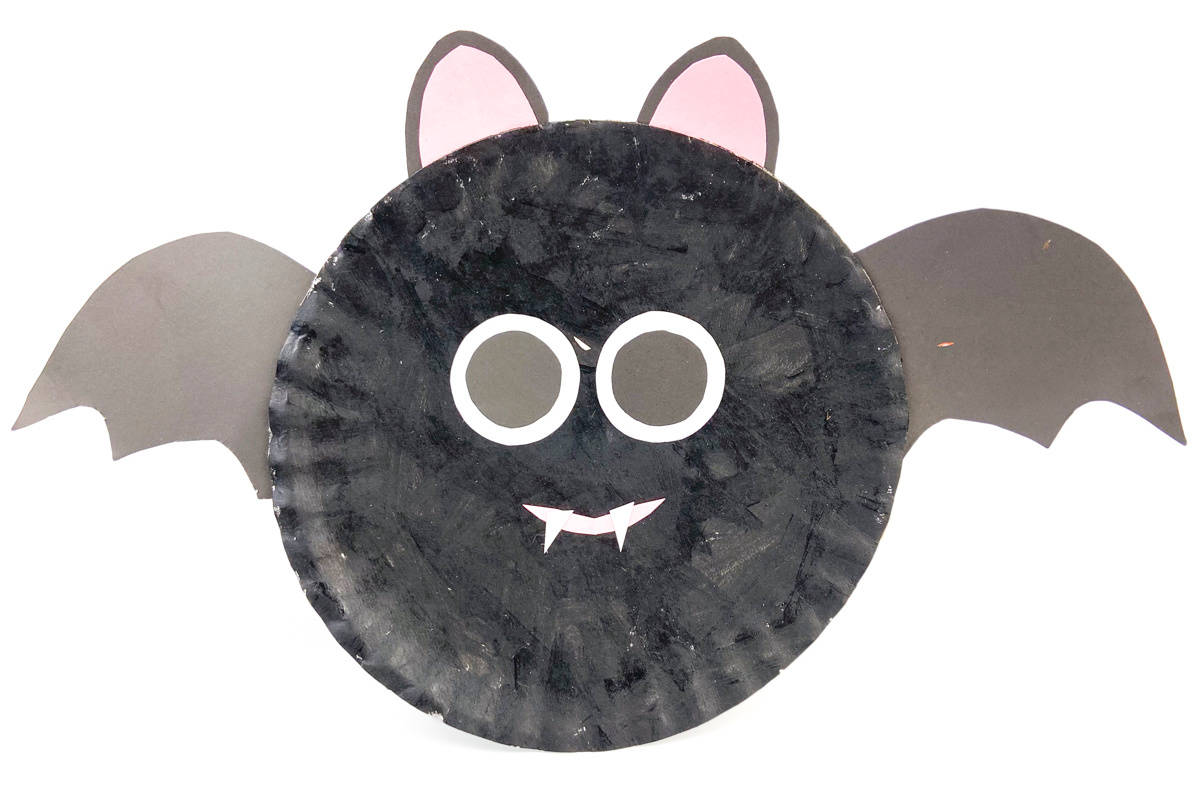
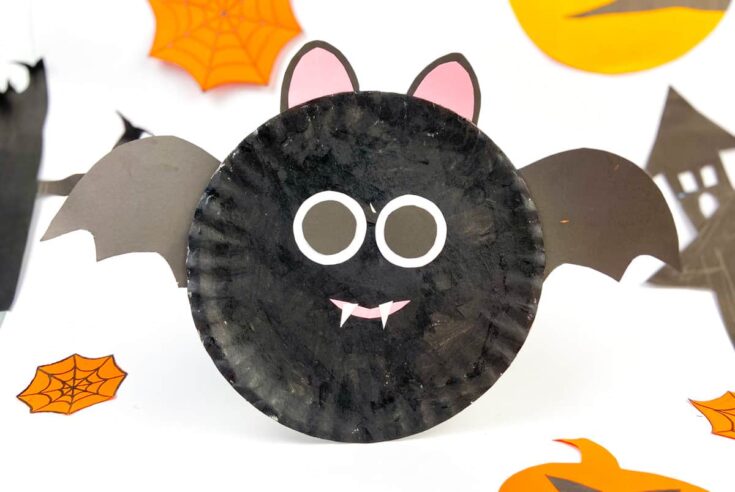
The craft we are doing today is about the night sky's furry superhero - the bat paper plate craft. You can make a spooky-looking bat to hang around the house with some black paint, black construction paper, and your trusty pair of scissors. It's going to be so much fun.
Want to save this project?
Enter your email below, and then we'll send it straight to your inbox. Plus get awesome new projects from us each week.
Customizing the Paper Plate Bats
What I like about paper plate crafts is that they are for kids of all ages. The young kids can polish their fine motor skills with this fun bat craft, and the older kiddos can work on their creative skills.
You can also tweak this easy bat craft to fit your child's age and interest.
Here are a few fun ideas to get you started:
- Make a cute bat craft for the younger kids using glitter, stickers, and googly eyes.
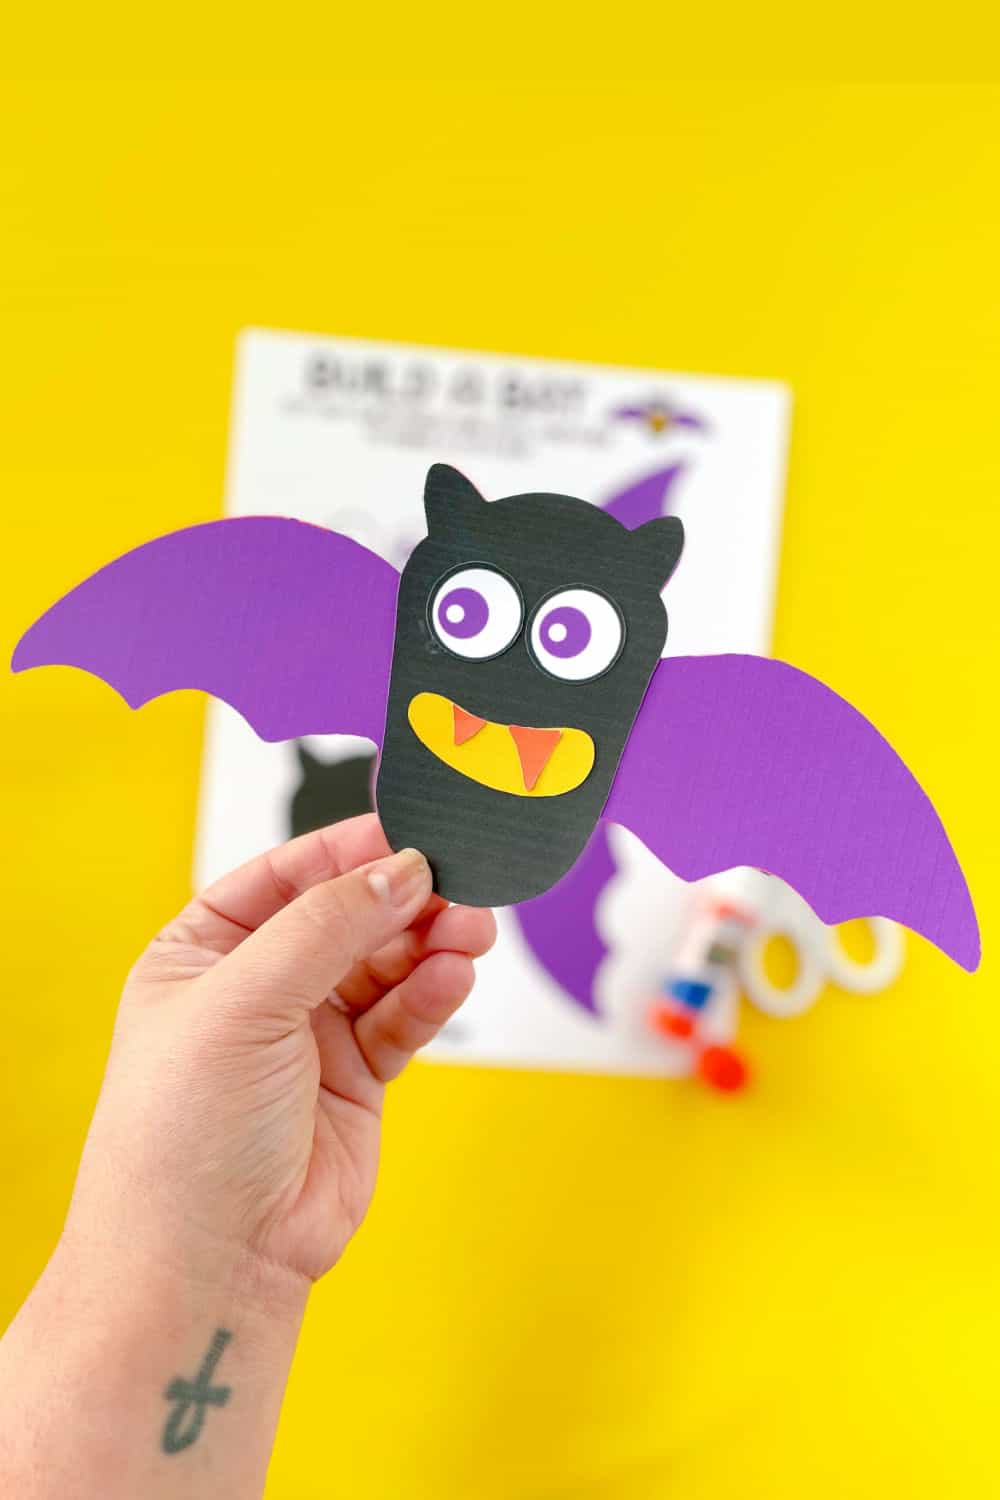
- Older children can add fangs, bat wings, and claws to make their bats look real.
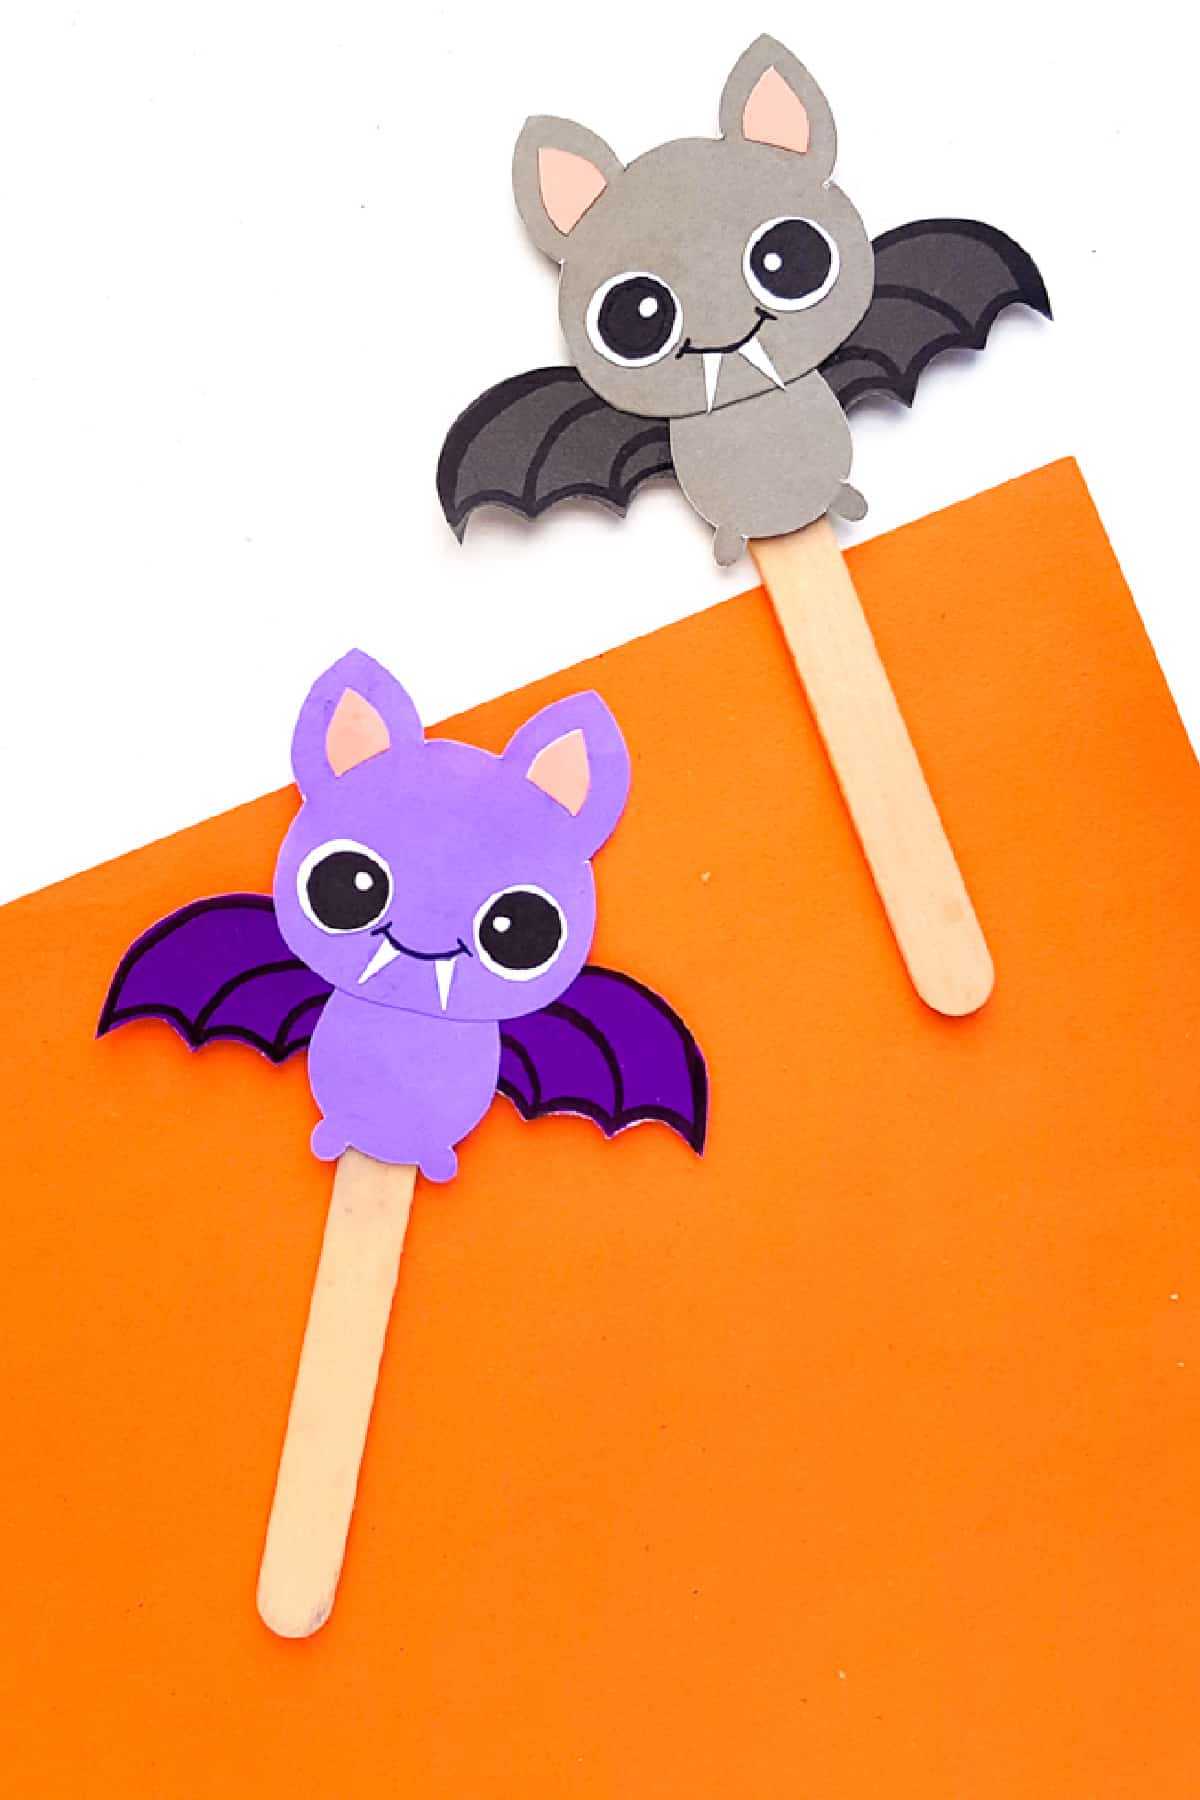
- Stick craft sticks at the back of the bat to make a stick puppet.
- Sprinkle confetti on bat wings to add some pizzazz.
- Write greetings on the paper bat to give out as Halloween cards.
- Create a scene by coloring a paper plate yellow and sticking a bat cutout on it.
- Ditch the circle and use triangles to make a bat shape.
- Cut eyes from black cardstock or felt for a goofy look.
- Stick light pink small circles as rosy cheeks.
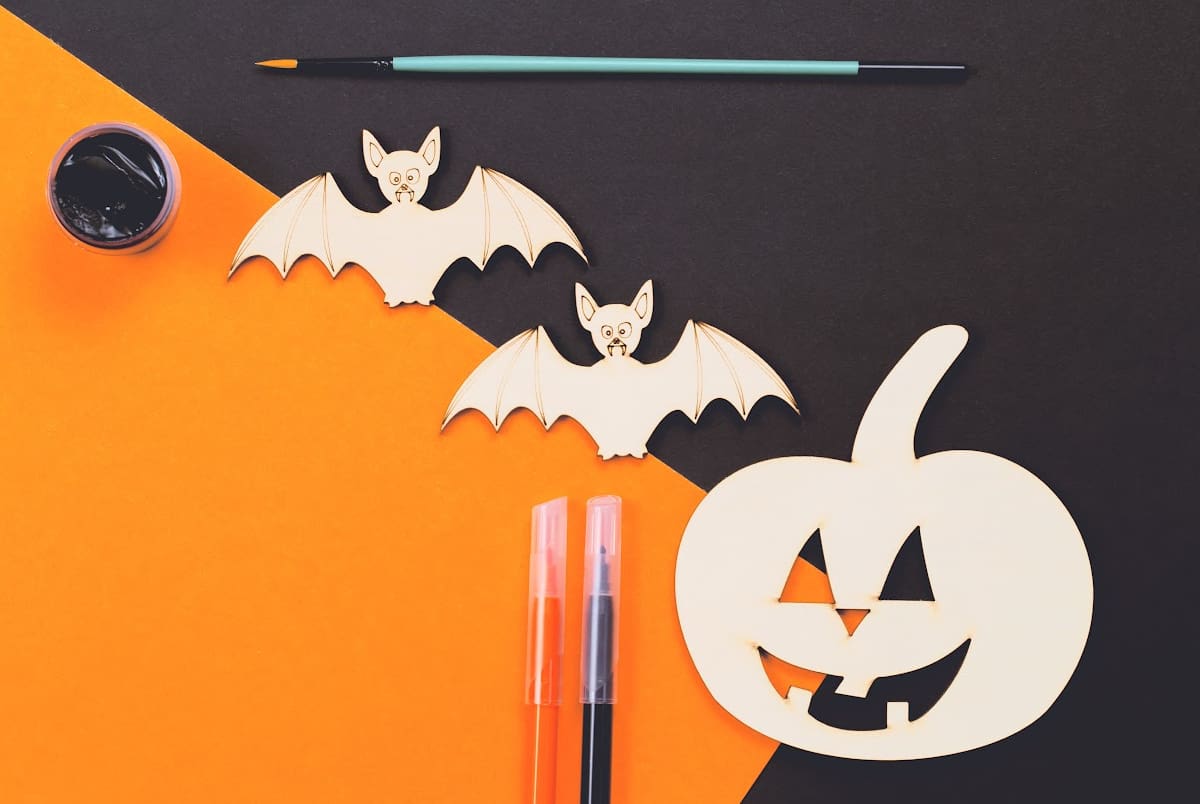
Check out these other Bat Crafts!
Tips to Make the Bat Craft Easier
You can simplify things for yourself and your kids, so all that's left behind is fun.
Don't have a particular craft supply? No worries; use an alternate method.
Here are a few tips to make things work:
- Use a bat template to sketch the bat shape.
- Use different-sized toilet paper rolls to draw perfect circles.
- If you don't have a black paper plate, use black acrylic paint to color your white plate black.
- If you have white paper plates, black paper plates, small paper plates, or large paper plates - they'll all work!
Have some paper plate fun with some of our other Halloween Paper Plate Crafts including Paper Plate Mummy, Paper Plate Haunted House, Paper Plate Frankenstein, and Paper Plate Monster.
Don't miss our full list of Paper Plate Crafts!
Making the Craft Educational
Crafting is a fun way to teach kids important concepts. This fun craft project can help you teach them about shapes, Halloween, and colors.
You can also add a Halloween story to the activity. Tell your child about the history of bats or why they are associated with Halloween. This is a great way to get them interested in the craft before you even start making it.
You can also use the following fun facts about bats to keep the kids interested:
- Bats are the only mammals that can fly.
- Bats become food for snakes, owls, and hawks.
- A bat can eat thousands of insects each night.
- A bat can fly at the speed of 100 miles/hour.
- Most bats live up to 20 years (or less).
Bat Paper Plate Craft Supplies
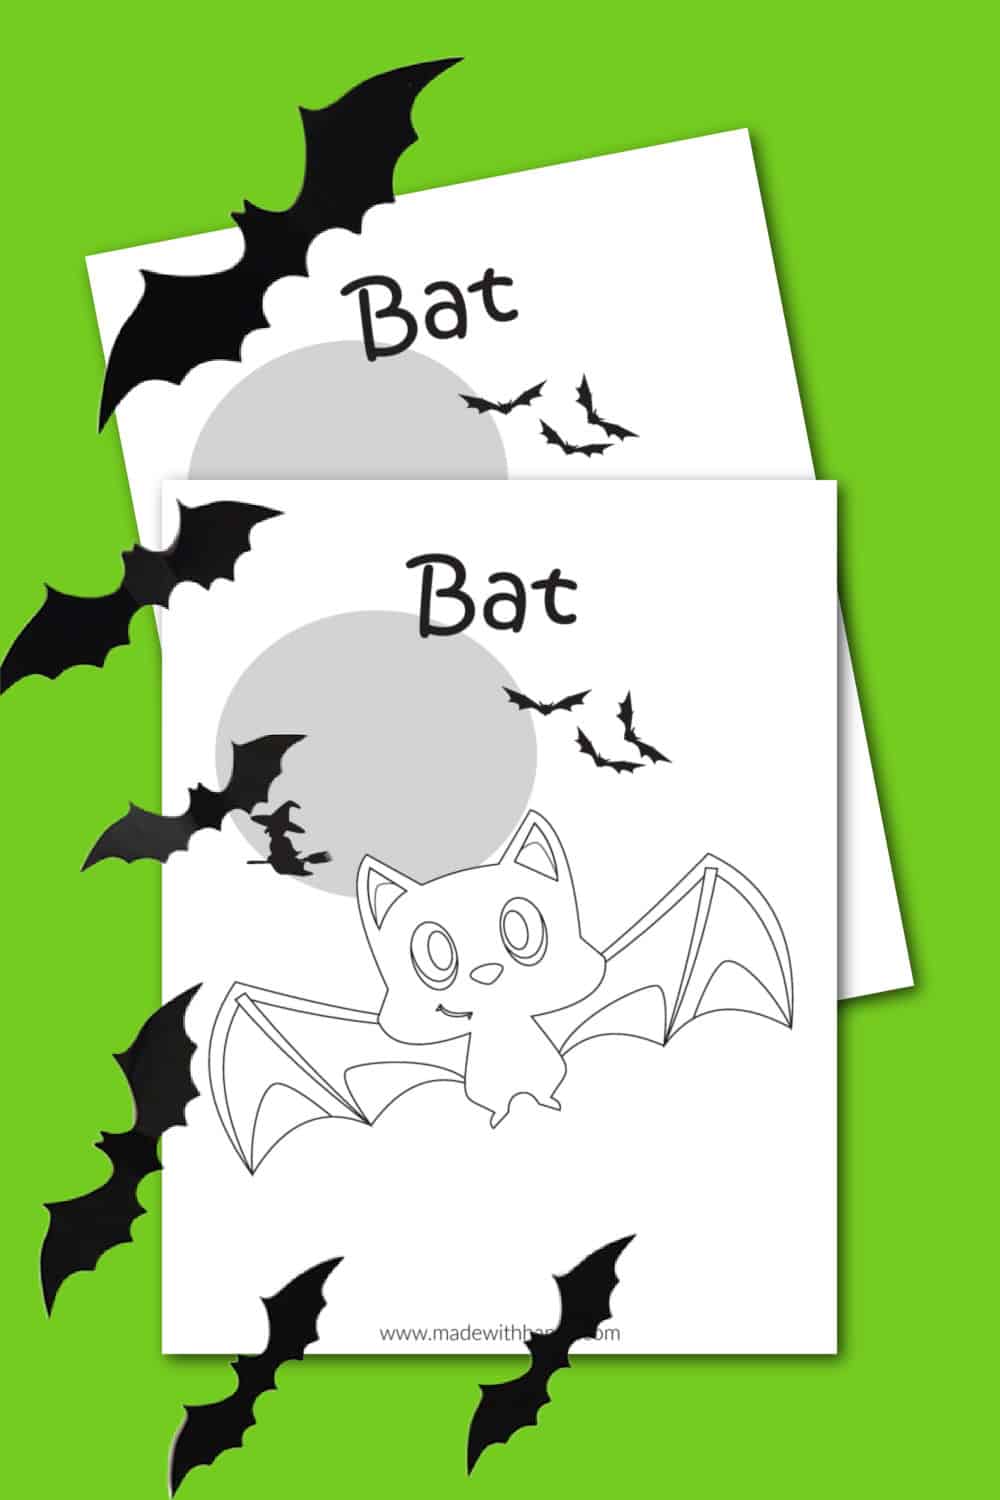
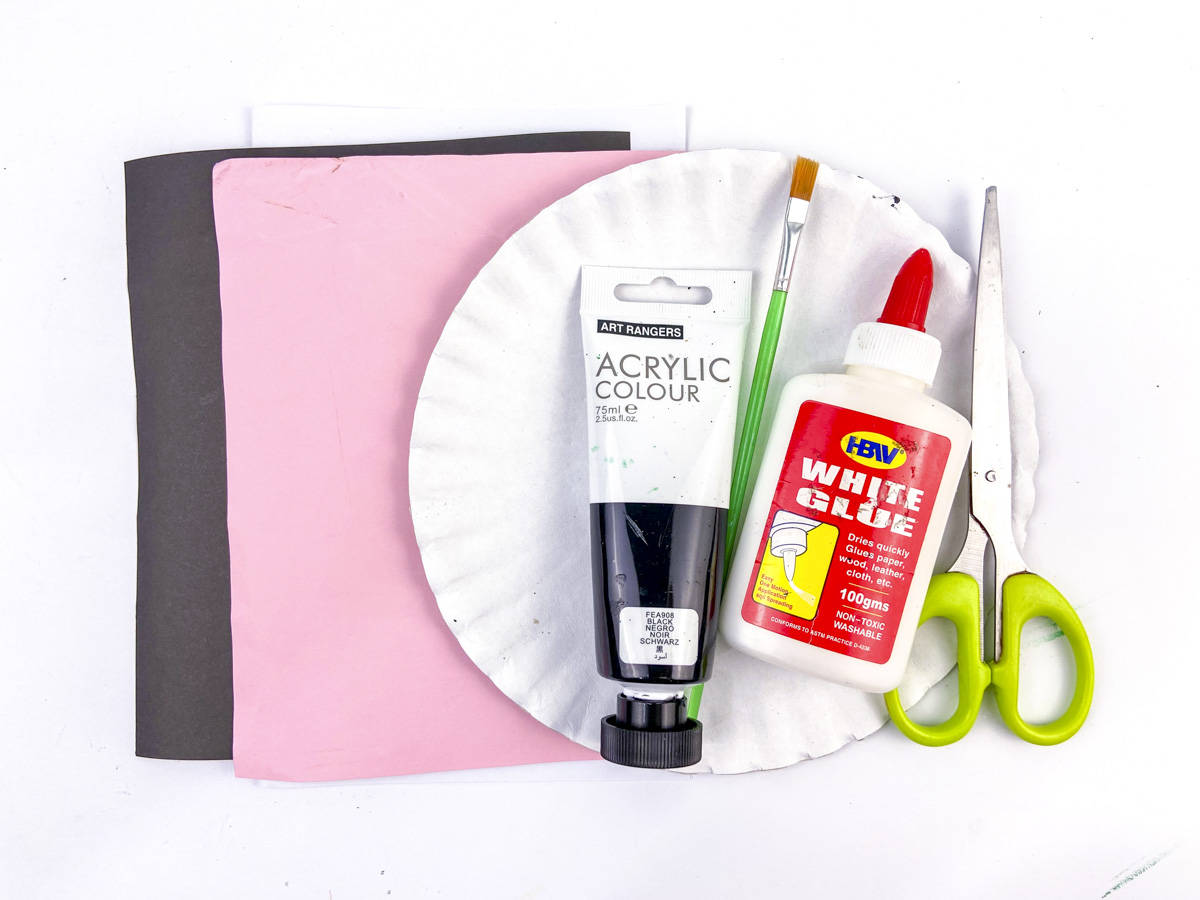
- Paper Plate Bat Template (Download at bottom of post)
- Paper plate
- Black paint
- Paintbrush
- Construction paper
- Glue
- Scissor
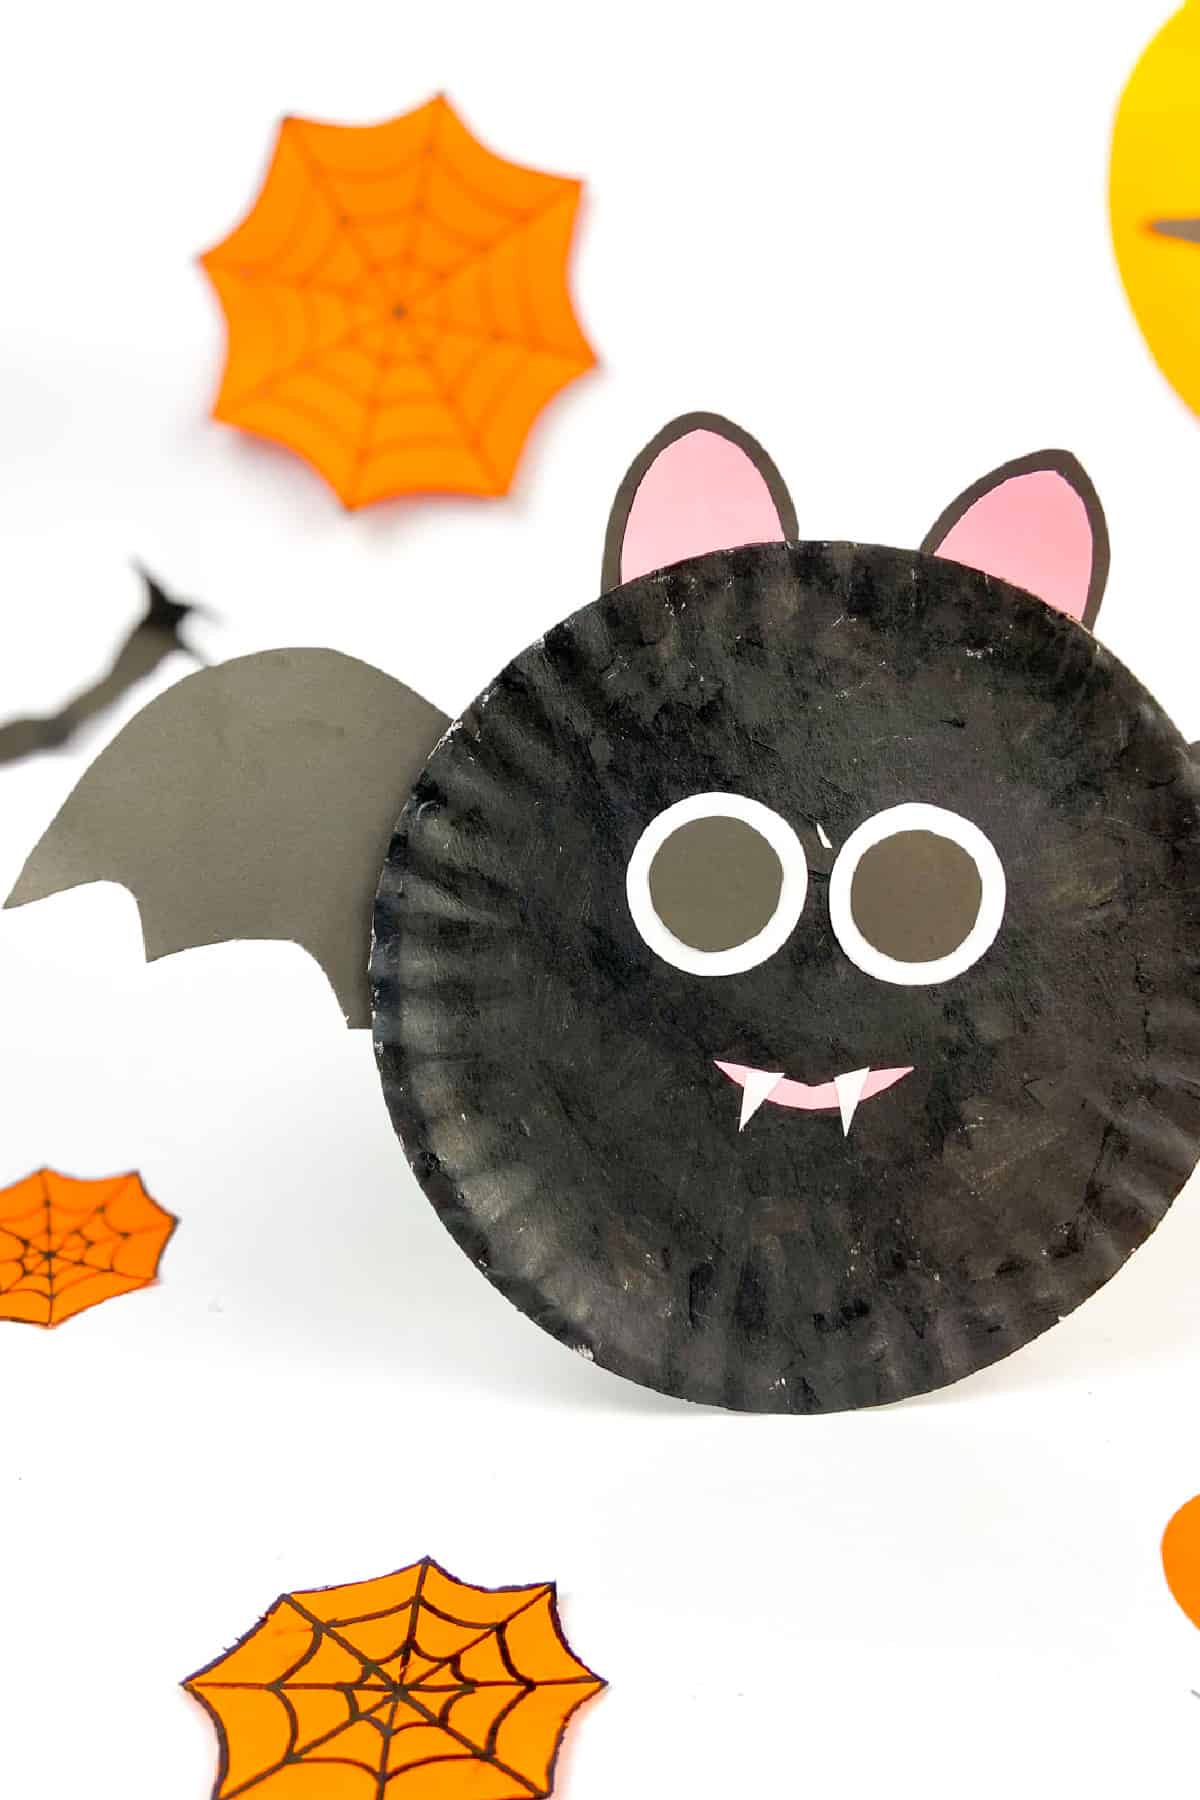
How To Make Paper Plate Vampire Bat
Bat's Body
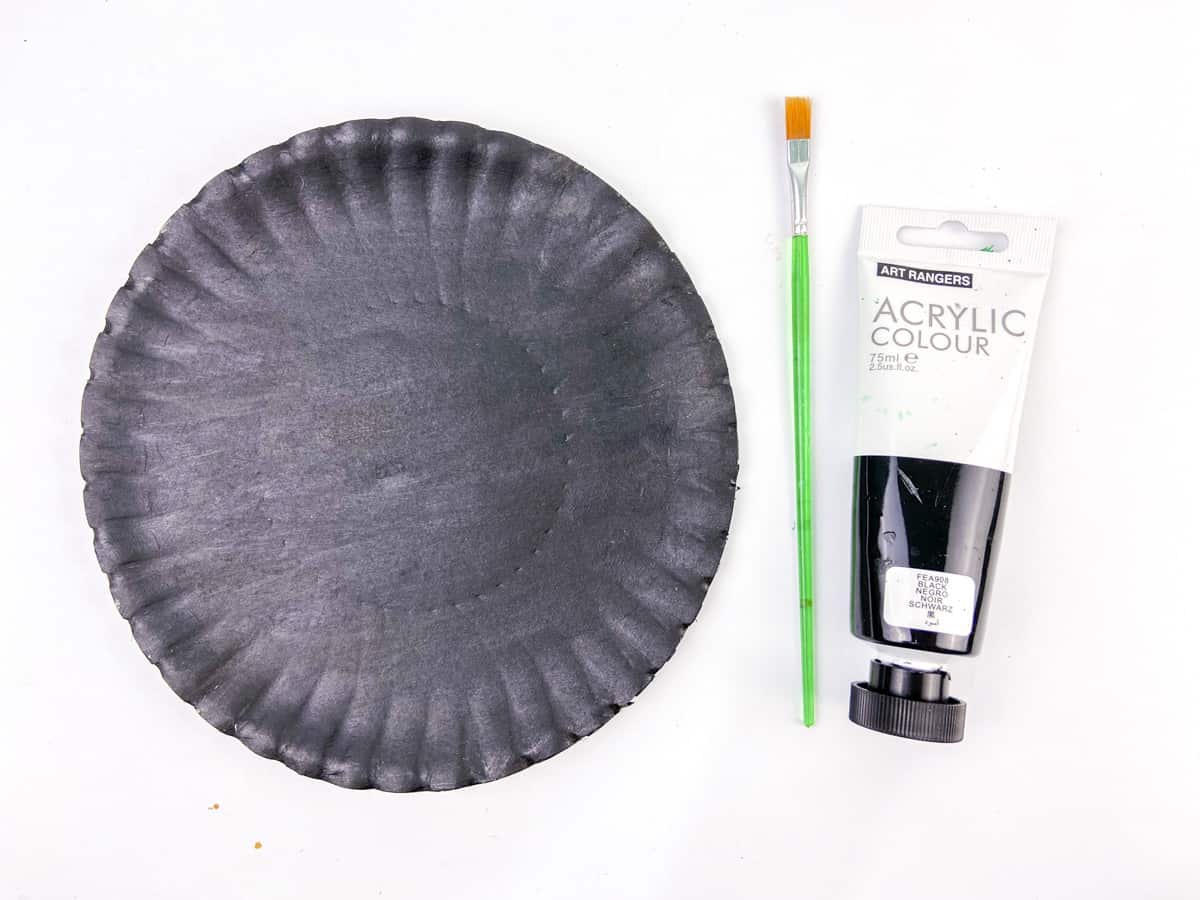
The paper plate will be the bat body, and let's start by painting it black. If you have a black paper plate, you can skip this step and move on to the next.
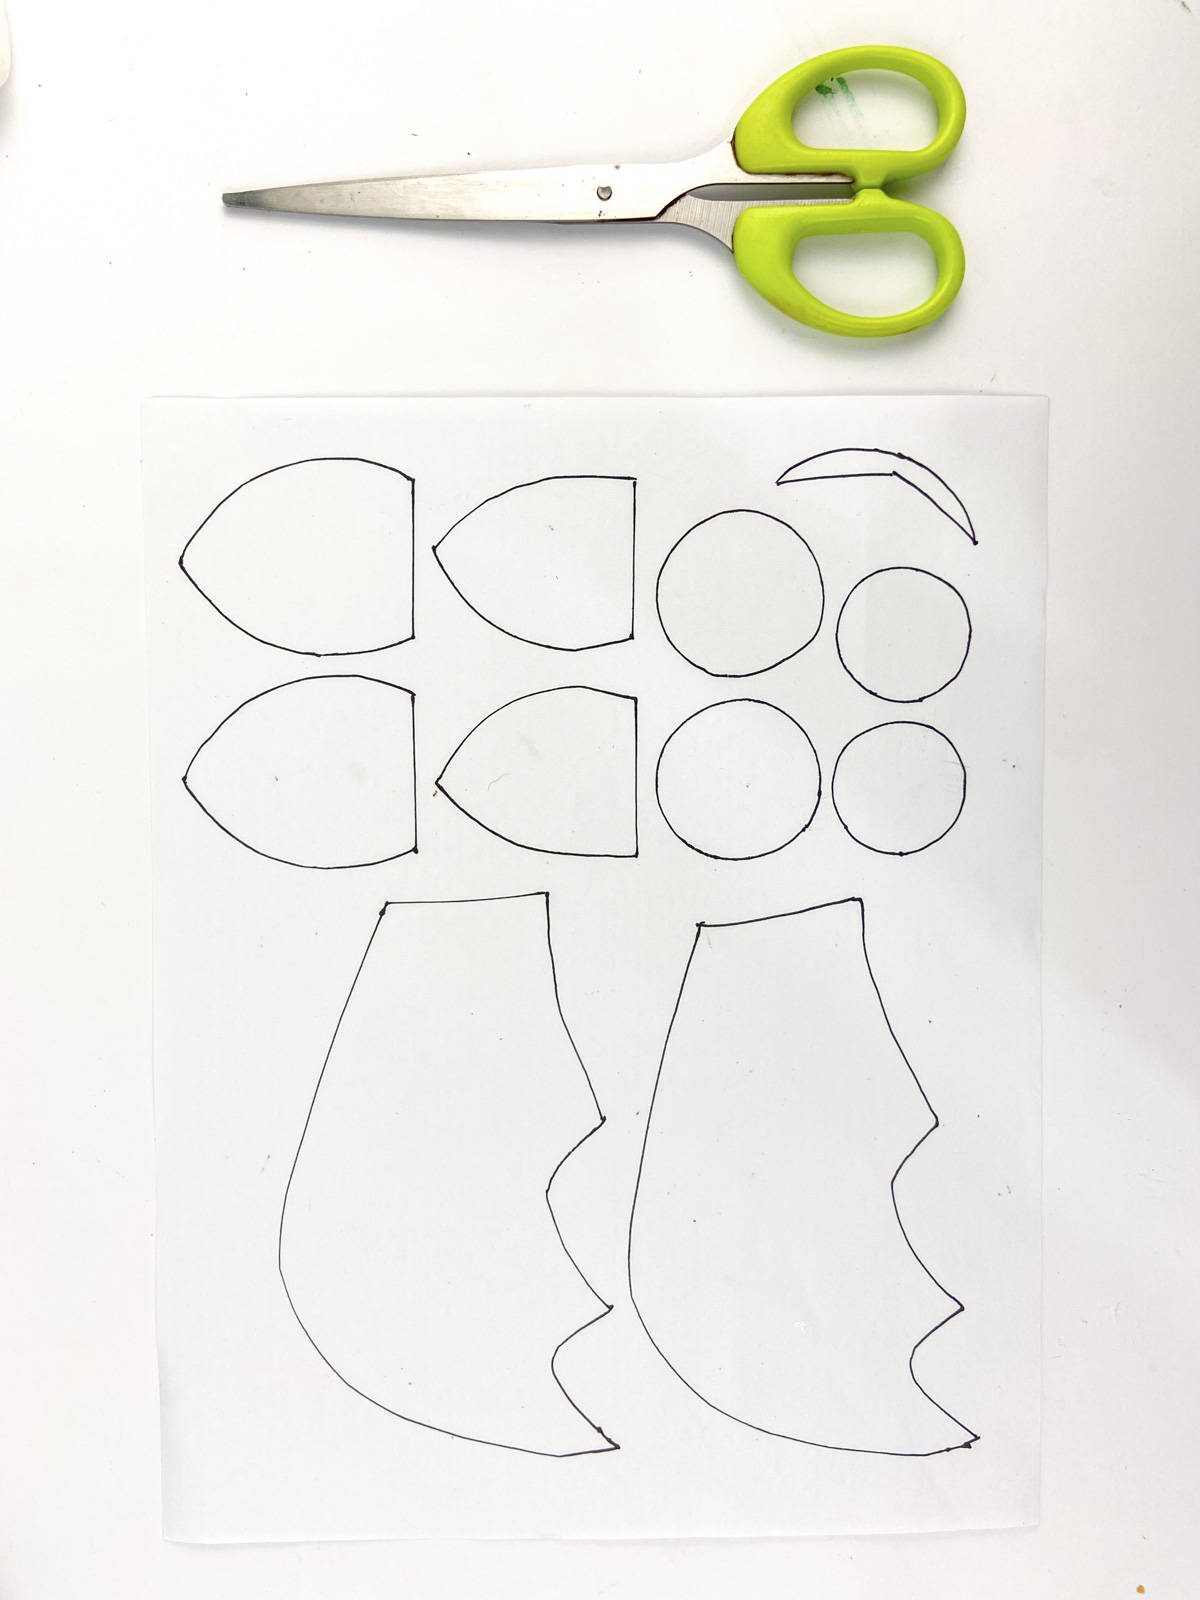
Print out the free printable templates at the bottom of the page.
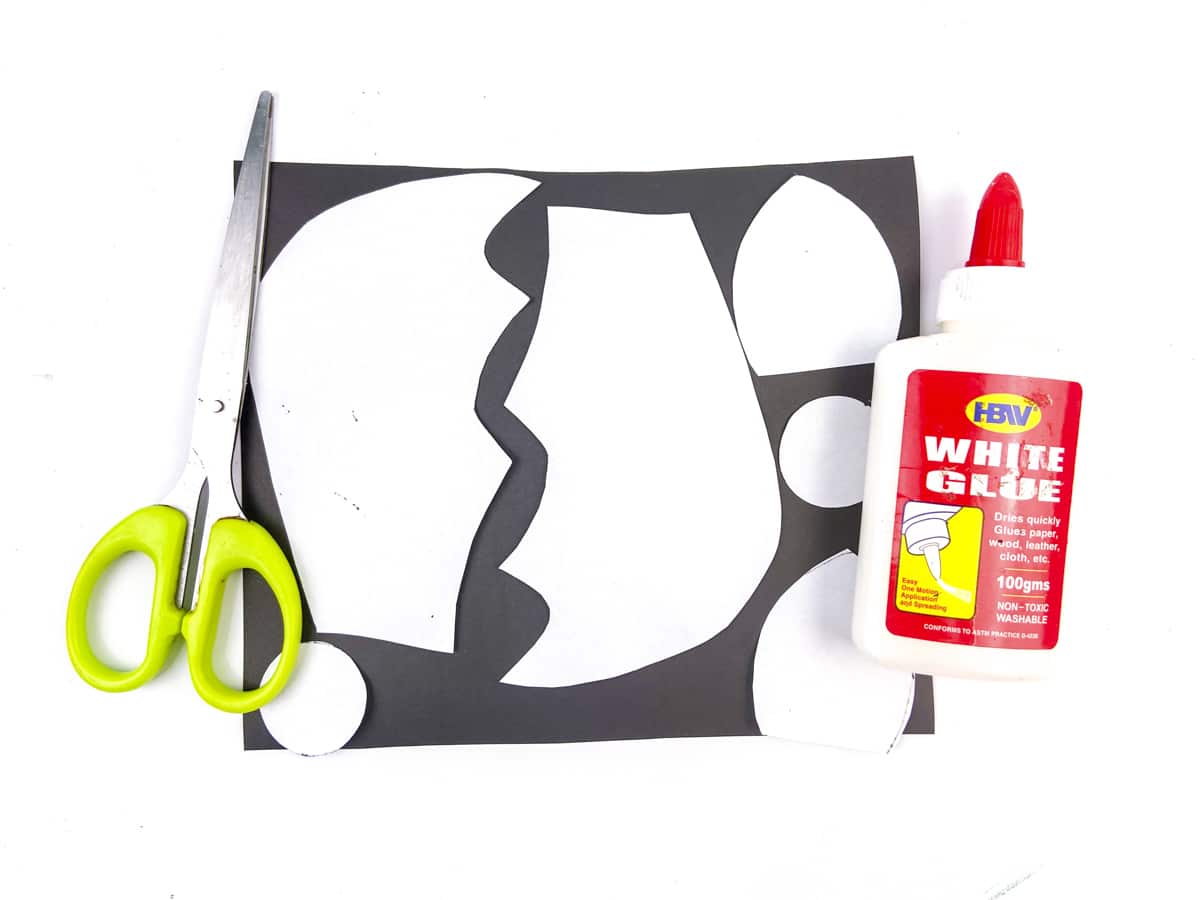
Cut out each of the template pieces and then place them on black paper and then trace.
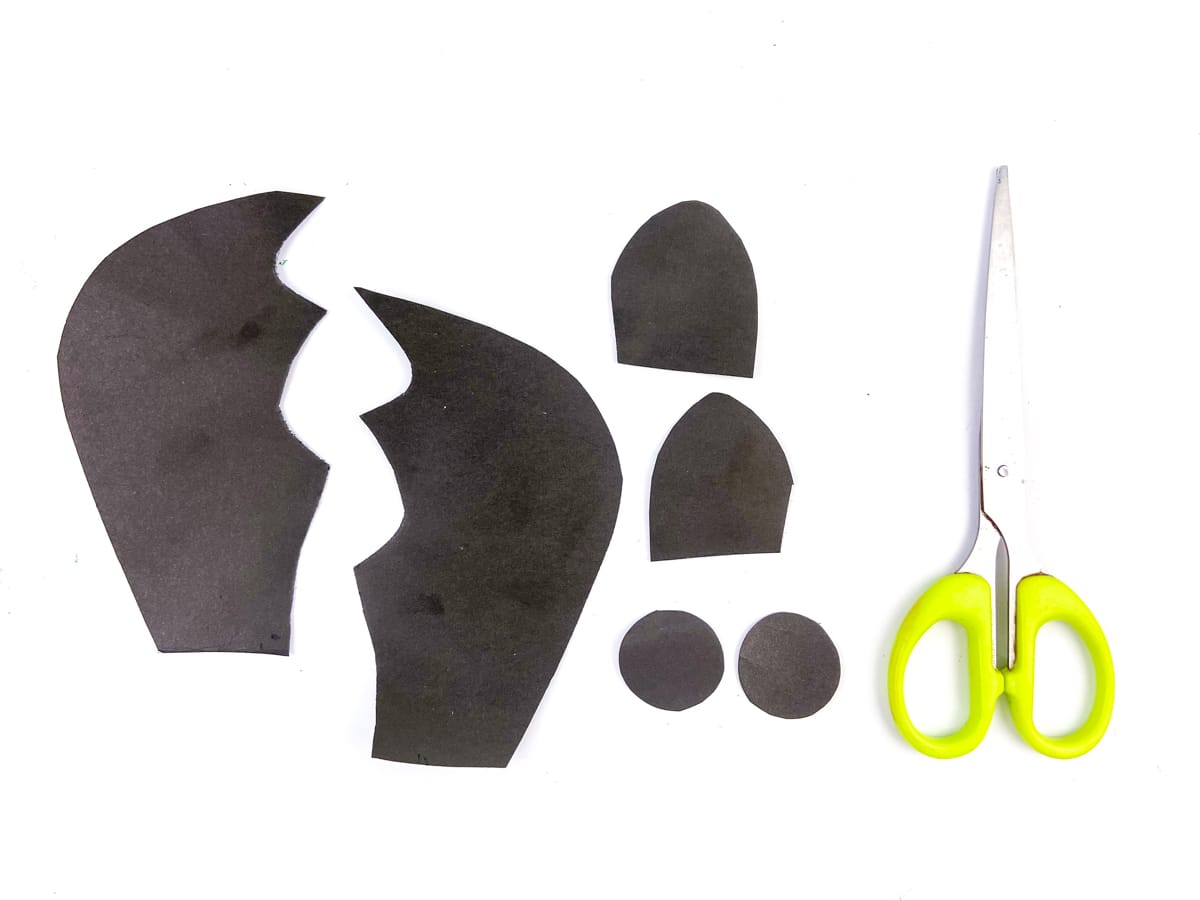
Cut out the two wings, two larger ear shapes, and two small circles of the template from the black paper.
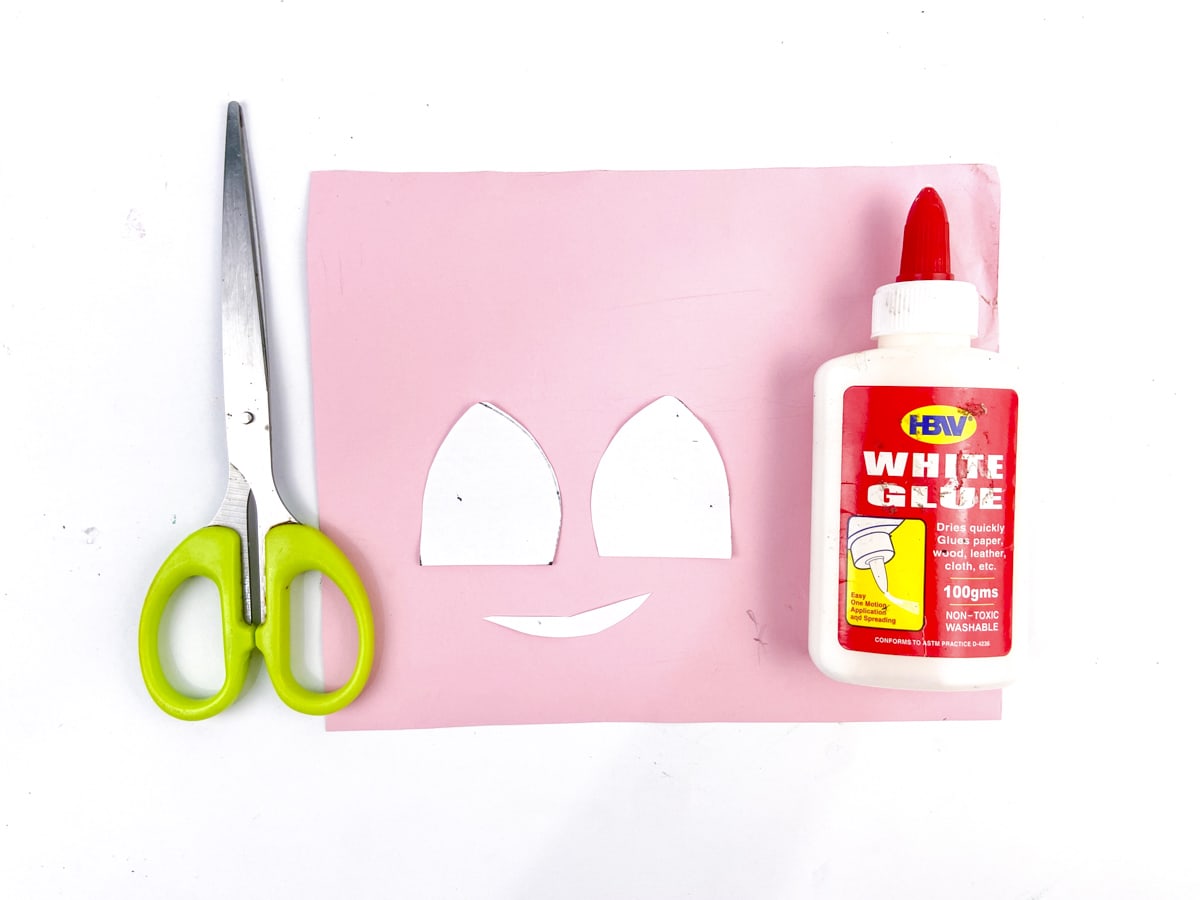
Next, trace the two smaller ear template pieces and the smile out of the pink paper.
Bat's Face
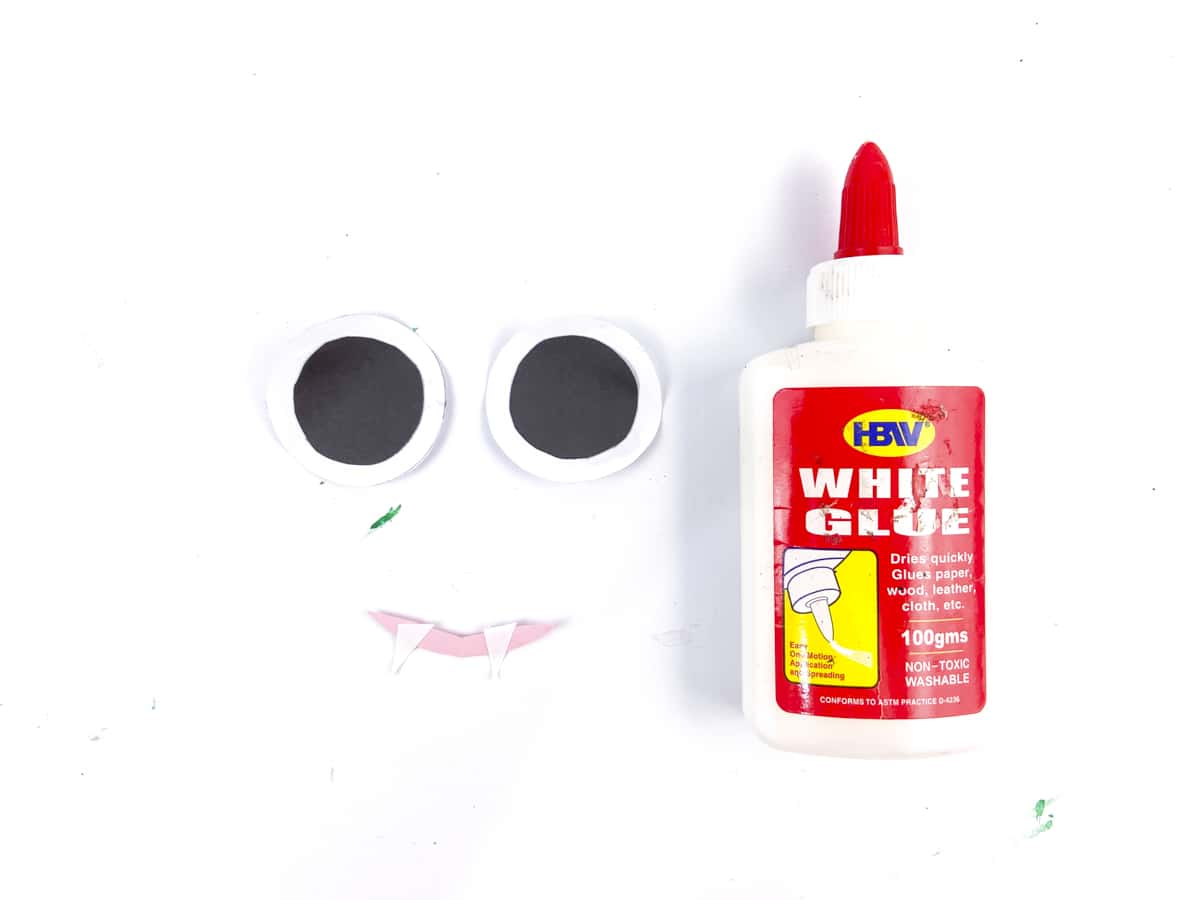
Next, glue the smaller black circle inside the larger white circles. Glue the two teeth (small triangles out of white paper) to the mouth with the fangs pointing down.
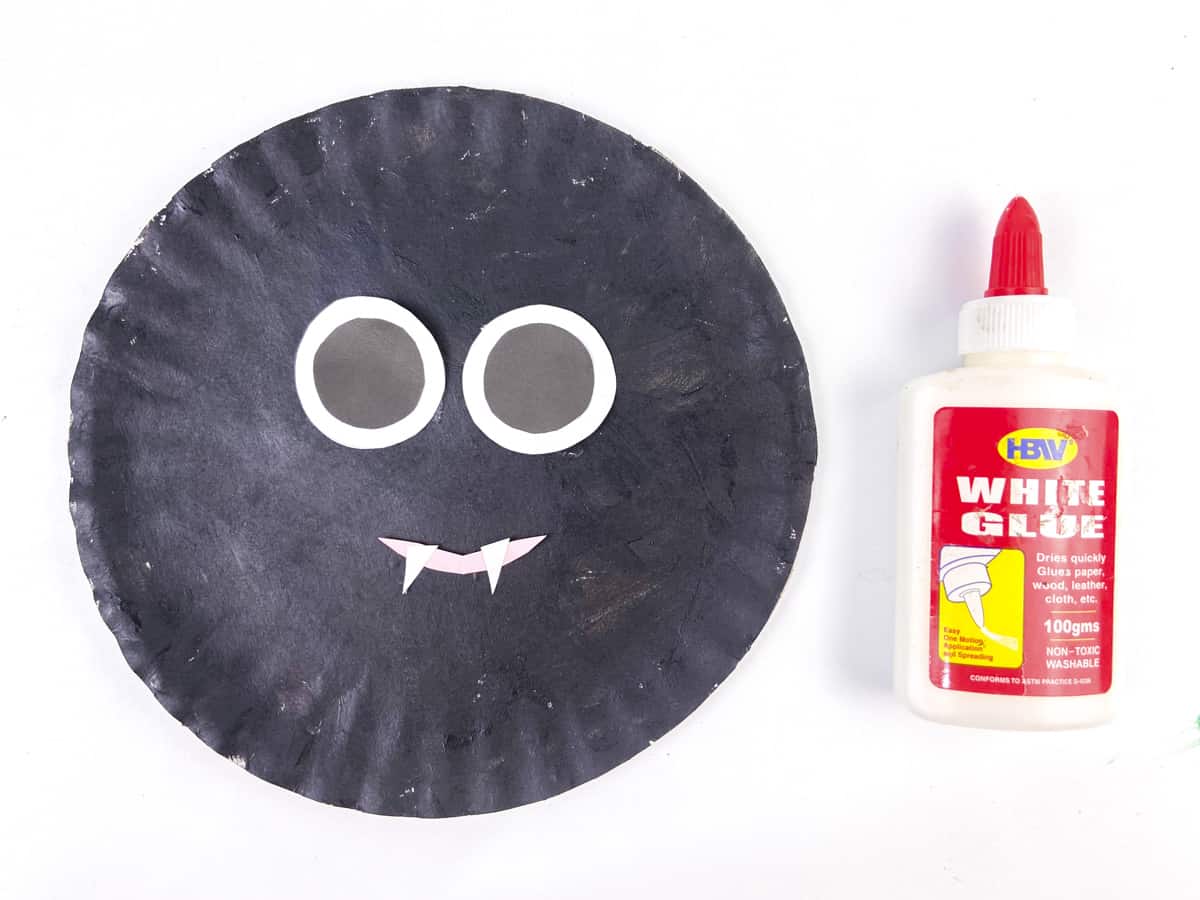
Next, glue the eyes and the mouth to the middle of the black paper plate.
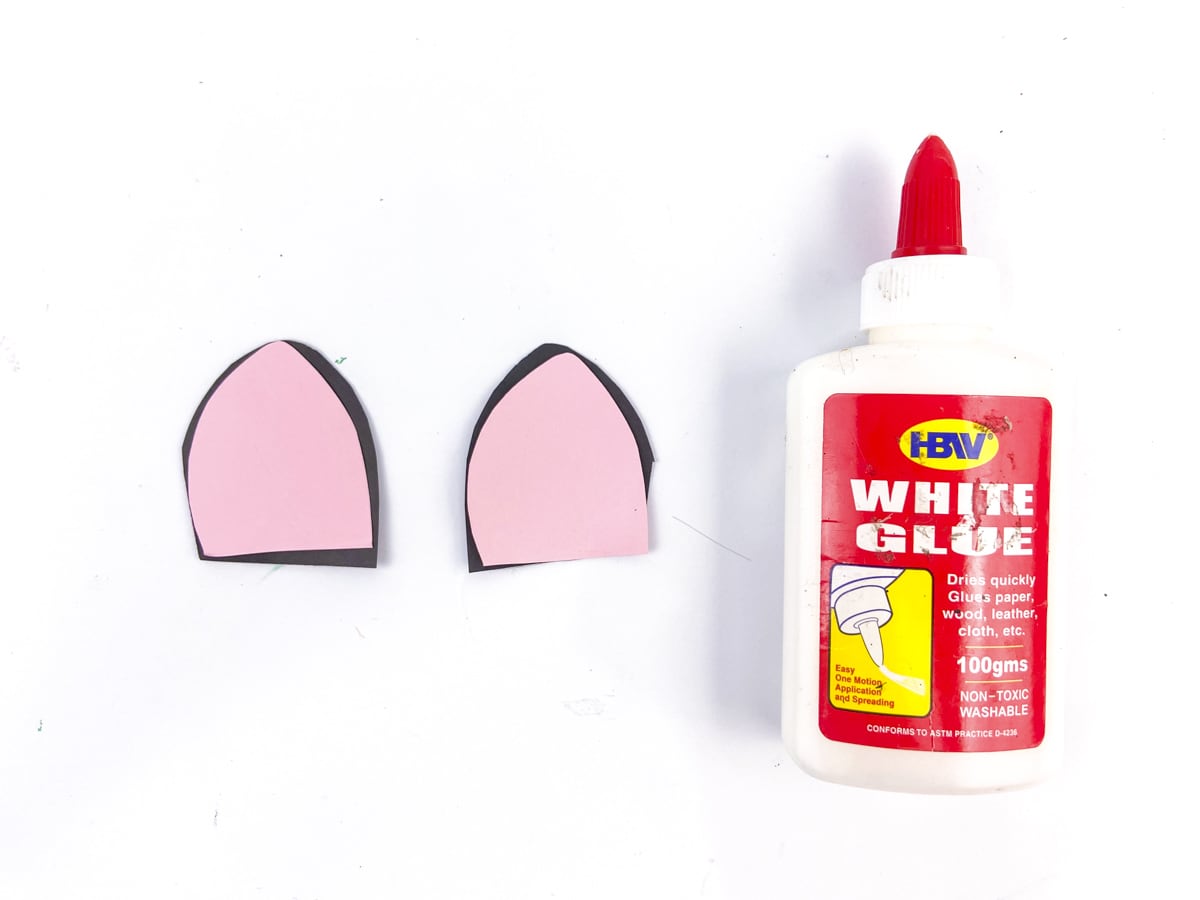
Glue the pink inside of the ears to the larger black ear shape.
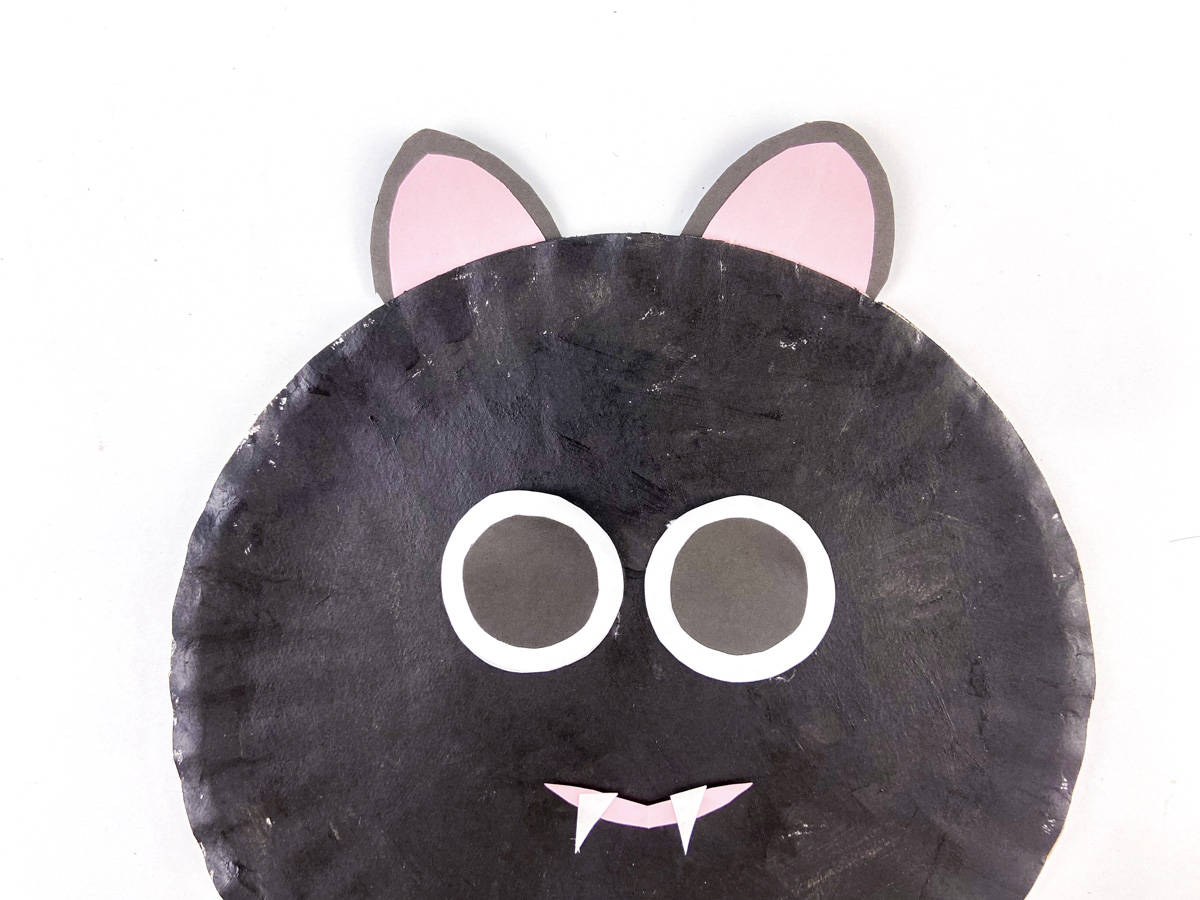
Glue the bat ear to the back and top of the paper plate.
Bat's Wings
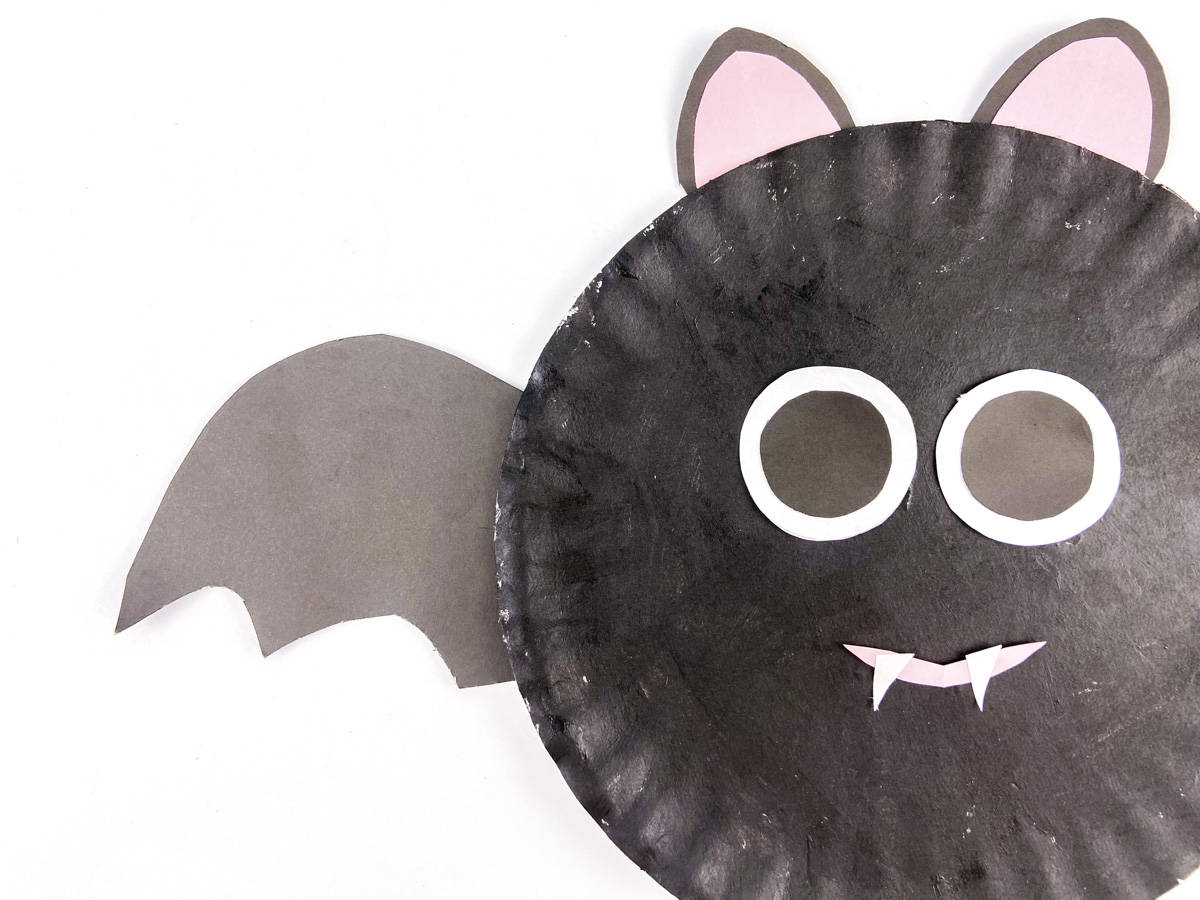
The last piece is to glue the wing shapes to each side of the paper plate.
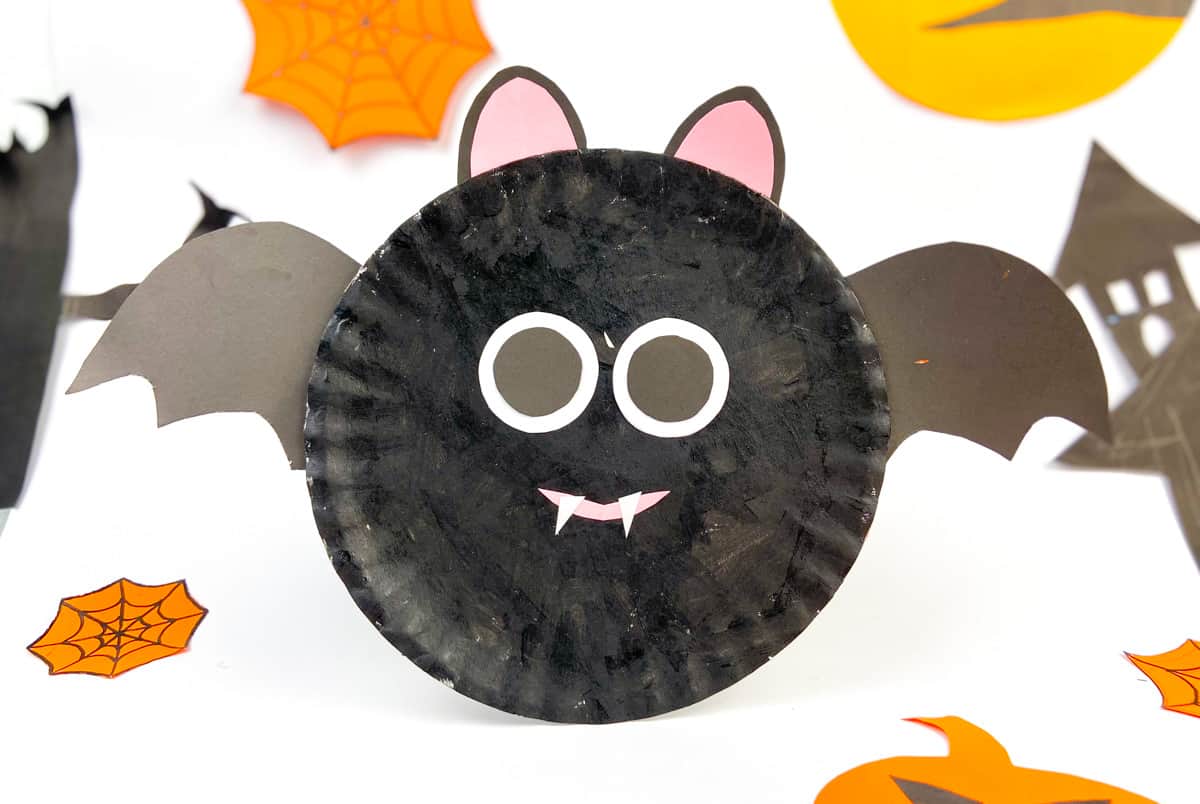
Viola, you have an adorable little bat!
Happy Crafting and Happy Halloween!
We highlighted this Halloween Craft and Halloween Printable Craft along with some other fun kid's crafts in our October Crafts along with our 101+ Easy Craft Ideas for kids.
You also do not want to miss our 101+ Printable Coloring Pages For Kids and 101+ Printables For Kids full of Crafts and Coloring Pages.
Other Halloween Crafts You'll Enjoy
- Halloween Paper Masks
- Mickey Mouse Pumpkin
- Halloween Countdown
- Cotton Ball Ghost Craft
- Black Cats Paper Luminary
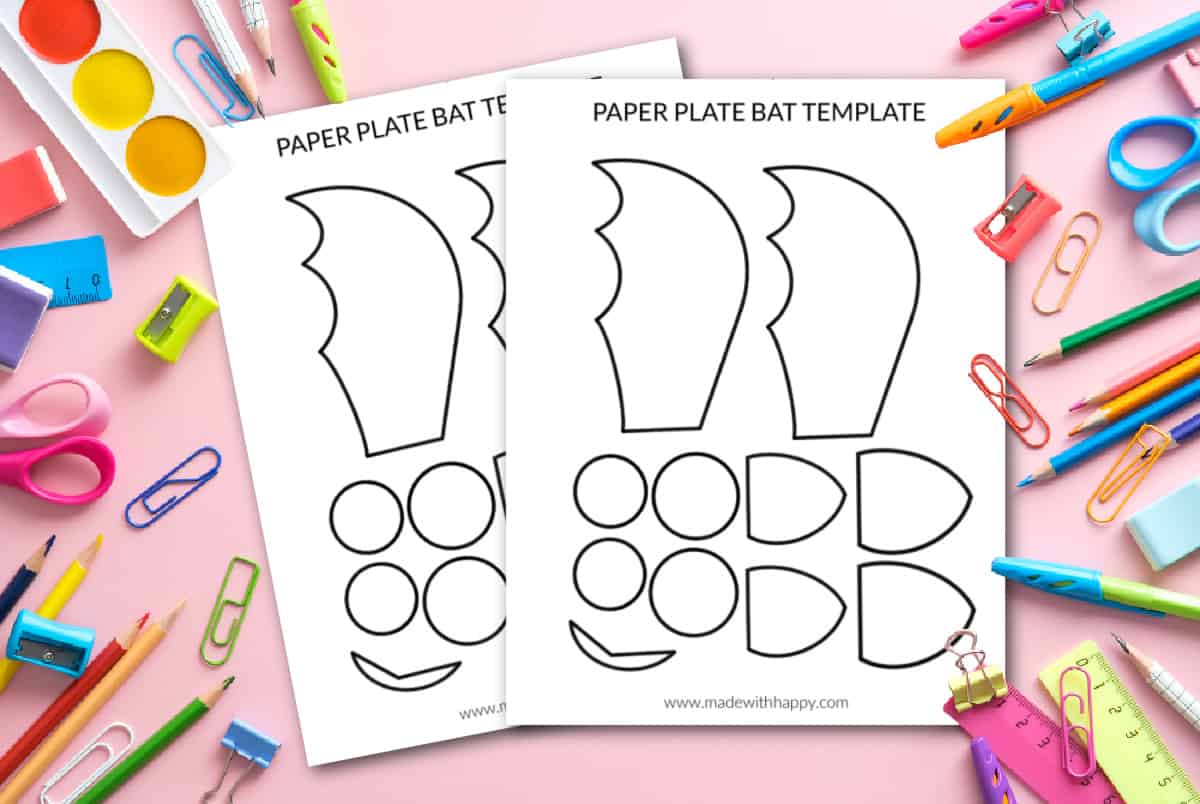
Download Bat Craft Free Template
Enter your email address in the form below and you'll be taken directly to the free printable template pdf file for the paper plate bat craft.
*For personal use only
Bat Paper Plate
Get crafty this Halloween with our Easy Bat Paper Plate Craft - a fun and simple DIY project for kids that adds a spooky touch to your holiday decor!
Materials
- Paper Plate Bat Template
- Paper plate
- Black paint
- Paintbrush
- Black Construction Paper
- Pink Construction Paper
- White Paper
Instructions
The paper plate will be the bat's body, and let's start by painting it black. If you have a black paper plate, you can skip this step and move on to the next.
Print out the free printable templates at the bottom of the page.
Cut out each of the template pieces and then place them on black paper and then trace.
Cut out the two wings, two larger ear shapes, and two small circles of the template from the black paper.
Next, trace the two smaller ear template pieces and the smile out of the pink paper.
Next, glue the smaller black circle inside the larger white circles. Glue the two teeth (small triangles out of white paper) to the mouth with the fangs pointing down.
Next, glue the eyes and the mouth to the middle of the black paper plate.
Glue the pink inside of the ears to the larger black ear shape.
Glue the bat ear to the back and top of the paper plate.
The last piece is to glue the wing shapes to each side of the paper plate.
CONNECT WITH MADE WITH HAPPY!
Be sure to follow me on social media, so you never miss a post!
Facebook | Twitter | Youtube | Pinterest | Instagram
Find and shop my favorite products on my Amazon storefront here!
Bat Paper Plate
PIN IT TO YOUR DIY BOARD ON PINTEREST!
FOLLOW MADE WITH HAPPY ON PINTEREST FOR ALL THINGS HAPPY!
