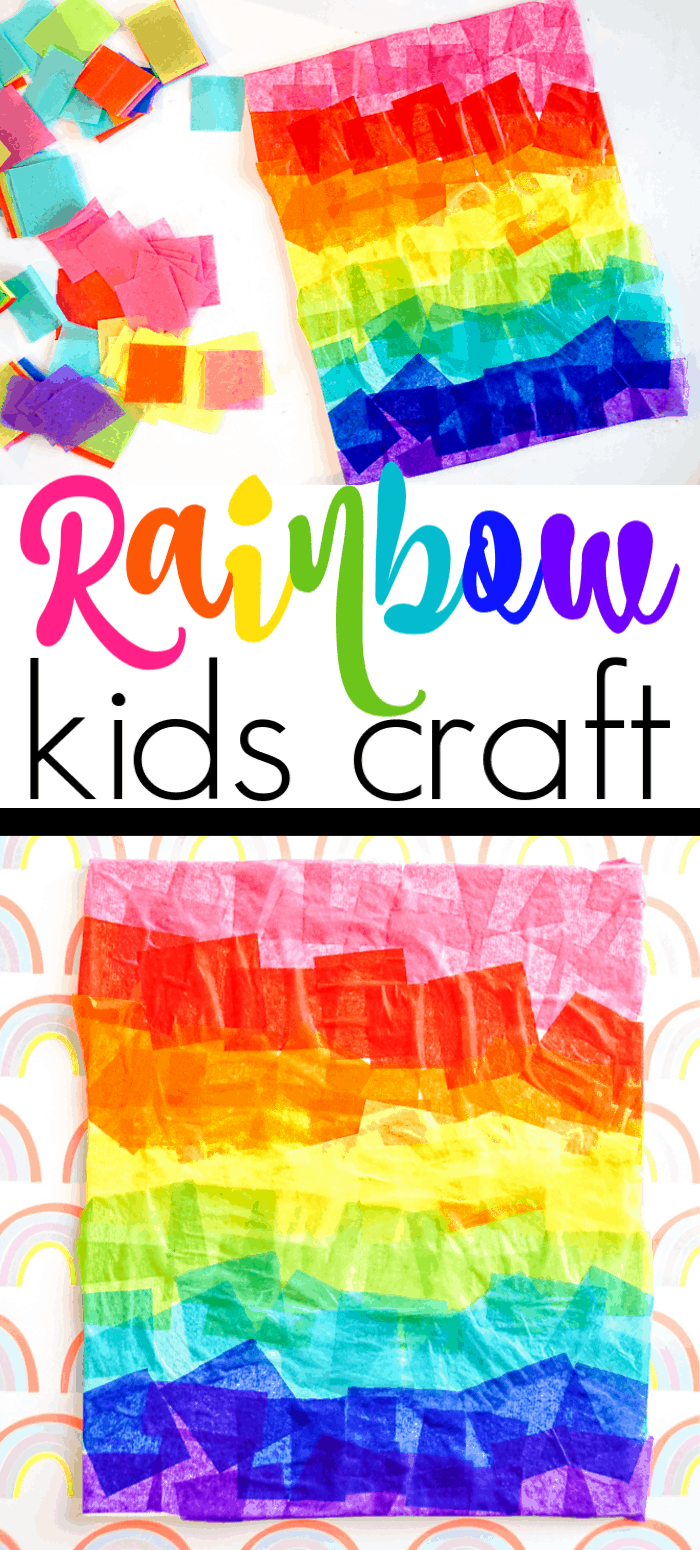
This simple rainbow craft for kindergartners is a fun and easy art project that is sure to bring out the color, fun, and your kids creativity.
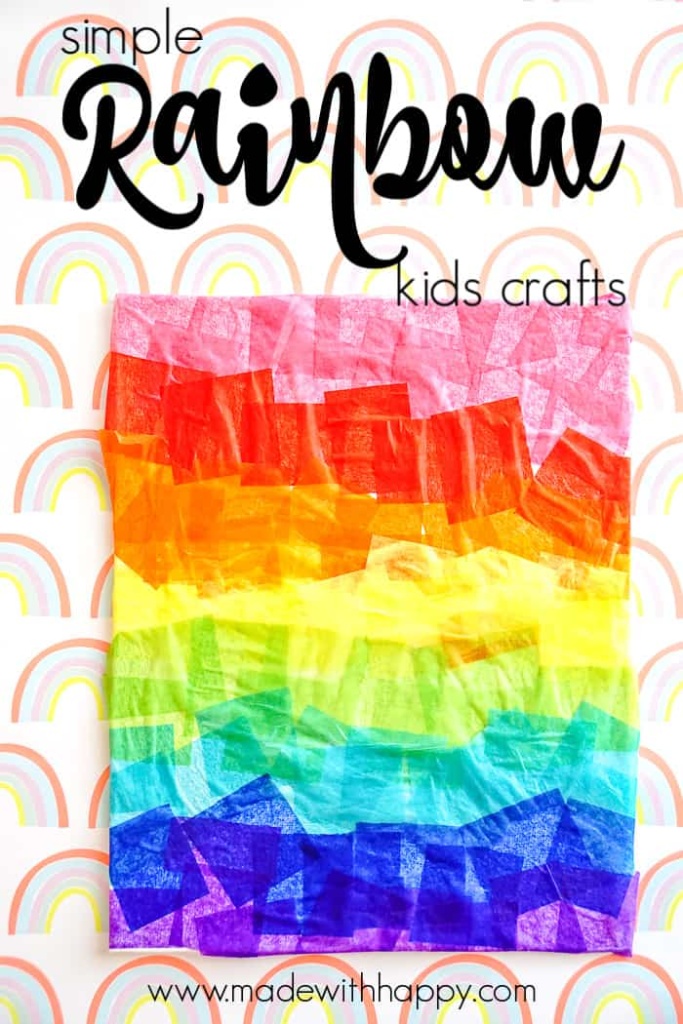
St. Patrick's Day is right around the corner and I'm always looking for something fun to create with the kids.
Those that know our house, know that rainbow crafts happen all year long. That doesn't mean that I'm not super aware that these crafts are much more popular when looking for St. Patrick's Day crafts
We highlighted this Rainbow Craft along with some other fun kid's crafts in our March Crafts Ideas along with our 101+ Easy Craft Ideas for kids.
Rainbow Crafts For Kids
We love rainbow crafts at our house especially since we have all kinds of rainbow craft supplies hanging around. While I think this is a simple rainbow craft for kindergartners or lower-aged elementary school kids, I think any age kids get a kick out of this craft. Even my older tween wanted to know if she could make one!
I get asked often what kind of supplies I have on hand at our house in order to make these kinds of crafts, and I've decided to put together a comprehensive list in addition to my rainbow craft supply list of simple easy craft supplies to have at home for endless creative fun. Whether it's cotton balls, construction paper, rainbow yarn, or markers. There are tons of crafts for kids of all ages that can be made with just a few simple supplies.
Check out these other Rainbow Crafts!
Rainbow Craft For St. Patrick's Day
Rainbow crafts are fun all year long, that is for sure. However, the luck of the Irish and the pot at the end of the rainbow are always fun times to bring out fun rainbow crafts like this one too.
Leading up to St. Patrick's Day, or all March long is a great time to create some fun rainbow crafts and rainbow art projects. The kids will have so much fun during their classroom parties or just having fun with St. Patrick's Day art projects leading up to the big day.
Supplies for Tissue Paper Rainbow Kid Craft
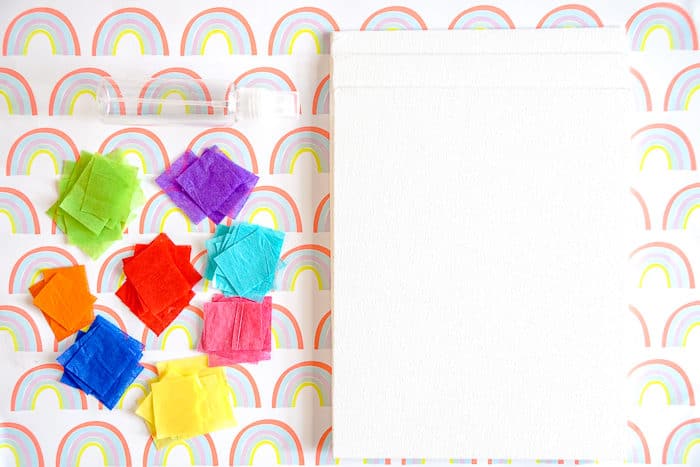
How To Make Easy Rainbow Art Project
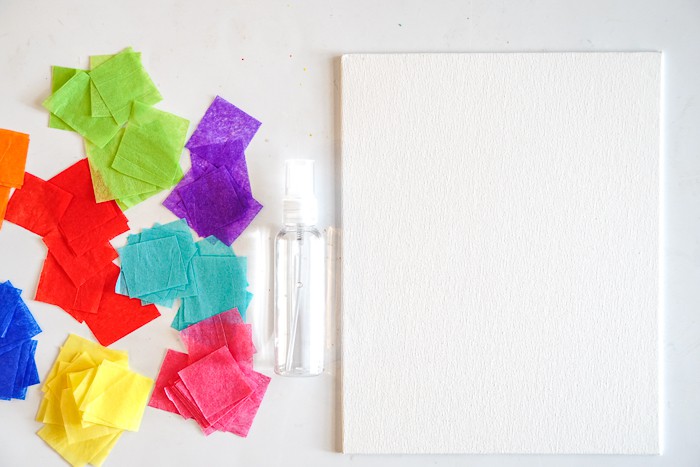
Set up a space for your child with a canvas panel, tissue paper, and a glue stick.
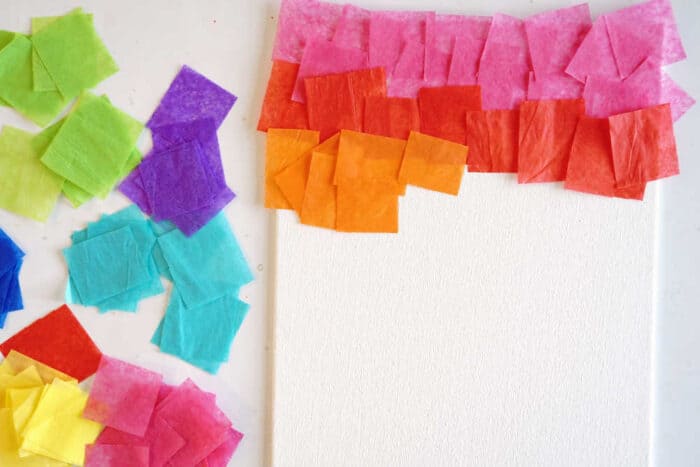
Have them spread a layer of glue over the canvas
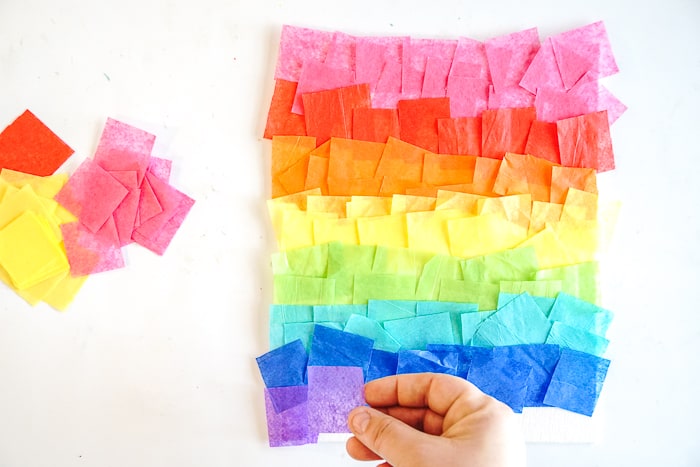
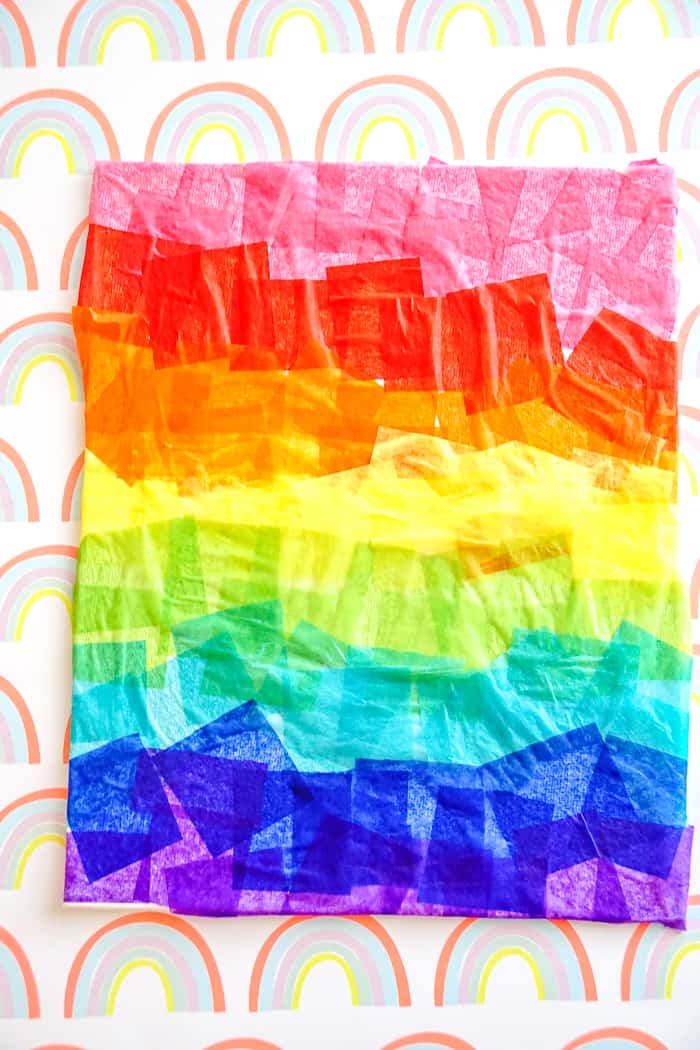
Place the tissue paper over the canvas as they wish. Once they have their masterpieces in place, lightly spray with water over the entire canvas. If there is bleeding awesome, if not, no problem.
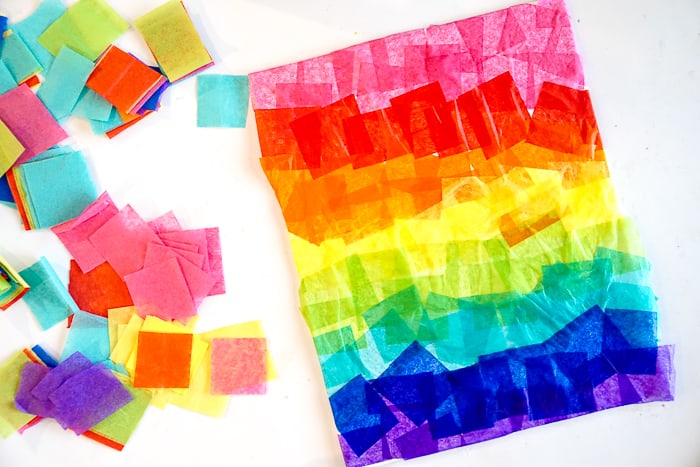
Once it's dried, an optional step is to spray your art with spray glue, clear spray, or run over the top with Mod Podge/glue. This will ensure their art is in place, but not necessary.
My kids are bonkers about spray bottles and whenever I can incorporate them into their crafts, they are all for it. Maybe it's because they are small water guns, but maybe it's so that they can end with a spray in each other faces? 🙂
Let's get real, it's most likely because of that. Or to get me, but hey it's fun and a little water never hurt anyone. tehehe... famous last words.
Rainbow Crafts for Preschoolers
My next question for you all is about displaying your child's art. We have a few of these kid art displays throughout the house, but for larger pieces, I'd love to hear how you are displaying them these days.
Prior to our kitchen remodel we had a frame that we could open and replace the art in front and center. I'm thinking about adding one for each kid in the kitchen or even a gallery of those types of frames with different sizes.
Have some red, orange, yellow, green, blue, purple, pink, gray, and black fun!
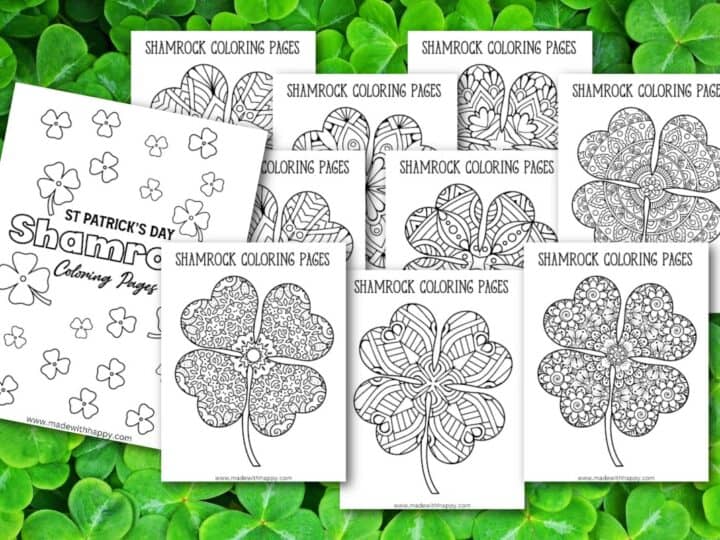
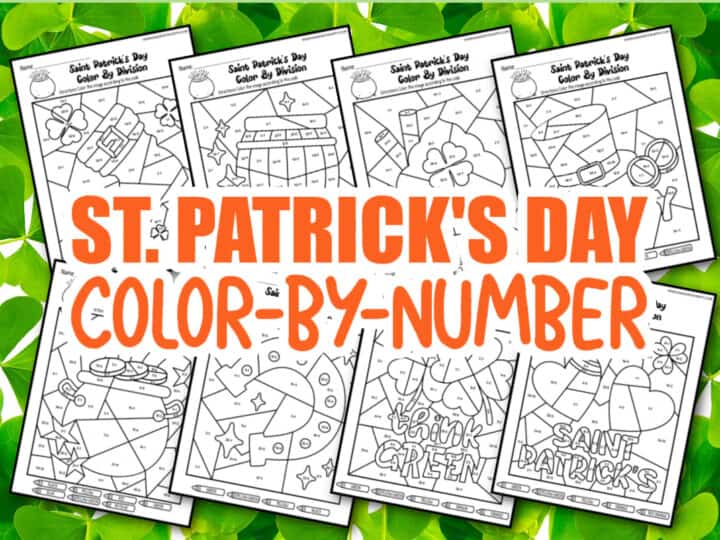
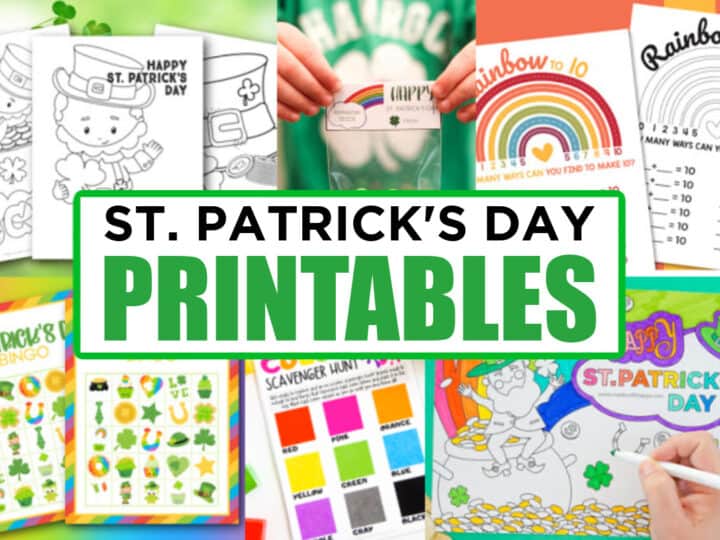
Other St. Patrick's Day Crafts You Might Enjoy
Other Kindergarten Ideas You Might Enjoy
- Rainbow Making 10 Worksheet
- Rainbow Name Craft
- 10+ Awesome Stem Toys For Kindergartners
- Top 10 Chapter Books For Young Readers
- Busy Bee Preschool Activity Pack
Tissue Rainbow Craft For Kindergarteners

This simple rainbow crafts for kindergartners is a fun and easy art project that is sure to bring out the color, fun, and your kid's creativity.
Materials
- Canvas Panels
- Tissue Paper Confetti
- Mini Spray Bottle
Tools
Instructions
Set up a space for your child with a canvas panel, tissue paper, and a glue stick.
Have them spread a layer of glue over the canvas
Place the tissue paper over the canvas as they wish. Once they have their masterpieces in place, lightly spray with water over the entire canvas. If there is bleeding awesome, if not, no problem.
Once it's dried, an optional step is to spray your art with spray glue, clear spray, or run over the top with mod podge/glue. This will assure their art is in place, but not necessary.
CONNECT WITH MADE WITH HAPPY!
Be sure to follow me on social media, so you never miss a post!
Facebook | Twitter | Youtube | Pinterest | Instagram
Find and shop my favorite products in my Amazon storefront here!


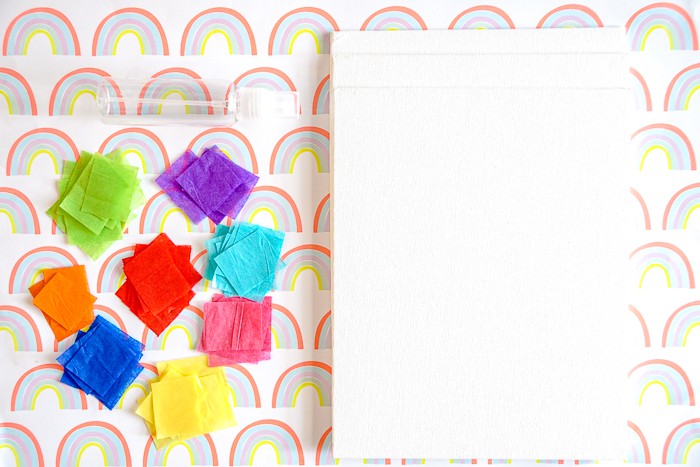 Set up a space for your child with a canvas panel, tissue paper, and a glue stick.
 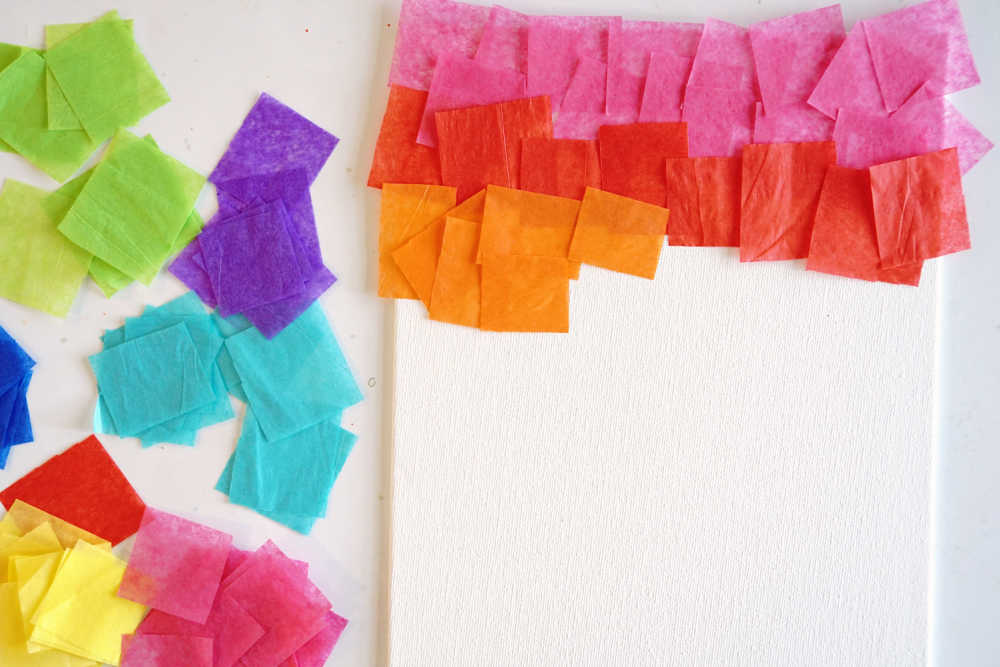 Place the tissue paper over the canvas as they wish. Once they have their masterpieces in place, lightly spray with water over the entire canvas. If there is bleeding awesome, if not, no problem.