Fun wind sock craft made from a few simple supplies. Learn with the kids how to make a windsock with colorful paper and some simple craft supplies.
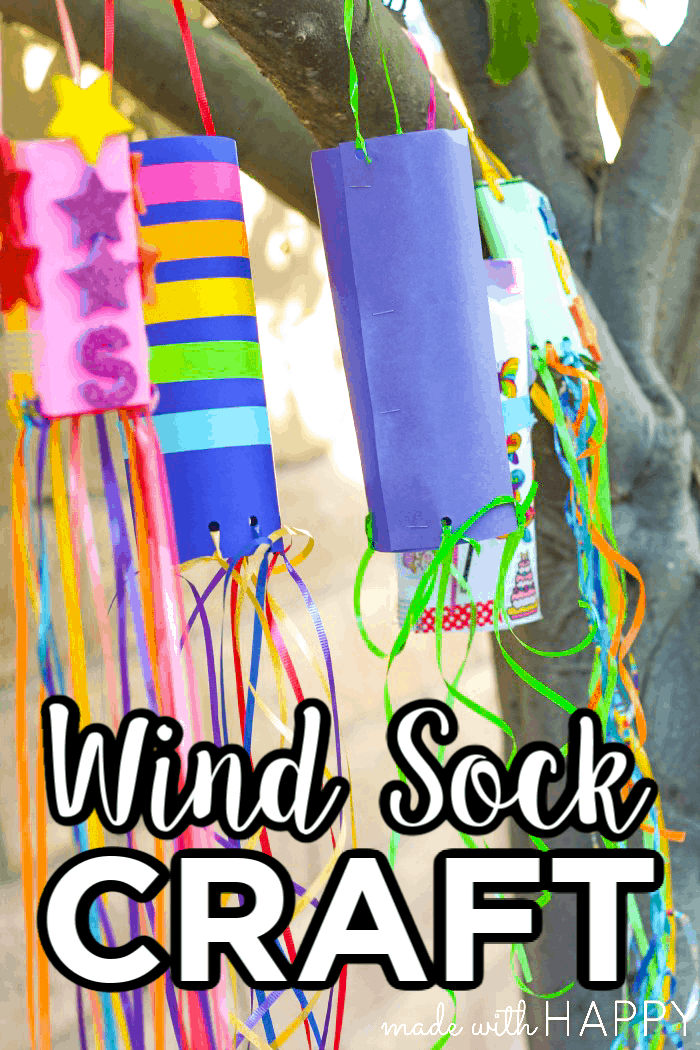
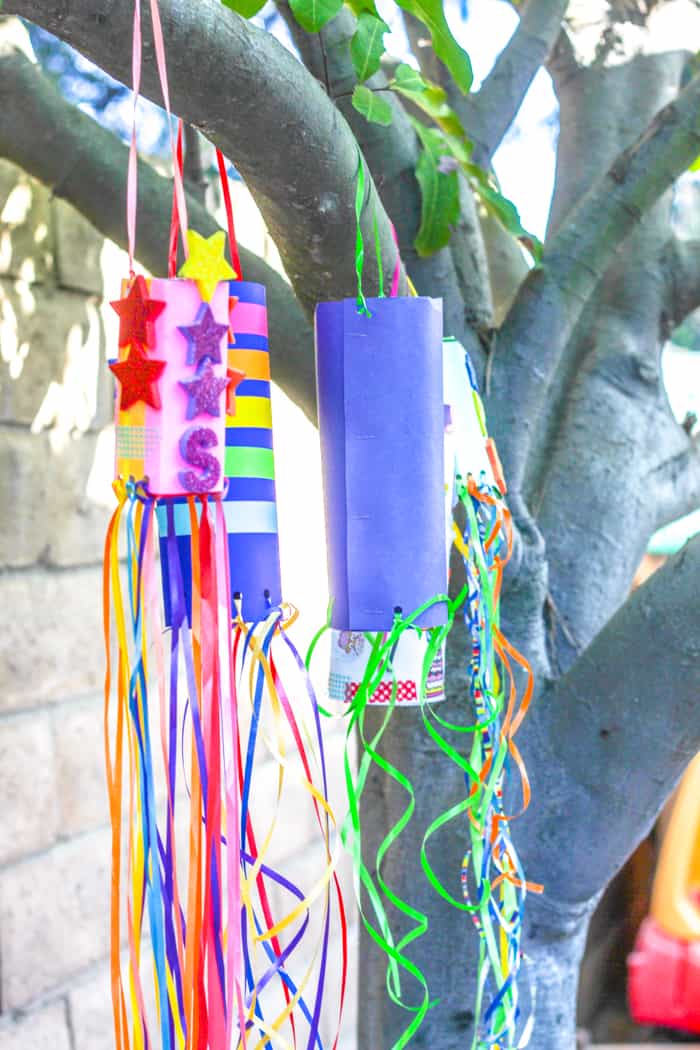
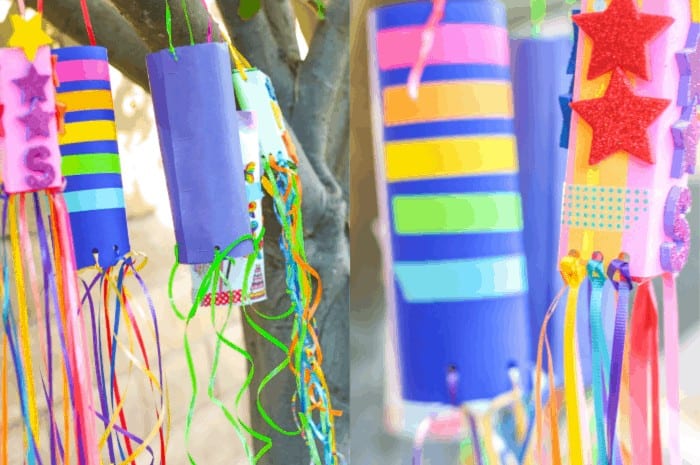
We made these super cute Paper Wind Socks Craft while we were camping recently, and they were a hit at the campsite.
Today we're talking Camping Crafts for Kids and we're showing you a fun craft that will keep the kids occupied (for a few minutes at least) and jazzes up the look of your campsite as an added bonus. One of our favorite crafts while camping is paper windsocks.
The beauty of this craft is that it can be done during any season. Spring windsocks are fun for the kids right as the flowers are blooming and it's time to get out and decorate the yard.
Camping Kids Crafts
Want to save this project?
Enter your email below, and then we'll send it straight to your inbox. Plus get awesome new projects from us each week.
Camping is fun throughout the year. My kids love arts and crafts when we are camping. Adding just a few craft supplies to your camping gear, there are lots of projects for the kids to do during their downtime.
Check out our full 25+ AWESOME RAINBOW CRAFT SUPPLIES that we recommend having on hand at home.
Check out these other Paper Crafts!
Craft Supplies Needed For Wind Sock Craft

- Colored construction paper
- Stapler or scotch tape
- Travel Scissors
- Hole punch
- curling ribbon
- Decorative tapes, stickers, markers
How to Make a Homemade Windsock
These are really not too difficult to make. Added bonus, it helps the toddlers and preschoolers with fine motor skills too!
Have each of the kids pick out a piece of paper they want to decorate.
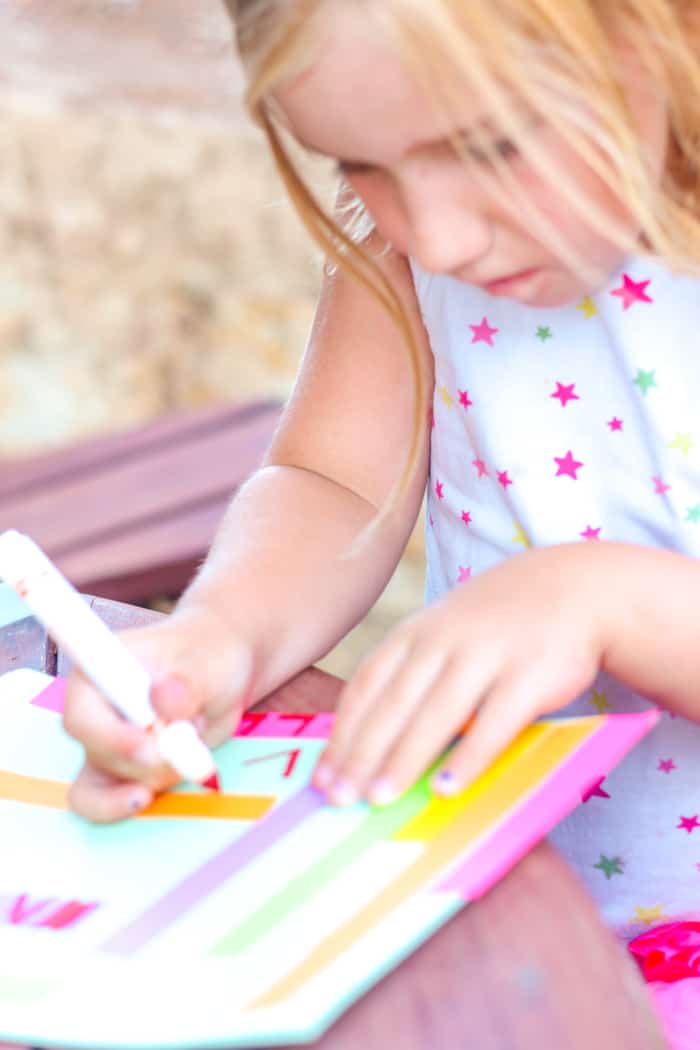
Let them go wild with stickers, tape, tissue paper pieces, crepe paper, and markers decorating how they want. Fun to let their creativity come out, especially after a full day of camping.
Crafts Ideas for the Kids while Camping
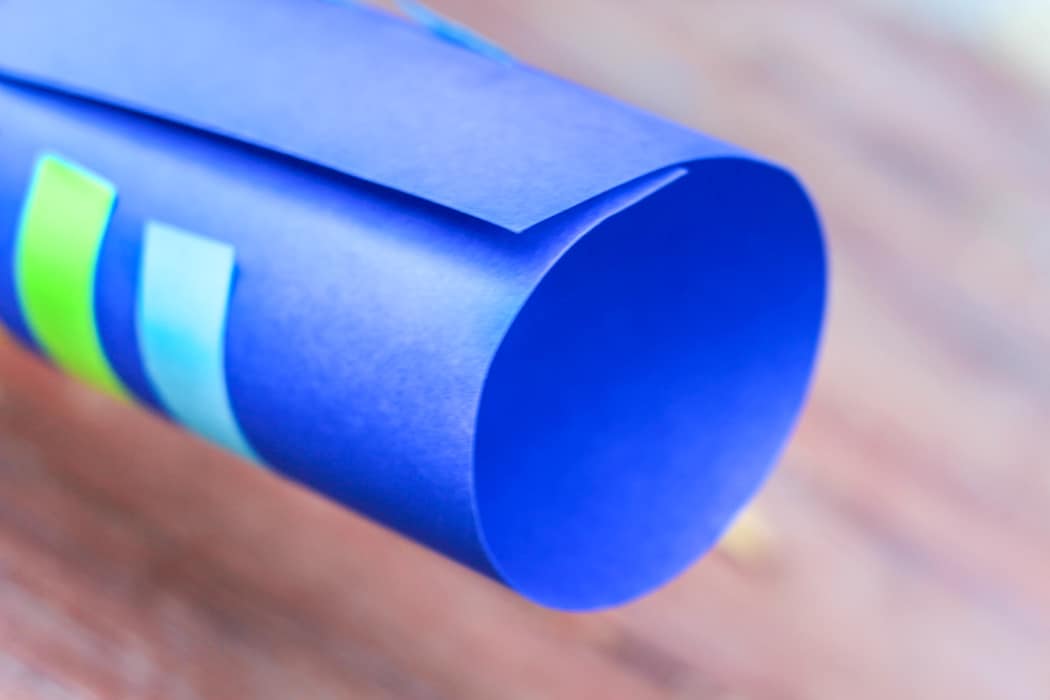
After they are done decorating, you will need to roll it into a cylinder shape tube and using either tape or my quick and simple stapler, attach the ends together to where you're creating a tube.
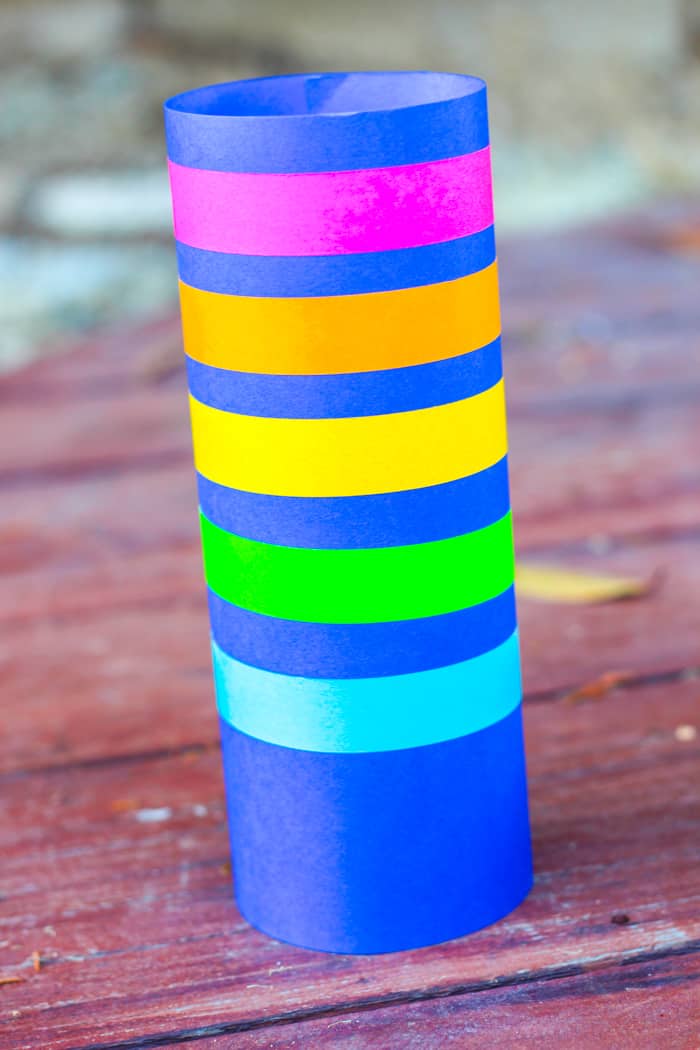
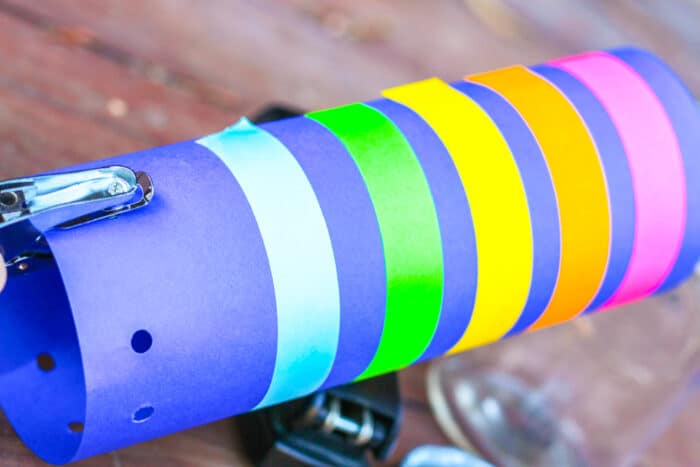
Once you have the tube, its time to add the balloon ribbon.

Using the hole puncher, punch 4 or more holes along the bottom of the tube.
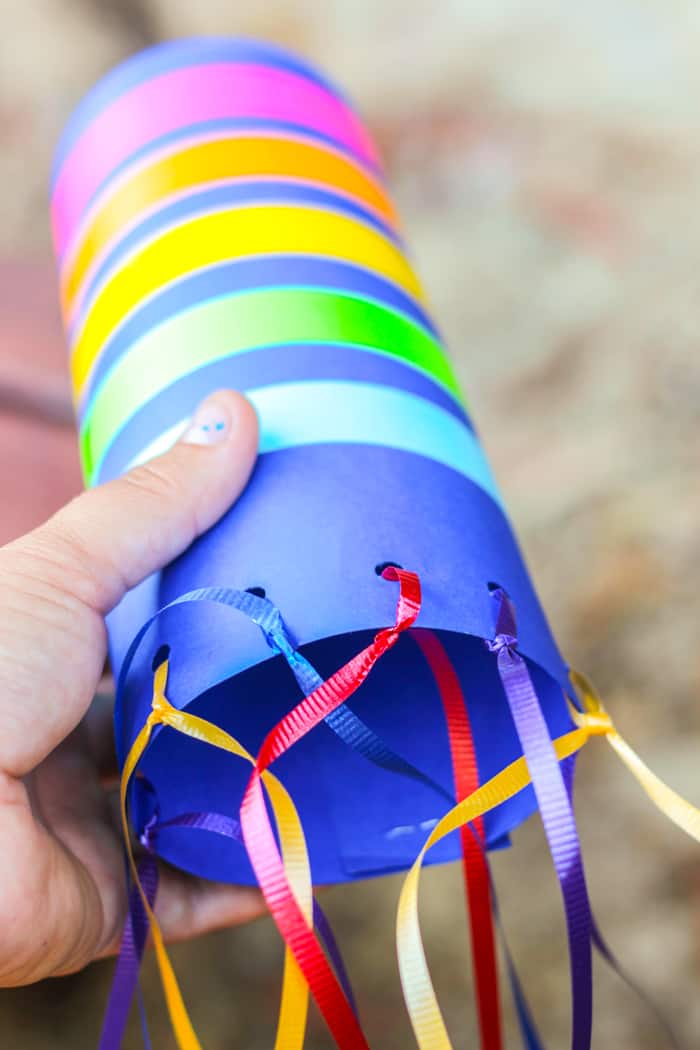
Cut the ribbon however long they want. I like to cut them around 2-3 feet and then have them tie or you may need to help the little ones tie them to the holes you punched.
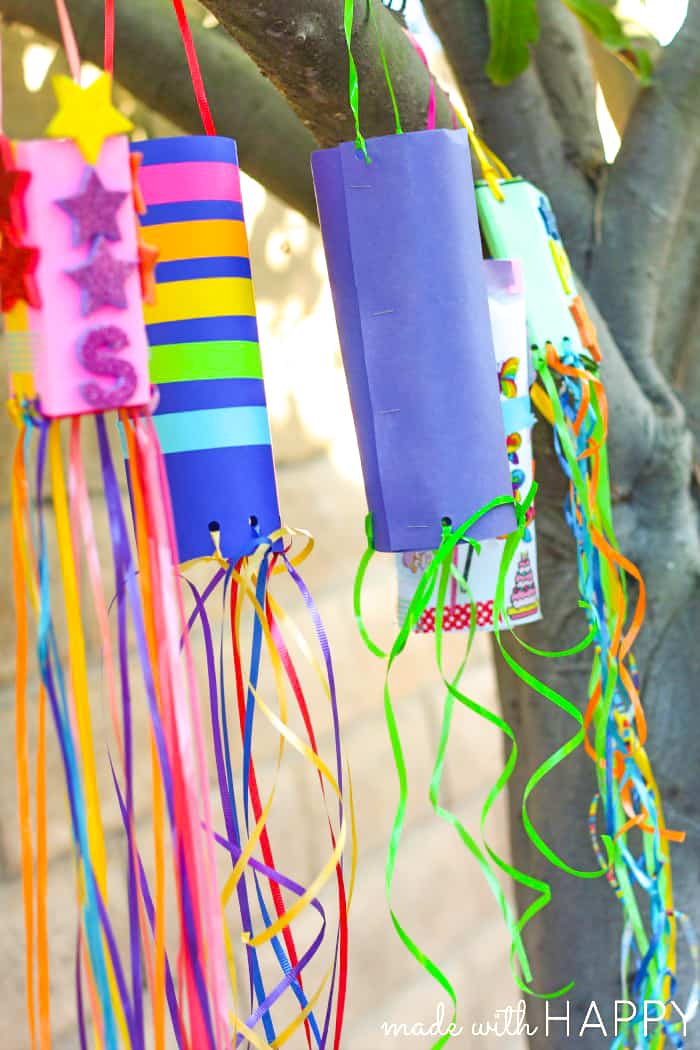
Two more holes on the top are needed to hang your windsock. One more piece of ribbon is about 6 inches. Tie each end to the two holes.

Viola, you have yourself a campsite windsock craft.
We highlighted this Construction Paper Craft along with some other fun kids' crafts in our Easy Summer Crafts for Kids along with our 101+ Easy Craft Ideas for kids.
You also do not want to miss our 101+ Free Kids Printables full of Crafts & Coloring Pages.
Other Made with HAPPPY Camper Post You Might Enjoy
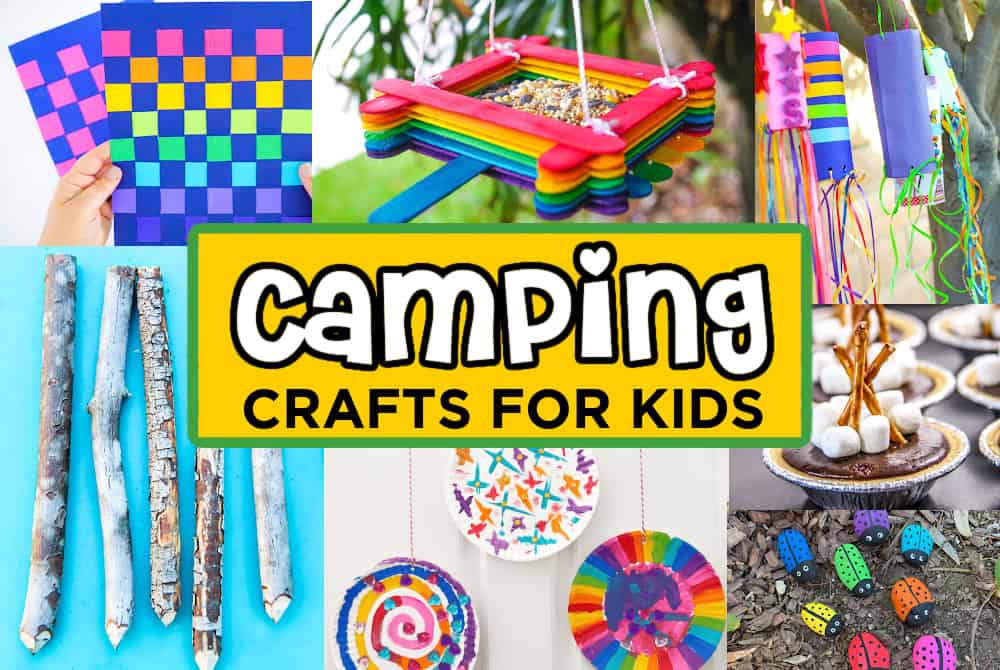
- These fun Paint Rocks are all kinds of fun and a great camping kids' craft
- Easy Ladybug Rock Painting are great Summer craft for kids and makes fabulous camping crafts for kids and the entire family.
- The ultimate camping dessert - we are showing you how to make gooey tubes.
- These fun and simple paper weavings are all kinds of fun for kids camping.
- Our camping hearts love these mini campfire pies
- Bring the sunny outdoors to your camping adventures with a delightful paper plate sun craft that adds a cheerful touch to your campsite decorations and keeps kids entertained around the campfire.
Other Paper Crafts for Kids
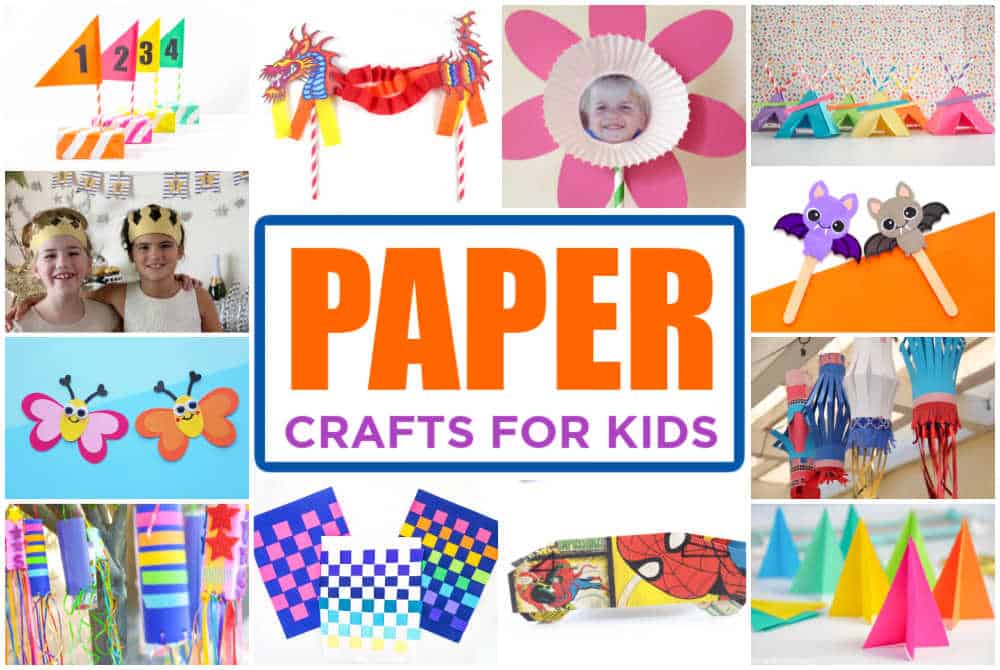
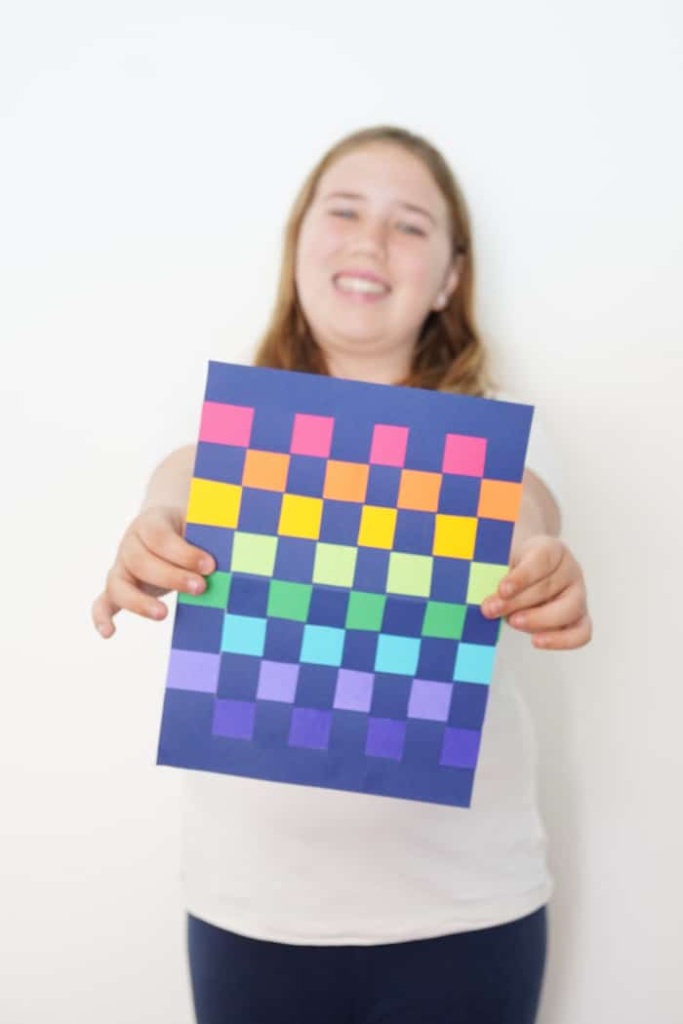
- These super fun paper weaving are great paper crafts for kids of all ages. They can be made with two pieces of paper, a pencil, and scissors.
- A ton of fun is to be had all year long with these easy PAPER FOOTBALL GAME.
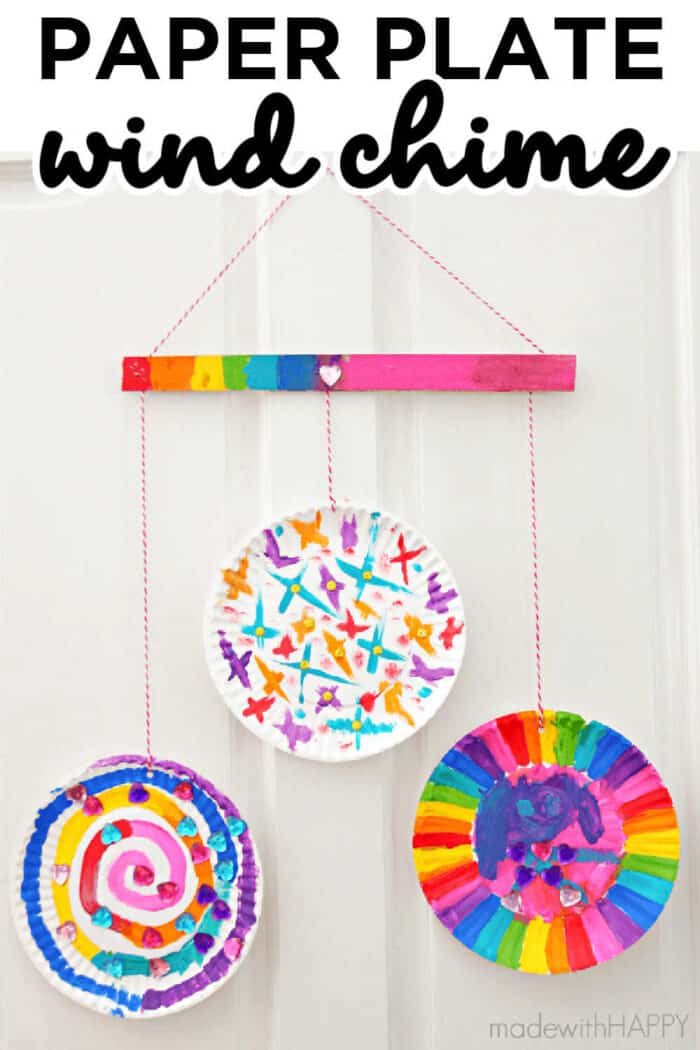
- Turn those paper plates into fun PAPER PLATE WIND SOCKS
- These RED, WHITE AND BLUE PAPER LANTERNS are great all year long and can be made really easily.
- Another simple idea with paper is HOW TO MAKE A PAPER CROWN.
Paper Wind Sock Craft Tutorial
Materials
- Colored construction paper
- Stapler or scotch tape
- Hole punch
- curling ribbon
- Decorative tapes, stickers, markers
- Glue (optional)
- Markers
Tools
Instructions
Have each of the kids pick out a piece of paper they want to decorate.
Let them go wild with stickers, tape, tissue paper pieces, crepe paper, and markers decorating how they want. Fun to let their creativity come out, especially after a full day of camping.
After they are done decorating, you will need to roll it into a cylinder shape tube and using either tape, glue, or my quick and simple stapler, attach the ends together to where you’re creating a tube.
Once you have the tube, its time to add the balloon ribbon. Using the hole puncher, punch 4 or more holes along the bottom of the tube.
Cut the ribbon however long they want. I like to cut them around 2-3 feet and then have them tie or you may need to help the little ones tie them to the holes you punched.
Two more holes on the top are needed to hang your windsock. One more piece of ribbon about 6 inches. Tie each end to the two holes.
Viola, you have yourself a campsite windsock.
CONNECT WITH MADE WITH HAPPY!
Be sure to follow me on social media, so you never miss a post!
Facebook | Twitter | Youtube | Pinterest | Instagram
PAPER WIND SOCK CRAFTS
PIN IT TO YOUR CRAFT BOARD ON PINTEREST!
FOLLOW MADEWITHHAPPY ON PINTEREST FOR ALL THINGS HAPPY!


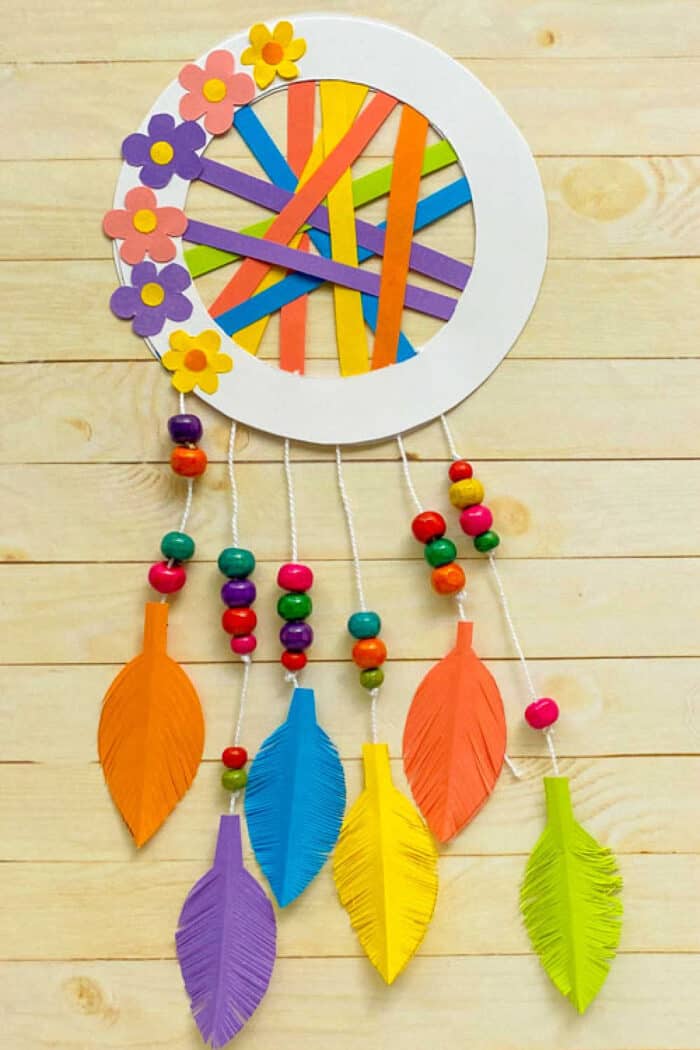
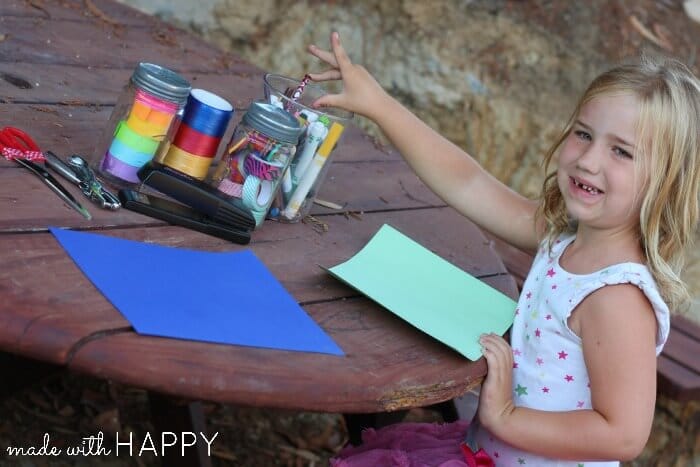 Have each of the kids pick out a piece of paper they want to decorate.
 Let them go wild with stickers, tape, tissue paper pieces, crepe paper, and markers decorating how they want. Fun to let their creativity come out, especially after a full day of camping.
 Cut the ribbon however long they want. I like to cut them around 2-3 feet and then have them tie or you may need to help the little ones tie them to the holes you punched.
